1. Introdución
This manual provides essential information for the proper installation, operation, and maintenance of your MOOG K6292 Front Upper Suspension Ball Joint. Designed for Chevrolet K1500 vehicles, this ball joint features superior materials and rigorous testing to ensure reliable performance. Please read these instructions thoroughly before proceeding with installation or maintenance.
The MOOG K6292 ball joint is engineered with problem-solving innovations for fast, hassle-free installation and long-lasting durability.

Figure 1: MOOG K6292 Front Upper Suspension Ball Joint and included hardware.
2. Información de seguridade
Always prioritize safety when working on vehicle suspension components. Failure to follow safety precautions can result in serious injury or damage to the vehicle.
- Usar o equipo de protección individual (EPI) axeitado, incluíndo lentes e luvas de seguridade.
- Asegúrese de que o vehículo estea firmemente apoiado sobre soportes elevados sobre unha superficie nivelada antes de comezar calquera traballo. Nunca confíe unicamente nun gato elevador.
- Consulte o manual de servizo do seu vehículo para obter as especificacións e os procedementos específicos de torque.
- Exercise caution when handling tools and heavy components.
- This product contains chemicals known to the State of California to cause cancer and birth defects or other reproductive harm (Proposition 65 warning). Wash hands thoroughly after handling.
3. Produto rematadoview
The MOOG K6292 ball joint incorporates several advanced features to enhance performance and longevity:
- Problem Solver Gusher Bearing: Metal-to-metal design allows grease to flow through the bearing surface for reduced friction and extended life.
- Forte e duradeiro: Ball studs are heat-processed to meet or exceed OE requirements, inhibiting premature failure and improving fatigue strength.
- Greasable Socket: Allows new lubricant to flush out debris, inhibiting corrosion and wear.
- Belleville Preload Washer: Helps maintain a tight bearing package as bearings wear, absorbing impact.
- Patented Pressed-in Cover Plate: Seals out debris and minimizes looseness, reducing bearing wear and promoting longer life.

Figure 2: Illustration of the Patented Pressed-in Cover Plate technology.

Figure 3: Illustration of the Greasable Design for easy maintenance.

Figure 4: Illustration of the Slotted Gusher Bearing for continuous lubrication.
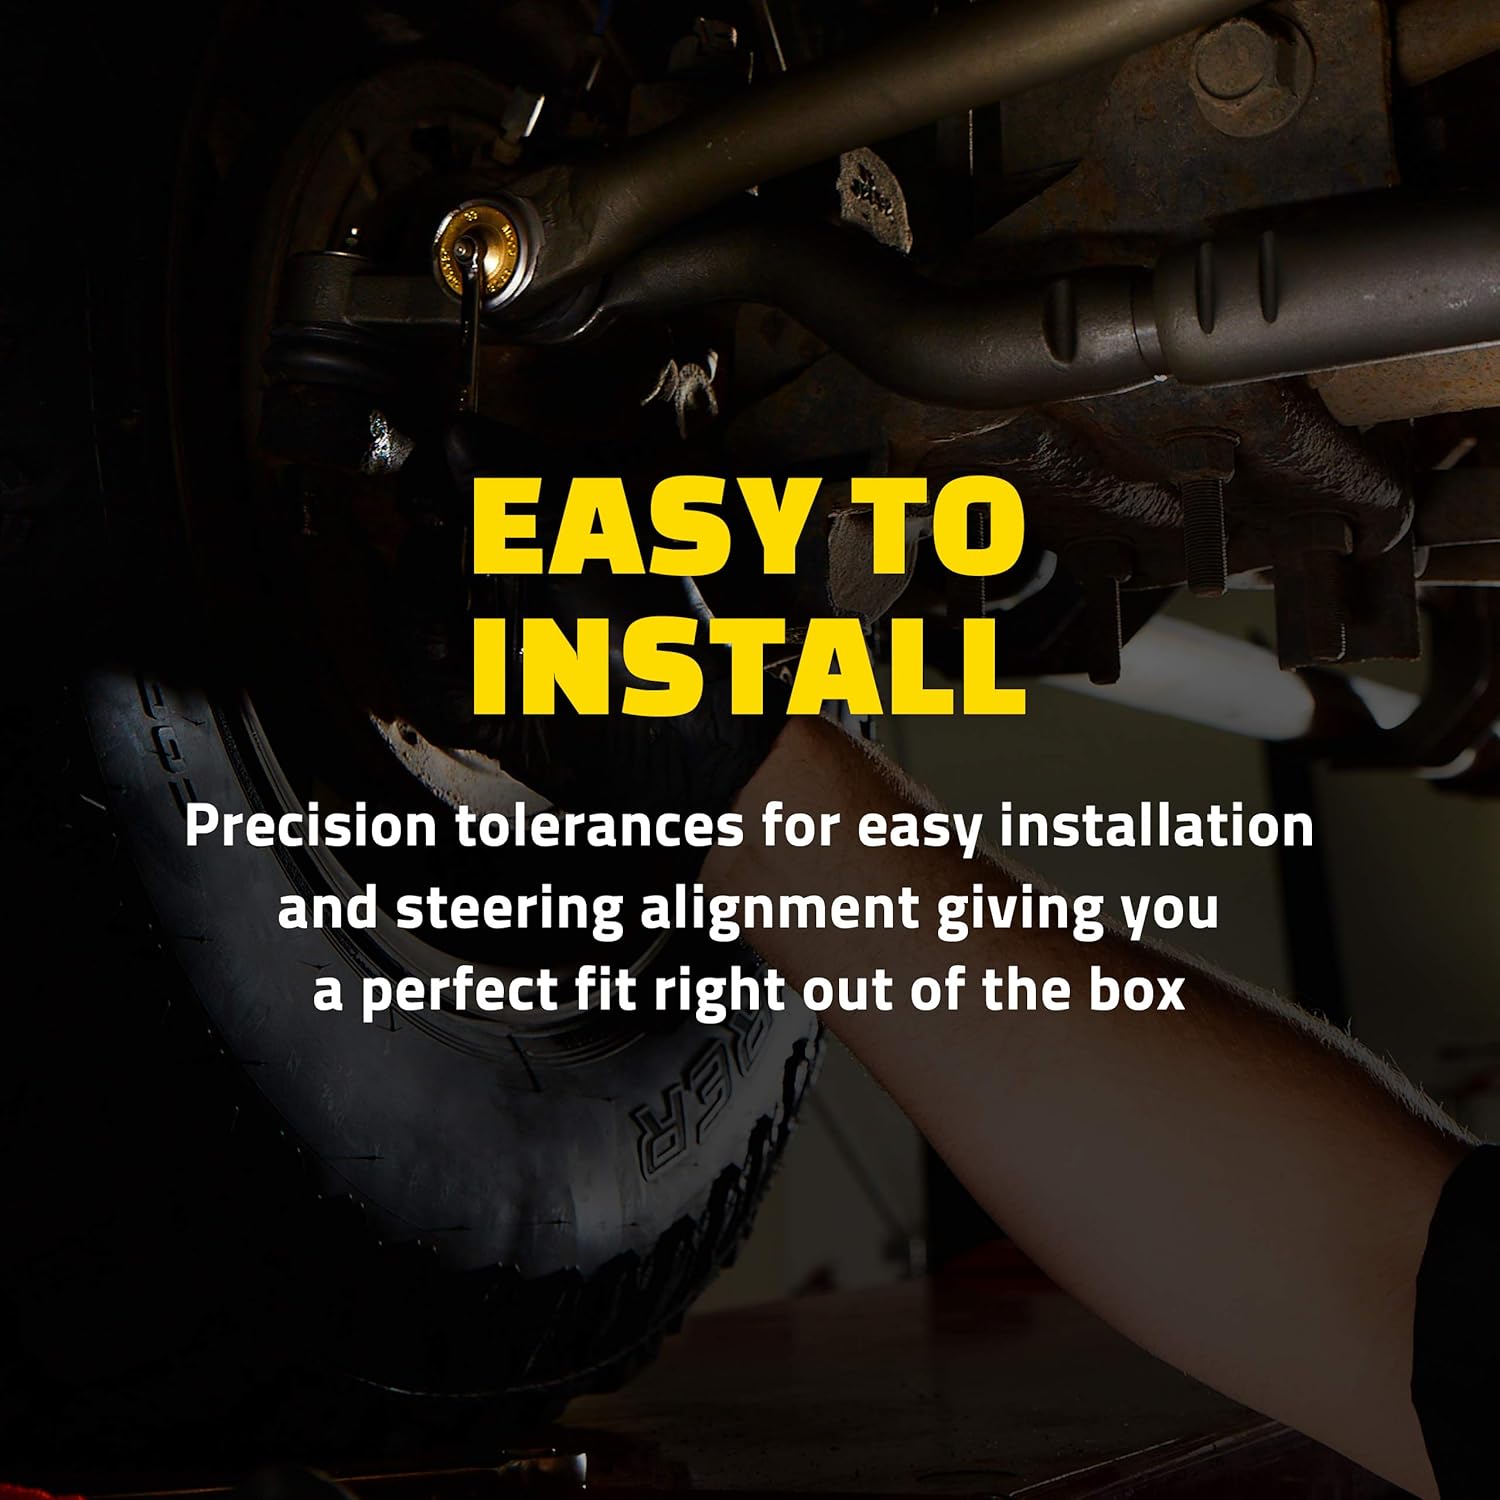
Figure 5: Illustration of the Heat Treated Stud for enhanced strength.
Video 1: Explains the MOOG Greasable Design and its benefits for lubrication and extended service life.
Video 2: Details MOOG's Gusher Bearing Technology, highlighting continuous grease flow and contaminant flushing.
Video 3: Explains MOOG's Patented Cover Plate and Belleville Washer Technology, which minimizes looseness and reduces bearing wear.
4. Configuración e instalación
Proper preparation is crucial for successful ball joint installation. Ensure the mounting pocket is clean and free of debris before pressing in the new ball joint.
- Prepare a superficie de montaxe: Before installing the new ball joint, thoroughly clean the mounting pocket in the control arm or steering knuckle. Remove any rust, scale, or other debris. This prevents excessive pressure on the ball joint case and stud, which can lead to premature wear or steering issues.
- Position the Ball Joint: Carefully align the new MOOG K6292 ball joint with the cleaned mounting pocket.
- Premer no seu lugar: Use an appropriate ball joint press tool to press the ball joint firmly and evenly into its mounting location. Ensure it is fully seated.
- Seguro con hardware: Install the provided nuts and bolts, tightening them to the vehicle manufacturer's specified torque.
- Grease the Ball Joint: If applicable, pump the ball joint full of grease until the boot bulges slightly. This ensures proper lubrication from the start.

Figure 6: MOOG K6292 Ball Joint with accompanying installation hardware.

Figure 7: The ball joint is designed for easy installation with precision tolerances.
Video 4: Provides essential tips for ball joint installation, emphasizing proper preparation of the mounting pocket.
5. Operación e Mantemento
Regular inspection and lubrication are key to maximizing the lifespan and performance of your MOOG K6292 ball joint.
- Lubricación regular: Due to its greasable design, the ball joint should be lubricated annually or as recommended by your vehicle's service schedule. Pump grease until the boot bulges slightly to ensure critical areas are lubricated and contaminants are flushed out.
- Inspección visual: Periodically inspect the ball joint boot for tears, cracks, or damage. A damaged boot can allow contaminants to enter, leading to premature wear.
- Comprobar se hai frouxidade: At regular intervals, and especially during wheel alignments, check the ball joint for any signs of looseness.
Video 5: Demonstrates how to properly inspect ball joints for looseness, a critical maintenance step.
6 Solución de problemas
If you experience any of the following symptoms, inspect your ball joints and related suspension components:
- Clunking or Popping Noises: Often heard when turning or going over bumps, indicating excessive play in the ball joint.
- Loose or Wandering Steering: A feeling of excessive play in the steering wheel or difficulty maintaining a straight path.
- Desgaste irregular dos pneumáticos: Abnormal wear patterns on tires can be a symptom of loose ball joints affecting alignment.
- Vibracións: Vibrations felt through the steering wheel or floorboards, especially at certain speeds.
If any of these symptoms are present, it is recommended to have the vehicle inspected by a qualified technician to diagnose and address the issue promptly.
7. Especificacións
| Atributo | Valor |
|---|---|
| Fabricante | MOOG Chassis Products |
| Marca | MOOG |
| Modelo | ROTULA |
| Peso do elemento | 1.98 libras |
| Dimensións do produto | 0.7 x 2 x 0.6 polgadas |
| Número de modelo do artigo | K6292 |
| Número de peza do fabricante | K6292 |
| Número de peza OEM | K6292 |
| Posición | Fronte |
8. Garantía e soporte
For warranty information or technical support, please refer to the official MOOG website or contact MOOG customer service directly. Keep your purchase receipt for any warranty claims.
For additional technical tips and product information, visit moogparts.com.