1. Introdución
The Altronix CP1 Conversion Plate is designed to facilitate the mounting of two (2) Altronix PD4/PD8 Power Distribution Boards or two (2) MOM5 Multi-Output Modules within Altronix BC400 or BC400R series enclosures. This plate ensures secure and organized installation of these components, optimizing space and maintaining system integrity.
2. Información de seguridade
- Le todas as instrucións: Before installation, carefully read and understand all instructions.
- Persoal cualificado: A instalación só debe ser realizada por persoal de servizo cualificado.
- Desconexión de alimentación: Ensure all power to the enclosure is disconnected before installing or servicing the conversion plate or any associated components.
- Proper tools: Empregue as ferramentas axeitadas para a instalación para evitar danos ao produto ou lesións.
- Condicións ambientais: Install in a dry, indoor location, away from extreme temperatures or humidity.
3. Contido do paquete
Verifique que estean presentes todos os compoñentes ao desembalar:
- One (1) Altronix CP1 Conversion Plate
- Mounting hardware (screws, standoffs) - (Typically included with Altronix products, verify upon receipt)
4. Configuración e instalación
This section details the steps for installing the CP1 Conversion Plate and mounting compatible Altronix boards within a BC400/BC400R enclosure.
4.1 Ferramentas necesarias
- Destornillador de cabeza Phillips
- Small flathead screwdriver (for terminal blocks, if applicable to boards)
4.2 Pasos da instalación
- Preparar o recinto: Ensure the Altronix BC400 or BC400R enclosure is securely mounted and all power is disconnected. Open the enclosure door.
- Position the Conversion Plate: Align the CP1 Conversion Plate with the designated mounting holes inside the BC400/BC400R enclosure. The plate is designed to fit specific standoffs or mounting points.
- Secure the Conversion Plate: Using the provided mounting hardware (screws), securely fasten the CP1 Conversion Plate to the enclosure. Do not overtighten.
- Mount PD4/PD8 or MOM5 Boards:
- Take one PD4/PD8 or MOM5 board.
- Align the board's mounting holes with the corresponding standoffs or screw holes on the CP1 Conversion Plate.
- Secure the board using appropriate screws. Repeat for the second board.
- Verificar a instalación: Ensure both the conversion plate and the mounted boards are firmly in place and do not wobble.
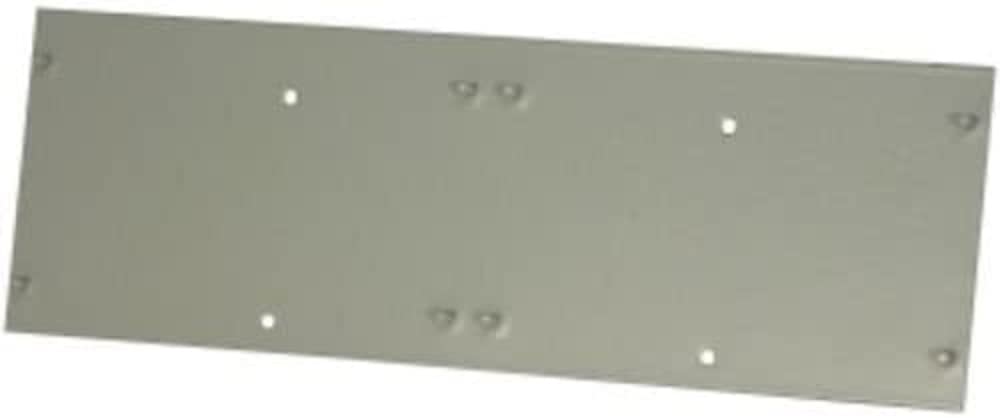
Figure 1: The Altronix CP1 Conversion Plate. This image shows the plate itself, designed to accommodate two smaller Altronix boards.
5. Instrucións de funcionamento
The Altronix CP1 Conversion Plate is a passive mounting accessory. Once installed, its "operation" is to securely hold the PD4/PD8 or MOM5 boards within the enclosure. There are no active operational steps for the plate itself. Refer to the individual instruction manuals for the PD4/PD8 Power Distribution Boards or MOM5 Multi-Output Modules for their specific operational guidelines.
6. Mantemento
The CP1 Conversion Plate requires minimal maintenance. Regular inspection is recommended to ensure continued secure mounting.
- Limpeza: If necessary, gently wipe the plate with a dry, soft cloth to remove dust. Do not use abrasive cleaners or solvents.
- Inspección: Periodically check all mounting screws to ensure they remain tight. Verify that the mounted boards are still securely attached to the conversion plate.
- Verificación ambiental: Ensure the enclosure environment remains within specified operating conditions (temperature, humidity) to prevent corrosion or material degradation.
7 Solución de problemas
Se tes problemas durante a instalación ou o uso, ten en conta o seguinte:
- Plate does not fit in enclosure:
- Ensure you are using an Altronix BC400 or BC400R series enclosure. The CP1 is specifically designed for these models.
- Verify the orientation of the plate.
- Boards do not fit on plate:
- Confirm that you are attempting to mount Altronix PD4/PD8 or MOM5 boards. The CP1 is designed for these specific board types.
- Check the orientation of the boards on the plate.
- Montaxe solta:
- Ensure all screws are tightened appropriately. Do not overtighten.
- Verify that the correct mounting hardware is being used.
If issues persist, contact Altronix Technical Support for assistance.
8. Especificacións
| Característica | Detalle |
|---|---|
| Número de modelo | CP1 |
| Compatibilidade | Altronix PD4/PD8 Power Distribution Boards, MOM5 Multi-Output Modules |
| Enclosure Compatibility | Altronix BC400, BC400R series enclosures |
| Dimensións do produto | 5.12 x 5.12 x 0.98 polgadas |
| Peso do elemento | 2.2 libras |
| Fabricante | ALTRONIX |
9. Información da garantía
Altronix products are backed by a comprehensive warranty. For specific warranty terms and conditions applicable to the CP1 Conversion Plate, please refer to the official Altronix website or contact Altronix customer service. Keep your proof of purchase for warranty claims.
10. Atención ao cliente
For technical assistance, product information, or troubleshooting, please contact Altronix Technical Support:
- Websitio: www.altronix.com
- Teléfono: Refer to the Altronix websitio para números de contacto actuais.
- Correo electrónico: Refer to the Altronix website for current contact email addresses.
When contacting support, please have your product model number (CP1) and a detailed description of your issue ready.