1. Produto rematadoview
The Rain Bird 32SA/4PKS Simple Adjust Gear Drive Rotor is designed to provide efficient and uniform watering for your lawn. This durable, water-lubricated, gear-driven rotor features intuitive adjustments and impressive coverage uniformity, helping to reduce water usage while promoting greener, healthier grass.
The rotor is adjustable from a 40° part-circle arc to a full 360° circle, with a spray distance ranging from 19 to 32 feet. Its Rain Curtain™ nozzle technology ensures large, wind-resistant water droplets that fall precisely where intended, minimizing overspray and eliminating dry spots near the sprinkler head.
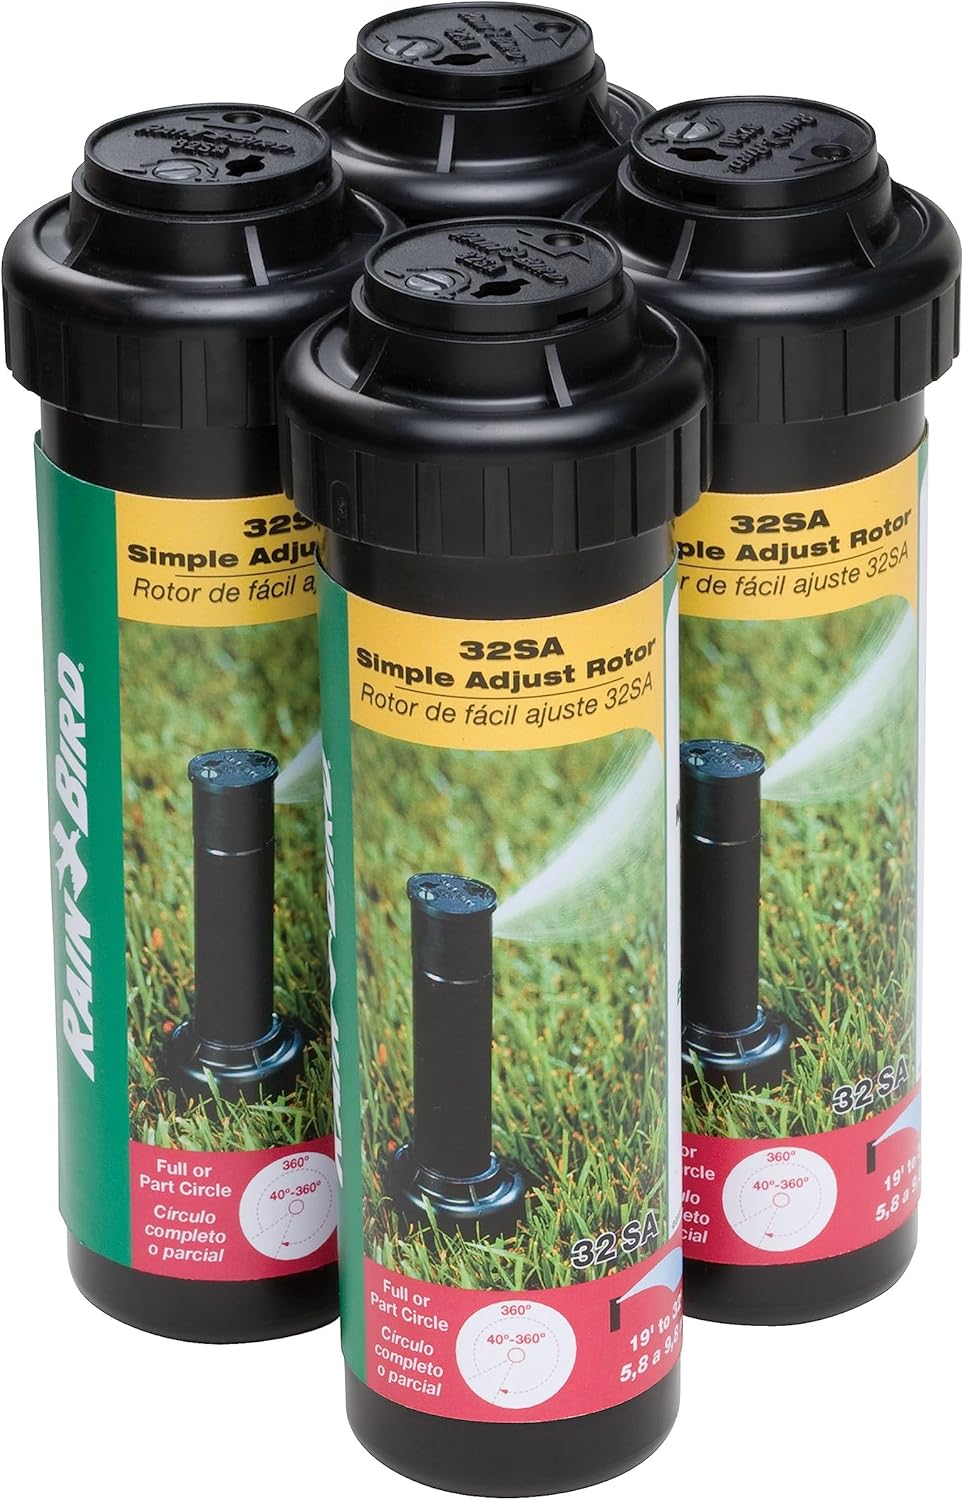
Figure 1: Rain Bird 32SA/4PKS Simple Adjust Gear Drive Rotors (4-Pack)
This image shows the Rain Bird 32SA/4PKS Simple Adjust Gear Drive Rotor in a convenient 4-pack, highlighting the product packaging.

Figure 2: Rain Bird 32SA Rotor Key Features
Un detallado view of the Rain Bird 32SA rotor, illustrating its 4-inch pop-up height, 40-360 degree adjustable pattern, Rain Curtain™ nozzle technology for spray distance of 19-32 feet, and 1/2 inch NPT female inlet.
2. Configuración e instalación
Installation of the Rain Bird 32SA rotor is straightforward. It is designed to mount on a standard 1/2-inch riser, making it an ideal replacement for older rotors. Ensure proper trenching and pipe connection for optimal performance.
2.1 Conexión
The rotor features a 1/2" NPT female bottom threaded inlet for secure connection to your irrigation system's piping.
2.2 Pop-Up Height
The 32SA rotor provides a true 4-inch pop-up height, ensuring it clears taller grass for effective watering.

Figure 3: Trenching for Irrigation Installation
This image depicts a person using a shovel to dig a narrow trench in a lawn, illustrating a step in the installation process for an irrigation system.
3. Instrucións de funcionamento
The Rain Bird 32SA rotor offers simple top adjustments for both arc and spray distance using a flat-bladed screwdriver.
3.1 Adjusting Arc (Pattern)
- Turn on the water supply to the sprinkler.
- Rotate the shaft of the rotor by hand to the right until it stops, then to the left until it stops. This establishes the fixed left edge of the watering pattern.
- Turn the entire rotor body until the fixed left edge is aligned with where you want the sprinkling pattern to begin.
- The rotor is factory preset to rotate 180 degrees from this left starting point. To change the arc from 40° to 360°, use a flat-bladed screwdriver to adjust the pattern screw located on the top of the rotor. Turn clockwise to decrease the arc and counter-clockwise to increase it.
3.2 Adjusting Spray Distance
The rotor comes with a preinstalled 3.0 GPM nozzle, rated for a throw distance of up to 32 feet at common residential water pressure (45 PSI). You can reduce the throw distance by up to 35 percent by turning the distance adjustment screw located above the nozzle with a flat-bladed screwdriver. Turn the screw clockwise to decrease the distance.

Figura 4: Arriba View of Rotor with Adjustment Points
Unha sobrecarga view of the Rain Bird 32SA rotor's top, clearly indicating the adjustment points for spray distance and pattern, along with the slot for a pull-up tool.

Figure 5: Adjusting Spray Pattern
A close-up of a hand using a flat-bladed screwdriver to adjust the spray pattern of the Rain Bird 32SA rotor while it is operating in the grass.

Figure 6: Rotor in Action (Wide Spray)
The Rain Bird 32SA rotor in operation, demonstrating its wide spray pattern over a lush green lawn.

Figure 7: Rotor in Action (Narrow Spray)
The Rain Bird 32SA rotor in operation, showing a more focused or narrow spray pattern on a green lawn.
4. Mantemento
The Rain Bird 32SA rotor is designed for long-lasting dependability with minimal maintenance. Its closed-case design protects internal mechanisms from debris, making it ideal for challenging environments like sandy soil or areas with creeping grasses.
4.1 Nozzle Removal and Filter Screen
The rotor features an easily removable filter screen and a nozzle removal feature, simplifying routine cleaning and maintenance. To remove the nozzle, use a pull-up tool or a flat-bladed screwdriver to lift the riser, then carefully extract the nozzle.

Figure 8: Nozzle Removal
This image demonstrates the easy nozzle removal feature of the Rain Bird 32SA rotor, showing the blue nozzle detaching from the sprinkler head.
4.2 Internal Protection
A dual-action, positive-stop wiper seal ensures positive pop-up and retraction, protecting internal components from debris. O-rings and seals provide extra protection in