1. Introdución
This manual provides detailed instructions for the installation, operation, and maintenance of the Intermatic ET91215CR 30A 120-277V SPDT 365-Day Astronomic Energy Control. This robust device is designed for heavy-duty industrial and commercial applications, offering precise control over electrical circuits with its astronomic time-keeping capabilities and durable Type 3R steel enclosure.
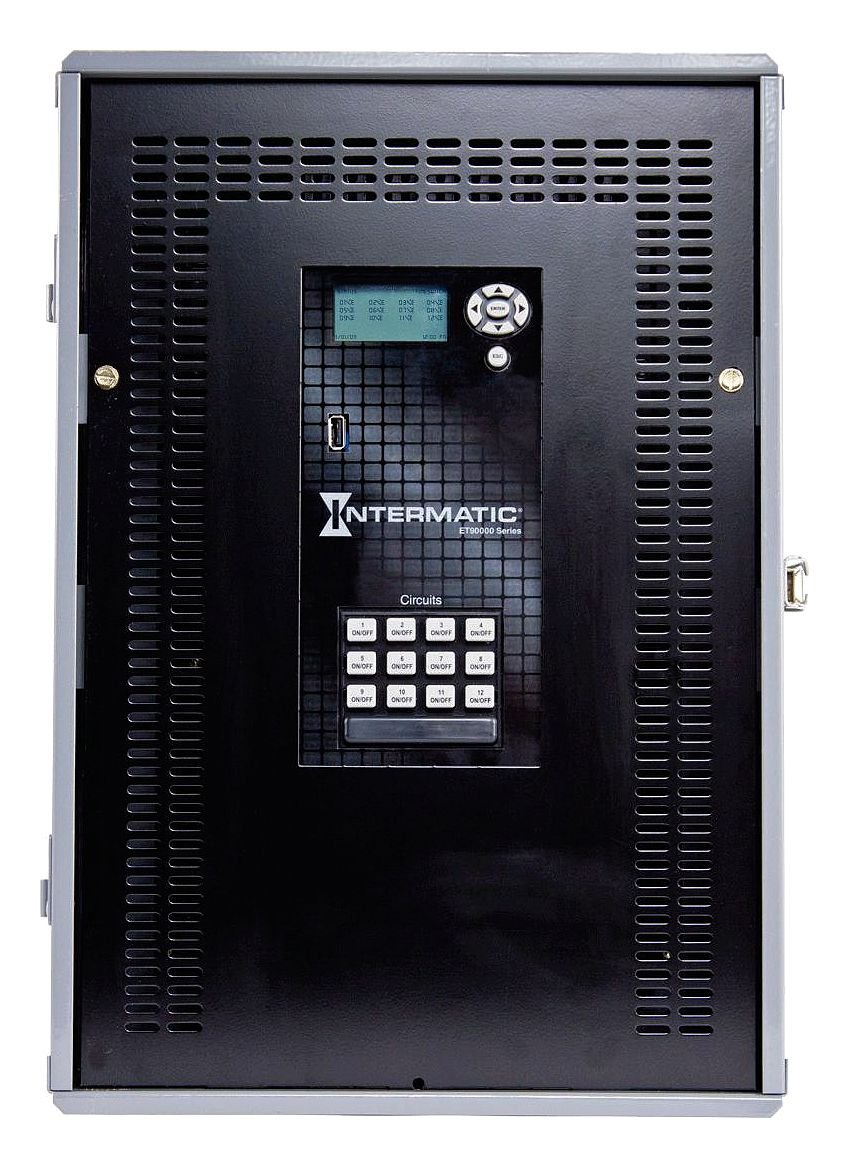
Figura 1: Front panel of the Intermatic ET91215CR Energy Control. The unit features a digital display for programming, navigation buttons, a USB port for data transfer, and twelve individual ON/OFF buttons for circuit control, labeled 1 through 12. The Intermatic logo and 'ET90000 Series' designation are visible below the display.
2. Información de seguridade
AVISO: Risco de descarga eléctrica. A instalación e o mantemento só deben ser realizados por persoal cualificado. Desconecte a alimentación no disyuntor ou fusible antes de instalar ou realizar o mantemento. Siga todas as normativas eléctricas locais e nacionais.
- Always ensure the power supply is disconnected before working on the unit.
- Non faga funcionar a unidade con cableado danado ou se a carcasa está danada.
- Este dispositivo está destinado a unha instalación permanente.
- Asegurar a posta a terra adecuada para evitar riscos eléctricos.
3. Configuración e instalación
3.1 Montaxe da caixa
The ET91215CR features a Type 3R steel enclosure, suitable for outdoor applications, providing protection against rain, sleet, and external ice formation. Mount the enclosure securely to a flat, vertical surface using appropriate hardware (not included). Ensure adequate clearance for wiring and ventilation.
3.2 Instrucións de cableado
This device is rated for 30A and operates on 120-277V. It features a Single Pole Double Throw (SPDT) switch configuration. All wiring must comply with the National Electrical Code (NEC) and local codes. Refer to the wiring diagram provided inside the enclosure door for specific connections.
- Disconnect all power to the installation site at the main circuit breaker.
- Abre a porta do recinto.
- Connect the incoming power supply wires to the designated terminals.
- Connect the load wires for each controlled circuit to the appropriate output terminals.
- Asegúrese de que todas as conexións estean firmes e seguras.
- Close the enclosure door and restore power.
Nota: For optimal performance and safety, it is highly recommended that a licensed electrician perform the installation and wiring of this energy control unit.
4. Instrucións de funcionamento
4.1 Initial Power-Up and Display
Upon initial power-up, the digital display will illuminate. The display shows current time, date, and status information. Use the navigation buttons (up, down, left, right, ENTER, ESC) located next to the display to navigate through menus and adjust settings.
4.2 Axuste da hora e da data
Access the main menu using the navigation buttons. Select the 'Time/Date' option to set the current time, date, and year. Ensure these settings are accurate for the astronomic feature to function correctly.
4.3 Programming Schedules (Astronomic Feature)
The 365-day astronomic feature automatically adjusts ON/OFF times based on sunrise and sunset for your geographical location. This requires setting your precise latitude and longitude. Consult the detailed programming guide within the unit's internal menu or refer to the full product manual for advanced scheduling options.
- Navigate to the 'Astronomic Settings' menu.
- Enter your geographical coordinates (latitude and longitude).
- Define desired offsets from sunrise/sunset if needed.
- Assign astronomic schedules to specific circuits.
4.4 Manual Circuit Control
The unit features twelve individual ON/OFF buttons for direct control of each circuit. Pressing an 'ON/OFF' button will toggle the corresponding circuit's power state. This manual override can be used independently of programmed schedules.
4.5 Funcionalidade do porto USB
The integrated USB port allows for easy transfer of programming schedules, event logs, and firmware updates. Refer to the Intermatic software documentation for detailed instructions on using this feature.
5. Mantemento
The Intermatic ET91215CR is designed for minimal maintenance. Regular inspection is recommended to ensure optimal performance.
- Limpeza: Limpar periodicamente o exterior da carcasa cun pano suave eamp pano. Non use produtos de limpeza ou disolventes abrasivos.
- Inspección: Annually inspect all wiring connections for tightness and signs of wear or corrosion. Check the enclosure for any damage that might compromise its Type 3R rating.
- Actualizacións de firmware: Check the Intermatic website periodically for available firmware updates via the USB port to ensure your unit has the latest features and bug fixes.
6 Solución de problemas
If you encounter issues with your ET91215CR, refer to the following common troubleshooting steps:
| Problema | Causa posible | Solución |
|---|---|---|
| A unidade non se acende. | Sen subministración eléctrica; disyuntor saltado. | Check power supply at the source. Reset circuit breaker. Verify wiring connections. |
| As programacións non se activan. | Incorrect time/date; schedule not enabled; astronomic settings incorrect. | Verify current time and date. Ensure schedules are programmed and enabled for the correct circuits. Check astronomic coordinates. |
| Circuit not responding to manual ON/OFF. | Wiring issue; internal fault. | Check wiring for the specific circuit. If problem persists, contact technical support. |
| A pantalla está en branco ou ilexible. | Problema de alimentación; fallo de pantalla. | Verify power supply. If power is present and display remains blank, contact technical support. |
If troubleshooting steps do not resolve the issue, contact Intermatic Technical Support for further assistance.
7. Especificacións
| Característica | Especificación |
|---|---|
| Número de modelo | ET91215CR |
| Voltage | 120-277 voltios |
| AmpCapacidade de eraaxe | 30 Amps |
| Tipo de cambio | SPDT (Unipolar Bipolar) |
| Tipo de recinto | Caixa de aceiro tipo 3R |
| Programación | 365-Day Astronomic |
| Dimensións do produto | 3.6 x 5.7 x 9.6 polgadas |
| Peso do elemento | 21 libras |
| Material (Internal) | Aluminio, Cobre |
| Certificacións | NOM, UL |
| Compoñentes incluídos | Intermatic ET91215CR Timer, 30A 120-277V SPDT 365-Day Astronomic Energy Control w/Type 3R Steel Enclosure |
8. Garantía e soporte
8.1 Garantía limitada
The Intermatic ET91215CR is covered by a limited warranty. For specific terms and conditions, please refer to the warranty documentation included with your product or visit the official Intermatic website. This warranty typically covers defects in materials and workmanship under normal use.
8.2 Soporte técnico
For technical assistance, product inquiries, or warranty claims, please contact Intermatic Customer Service. Have your product model number (ET91215CR) and purchase date available when contacting support.
Información de contacto de Intermatic:
Please refer to the official Intermatic websitio web ou a embalaxe do produto para obter os datos de contacto máis actuais.