
Introdución
This manual provides detailed instructions for the setup, operation, and maintenance of your Audio-Technica AT-LP1240USB Direct Drive Turntable. Designed for both professional DJ use and home audio enthusiasts, this turntable offers robust performance and versatile features. Please read this manual thoroughly before using the product to ensure proper function and longevity.

Image: Audio-Technica AT-LP1240USB Direct Drive Turntable with its protective dust cover in place.
Configuración
1. Desembalaxe e identificación dos compoñentes
Retire con coidado todos os compoñentes da embalaxe. Asegúrese de que estean presentes todos os elementos que se indican a continuación:
- Unidade de tocadiscos
- Prato
- Mat antideslizante
- Funda antipolvo
- Contrapeso
- Headshell (Note: A cartridge is not included and must be purchased separately. Audio-Technica offers a wide range of compatible cartridges.)
- Adaptador de 45 rpm
- Cable USB
- Cable de audio RCA (con cable de terra)
- Cable de alimentación
- CD de software Audacity
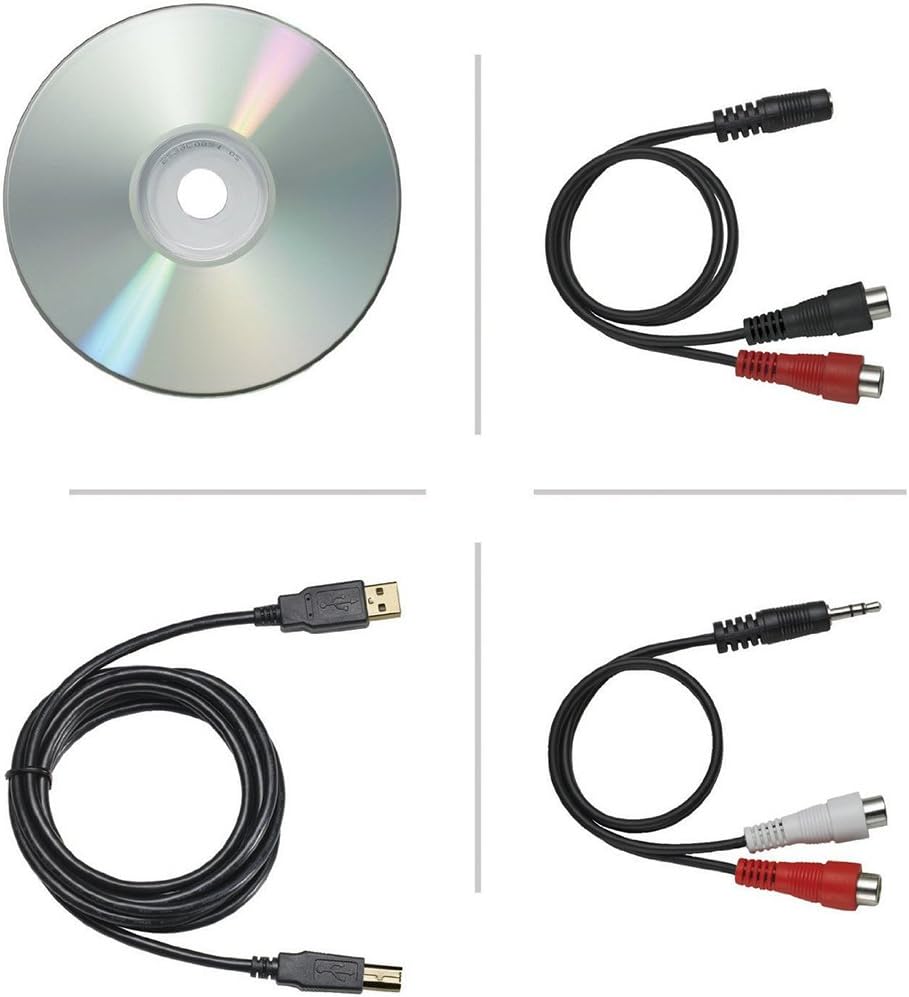
Image: Included accessories for the AT-LP1240USB turntable, including cables, adapter, and software CD.
2. Platter and Slip Mat Installation
- Place the platter onto the turntable spindle. Ensure it sits securely.
- Position the slip mat on top of the platter.
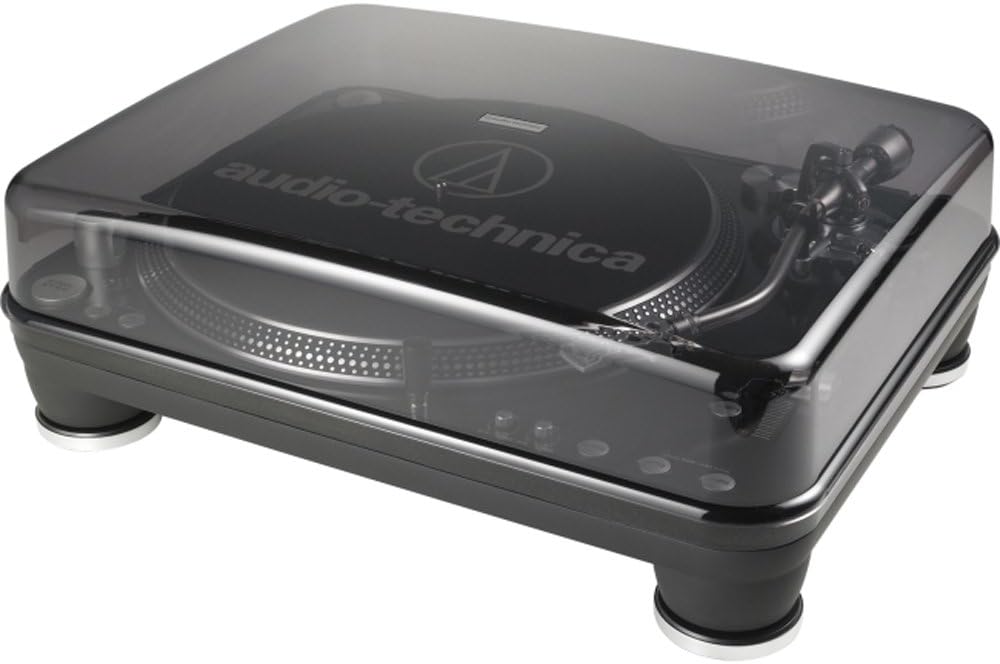
Image: The AT-LP1240USB turntable with the platter and slip mat installed, ready for tone arm setup.
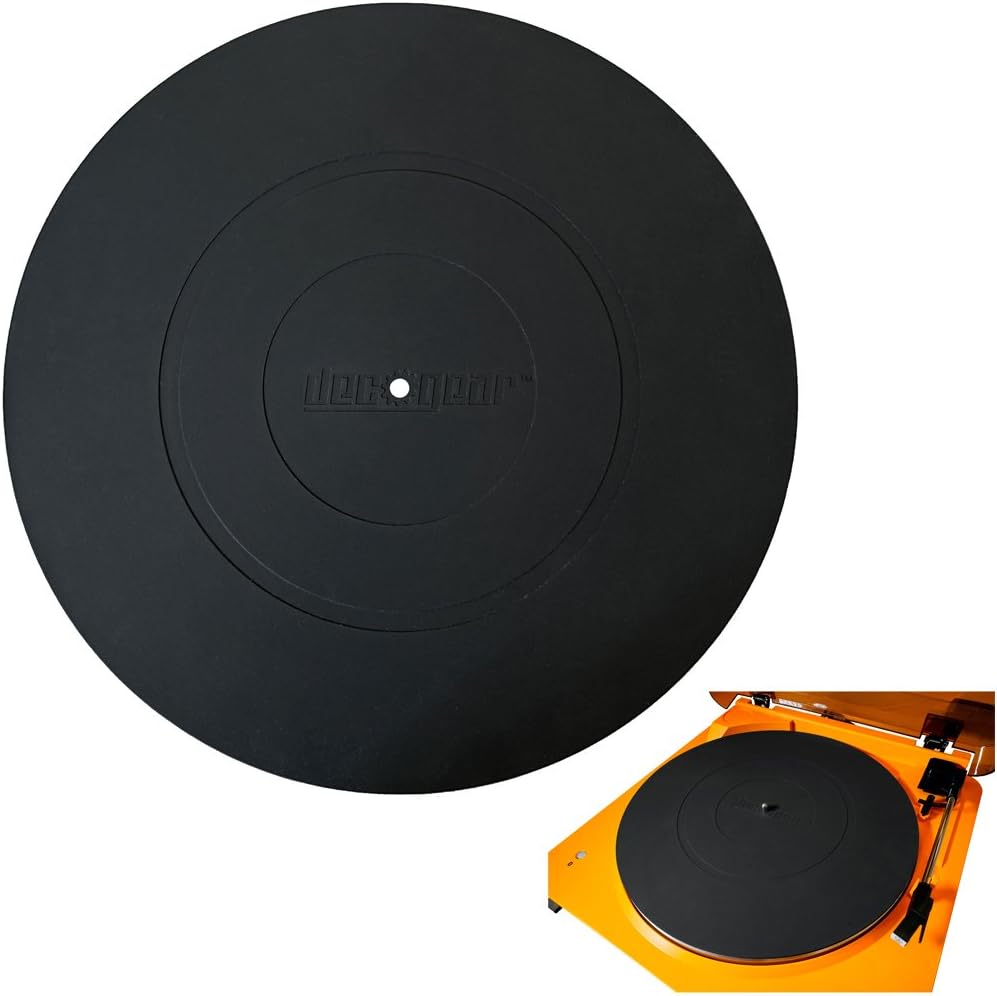
Image: Close-up of the low-resistance DJ-style slip mat on the turntable platter.
3. Tone Arm and Cartridge Setup
The turntable features a fully adjustable S-shaped tone arm assembly. Install your chosen cartridge onto the headshell, then attach the headshell to the tone arm. Adjust the counterweight and anti-skate settings according to your cartridge manufacturer's recommendations for optimal tracking and sound quality.
4. Connecting to Audio System and Computer
- Saída de audio: Connect the RCA audio cable from the turntable's PHONO OUT jacks to your amplifier's PHONO input. If your amplifier does not have a PHONO input, use the built-in selectable stereo phono pre-amplifier by setting the PHONO/LINE switch to LINE and connecting to an auxiliary input. Ensure the ground wire is connected to your ampterminal de terra do adaptador para minimizar o zumbido.
- Saída USB: For digital conversion, connect the USB cable from the turntable to your computer. Install the included Audacity software to record and convert your vinyl collection to digital file formatos.
- Potencia: Connect the power cable to the turntable and a suitable AC outlet (120 Volts).
Video: An official product video demonstrating the features and setup of the Audio-Technica AT-LP1240USB turntable. This video highlights the direct drive motor, USB output, S-shaped tone arm, and various controls.
Instrucións de funcionamento
1. Power and Speed Selection
- Preme o INICIAR/PARAR button to begin or end platter rotation.
- Select the desired playback speed (33 1/3, 45, ou 78 RPM) using the corresponding buttons.
2. Controis de reprodución
- Control de ton: Use the pitch slider to adjust the playback speed. The range can be set to +/-10%, +/-20%, or +/-50% using the adjacent buttons. The CUARZO lock button restores the platter to its nominal speed.
- Forward/Reverse Play: The turntable supports both forward and reverse playback. Use the REVERSO button for reverse play.
- Start/Brake Adjustments: Two knobs on the front allow fine-tuning of the platter's start and brake times.
- Back Cueing: The robust direct-drive motor and platter design facilitate easy back cueing for DJ applications.
3. Digital Conversion (USB)
With the turntable connected to your computer via USB and Audacity software installed, you can digitize your vinyl records. Follow the instructions provided with the Audacity software for recording and editing audio.
Mantemento
1. Limpeza
- Turntable Body: Wipe the turntable body with a soft, dry cloth. Avoid using harsh chemicals or abrasive cleaners.
- Stylus: Gently clean the stylus using a soft brush designed for stylus cleaning, brushing from back to front.
- Funda antipolvo: Limpar a cuberta contra o po cun pano suave eamp cloth. Do not use alcohol or paint thinner.
2. Substitución do punteiro e do cartucho
The stylus is a consumable part and should be replaced after approximately 300-500 hours of use, or sooner if sound quality degrades. Refer to your cartridge's manual for specific stylus replacement instructions. When replacing the entire cartridge, ensure proper alignment and tracking force adjustments are made.
Resolución de problemas
| Problema | Causa posible | Solución |
|---|---|---|
| Sen poder | Power cable not connected, outlet not active | Asegúrate de que o cable de alimentación estea conectado correctamente e que a toma de corrente funcione. |
| Sen son nin baixo volume | Incorrect PHONO/LINE switch setting, audio cables not connected, amplifier input incorrect | Check PHONO/LINE switch setting. Ensure RCA cables are connected correctly to the appropriate input on your amplifier. Verify ampvolume lifier. |
| Son zumbido | Ground wire not connected, interference | Connect the ground wire to your amplifier's ground terminal. Move the turntable away from other electronic devices. |
| Velocidade de reprodución incorrecta | Wrong speed selected, pitch control adjusted | Select the correct RPM (33, 45, or 78). Press the CUARZO button to reset pitch control to nominal speed. |
| Son con saltos ou distorsión | Dirty stylus, incorrect tracking force, damaged record | Clean the stylus. Adjust tracking force and anti-skate. Inspect record for damage. |
Especificacións
| Característica | Detalle |
|---|---|
| Marca | Audio-Técnica |
| Nome do modelo | AT-LP1240-USB |
| Número de modelo | ATLP1240USB |
| Tipo de unidade | Unidade directa |
| Motor | High-Torque Multi-pole Motor |
| Velocidades | 33 1/3, 45, 78 RPM |
| Axuste de ton | +/-10%, +/-20%, +/-50% |
| Brazo de ton | S-shaped, Fully Adjustable |
| Material do prato | Damped Die-Cast Aluminum |
| Saída | USB, RCA (Phono/Line selectable) |
| Pre. Incorporadoamp | Yes, selectable stereo phono pre-ampmáis vivo |
| Relación sinal-ruído | 55 dB |
| Fonte de enerxía | Eléctrico con cable |
| Voltage | 120 voltios |
| Consumo de enerxía | 10 vatios |
| Peso do elemento | 29 libras |
Información da garantía
The Audio-Technica AT-LP1240USB Direct Drive Turntable comes with a 1 ano de garantía limitada from the date of purchase. This warranty covers defects in materials and workmanship under normal use. Please retain your proof of purchase for warranty claims. For full terms and conditions, refer to the warranty card included with your product or visit the official Audio-Technica websitio.
Atención ao cliente
If you encounter any issues not covered in the troubleshooting section or require further assistance, please contact Audio-Technica customer support. You can find contact information on the official Audio-Technica websitio web ou na documentación incluída co produto.
Para obter recursos adicionais, visite o Audio-Technica official websitio.


