
CanaKit RASPBERRY-PI-STK
CanaKit Raspberry Pi 2 Model B Starter Kit Instruction Manual
Brand: CanaKit | Model: RASPBERRY-PI-STK
Introdución
This manual provides comprehensive instructions for setting up, operating, and maintaining your CanaKit Raspberry Pi 2 Model B Starter Kit. The kit is designed to provide all necessary components to begin exploring the world of Raspberry Pi computing.

Image: All components of the CanaKit Raspberry Pi 2 Starter Kit, including the Raspberry Pi board, case, power supply, HDMI cable, WiFi adapter, MicroSD card, heat sink, and quick-start guide.
Que está incluído
Your CanaKit Raspberry Pi 2 Starter Kit includes the following items:
- Raspberry Pi 2 (RPi2) Model B (Version 1.2): Quad-Core 900 MHz, 1 GB RAM.
- 8 GB MicroSD Card (Class 10): Pre-loaded with NOOBS (New Out Of Box Software).
- CanaKit WiFi Adapter / Dongle (RT5370 chipset): Supports Access Point Mode.
- CanaKit 2.5A Micro USB Power Supply: UL Listed, with Noise Filter (5-foot cable), specifically designed for Raspberry Pi 2.
- High Quality Raspberry Pi 2 Case: Designed for protection and accessibility.
- Premium Quality HDMI Cable: 6-foot cable with CEC support.
- Disipador de calor: For thermal management of the Raspberry Pi's main chips.
- GPIO Quick Reference Card: For easy identification of GPIO pins.
- CanaKit Full Color Quick-Start Guide: A printed guide to get started.

Image: Visual breakdown of the kit contents, highlighting the Raspberry Pi 2 board, case, power adapter, MicroSD card, WiFi adapter, HDMI cable, and quick-start guide.
Instrucións de configuración
- Install Heat Sinks: Carefully peel the adhesive backing from the heat sinks and attach them to the main processor and other designated chips on the Raspberry Pi board. Ensure proper alignment for optimal heat dissipation.
- Assemble the Case: Place the Raspberry Pi 2 board into the bottom half of the provided case. Ensure all ports align correctly with the case openings. Snap the top half of the case onto the bottom half, securing the Raspberry Pi inside.
- Insira a tarxeta MicroSD: Locate the MicroSD card slot on the Raspberry Pi board (accessible through the case). Insert the pre-loaded 8 GB Class 10 MicroSD card into the slot until it clicks into place.
- Conectar periféricos:
- Connect a keyboard and mouse to the USB ports on the Raspberry Pi.
- Connect the HDMI cable from the Raspberry Pi's HDMI port to your display (monitor or TV).
- Plug the CanaKit WiFi Adapter into an available USB port.
- Conectar enerxía: Plug the CanaKit 2.5A Micro USB Power Supply into the Micro USB power port on the Raspberry Pi. Then, plug the power supply into a wall outlet. The Raspberry Pi will power on automatically.
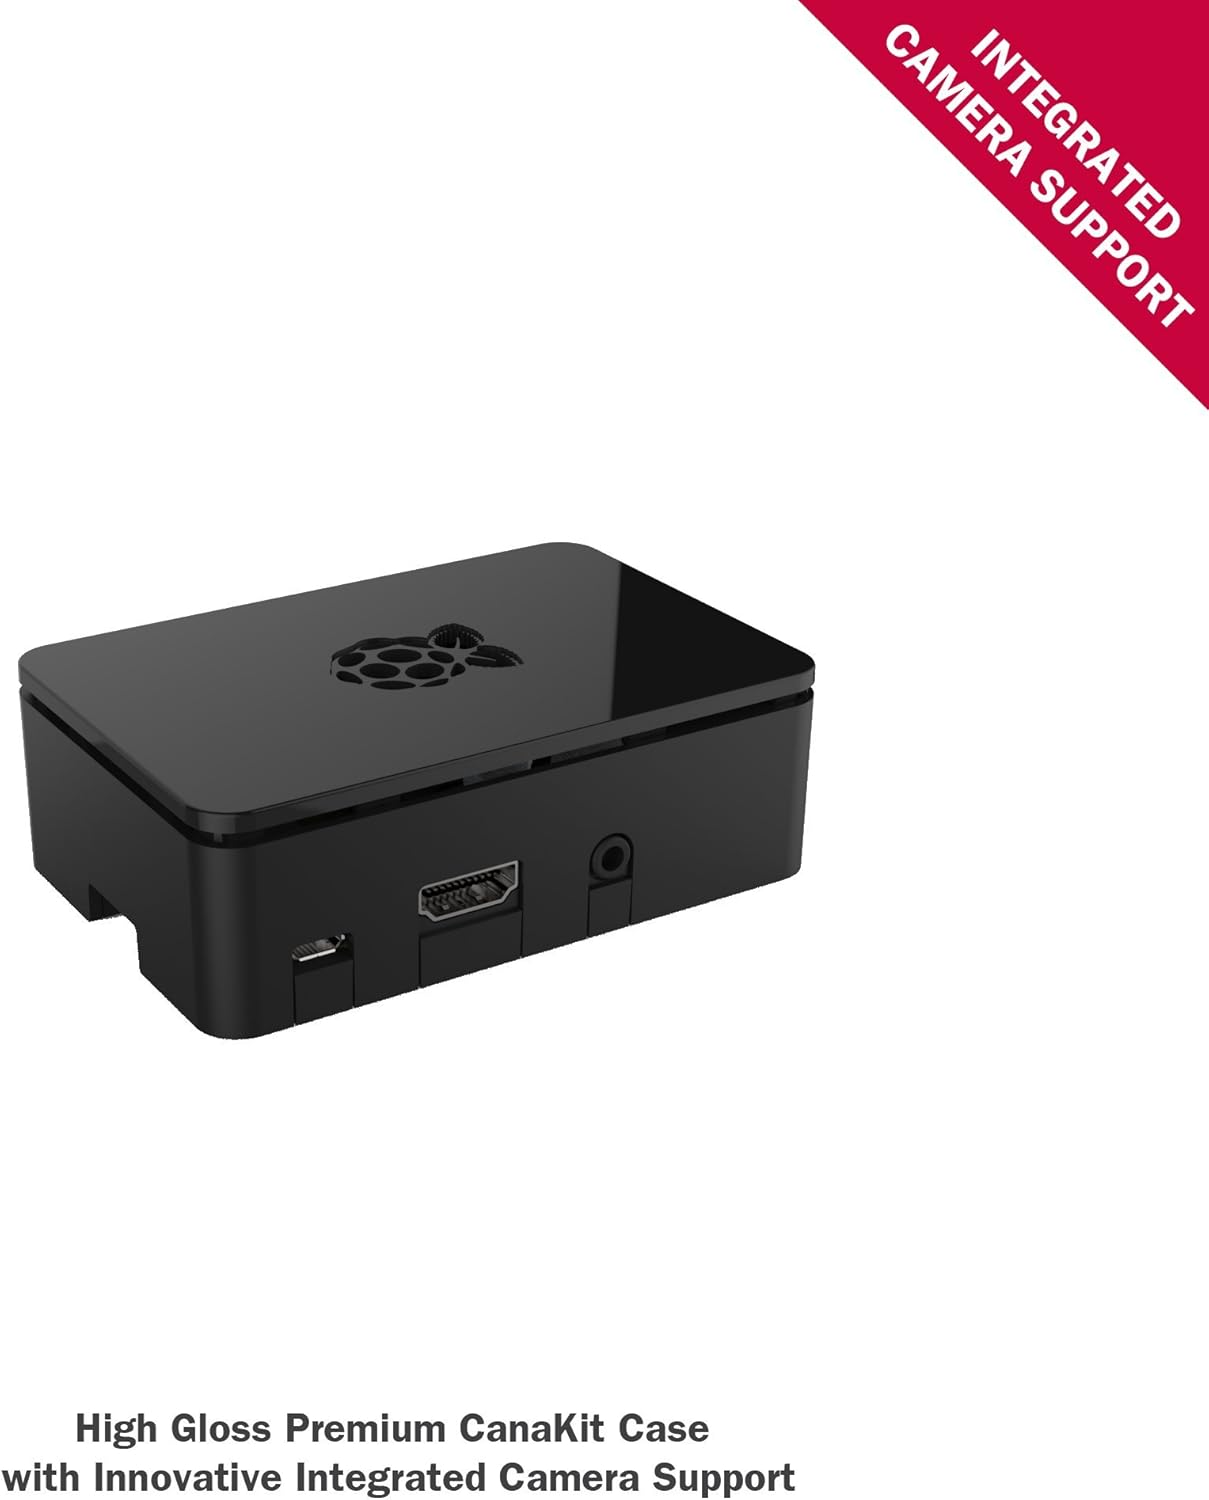
Image: The high-gloss premium CanaKit case, designed to house the Raspberry Pi 2 board and provide integrated camera support.

Image: An 8 GB Class 10 MicroSD card, highly optimized for Raspberry Pi 2 and pre-loaded with NOOBS.

Image: A 6.5-foot (2-meter) premium quality HDMI cable with CEC support, allowing a CEC compatible TV's remote to control the Raspberry Pi.

Image: The CanaKit 2.5A Micro USB Power Supply, UL Listed and designed for the Raspberry Pi 2, featuring a noise filter for stability.

Image: The CanaKit WiFi Adapter, a mini USB wireless adapter supporting 150 Mbps 802.11N/G/B and Access Point (AP) Mode.
Instrucións de funcionamento
First Boot and OS Installation (NOOBS)
Upon connecting power, your Raspberry Pi will boot into the NOOBS (New Out Of Box Software) menu. This interface allows you to easily install various operating systems.
- When the NOOBS menu appears, select your desired operating system (e.g., Raspbian).
- Follow the on-screen prompts to complete the installation. A wired internet connection may be required for some operating systems or updates.
- Once the installation is complete, your Raspberry Pi will reboot into the newly installed operating system.
Conectando a wifi
After installing your operating system, you can configure the Wi-Fi connection using the CanaKit WiFi Adapter:
- Ensure the CanaKit WiFi Adapter is firmly seated in a USB port.
- Navigate to the network settings or Wi-Fi icon in your operating system's desktop environment.
- Seleccione a súa rede wifi na lista de redes dispoñibles.
- Enter your Wi-Fi password if prompted and connect.
GPIO Usage
The General Purpose Input/Output (GPIO) pins allow you to connect and control various electronic components. Refer to the included GPIO Quick Reference Card for pinout details and functions.

Image: The CanaKit GPIO Quick Reference Card, providing a visual guide to the Raspberry Pi's GPIO header pins and their functions.
Mantemento
- Disipadores de calor: The included heat sinks help manage the temperature of the Raspberry Pi's processor. Ensure they remain securely attached. While not strictly necessary for all operations, they are beneficial, especially when the device is enclosed in a case or under heavy load.
- Coidado da tarxeta MicroSD: Always shut down your Raspberry Pi properly through the operating system before removing the power or the MicroSD card. Improper shutdown can corrupt the MicroSD card's file sistema.
- Limpeza de caixas: Clean the case with a soft, dry cloth. Avoid using harsh chemicals or abrasive materials.
Resolución de problemas
- Sen saída de visualización:
- Ensure the HDMI cable is securely connected to both the Raspberry Pi and the display.
- Verifique que a pantalla estea configurada na fonte de entrada correcta.
- Check that the power supply is connected and providing power (LEDs on the Pi should illuminate).
- Problemas de conectividade wifi:
- Confirm the CanaKit WiFi Adapter is firmly seated in a USB port.
- Ensure you have selected the correct Wi-Fi network and entered the password accurately.
- If issues persist, try restarting the Raspberry Pi.
- MicroSD Card Appears as 1 GB: The 8 GB MicroSD card is pre-partitioned. When inserted into a PC, it may initially show only a smaller partition (e.g., 1 GB). The remaining space can be expanded within the Raspberry Pi's operating system using tools like
raspi-config(for Raspbian). - Conexión de alimentación: The Micro USB power connector is designed to fit snugly. If it feels loose, ensure it is fully inserted. While the included power supply is robust, repeated forceful insertion/removal of the WiFi dongle might affect its long-term stability.
Especificacións
| Característica | Detalle |
|---|---|
| Procesador | Broadcom Quad-Core 900 MHz |
| RAM | 1 GB |
| Almacenamento | 8 GB MicroSD Card (Class 10) |
| Tipo sen fíos | Wi-Fi (via included adapter), Bluetooth (built-in) |
| Operating System (Pre-loaded) | NOOBS (for installing Raspbian and others) |
| Fonte de alimentación | CanaKit 2.5A Micro USB (UL Listed) |
| Número de modelo | RASPBERRY-PI-STK |
| Peso do elemento | 0.16 onzas |
| Dimensións do paquete | 11.14 x 8.66 x 2.2 polgadas |
Garantía e Soporte
Garantía do fabricante
The CanaKit Raspberry Pi Starter Kit is covered by CanaKit's 1 ano de garantía do fabricante. This warranty offers hassle-free replacements for eligible issues.
Soporte técnico
For technical assistance, troubleshooting tips, or further information, please refer to the official CanaKit support resources. The included Quick-Start Guide may also contain contact information or links to online support. For general Raspberry Pi information and community support, visit the official Raspberry Pi websitio.
Nota: The GPIO Quick Reference Card included in your kit also provides a support websitio: support.canakit.com.
Ask a question about this manual
Ask about setup, troubleshooting, compatibility, parts, safety, or missing instructions. Manuals+ will review the question and use this page’s manual context to help answer it.