
Vivitek D519
Vivitek D519 3000 Lumen XGA HDMI Portable DLP Projector User Manual
Modelo: D519
1. Introdución
The Vivitek D519 is a versatile and portable digital projector designed to deliver high-quality presentations and media experiences. Featuring 3000 lumens of brightness, XGA (1024x768) native resolution, and a 15,000:1 contrast ratio, it ensures clear and vibrant images. This manual will guide you through the setup, operation, and maintenance of your D519 projector.
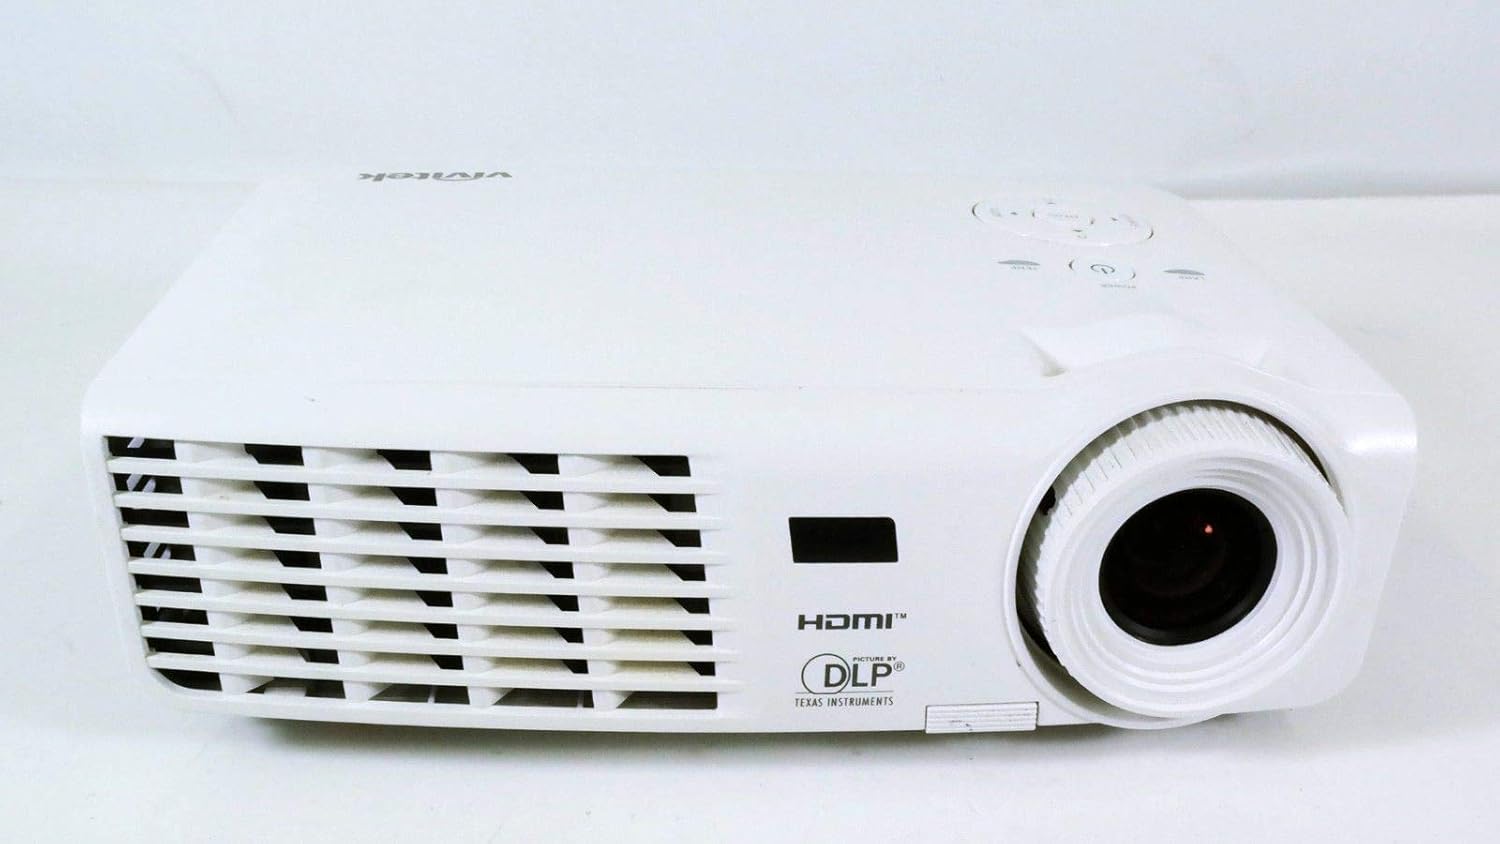
Figura 1.1: Fronte view of the Vivitek D519 Projector, showing the lens and ventilation.
2. Configuración
2.1 Unpacking the Projector
Retire con coidado todos os compoñentes da embalaxe. Asegúrese de que estean presentes todos os elementos que se indican a continuación:
- Vivitek D519 Projector
- Cable de alimentación de CA
- Cable VGA
- Mando a distancia (con pilas)
- Maletín de transporte
- User's Manual (CD)
- Tapa de lente
- Tarxeta de garantía
2.2 Colocación física
Place the projector on a stable, flat surface or mount it securely. Ensure adequate ventilation around the projector to prevent overheating. Avoid placing it near heat sources or in direct sunlight.
2.3 Conexión de dispositivos
The D519 offers various connectivity options. Connect your source device (e.g., laptop, DVD player) to the appropriate input port on the projector.

Figura 2.1: Traseira view of the Vivitek D519 Projector, highlighting the HDMI, VGA, S-Video, and audio input ports.
- HDMI: For high-definition digital video and audio. Connect an HDMI cable from your source to the projector's HDMI port.
- VGA: For analog computer video. Connect a VGA cable from your computer to the projector's VGA port.
- Entrada de audio: For analog audio input. Connect audio cables to the L-AUDIO-R or AUDIO IN ports as needed.
- Vídeo S: Para vídeo de definición estándar.
- RS-232: Para o control do proxector a través dun ordenador ou sistema de control.
2.4 Acendido
Connect the AC power cord to the projector's power inlet and then to a power outlet. Press the Poder button on the projector's control panel or the remote control to turn on the projector. The power indicator light will illuminate.
3. Funcionamento do proxector
3.1 Panel de control rematadoview
The control panel on top of the projector allows for basic operation without the remote control.

Figura 3.1: Arriba view of the Vivitek D519 Projector, showing the control panel with power, menu, source, and navigation buttons.
- Botón de encendido: Acende ou apaga o proxector.
- Botón de orixe: Cycles through available input sources (HDMI, VGA, S-Video, etc.).
- Botón de menú: Accesses the on-screen display (OSD) menu for advanced settings.
- Botóns de navegación (Arriba/Abaixo/Esquerda/Dereita): Used to navigate through menu options and adjust settings.
- Botón automático: Automatically adjusts the image for optimal display.
3.2 Axustar a imaxe
Once the projector is powered on and an input source is selected, you may need to adjust the image for clarity and size.
- Anel de enfoque: Xira o anel de enfoque arredor da lente para axustar a imaxe.
- Anel de zoom: Rotate the zoom ring to adjust the image size without moving the projector. The D519 has a 1.1:1 zoom ratio.
- Corrección Keystone: If the image appears trapezoidal, use the keystone correction feature (accessible via the OSD menu) to square the image.
3.3 Uso do menú en pantalla (OSD)
Preme o Menú button on the projector or remote to access the OSD. Use the navigation buttons to browse categories such as Picture, Display, Setup, and Information. Press Entra (or the center button on the navigation pad) to select an option and adjust settings.
4. Mantemento
4.1 Lamp Vida e substitución
O proxector lamp has a rated life of 4000 hours in Standard mode and up to 6000 hours in Economy mode. When the lamp chega ao final da súa vida, o lamp indicator light will illuminate, and a message may appear on screen. Refer to the detailed user manual (on CD) for lamp instrucións de substitución.
4.2 Limpeza do proxector
- Lente: Usa un pano suave e sen fiapos deseñado especificamente para lentes ópticas. Non empregues produtos de limpeza abrasivos.
- Casing: Limpar o proxector casing cun suave, damp pano. Evite o uso de produtos químicos ou disolventes agresivos.
- Ventos de aire: Regularly check and clean the air vents to ensure proper airflow and prevent dust buildup, which can lead to overheating. Use a soft brush or compressed air.
5 Solución de problemas
This section addresses common issues you might encounter with your Vivitek D519 projector.
| Problema | Causa posible | Solución |
|---|---|---|
| Non hai imaxe na pantalla | Power cable disconnected; Incorrect input source; Source device off. | Check power connection; Press 'Source' button to select correct input; Ensure source device is on. |
| A imaxe está borrosa | Lente desenfocada; proxector demasiado preto/lonxe da pantalla. | Adjust the focus ring; Adjust projector distance or use zoom ring. |
| A imaxe é trapezoidal | Proxector non perpendicular á pantalla. | Adjust keystone correction via OSD menu. |
| O proxector apágase inesperadamente | Overheating; Lamp achegándose ao final da vida. | Ensure vents are clear; Allow projector to cool; Consider lamp replacement if indicator light is on. |
| Distorted image on startup | Software glitch; Connection issue. | Restart the projector; Check all cable connections; If persistent, consult Vivitek support. |
6. Especificacións
Key technical specifications for the Vivitek D519 Projector:
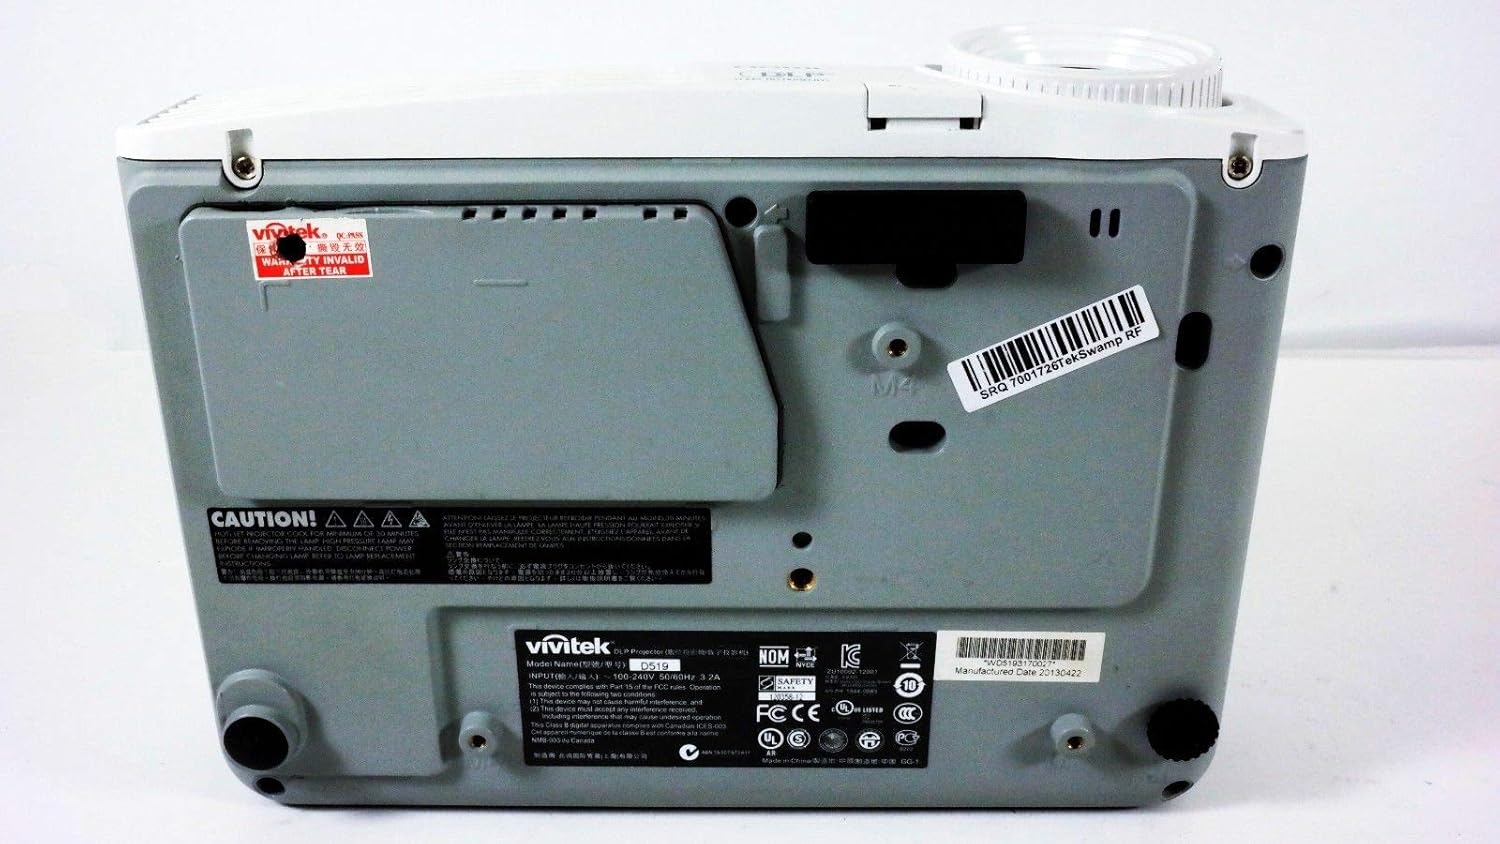
Figura 6.1: Abaixo view of the Vivitek D519 Projector, showing the product label with model and serial information.
| Característica | Detalle |
|---|---|
| Número de modelo | DPU35-262VVUA |
| Tecnoloxía de visualización | Single 0.55” DLP Display Technology by Texas Instruments |
| Resolución nativa | XGA (1024 x 768) |
| Brillo | 3000 lúmenes |
| Relación de contraste | 15,000:1 |
| Lamp A vida | 4000 hours (Standard) / 6000 hours (Economy) |
| Relación de zoom | 1.1:1 (Manual Zoom and Focus) |
| Conectividade | HDMI v1.3, VGA, S-Video, L-Audio-R, Audio In, RS-232 |
| Características especiais | HD Compatible, 3D-Ready, Screen Size compatibility: 40 - 300 inches |
| Dimensións do produto | 7.5 x 10.3 x 3.1 polgadas |
| Peso do elemento | 4.35 libras |
7. Garantía e soporte
Your Vivitek D519 projector comes with a limited warranty. Please refer to the Warranty Card included in your product packaging for detailed terms and conditions. For technical support, service, or warranty claims, please contact Vivitek customer service through their official websitio web ou a información de contacto proporcionada na documentación da garantía.
It is recommended to register your product online to receive updates and support.
Ask a question about this manual
Ask about setup, troubleshooting, compatibility, parts, safety, or missing instructions. Manuals+ will review the question and use this page’s manual context to help answer it.