
1. Introdución
This manual provides instructions for the installation and maintenance of the Yokomo R12/GT Series Hard Lower A-Arm, model R12-10LG. This component is designed as a replacement or upgrade part for compatible Yokomo R12/GT series remote-controlled vehicles. The hard resin construction offers increased durability and stability compared to standard components, particularly during high-stress maneuvers.
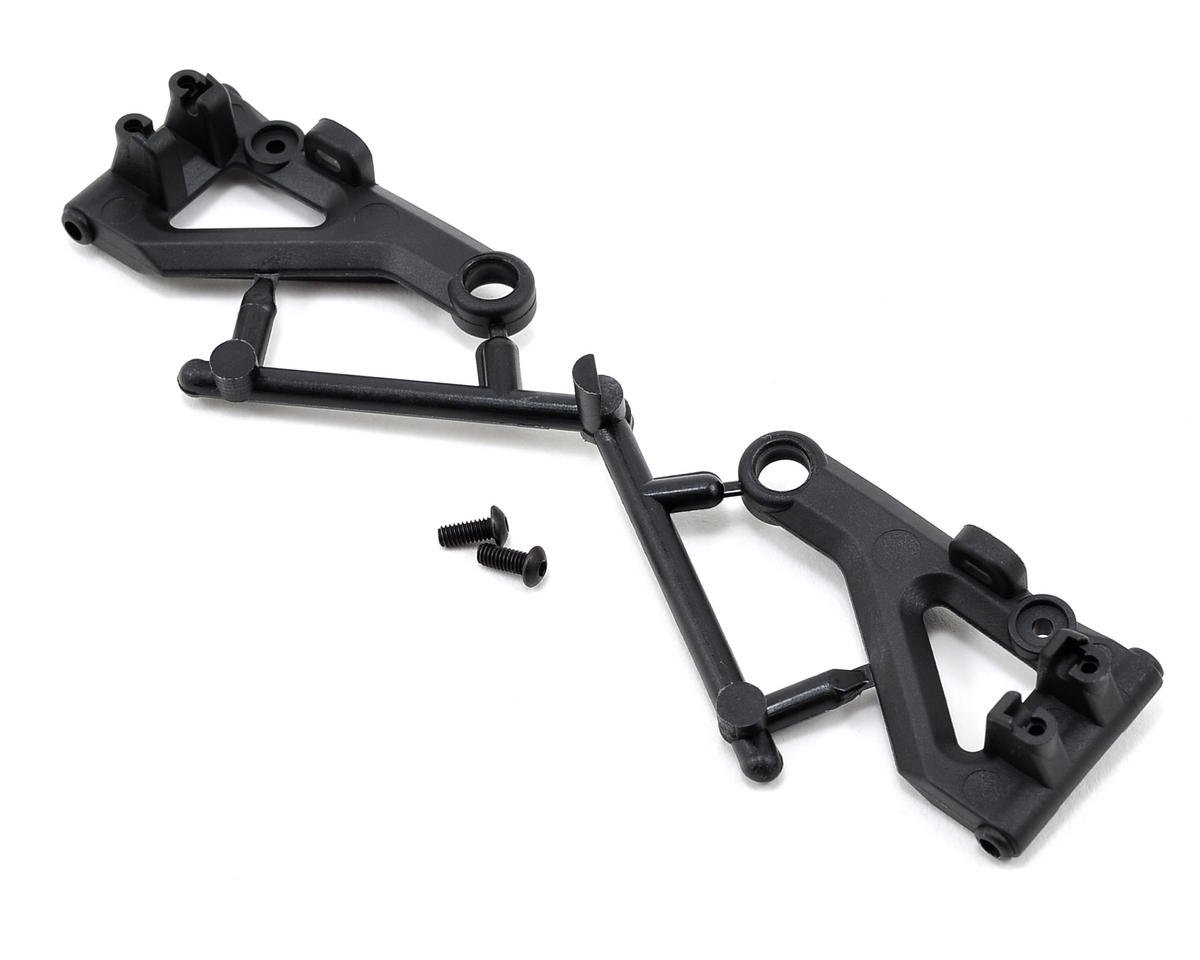
Image 1.1: Yokomo R12/GT Series Hard Lower A-Arm (R12-10LG) as packaged. The image displays the black plastic A-arm components and a small screw, sealed within a clear plastic bag with a branded header card.
2. Información de seguridade
Please read and understand all safety warnings before handling or installing this product. This product contains small parts and is not suitable for children under 14 years of age without adult supervision. Always use appropriate tools and wear safety glasses during installation to prevent injury.
- Manteña as pezas pequenas lonxe dos nenos para evitar riscos de asfixia.
- Use only specified tools for installation to avoid damage to the part or vehicle.
- Ensure all screws and fasteners are securely tightened after installation.
3. Contido do paquete
Comprobe que todos os compoñentes estean presentes antes de comezar a instalación:
- 1x Yokomo R12/GT Series Hard Lower A-Arm set (consisting of multiple molded plastic pieces)
- 1x Small mounting screw (as visible in packaging)
4. Configuración e instalación
This section outlines the general procedure for installing the Hard Lower A-Arm. Specific steps may vary slightly depending on your exact R12/GT series vehicle model. Refer to your vehicle's primary instruction manual for detailed chassis disassembly and assembly procedures.
- Preparación: Ensure your RC vehicle is powered off and the battery is disconnected. Place the vehicle on a clean, stable work surface.
- Identify Existing A-Arm: Locate the lower A-arm assembly on your Yokomo R12/GT series vehicle that requires replacement.
- Desmontaxe: Carefully remove any screws, pins, or clips securing the existing lower A-arm to the chassis and wheel hub assembly. Keep track of all removed hardware for reassembly.
- Remove Old A-Arm: Once all fasteners are removed, detach the old A-arm from the vehicle.
- Install New A-Arm: Position the new Yokomo R12-10LG Hard Lower A-Arm in the same orientation as the removed component. Align the mounting points with the chassis and wheel hub.
- Secure A-Arm: Reinstall all screws, pins, and clips that were removed in step 3. Ensure all connections are secure but do not overtighten, as this can strip threads or crack plastic components. The included small screw should be used as specified in your vehicle's manual, typically for securing a pivot point or brace.
- Verificar movemento: After installation, gently move the suspension arm through its full range of motion to ensure there is no binding and that all parts move freely.
The harder resin material of this A-arm is designed to reduce flex and strain during cornering, contributing to more stable handling characteristics.
5. Consideracións operativas
The Yokomo R12/GT Series Hard Lower A-Arm is a structural component of your RC vehicle's suspension system. Its primary function is to provide a robust connection between the chassis and the wheel assembly, allowing for controlled vertical wheel movement while maintaining proper alignment. The "hard" designation indicates a stiffer material composition, which can lead to:
- Improved Stability: Reduced flex in the A-arm translates to more consistent suspension geometry, especially during high-speed turns or impacts.
- Enhanced Responsiveness: A stiffer suspension component can provide a more direct feel and quicker response to steering inputs.
- Maior durabilidade: The harder resin is more resistant to bending or breaking under stress compared to standard softer plastic components.
No specific operational steps are required for the A-arm itself beyond its proper installation and integration into the vehicle's suspension system.
6. Mantemento
Regular maintenance of your R12/GT Series Hard Lower A-Arm will ensure optimal performance and longevity.
- Inspección: Periodically inspect the A-arms for any signs of cracks, stress marks, or deformation, especially after impacts or heavy use.
- Limpeza: Remove dirt, dust, and debris from the A-arms and surrounding suspension components using a soft brush or compressed air. Avoid using harsh chemicals that may degrade the plastic material.
- Comprobación de fixación: Ensure all screws and pins securing the A-arms are tight. Loose fasteners can lead to excessive wear or component failure.
- Lubricación: If pivot points become stiff, apply a small amount of RC-safe dry lubricant to reduce friction.
7 Solución de problemas
If you encounter issues related to your A-arms, consider the following:
| Síntoma | Causa posible | Solución |
|---|---|---|
| Excessive play in suspension | Loose mounting screws or worn pivot pins. | Tighten screws. Inspect and replace worn pivot pins. |
| A-arm appears bent or cracked | Danos por impacto ou fatiga do material. | Replace the damaged A-arm immediately to prevent further issues. |
| Stiff or binding suspension movement | Dirt/debris in pivot points, overtightened screws, or misaligned components. | Clean pivot points. Loosen and retighten screws to proper torque. Recheck alignment. |
8. Especificacións
- Número de modelo: R12-10LG
- Material: Hard Resin
- Compatibilidade: Yokomo R12/GT Series RC Vehicles
- Dimensións do produto: 5 x 3.5 x 0.5 inches (approximate, as packaged)
- Peso do artigo: 0.494 onzas (aproximadamente, tal como se envasa)
- Idade recomendada polo fabricante: 14 anos en diante
9. Garantía e soporte
For warranty information, technical support, or replacement parts, please contact Yokomo directly through their official website or authorized distributors. Keep your purchase receipt as proof of purchase.
Nota: Os termos da garantía poden variar segundo a rexión e o vendedor.