1. Introdución
This manual provides essential information for the safe and effective operation, maintenance, and troubleshooting of your RYOBI 2300W Metal Chop Saw, model ECO2335HG. Please read these instructions carefully before using the tool and keep them for future reference. This powerful tool is designed for precise and rapid cutting of various metal materials, including tubes, profiles, and flat metals, making it suitable for both construction sites and workshops.
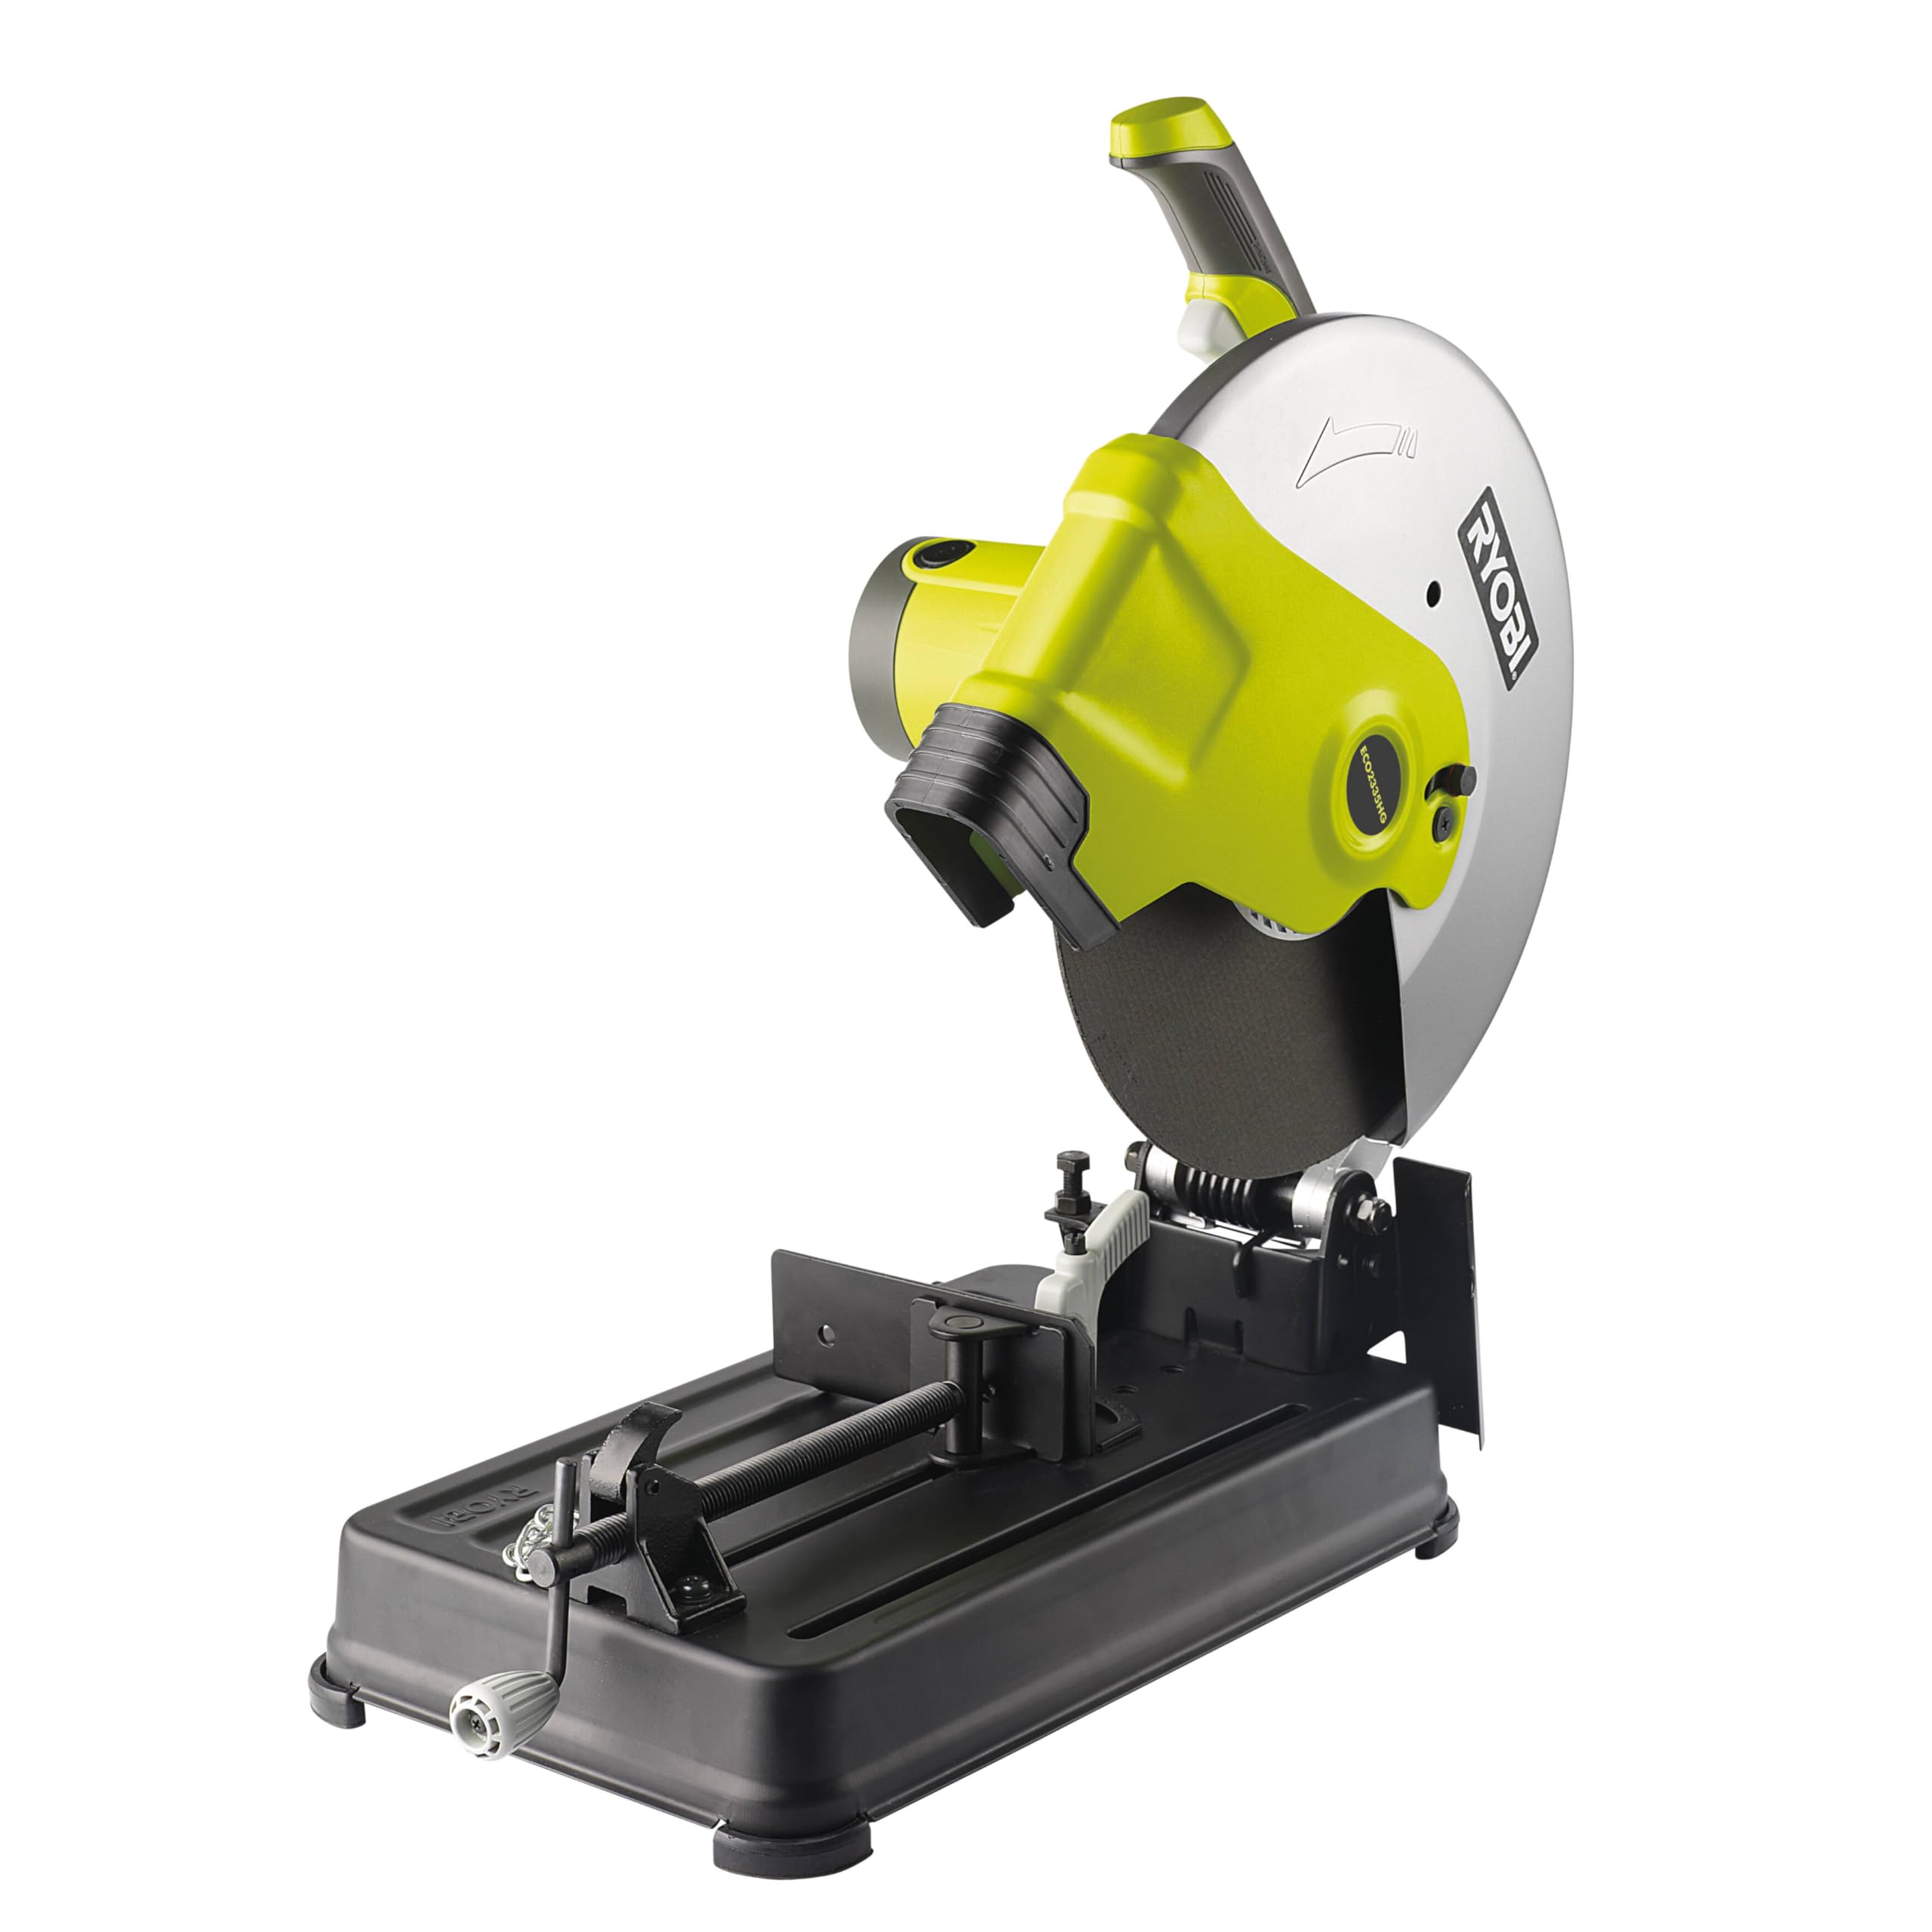
Figure 1: RYOBI ECO2335HG Metal Chop Saw. This image shows the overall view of the chop saw, highlighting its robust construction and design.
2. Información xeral de seguridade
Siga sempre as precaucións de seguridade básicas para reducir o risco de incendio, descarga eléctrica e lesións persoais. Garde este manual á man para unha consulta rápida.
2.1. Seguridade da zona de traballo
- Manter a zona de traballo limpa e ben iluminada. As zonas desordenadas ou escuras invitan a accidentes.
- Non utilice ferramentas eléctricas en atmosferas explosivas, como en presenza de líquidos, gases ou po inflamables. As ferramentas eléctricas crean faíscas que poden acender o po ou os fumes.
- Manteña os nenos e os espectadores afastados mentres manexa unha ferramenta eléctrica. As distraccións poden facer que perdas o control.
2.2. Seguridade eléctrica
- Os enchufes das ferramentas eléctricas deben coincidir coa toma de corrente. Nunca modifique o enchufe de ningún xeito.
- Evite o contacto corporal con superficies conectadas a terra, como tubos, radiadores, cociñas e frigoríficos. Hai un maior risco de descarga eléctrica se o seu corpo está conectado a terra ou a terra.
- Non expoña as ferramentas eléctricas á choiva ou a condicións de humidade. A auga que entra nunha ferramenta eléctrica aumentará o risco de descarga eléctrica.
- Non abuses do cordón. Non use nunca o cable para transportar, tirar ou desconectar a ferramenta eléctrica. Manteña o cable lonxe da calor, aceite, bordos afiados ou pezas móbiles.
- The Livetool Indicator™ light will illuminate when the tool is connected to power, indicating it is live. This helps prevent accidental startup.
2.3. Seguridade persoal
- Use sempre protección ocular. Use lentes de seguridade con proteccións laterais ou lentes protectoras.
- Use protección auditiva cando utilice a ferramenta durante períodos prolongados.
- Vístete correctamente. Non use roupa solta nin xoias. Manteña o cabelo, a roupa e as luvas lonxe das pezas móbiles.
- Mantéñase alerta, observa o que está a facer e use o sentido común ao manexar unha ferramenta eléctrica.
- Use safety equipment such as dust masks, non-skid safety shoes, hard hats, or hearing protection for appropriate conditions.
- Ensure the large blade guard is always in place and functioning correctly to protect against debris.
3. Produto rematadoview e Compoñentes
Familiarize yourself with the main parts of your RYOBI ECO2335HG Metal Chop Saw before operation.
- Cutting Wheel (Blade): 355 mm abrasive wheel for metal cutting.
- Protector de follas: Large protective cover for user safety.
- Carcasa do motor: Contains the powerful 2300W motor.
- GripZone™ Handle: Bi-material handle for ergonomic and comfortable grip.
- Quick-Release Vise: Secures workpieces for cutting.
- Adjustable Miter Fence: Allows for straight and angle cuts up to 45°.
- Non-Slip Work Table: Provides stability for workpieces.
- Spindle Lock System: For quick and secure blade changes.
- Livetool Indicator™: Power-on indicator light.
- Power Cord Locking Clip: Secures the power cord.
- Accessible Safety Brushes: For easy maintenance.
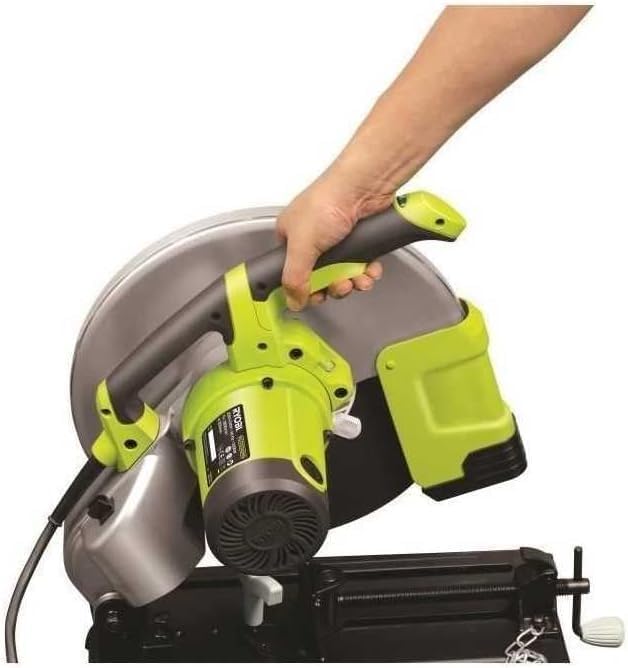
Figura 2: Lateral view of the chop saw, showing the GripZone™ handle for comfortable operation.

Figure 3: Close-up of the quick-release vise and non-slip work table, essential for securing materials during cutting.
4. Configuración e montaxe
Before initial use, ensure the chop saw is properly assembled and secured.
4.1. Desembalaxe
- Retire coidadosamente todos os compoñentes da embalaxe.
- Verify that all included items are present: chop saw unit, 355 mm cutting wheel, and service wrench.
- Inspeccione a ferramenta para detectar calquera dano que se puidese producir durante o transporte. Non a utilice se está danada.
4.2. Mounting the Chop Saw
For optimal stability and safety, it is recommended to mount the chop saw to a sturdy workbench using appropriate fasteners (not included).
4.3. Installing/Changing the Cutting Wheel
- Desconectar a enerxía: Always unplug the tool from the power source before performing any adjustments or maintenance.
- Access the Spindle: Loosen the screws and open the blade guard to access the cutting wheel.
- Engage Spindle Lock: Prema e manteña premido o botón de bloqueo do eixo para evitar que este xire.
- Retirar a roda vella: Use the provided service wrench to loosen the arbor nut. Remove the outer flange and the old cutting wheel.
- Instalar unha roda nova: Place the new 355 mm cutting wheel onto the spindle, ensuring it is correctly seated. The arrow on the wheel should match the rotation direction indicated on the tool.
- Secure Wheel: Replace the outer flange and tighten the arbor nut firmly with the service wrench while holding the spindle lock. Do not overtighten.
- Close Guard: Peche e asegure o protector da lámina.

Figura 4: Traseira view of the chop saw, showing the motor housing and power cord connection point.

Figure 5: Close-up showing the accessible safety brushes, which are important for motor maintenance.
5. Instrucións de funcionamento
Follow these steps for safe and effective operation of your metal chop saw.
5.1. Preparación da peza de traballo
- Ensure the workpiece is clean and free of obstructions.
- Mark the cutting line clearly on the material.
- Place the workpiece firmly against the miter fence and secure it with the quick-release vise. Ensure the material is stable and will not shift during cutting.
5.2. Adjusting for Angle Cuts
The miter fence can be adjusted up to 45° for angle cuts.
- Loosen the locking mechanism for the miter fence.
- Pivot the fence to the desired angle (up to 45°).
- Tighten the locking mechanism securely to fix the fence in position.
- Always perform a test cut on scrap material to verify the angle before cutting your final workpiece.
5.3. Facer un corte
- Conectar enerxía: Plug the tool into a suitable power outlet. The Livetool Indicator™ will light up.
- Sitúese: Stand to the side of the cutting line, away from the path of the blade and any potential sparks or debris.
- Iniciar a ferramenta: Press the trigger switch to start the motor. Allow the cutting wheel to reach full speed before beginning the cut.
- Lower the Blade: Slowly and steadily lower the cutting wheel into the workpiece. Apply even pressure. Do not force the cut.
- Completa o corte: Continue lowering until the cut is complete.
- Liberar o disparador: Release the trigger switch and allow the blade to stop completely before raising it from the workpiece.
- Remove Workpiece: Once the blade has stopped and is raised, carefully unclamp e retirar a peza de traballo cortada.
WARNING: Sparks and hot debris will be generated during cutting. Ensure proper ventilation and keep flammable materials away from the work area.
6. Mantemento
Regular maintenance ensures the longevity and safe operation of your RYOBI ECO2335HG Metal Chop Saw.
6.1. Limpeza
- Desconectar a enerxía: Desenchufe sempre a ferramenta antes de limpala.
- Limpar a ferramenta regularmente cun pano suave eamp pano. Non use produtos químicos agresivos ou produtos de limpeza abrasivos.
- Remove any metal dust or debris from the motor vents and around the blade guard using compressed air or a brush.
- Keep the non-slip work table clean to ensure proper workpiece stability.
6.2. Carbon Brush Replacement
The motor's carbon brushes are wear items and will need replacement over time. The ECO2335HG features accessible safety brushes for easy replacement.
- Desconectar a enerxía: Desconecta a ferramenta.
- Localizar as tapas dos cepillos: Identify the brush caps on the motor housing (refer to Figure 5).
- Remove Caps: Use a screwdriver to unscrew the brush caps.
- Replace Brushes: Remove the old carbon brushes and insert new, genuine RYOBI replacement brushes.
- Tapas seguras: Replace and tighten the brush caps.
- After replacing brushes, run the tool at no-load for a few minutes to allow the new brushes to seat properly.
6.3. Inspección e substitución da lámina
- Regularly inspect the cutting wheel for wear, cracks, or damage. A worn or damaged wheel can be dangerous and reduce cutting efficiency.
- Replace the cutting wheel as described in Section 4.3 when it becomes dull or damaged.
- Only use 355 mm abrasive cutting wheels designed for metal.
7 Solución de problemas
This section addresses common issues you might encounter with your chop saw.
| Problema | Causa posible | Solución |
|---|---|---|
| A ferramenta non comeza. | Sen fonte de alimentación. Cable/enchufe de alimentación defectuoso. Escobillas de carbón desgastadas. Interruptor defectuoso. |
Comprobe a conexión e a toma de corrente. Inspect cord/plug for damage. Replace if necessary. Replace carbon brushes (Section 6.2). Contacte con persoal de servizo cualificado. |
| Faíscas excesivas do motor. | Escobillas de carbón desgastadas. Sobrecarga do motor. |
Replace carbon brushes (Section 6.2). Reduce cutting pressure. Allow motor to cool. |
| Poor cutting performance / Slow cutting. | Dull or worn cutting wheel. Incorrect cutting technique. Sobrecarga do motor. |
Replace cutting wheel (Section 4.3). Apply steady, even pressure. Do not force. Reduce cutting pressure. Ensure proper material clamping. |
| Cortes de ángulo imprecisos. | Miter fence not securely locked. Workpiece not properly clamped. |
Ensure miter fence is tightly secured after adjustment. Verify workpiece is firmly held by the vise. |
If you encounter problems not listed here or if solutions do not resolve the issue, contact RYOBI customer service or a qualified service center.
8. Especificacións técnicas
| Característica | Especificación |
|---|---|
| Número de modelo | ECO2335HG (5133000704) |
| Entrada de enerxía | 2300W (Note: Some specifications may list 1800W, but the product is marketed as 2300W) |
| Velocidade sen carga | 3800 RPM |
| Diámetro de corte da roda | 355 mm |
| Diámetro de Arbor | 25.4 mm |
| Max. Cutting Capacity (Tube 90°) | 115 mm |
| Max. Cutting Capacity (Tube 45°) | 115 mm |
| Max. Cutting Capacity (L-Profile 90°) | 137 mm |
| Max. Cutting Capacity (L-Profile 45°) | 100 mm |
| Adjustable Cutting Angle | Ata 45 graos |
| Peso do elemento | 16 quilogramos |
| Dimensións do produto (L x W x H) | 200 x 120 x 91.4 cm |
| Fonte de enerxía | Eléctrico con cable |
| Material da lámina | Metal (Abrasive) |
| Material do mango | Plastic, Rubber (GripZone™) |
9. Garantía e soporte
9.1. Garantía limitada
This RYOBI product is covered by a limited warranty. Please refer to the warranty card included with your product or visit the official RYOBI website for full terms and conditions. Keep your proof of purchase for warranty claims.
9.2. Spare Parts Availability
Spare parts for the ECO2335HG model are generally available for up to 5 years from the date of purchase. Contact your local RYOBI service center for spare parts inquiries.
9.3. Atención ao cliente
For technical assistance, service, or questions regarding your RYOBI Metal Chop Saw, please contact RYOBI customer support through their official websitio web ou a información de contacto proporcionada na documentación do produto.