1. Introdución
This manual provides detailed instructions for the installation, operation, and maintenance of your Frigidaire IMK0028A Icemaker Kit. This kit is a genuine OEM replacement part designed to provide a reliable ice production solution for compatible Frigidaire and Electrolux refrigerators. Please read all instructions carefully before beginning installation or operation to ensure proper function and safety.
Nota: Frigidaire and Electrolux are interchangeable names for the same brand. The item received may bear either name.
2. Información de seguridade
- Desconecte sempre a alimentación do frigorífico antes de intentar calquera instalación, mantemento ou reparación.
- Wear appropriate personal protective equipment, such as gloves, during installation to prevent injury.
- Ensure all connections are secure and properly sealed to prevent water leaks.
- Se ten algunha dúbida sobre calquera parte do proceso de instalación, consulte cun técnico cualificado.
- Manteña os nenos e as mascotas lonxe da zona de traballo durante a instalación.
3. Contido do paquete
Comprobe que todos os compoñentes estean presentes antes de comezar a instalación:
- Montaxe da máquina de xeo
- Papeleira de almacenamento de xeo
- Mounting Brackets (various sizes to fit different models)
- Hardware (screws, clips)
- Water Line Connection Kit (if applicable)
- Manual de instrucións (este documento)
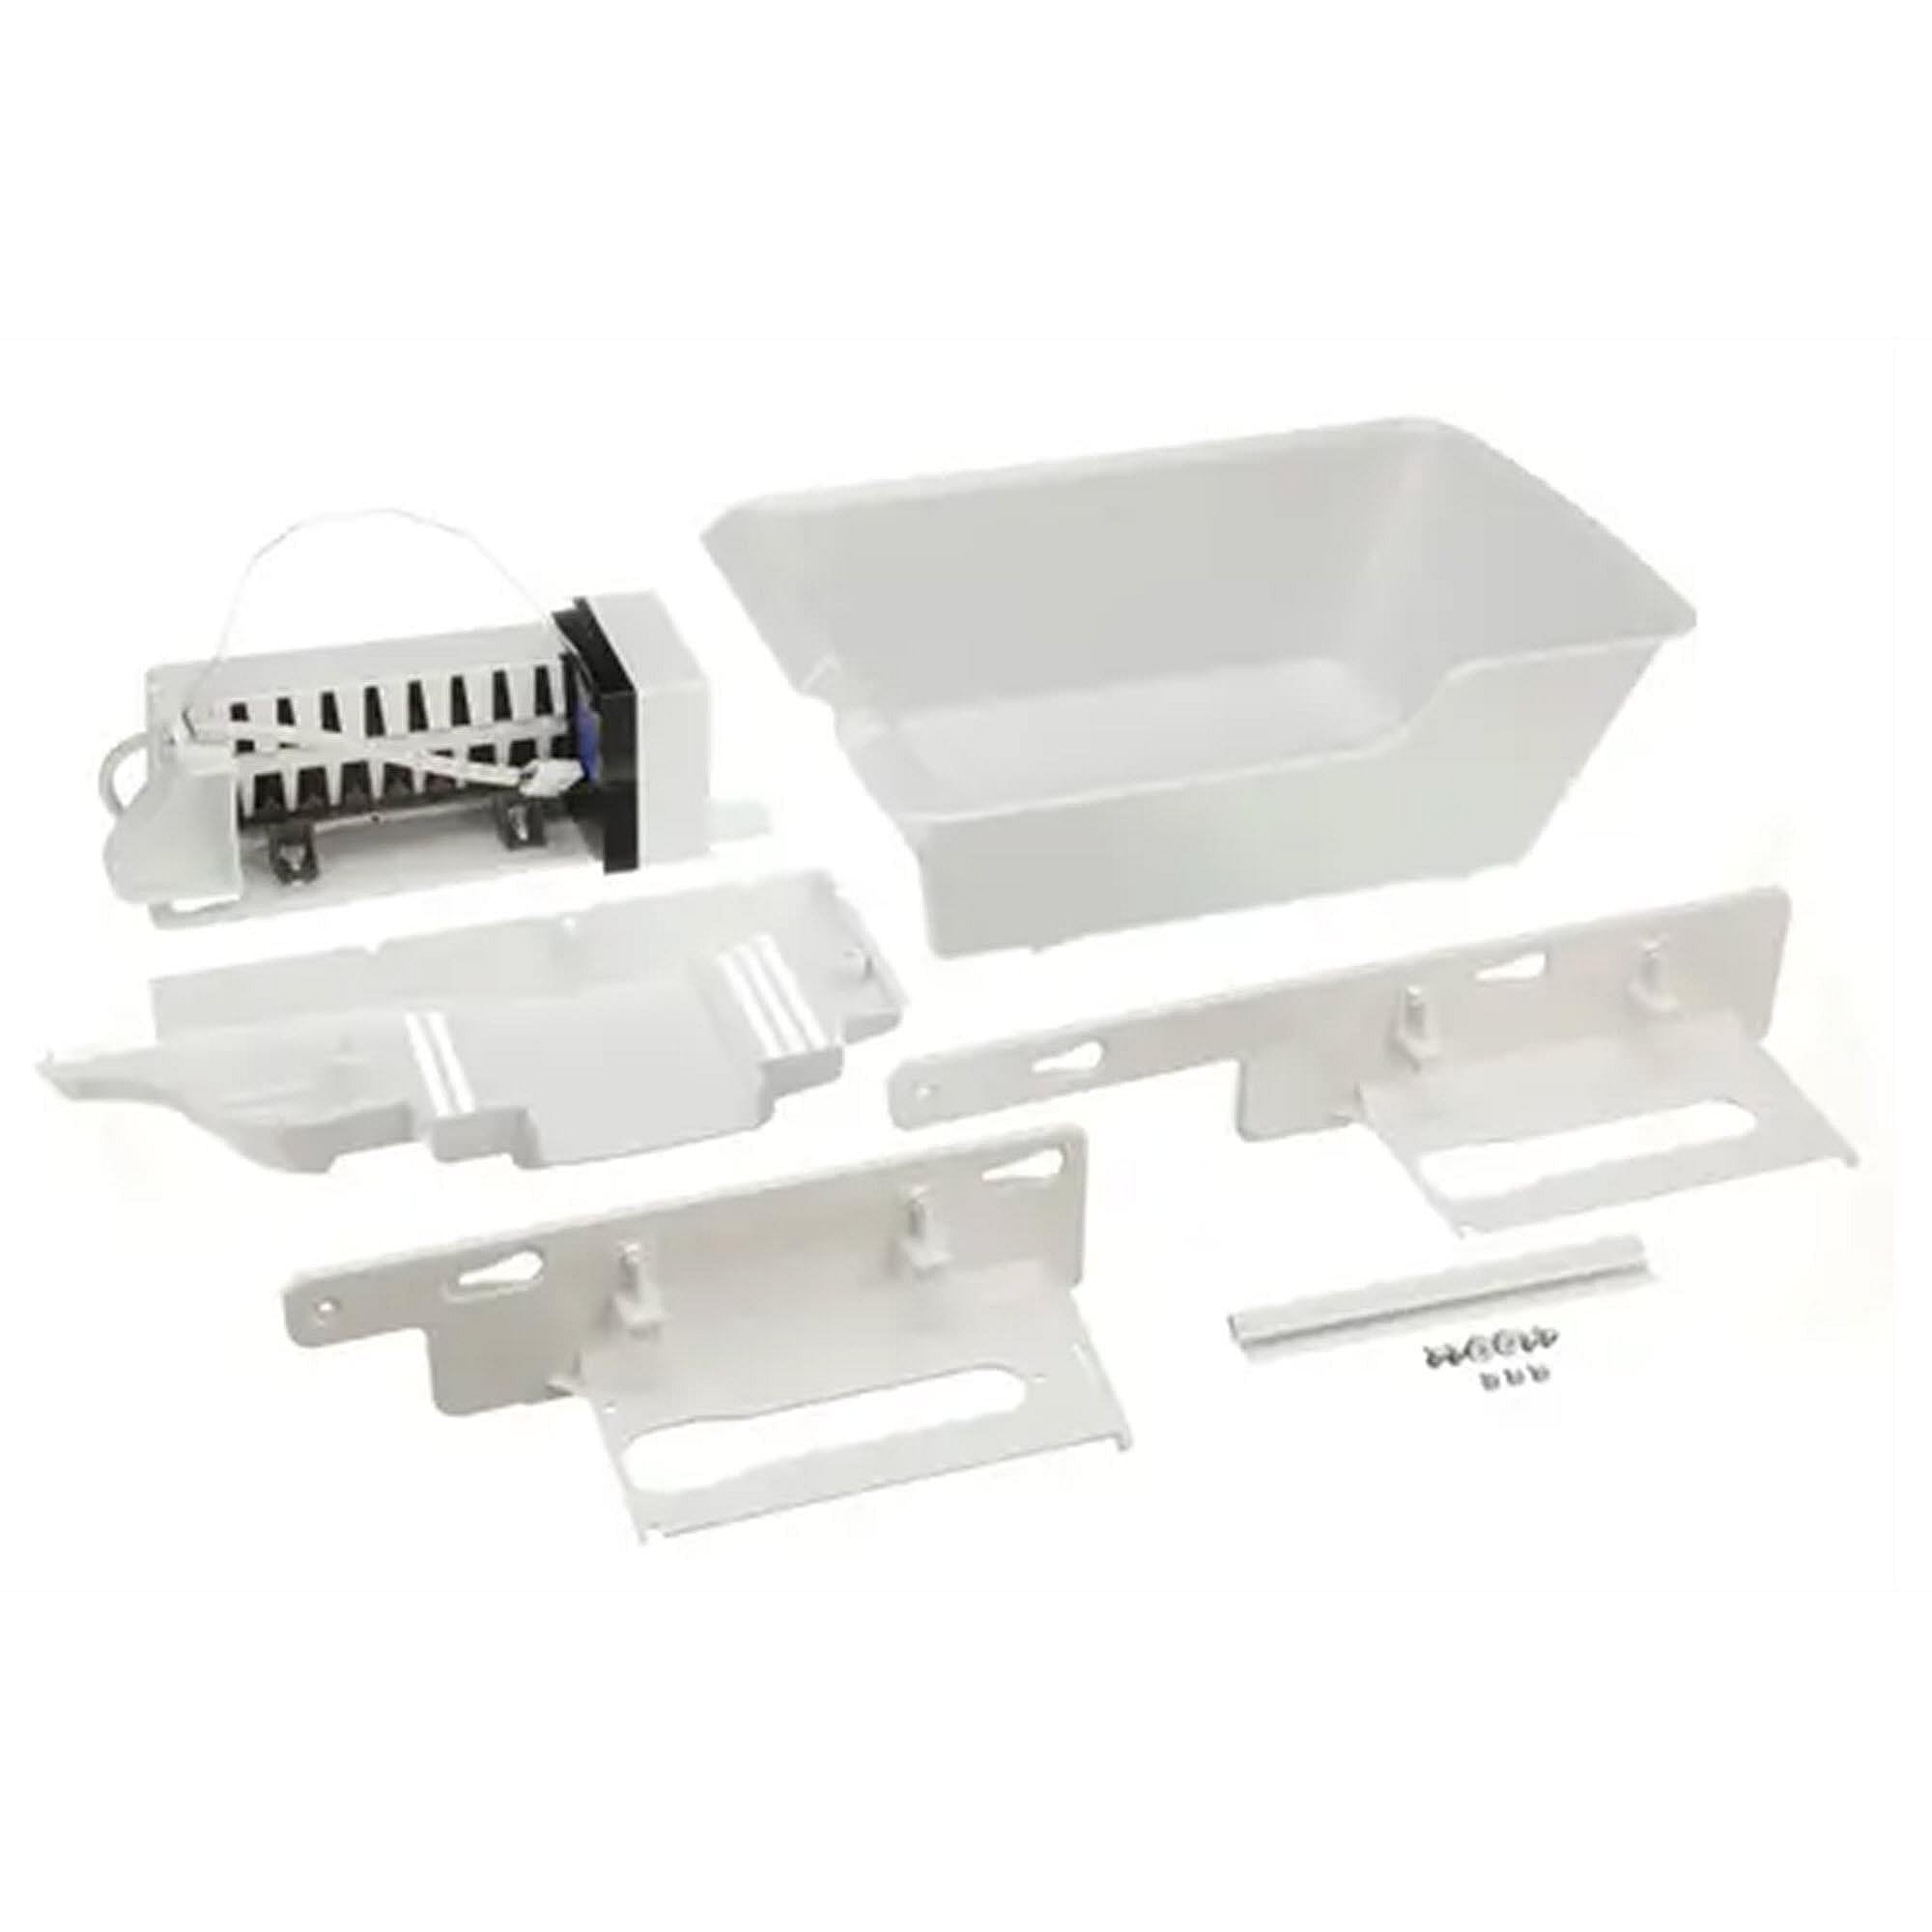
Image 1: Frigidaire IMK0028A Icemaker Kit showing main components.
4. Configuración e instalación
Installation of the IMK0028A Icemaker Kit can be involved and requires careful attention to detail. It is recommended to have basic tool knowledge and mechanical aptitude. The process typically involves removing the freezer door and internal racks.
4.1 Ferramentas necesarias
- Desaparafusador (Phillips e/ou de punta plana)
- Wrench (for water line connections, if applicable)
- Pliers (for clips)
- Luvas
4.2 Pasos previos á instalación
- Desconectar a enerxía: Unplug the refrigerator from the electrical outlet or turn off the circuit breaker.
- Pechar o subministro de auga: If your refrigerator has an existing water line, turn off the water supply to the refrigerator.
- Empty Freezer: Remove all food items and shelves from the freezer compartment.
- Remove Freezer Door: Carefully remove the freezer door according to your refrigerator's specific instructions. This often involves disconnecting wiring harnesses and hinge pins.
- Remove Internal Racks/Baskets: Remove any internal racks or baskets to provide clear access to the back panel and mounting locations. This may involve releasinclips g.
4.3 Icemaker Installation
- Identificar a localización de montaxe: Locate the designated area for the icemaker assembly, typically on the upper left side of the freezer compartment. Pre-drilled holes and wiring harnesses should be present.
- Select Correct Bracket: The kit includes multiple mounting brackets. Identify the correct bracket for your specific refrigerator model. The icemaker assembly may come with a shorter bracket pre-installed; you may need to swap it for a longer one if required by your model. Secure the chosen bracket to the icemaker assembly with the provided hardware.
- Mount Icemaker Assembly: Align the icemaker assembly with the pre-drilled holes in the freezer wall. Secure it using the provided screws. Ensure it is firmly attached.
- Conectar cableado: Plug the icemaker's electrical harness into the corresponding receptacle in the freezer wall. Ensure a secure connection.
- Connect Water Line: Connect the water supply line to the icemaker's inlet valve. Ensure the connection is tight to prevent leaks. Some models may require replacing a back panel with a new one provided in the kit, though this is not always necessary.
- Install Ice Bin: Place the ice storage bin beneath the icemaker assembly. Ensure it is properly seated and positioned to catch ice.

Imaxe 2: Ex.ample of Frigidaire IMK0028A Icemaker Kit installed within a freezer compartment.
4.4 Pasos posteriores á instalación
- Reinstall Racks and Door: Reinstall the internal freezer racks/baskets and the freezer door. Ensure all clips and connections are secure.
- Restaurar o subministro de auga: Turn on the water supply to the refrigerator. Check for any leaks around the water line connection to the icemaker.
- Restaurar enerxía: Volva conectar o frigorífico á toma de corrente ou active o disyuntor.
- Produción inicial de xeo: The icemaker will typically begin producing ice within 12-24 hours. Discard the first few batches of ice to flush the water lines.
5. Instrucións de funcionamento
Once installed and powered, the Frigidaire IMK0028A Icemaker Kit operates automatically to produce ice.
- Operación automática: The icemaker will fill with water, freeze it, and then eject the ice cubes into the ice storage bin. This cycle repeats automatically as long as the freezer temperature is adequate and the water supply is on.
- Sensor de nivel de xeo: The icemaker is equipped with a sensor (often a wire arm) that detects when the ice bin is full. When the ice reaches a certain level, the icemaker will temporarily stop production until more ice is used.
- Initial Production Time: Allow 12-24 hours for the icemaker to produce its first full batch of ice. Full ice production capacity may take a few days to achieve.
- Ice Bin Management: When pulling out the freezer drawer, ensure the ice bin is not overfilled, as ice may fall out of the back of the bin and obstruct the freezer door's full closure.
6. Mantemento
Regular maintenance helps ensure optimal performance and longevity of your icemaker.
- Limpar o depósito de xeo: Periodically remove and wash the ice storage bin with mild soap and warm water. Rinse thoroughly and dry completely before returning it to the freezer.
- Comprobar o filtro de auga: If your refrigerator has a water filter, ensure it is replaced regularly according to the refrigerator manufacturer's recommendations. A clogged filter can reduce water flow to the icemaker.
- Inspect Water Line: Occasionally inspect the water supply line for kinks, leaks, or damage.
- Clean Icemaker: If mineral deposits build up on the icemaker components, gently wipe them with a damp pano. Non use produtos de limpeza abrasivos.
7 Solución de problemas
If your icemaker is not functioning as expected, refer to the following common issues and solutions:
| Problema | Causa posible | Solución |
|---|---|---|
| Icemaker not producing ice. |
|
|
| Baixa produción de xeo. |
|
|
| Water leaking in freezer. |
|
|
| Ice falling out of bin when drawer is opened. |
|
|
If these solutions do not resolve the issue, contact Frigidaire customer support or a qualified service technician.
8. Especificacións
| Característica | Detalle |
|---|---|
| Marca | Frigidaire |
| Número de modelo | IMK0028A |
| Número de peza | IMK0028A |
| UPC | 012505454028 |
| Dimensións do produto (P x A x A) | 1"D x 1"W x 1"H (Note: These dimensions are often placeholder values for small parts and may not reflect the actual installed size.) |
| Peso do elemento | 5.2 libras |
| Tipo de material | Plástico |
| Wattage | 6.41 vatios |
| Compoñentes incluídos | Icemaker Kit, User Manual |
9. Garantía e soporte
9.1 Información da garantía
The Frigidaire IMK0028A Icemaker Kit comes with a 1 anos de garantía do fabricanteEsta garantía cobre defectos de materiais e fabricación en condicións normais de uso. Conserve o comprobante de compra para reclamacións de garantía.
For specific warranty terms and conditions, please refer to the documentation included with your original refrigerator or contact Frigidaire customer service.
9.2 Atención ao cliente
For technical assistance, troubleshooting beyond this manual, or warranty service, please contact Frigidaire customer support. You can typically find contact information on the Frigidaire official websitio web ou no manual de usuario principal do seu frigorífico.
Recursos en liña: Visita o Frigidaire oficial website for additional support, FAQs, and service locator tools. www.frigidaire.com