
1. Introdución
This manual provides instructions for the Vivitek D555 XGA DLP Portable Projector. The D555 is designed for clear and vivid image projection, featuring XGA resolution, 3000 lumens brightness, and 3D readiness via DLP Link. It incorporates DLP and Brilliant Color technologies for enhanced visual performance and offers various connectivity options including HDMI v1.4.
2. Información de seguridade
- Non bloquee as aberturas de ventilación. Asegúrese de que haxa espazo suficiente arredor do proxector para un fluxo de aire axeitado.
- Non mire directamente á lente do proxector cando estea aceso.amp está acendido. A luz brillante pode causar danos nos ollos.
- Avoid placing the projector in direct sunlight, near heat sources, or in environments with high humidity or dust.
- Empregue só o cable de alimentación subministrado co proxector.
- Non intente atender este produto vostede mesmo. Remita todo o servizo a persoal de servizo cualificado.
- Manteña o proxector lonxe da auga ou outros líquidos.
- Unplug the projector from the power outlet before cleaning or when not in use for extended periods.
3. Contido do paquete
Verifique que todos os elementos que se indican a continuación estean incluídos no seu paquete:
- Vivitek D555 Projector
- Cable de alimentación de CA
- Cable VGA
- Control remoto
- Batteries for Remote (AA x 2)
- User's Manual (on CD)
4. Produto rematadoview
4.1 Parte dianteira e superior View
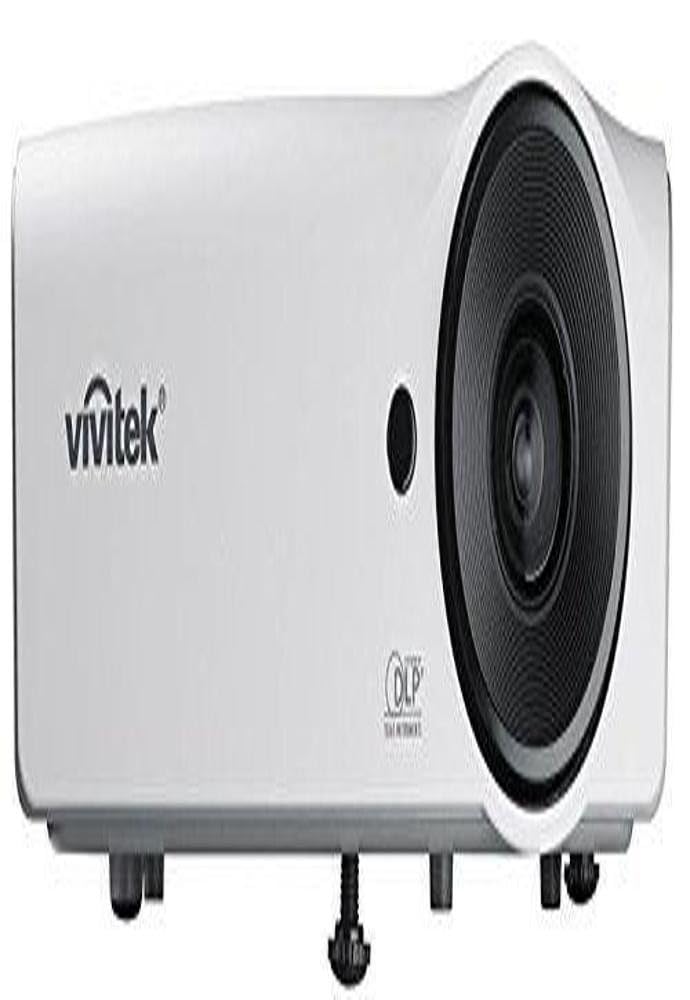
Figura 4.1: Fronte e parte superior view of the Vivitek D555 projector. This image shows the projector's lens, control panel on top, and the Vivitek logo.
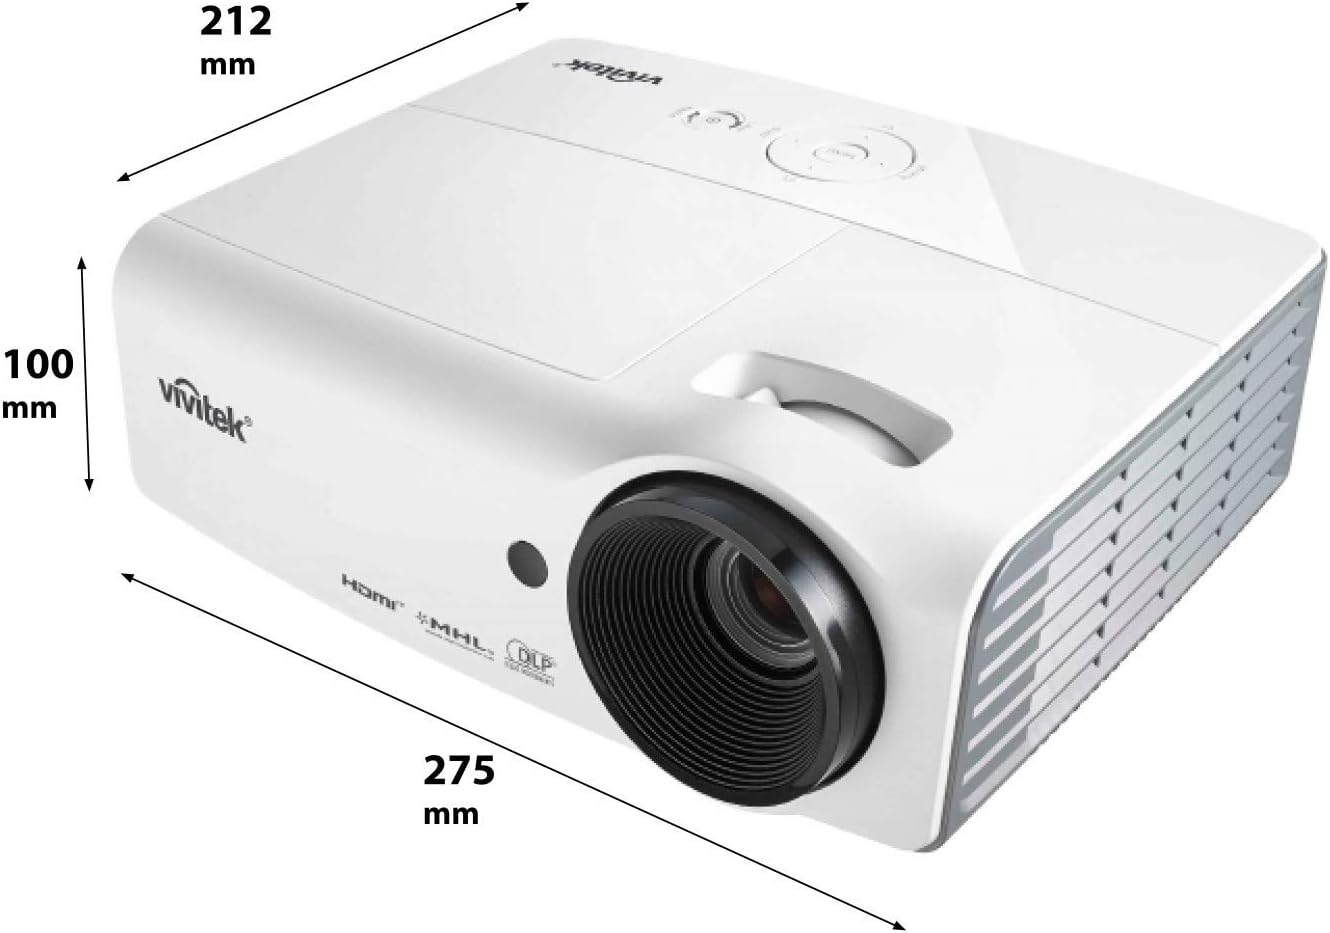
Figura 4.2: Dimensions of the Vivitek D555 projector. The image indicates a width of 275 mm, a depth of 212 mm, and a height of 100 mm.
The front of the projector features the projection lens. The top panel includes the control buttons for power, menu navigation, source selection, and focus/zoom adjustments. The Vivitek logo is prominently displayed.
4.2 Conexións do panel traseiro

Figura 4.3: Rear panel of the Vivitek D555 projector showing various input and output ports. These include HDMI, dual VGA inputs, VGA output, S-Video, Composite Video, audio input/output, and a USB port.
The rear panel provides all necessary connection ports for video and audio sources. These include:
- HDMI versión 1.4: Para entrada de vídeo e audio dixital.
- Computer In 1 (VGA): D-Sub 15-pin input for computer connection.
- Computer In 2 (VGA): Second D-Sub 15-pin input for computer connection.
- Computer Out (VGA): D-Sub 15-pin output for monitor loop-through.
- Vídeo S: For S-Video input.
- Video (Composite): RCA jack for composite video input.
- Entrada de audio: 3.5mm stereo mini-jack for audio input.
- Saída de audio: 3.5mm stereo mini-jack for audio output.
- USB (tipo B): Para actualizacións de servizo ou firmware.
- Entrada de alimentación de CA: Para conectar o cable de alimentación.
5. Configuración
5.1 Colocación do proxector
Place the projector on a stable, flat surface or mount it securely. Ensure the projector is positioned at an appropriate distance from the screen to achieve the desired image size. The lens should be perpendicular to the screen for optimal image geometry.
5.2 Conexión a unha fonte de enerxía
- Connect the AC power cord to the projector's AC power inlet.
- Conecte o outro extremo do cable de alimentación a unha toma eléctrica conectada a terra.
5.3 Conexión de fontes de vídeo
Choose the appropriate cable for your video source and connect it to the corresponding port on the projector's rear panel.
- HDMI: For high-definition digital sources like Blu-ray players, gaming consoles, or laptops.
- VGA (Computer In 1/2): For computers or other devices with VGA output.
- S-Video/Composite Video: For standard definition video sources like DVD players or VCRs.
For audio, connect an audio cable from your source to the projector's Audio In port, or use the HDMI connection which carries both video and audio.
6. Funcionamento do proxector
6.1 Acendido/Apagado
- Para acender: Press the Power button on the projector's control panel or the remote control. The power indicator light will turn blue.
- Para apagar: Press the Power button twice. The projector will enter a cooling down cycle, and the power indicator will flash. Do not unplug the projector until the cooling cycle is complete and the power indicator light stops flashing.
6.2 Axustar a imaxe
- Foco: Xire o anel de enfoque da lente do proxector ata que a imaxe sexa nítida e clara.
- Zoom: Xire o anel de zoom da lente do proxector para axustar o tamaño da imaxe.
- Corrección Keystone: If the image appears trapezoidal, use the Keystone Correction function in the projector's OSD (On-Screen Display) menu to square the image.
6.3 Selección dunha fonte de entrada
Press the "Source" button on the projector or remote control to cycle through available input sources (HDMI, VGA1, VGA2, S-Video, Video).
6.4 Funcionalidade 3D
The Vivitek D555 is 3D-ready via DLP Link. To view contido 3D:
- Connect a 3D-compatible source (e.g., 3D Blu-Ray player) to the projector via HDMI.
- Ensure your 3D content is playing.
- Wear active DLP Link 3D glasses (sold separately). The projector will automatically detect the 3D signal and enable 3D mode.
7. Mantemento
7.1 Limpeza do proxector
- Exterior: Use un pano suave e sen pelusa dampened with a mild cleaning solution to wipe the projector's casing. Non empregue produtos de limpeza abrasivos nin disolventes.
- Lente: Use a lens cleaning cloth and lens cleaning solution specifically designed for optical surfaces. Avoid touching the lens with your fingers.
- Ventos de aire: Regularly check and clean the air vents to prevent dust buildup, which can affect cooling and performance. Use a soft brush or compressed air.
7.2 Lamp Substitución
O proxector lamp has a lifespan of up to 6,000 hours in Eco-mode. When the lamp reaches the end of its life, a warning message will appear, or the lamp indicator light will illuminate. Refer to the detailed instructions in the full user manual (on CD) for safe lamp replacement procedures. Always allow the projector to cool down completely before attempting lamp substitución.
8 Solución de problemas
| Problema | Causa posible | Solución |
|---|---|---|
| Non hai imaxe na pantalla |
|
|
| A imaxe está borrosa |
|
|
| A imaxe é trapezoidal |
|
|
| Sen audio |
|
|
9. Especificacións
| Número de modelo | DP535-264VVUP (D555) |
| Marca | Vivitek |
| Tecnoloxía de visualización | DLP |
| Resolución nativa | XGA (1024 x 768) |
| Resolución máxima | WUXGA (1920 x 1200) |
| Brillo | 3000 lúmenes |
| Relación de contraste | 15000:1 |
| Lamp A vida | Ata 6,000 horas (modo Eco) |
| Conectividade | HDMI v1.4, Dual VGA In, VGA Out, S-Video, Composite Video, Audio In/Out, USB |
| Características especiais | 3D-Ready (DLP Link), Brilliant Color Technology |
| Dimensións do produto | 10.8 x 8.35 x 3.66 polgadas (275 x 212 x 100 mm) |
| Peso do elemento | 5.1 libras |
| Fabricante | Vivitek Corp. |
| Baterías (para control remoto) | 2 pilas AA (incluídas) |
10. Garantía e soporte
For warranty information and technical support, please refer to the official Vivitek website or the warranty card included with your product. Do not attempt to repair the projector yourself, as this may void your warranty. Contact Vivitek customer service for assistance with any issues not covered in the troubleshooting section.