1. Introdución
This manual provides detailed instructions for the HP LaserJet Pro M477fnw Multifunction Wireless Color Laser Printer. It covers initial setup, daily operation, routine maintenance, and troubleshooting common issues. Please read this manual thoroughly to ensure optimal performance and longevity of your device.
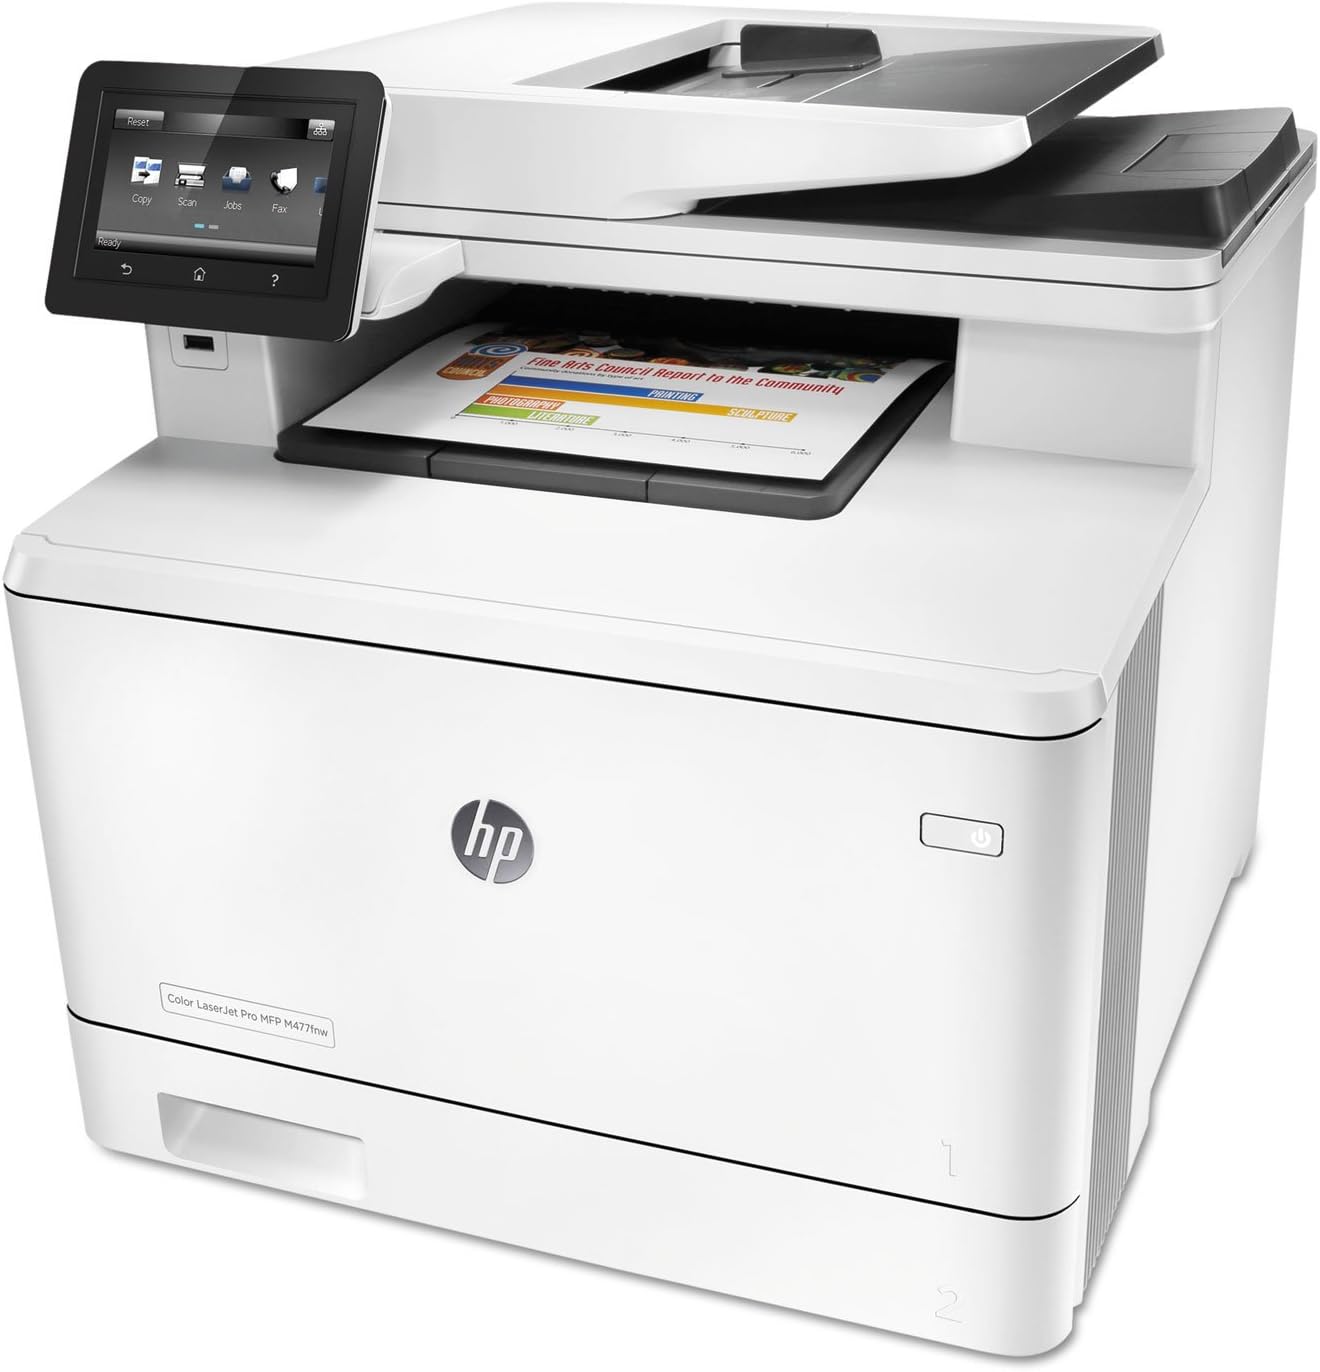
Figura 1.1: HP LaserJet Pro M477fnw Multifunction Printer. This image displays the full printer unit, highlighting its compact design and the integrated control panel.
2. Configuración
2.1 Desembalaxe e colocación
- Retire coidadosamente a impresora da súa embalaxe.
- Remove all packing materials, tapes, and protective films from the printer.
- Coloque a impresora sobre unha superficie estable e nivelada con ventilación axeitada.
2.2 Conexión de alimentación
- Conecte o cable de alimentación á impresora e despois a unha toma de corrente con conexión a terra.
- Prema o botón de acendido para acender a impresora.
Figura 2.1: Location of the power button on the HP LaserJet Pro M477fnw. The power button is typically located on the front or side panel of the printer, indicated by a universal power symbol.
2.3 Configuración inicial
Follow the on-screen instructions on the control panel to select language, country/region, and date/time settings.
Figura 2.2: Close-up of the HP LaserJet Pro M477fnw control panel. This image shows the touch screen display with various function icons like Copy, Scan, Jobs, and Fax, along with navigation buttons.
2.4 Conexión de rede
The M477fnw supports Ethernet and Wireless connectivity.
2.4.1 Conexión Ethernet
- Conecte un cable Ethernet desde o seu enrutador de rede ou cambie ao porto Ethernet na parte traseira da impresora.
- The printer will automatically obtain an IP address.
2.4.2 Conexión sen fíos
- From the control panel, navigate to the Network settings.
- Select "Wireless Setup Wizard" and follow the prompts to connect to your Wi-Fi network.
2.5 Instalación de software
- Insert the software CD (if included) into your computer, or download the latest drivers from the official HP support websitio.
- Follow the on-screen instructions to install the printer software and drivers.
3. Funcionamento da impresora
3.1 Carga de papel
- Open the paper tray (Tray 2, typically the main tray).
- Axuste as guías do papel para que se axusten ao tamaño do papel.
- Cargue o papel na bandexa, asegurándose de que estea plano e por debaixo da liña de recheo máximo.
- Pecha a bandexa de papel.
The printer also features a multipurpose tray (Tray 1) for special media like envelopes or thicker paper.
3.2 Impresión de documentos
- Desde o teu ordenador, abre o documento que queres imprimir.
- Seleccione "Imprimir" no menú da aplicación.
- Choose the HP LaserJet Pro M477fnw from the list of available printers.
- Adjust print settings (e.g., number of copies, color/monochrome, duplex printing) as needed.
- Fai clic en "Imprimir".
3.3 Escanear documentos
The M477fnw supports scanning via the flatbed scanner or the Automatic Document Feeder (ADF).
3.3.1 Scanning from the Control Panel
- Coloque o documento no cristal do escáner ou no ADF.
- On the control panel, select "Scan".
- Choose your scan destination (e.g., Email, Network Folder, USB Drive, Computer).
- Adjust scan settings (e.g., resolution, color mode) and press "Start Scan".
Figura 3.1: View of the Automatic Document Feeder (ADF) and the output tray on the HP LaserJet Pro M477fnw. This shows where documents are fed for scanning and where printed pages exit.
3.3.2 Scanning from a Computer
- Load the document.
- Open the HP Scan software on your computer.
- Select the desired scan shortcut or customize settings.
- Fai clic en "Escanear".
3.4 Copia de documentos
- Coloque o documento no cristal do escáner ou no ADF.
- On the control panel, select "Copy".
- Enter the number of copies and adjust settings (e.g., color/monochrome, reduce/enlarge, duplex).
- Press "Start Copy".
3.5 Envío de documentos por fax
- Connect a phone line to the printer's FAX LINE port.
- Coloque o documento no cristal do escáner ou no ADF.
- On the control panel, select "Fax".
- Introduza o número de fax do destinatario.
- Adjust settings as needed and press "Start Fax".
4. Mantemento
4.1 Substitución dos cartuchos de tóner
- Abra a porta de acceso frontal da impresora.
- Pull out the toner cartridge drawer.
- Grasp the handle of the used toner cartridge and pull it straight out.
- Unpack the new HP toner cartridge, shake it gently, and remove the orange protective tab.
- Insira o novo cartucho na ranura correspondente ata que encaixe no seu lugar.
- Close the toner cartridge drawer and the front access door.
4.2 Limpeza da impresora
4.2.1 Limpeza exterior
Limpe as superficies exteriores cun pano suave e sen fiaposampened with water. Avoid abrasive cleaners.
4.2.2 Scanner Glass Cleaning
Use un pano suave e sen pelusa dampened with glass cleaner to clean the scanner glass. Ensure no residue remains.
5 Solución de problemas
5.1 Problemas comúns e solucións
- A impresora non responde:
- Comprobe as conexións de enerxía.
- Verify network connectivity (Ethernet cable or Wi-Fi signal).
- Reinicie a impresora e o ordenador.
- Asegúrate de que os controladores da impresora estean instalados e actualizados correctamente.
- Atascos de papel:
- Follow on-screen instructions to clear paper jams.
- Open all access doors and carefully remove any jammed paper.
- Asegúrate de que o papel estea cargado correctamente e que non estea demasiado cheo.
- Mala calidade de impresión:
- Comprobe os niveis do cartucho de tóner e substitúao se é baixo.
- Perform a print quality diagnostic from the printer's control panel.
- Asegúrese de que está a usar cartuchos de tóner HP orixinais.
- Problemas de dixitalización:
- Clean the scanner glass and ADF rollers.
- Verify network connection if scanning to network destinations.
- Ensure the HP Scan software is up-to-date.
6. Especificacións
| Característica | Especificación |
|---|---|
| Modelo | M477fnw |
| Funcións | Imprimir, copiar, escanear, faxar |
| Tecnoloxía de impresión | Láser de cor |
| Print Speed (Black/Color) | Ata 28 ppm |
| Print Resolution (Black/Color) | Up to 600 x 600 dpi (Black), Up to 1200 x 1200 dpi (Color) |
| Impresión dúplex | Automático |
| Conectividade | Ethernet, USB, Wi-Fi |
| Tipo de escáner | Cama plana, ADF |
| Capacidade máxima da folla de entrada | 850 (with optional tray) |
| Memoria | 512 MB |
| Dimensións (ancho x profundo x alto) | 18.1 x 16.4 x 15.7 polgadas |
| Peso | 48.1 libras |
7. Garantía e soporte
7.1 Información da garantía
The HP LaserJet Pro M477fnw comes with a One-Year Limited Warranty. For detailed terms and conditions, please refer to the warranty documentation included with your product or visit the official HP support websitio.
7.2 Atención ao cliente
Para obter asistencia técnica, descargas de controladores ou máis información, visite o sitio web de soporte oficial de HP website or contact HP customer service. You can find contact details on the HP websitio web ou na documentación que se inclúe coa impresora.
Online resources are available at: support.hp.com