1. Información de seguridade
Read all instructions carefully before using the appliance. Keep this manual for future reference. Failure to follow these instructions may result in electric shock, fire, or damage to the appliance.
- Seguridade eléctrica: Ensure the washing machine is connected to a properly grounded power outlet. Do not use extension cords or adapters. Unplug the appliance before cleaning or performing any maintenance.
- Conexión de auga: Connect the water inlet hoses securely to the water supply and the machine. Check for leaks before first use.
- Nenos e animais: Keep children and pets away from the appliance during operation. Do not allow them to play with the machine or climb inside the drum.
- Materiais inflamables: Do not wash items that have been cleaned, washed, soaked, or spotted with combustible or explosive substances (such as wax, oil, paint, gasoline, degreasers, dry-cleaning solvents, kerosene, etc.).
- Instalación: The appliance must be installed on a firm, level surface. Adjust the leveling feet to prevent vibration and noise.
- Danos: Do not operate the machine if it is damaged, malfunctioning, or has a damaged power cord. Contact authorized service personnel for repairs.
2. Produto rematadoview
Familiarize yourself with the main components of your Svan SVL5610 washing machine.
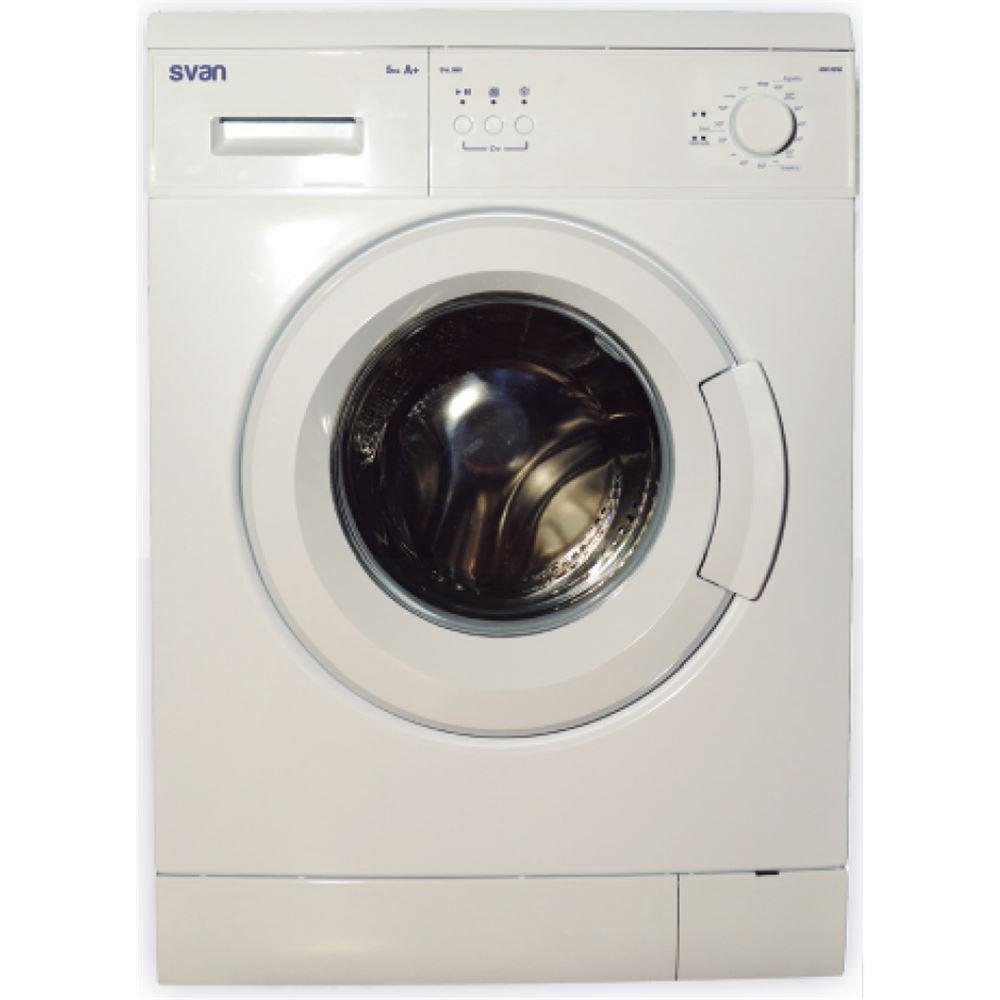
Imaxe 2.1: Fronte view of the Svan SVL5610 washing machine. This image shows the main body, the front-loading door, the control panel at the top, and the detergent dispenser drawer.
2.1 Principais compoñentes
- Panel de control: Located at the top front, it includes the program selector knob, function buttons, and a display screen (if applicable) for cycle information.
- Caixón dispensador de deterxente: Positioned on the left side of the control panel, it has compartments for pre-wash detergent, main wash detergent, and fabric softener.
- Tambor: The stainless steel inner drum where laundry is placed for washing.
- Porta: The front-loading door with a safety lock mechanism.
- Tapa do filtro: Located at the bottom front, covering the drain pump filter.
2.2 Panel de control rematadoview
The control panel allows you to select washing programs and customize settings.
- Botón selector de programas: Used to choose the desired washing program (e.g., Cotton, Synthetics, Delicates, Quick Wash).
- Botón Inicio/Pausa: Initiates or temporarily stops a washing cycle.
- Botón de temperatura: Axusta a temperatura da auga de lavado.
- Spin Speed Button: Modifies the spin speed for the final rinse.
- Botón de inicio retardado: Define unha hora de inicio diferida para o ciclo de lavado.
- Pantalla de visualización: Mostra o tempo restante, os códigos de erro e as opcións seleccionadas.
3. Instalación e configuración
Unha instalación axeitada é fundamental para o funcionamento seguro e eficiente da súa lavadora.
3.1 Desembalaxe
- Retire todos os materiais de embalaxe, incluída a base de poliestireno e calquera película protectora.
- Eliminar os parafusos de transporte: Locate and remove the transit bolts at the rear of the machine. These bolts secure the drum during transport and debe be removed before operation. Keep them for future transport.
- Insert the plastic caps provided into the holes left by the transit bolts.
3.2 Posicionamento e nivelación
- Place the machine on a firm, level floor, away from direct sunlight or heat sources.
- Adjust the leveling feet at the bottom of the machine by turning them clockwise or counter-clockwise until the machine is perfectly level and stable. Use a spirit level to verify.
3.3 Conexión de auga
- Connect the cold water inlet hose to the cold water tap and the corresponding inlet valve on the back of the machine. Ensure a tight seal to prevent leaks.
- Open the water tap fully and check for any leaks.
3.4 Conexión da mangueira de descarga
- The drain hose can be hooked over the edge of a sink or connected to a dedicated standpipe.
- Ensure the drain hose is not kinked or obstructed. The height of the drain hose should be between 60 cm and 100 cm from the floor.
3.5 Conexión eléctrica
- Conecte o cable de alimentación a unha toma de corrente con conexión a terra. Asegúrese de que o volumetage e a frecuencia coinciden coas especificacións do seu aparello.
- Non sobrecargue o circuíto eléctrico.
4. Instrucións de funcionamento
Siga estes pasos para un funcionamento eficaz e seguro da súa lavadora.
4.1 Preparación da roupa
- Clasifica a roupa por tipo de tecido, cor e grao de sucidade.
- Consulta as etiquetas da roupa para obter instrucións de lavado.
- Empty pockets, close zippers, and fasten hooks. Place small or delicate items in a mesh laundry bag.
4.2 Carga da roupa
- Abre a porta da lavadora.
- Load laundry loosely into the drum, ensuring not to overload the machine. An overloaded machine will not wash effectively and may cause excessive vibration.
- Peche a porta firmemente ata que faga clic.
4.3 Engadir deterxente e suavizante
- Tire do caixón do dosificador de deterxente.
- Add the appropriate amount of detergent to the main wash compartment (usually marked 'II' or 'Main Wash').
- If using pre-wash, add detergent to the pre-wash compartment (usually marked 'I' or 'Pre-Wash').
- Add fabric softener to the softener compartment (usually marked with a flower symbol). Do not exceed the 'MAX' line.
- Introduza o caixón do deterxente completamente de volta para dentro.
4.4 Selecting a Program and Starting the Wash
- Turn the Program Selector Knob to choose the desired washing program.
- Adjust additional settings such as temperature and spin speed using the corresponding buttons, if desired.
- Preme o Inicio/Pausa button to begin the wash cycle. The machine will automatically lock the door and start filling with water.
4.5 During the Wash Cycle
- To pause a running cycle, press the Inicio/Pausa botón. Próbeo de novo para continuar.
- To change a program, you may need to cancel the current program first (refer to your specific model's instructions for cancelling a program, often by holding the Start/Pause button or turning the program knob to 'Off').
4.6 Fin de ciclo
- The machine will signal the end of the cycle (e.g., with a beep or 'End' on the display).
- Wait for the door lock to release before opening the door.
- Retire a roupa axiña para evitar engurras e cheiros.
- Unplug the machine and turn off the water tap after each use.
5. Mantemento e Limpeza
Un mantemento regular garante un rendemento óptimo e prolonga a vida útil da túa lavadora.
5.1 Cleaning the Detergent Dispenser Drawer
- Tire completamente do caixón do deterxente.
- Retire calquera peza extraíble (por exemplo, o inserto do suavizante).
- Rinse all parts under running water to remove detergent residue. Use a brush if necessary.
- Clean the drawer housing with a damp pano.
- Volva montar e volver inserir o caixón.
5.2 Limpeza do filtro da bomba de drenaxe
The drain pump filter should be cleaned periodically to prevent blockages.
- Place a shallow container or towel under the filter cover to catch any residual water.
- Open the filter cover at the bottom front of the machine.
- Slowly unscrew the filter counter-clockwise. Allow water to drain out.
- Remove any lint, coins, or foreign objects from the filter and its housing.
- Enxágüe o filtro baixo auga corrente.
- Screw the filter back in clockwise until it is tight. Close the filter cover.
5.3 Limpeza do tambor e da xunta da porta
- Run a maintenance wash cycle (e.g., a hot wash with no laundry and a descaling agent or washing machine cleaner) monthly to prevent odor and residue buildup.
- Limpar a xunta de goma da porta con publicidadeamp cloth after each wash to remove moisture and lint, preventing mold growth.
- Leave the door slightly ajar after use to allow the drum to air dry.
5.4 Limpeza do exterior
- Limpe as superficies exteriores cun suave, damp pano. Non use produtos de limpeza ou disolventes abrasivos.
6 Solución de problemas
Antes de contactar co servizo de asistencia, consulte esta sección para coñecer os problemas habituais e as súas solucións.
| Problema | Causa posible | Solución |
|---|---|---|
| A máquina non arranca | Power cord not plugged in; door not closed properly; water tap closed; program not selected; Start/Pause button not pressed. | Check power connection; ensure door is latched; open water tap; select a program; press Start/Pause. |
| Sen recheo de auga | Billa de auga pechada; mangueira de entrada de auga dobrada; subministración de auga cortada. | Abrir a billa da auga; endereitar a mangueira; comprobar o subministro de auga da casa. |
| A auga non drena | Manguera de drenaxe dobrada ou bloqueada; filtro da bomba de drenaxe atascado. | Straighten drain hose; clean drain pump filter (see Section 5.2). |
| Vibración / ruído excesivos | Transit bolts not removed; machine not level; uneven load; too much laundry. | Remove transit bolts (if not already); adjust leveling feet; redistribute laundry; reduce load size. |
| Residuos de deterxente no caixón | Insufficient water pressure; clogged dispenser; too much detergent. | Check water pressure; clean detergent drawer (see Section 5.1); use recommended detergent amount. |
| A porta non se abrirá | Cycle not finished; water still in drum; safety lock engaged. | Wait for cycle to complete and door lock to release; if water remains, select a drain program. |
If the problem persists after attempting these solutions, please contact Svan customer support.
7. Especificacións
Technical data for the Svan SVL5610 Front-Load Washing Machine.
| Característica | Especificación |
|---|---|
| Número de modelo | SVL5610 (8436545120750) |
| Marca | Svan |
| Tipo | Lavadora de carga frontal |
| Capacidade | 5 quilogramos |
| Velocidade de xiro máxima | 600 RPM |
| Cor | Branco |
| Profundidade do produto | 49.7 centímetros |
| Entrada da interface humana | Botóns |
| ASIN | B014WFEF5O |
8. Garantía e soporte
For warranty information, service requests, or technical support, please refer to the warranty card included with your product or visit the official Svan websitio.
- Período de garantía: The warranty period typically begins from the date of purchase. Keep your proof of purchase for warranty claims.
- Contacte con Soporte: For assistance, please contact Svan customer service. Contact details can usually be found on the manufacturer's websitio ou na embalaxe do produto.
- Servizo autorizado: All repairs must be carried out by authorized service personnel to maintain warranty validity.
Nota: Product specifications and features are subject to change without prior notice for product improvement.