
1. Introdución
Grazas pola compraasing the Cheerlux C6 Mini Portable LED Home Cinema Projector. This manual provides essential information for the safe and efficient operation of your projector. Please read it thoroughly before use and retain it for future reference.
2. Produto rematadoview
The Cheerlux C6 is a compact and portable LED projector designed for home cinema use. It features an integrated speaker and multiple connectivity options.
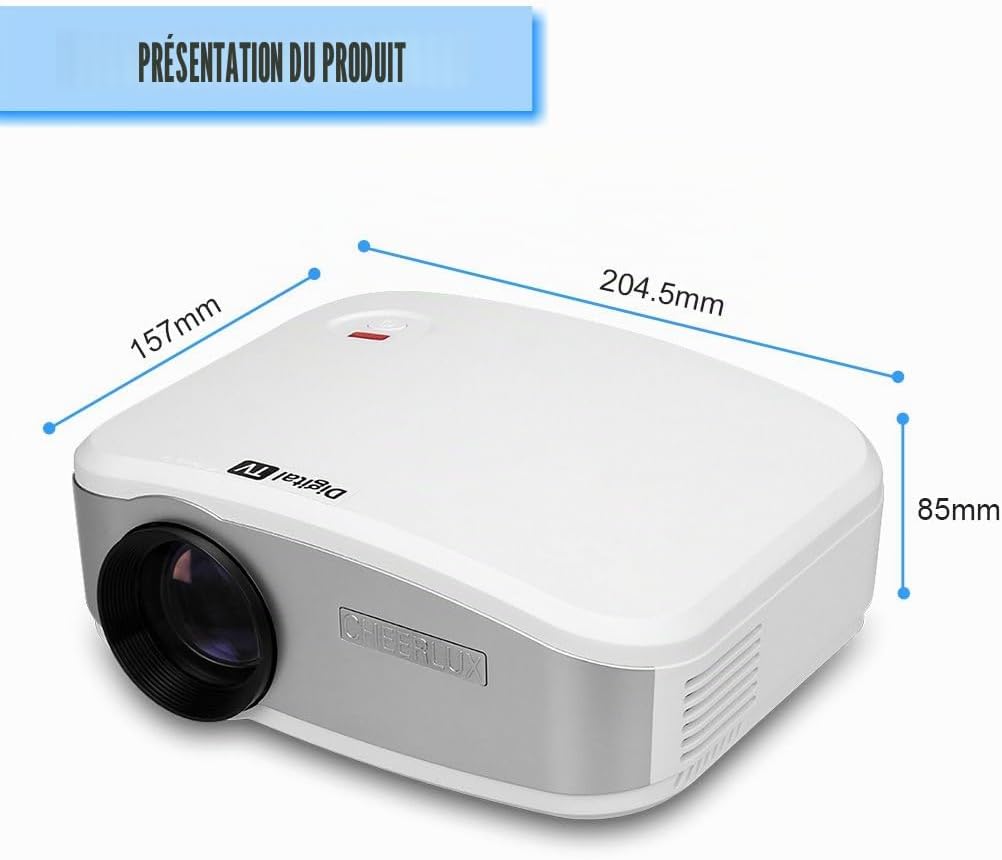
Figura 2.1: Fronte view of the Cheerlux C6 projector with its dimensions (204.5mm x 157mm x 85mm).
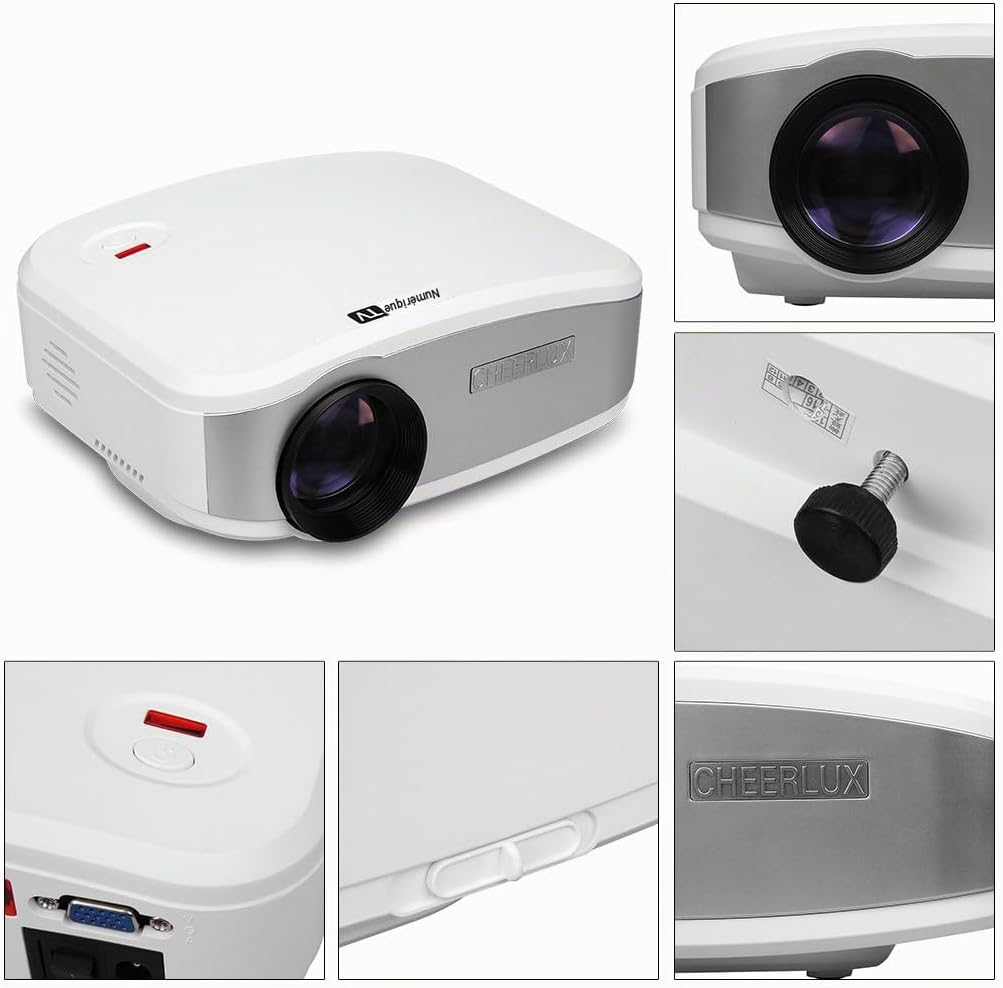
Figura 2.2: Detallado views highlighting the projector's design, lens, power button, and branding.
2.1 Contido do paquete
Verifica que todos os elementos estean presentes no paquete:
- Proxector Cheerlux C6
- Adaptador de alimentación
- Video Cable (AV cable)
- Control remoto
- Manual de usuario (este documento)

Figura 2.3: Standard accessories included with the Cheerlux C6 projector.
2.2 Projector Ports and Controls

Figura 2.4: Rear panel connections and controls.
- Entrada de TV: For connecting to an antenna or cable TV source.
- Porto USB: Para conectar dispositivos de almacenamento USB (por exemplo, unidades flash) para reproducir contido multimedia files.
- Porto HDMI: For connecting high-definition devices such as laptops, game consoles, or Blu-ray players.
- Saída de audio de 3.5 mm: Para conectar altofalantes externos ou auriculares.
- Receptor IR: Receptor de infravermellos para o control remoto.
- Entrada AV: For connecting devices using a composite video and stereo audio cable.
- Porto VGA: For connecting computers or laptops with a VGA output.
- Interruptor de alimentación: Interruptor principal de acendido/apagado.
- Corrección Keystone: Manual adjustment for image distortion.
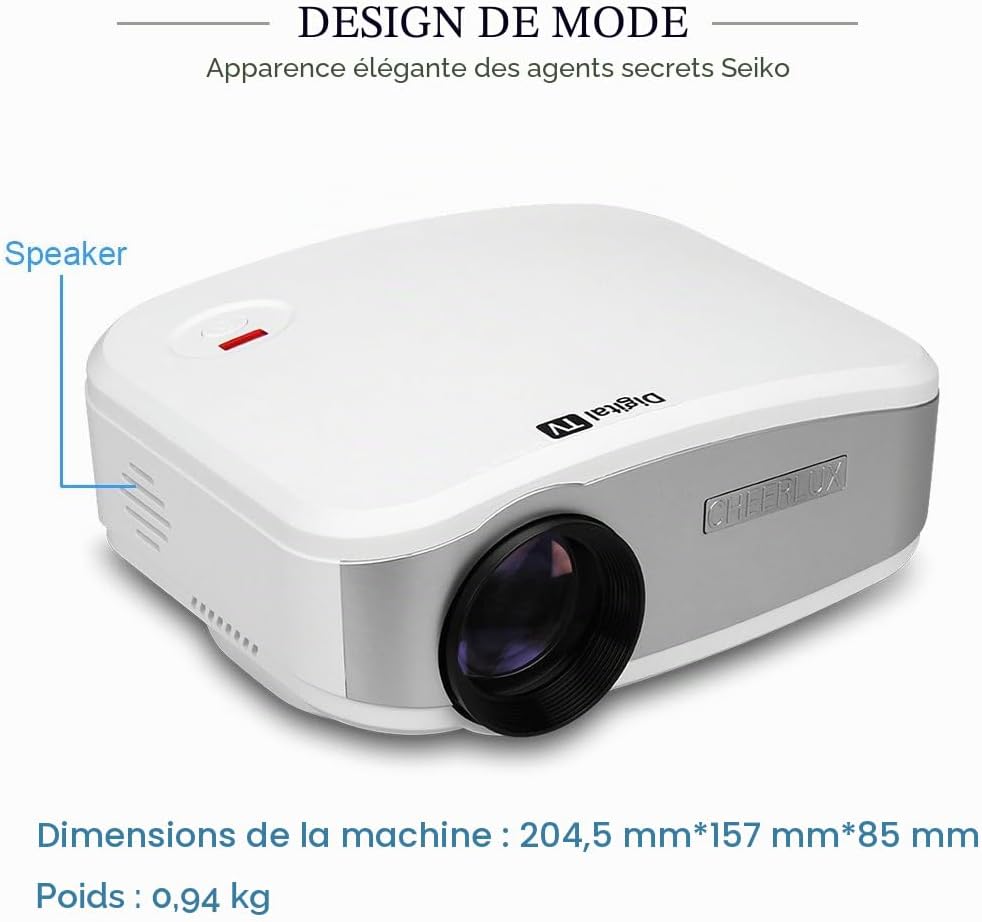
Figura 2.5: Lado view indicating the location of the integrated speaker.
3. Configuración
3.1 Colocación
Place the projector on a stable, flat surface. Ensure there is adequate ventilation around the projector to prevent overheating. The projection distance will determine the image size. Adjust the distance to achieve your desired screen size.
3.2 Conexión de alimentación
- Conecta o adaptador de corrente á entrada de alimentación do proxector.
- Enchufe o adaptador de alimentación nunha toma eléctrica adecuada.
- Flip the main power switch (located on the rear panel) to the "ON" position. The power indicator light should illuminate.
3.3 Acendido inicial e axuste do enfoque
- Prema o botón de acendido do proxector ou do control remoto para acender a unidade.
- Project an image onto a screen or wall.
- Xire o anel de enfoque da lente do proxector ata que a imaxe apareza nítida e clara.
- If the image appears trapezoidal, use the keystone correction knob (located on the rear panel) to adjust the image geometry until it is rectangular.
4. Instrucións de funcionamento
4.1 Operación de control remoto
The included remote control allows for convenient operation of the projector from a distance. Ensure the remote is pointed towards the IR receiver on the projector's rear panel.
Figura 4.1: The remote control for navigating menus and functions.
- Botón de encendido: Acende ou apaga o proxector.
- Botón de orixe: Selects the input source (HDMI, VGA, USB, AV, TV).
- Teclas de frecha: Navega polos menús e opcións.
- Botón Aceptar/Intro: Confirma as seleccións.
- Botón de menú: Accede ao menú principal de configuración.
- Botóns de volume: Axusta o volume de audio.
- Botón de silencio: Silencia ou activa o audio.
4.2 Selección da fonte de entrada
After connecting your desired device, press the "Source" button on the remote control or the projector's control panel to cycle through available input sources (HDMI, VGA, USB, AV, TV) until your device's signal is displayed.
4.3 Navegación polo menú e configuración
Press the "Menu" button to access the projector's settings. Use the arrow keys to navigate and the "OK" button to select. Common settings include:
- Configuración da imaxe: Adjust brightness, contrast, color, sharpness, and aspect ratio.
- Configuración de son: Adjust volume, sound mode, and balance.
- Configuración horaria: Set sleep timer or clock.
- Configuración de opcións: Language, factory reset, software update.
5. Conectividade
The Cheerlux C6 projector offers various connection options to suit different devices.

Figura 5.1: Examples of compatible devices for the Cheerlux C6 projector.
- HDMI: Connect to laptops, desktop computers, game consoles (e.g., PS3), Blu-ray players, and TV decoders for high-quality digital video and audio.
- VGA: Connect to older desktop computers or laptops for analog video signals.
- USB: Insert a USB flash drive to play supported media files (videos, photos, music, text documents) directly from the drive.
- AV (Composite Video): Connect to DVD players, VCRs, older game consoles, or cameras using the included AV cable for standard definition video and stereo audio.
- TV: Connect an antenna or cable TV source to watch broadcast television channels.
- Saída de audio de 3.5 mm: Connect external speakers or headphones for enhanced audio experience. The projector has an integrated speaker, but external audio devices can be used for louder or higher quality sound.
6. Mantemento
6.1 Limpeza da lente
Usa un pano suave e sen fiapos deseñado especificamente para lentes ópticas para limpar con coidado a lente do proxector. Non empregues produtos de limpeza abrasivos nin forzas excesivas, xa que isto pode raiar a lente.
6.2 Ventilación
Ensure the projector's ventilation vents are clear and unobstructed. Blocked vents can lead to overheating and damage the projector. Periodically clean dust from the vents using a soft brush or compressed air.
6.3 Almacenamento
Cando non o use durante períodos prolongados, garde o proxector nun lugar fresco e seco, lonxe da luz solar directa e de temperaturas extremas. Cubra a lente coa súa tapa para protexela do po.
7 Solución de problemas
Se tes problemas co teu proxector, consulta os seguintes problemas e solucións comúns:
| Problema | Posible causa/solución |
|---|---|
| Non se mostra ningunha imaxe |
|
| A imaxe está borrosa |
|
| Image is distorted (trapezoidal) |
|
| Sen son |
|
| O control remoto non funciona |
|
8. Especificacións
| Característica | Detalle |
|---|---|
| Marca | Cheerlux |
| Número de modelo | C6 |
| Uso recomendado | Cine en casa |
| Característica especial | Portable, Integrated Speaker |
| Tecnoloxía de conectividade | USB, VGA, HDMI, AV, TV |
| Resolución de visualización | 800 x 480 píxeles |
| Resolución máxima de visualización | 800 x 480 píxeles |
| Tipo de visualización | LED |
| Factor de forma | Portátil |
| Brillo | 3000 lúmenes |
| Relación de contraste | 1000:1 |
| Dispositivos compatibles | Laptop, Tablet, Game Console, Smartphone, Speaker, Television |
| Método de control | Control remoto |
| Codificación de vídeo | H.264, H.265 |
| Peso do elemento | 2.07 libras (aprox. 0.94 kg) |
| Cor | Branco |
9. Garantía e soporte
For warranty information or technical support, please refer to the documentation provided at the time of purchase or contact Cheerlux customer service. Keep your purchase receipt as proof of purchase.