1. Introdución
The Seneo 1.3L Cool Mist Ultrasonic Humidifier is designed to improve the air quality in your home or office by adding moisture to dry environments. Utilizing advanced ultrasonic technology, it operates quietly, making it ideal for bedrooms, nurseries, and workspaces. This humidifier also features a 7-color changing LED light, providing a soothing ambiance, and includes a dedicated tray for essential oils to diffuse pleasant aromas.

Figure 1: The Seneo 1.3L Cool Mist Ultrasonic Humidifier, showcasing its sleek design, visible water tank with blue illumination, and mist output.
2. Instrucións de seguridade importantes
Please read and follow all safety instructions before using this appliance to prevent injury or damage.
- Coloque sempre o humidificador sobre unha superficie firme, plana e impermeable a polo menos 15 cm (6 polgadas) de distancia das paredes e dos electrodomésticos.
- Do not place the humidifier directly on carpet, wood, or other surfaces that may be damaged by water or moisture.
- Use only clean, cool tap water. Distilled or demineralized water is recommended to prevent mineral buildup and white dust.
- DO NOT add essential oil directly into the water tank. Always use the designated essential oil tray located at the bottom of the unit.
- Unplug the humidifier from the power outlet before filling, cleaning, or moving the unit.
- Non faga funcionar o humidificador cun cable ou enchufe danados.
- Manteña o humidificador fóra do alcance dos nenos e das mascotas.
- Non bloquee a saída de néboa nin as aberturas de entrada de aire.
- Non sumerxa a unidade base en auga ou outros líquidos.
- Regular cleaning is essential to prevent mold and bacteria growth.
3. Compoñentes do produto
Familiarize yourself with the main parts of your Seneo Humidifier:
- Boquilla de néboa: Top part where mist is emitted.
- Depósito de auga: Transparent reservoir for water, 1.3L capacity.
- Unidade base: Contains the ultrasonic transducer, fan, and control panel.
- Botón de control: Adjusts mist output intensity and acts as power ON/OFF.
- LED ON/OFF Button: Controls the 7-color changing LED light.
- Power/Lack Indicator Light: Illuminates when powered on or indicates low water.
- Bandexa de aceites esenciais: Small tray at the bottom for adding essential oils.
4. Guía de configuración
4.1 Desembalaxe
Carefully remove all packaging materials and ensure all components are present and undamaged. Retain packaging for future storage or transport.
4.2 Colocación
Place the humidifier on a flat, stable, and waterproof surface. Ensure it is at least 6 inches (15 cm) away from walls, furniture, and electronic devices to prevent moisture damage.
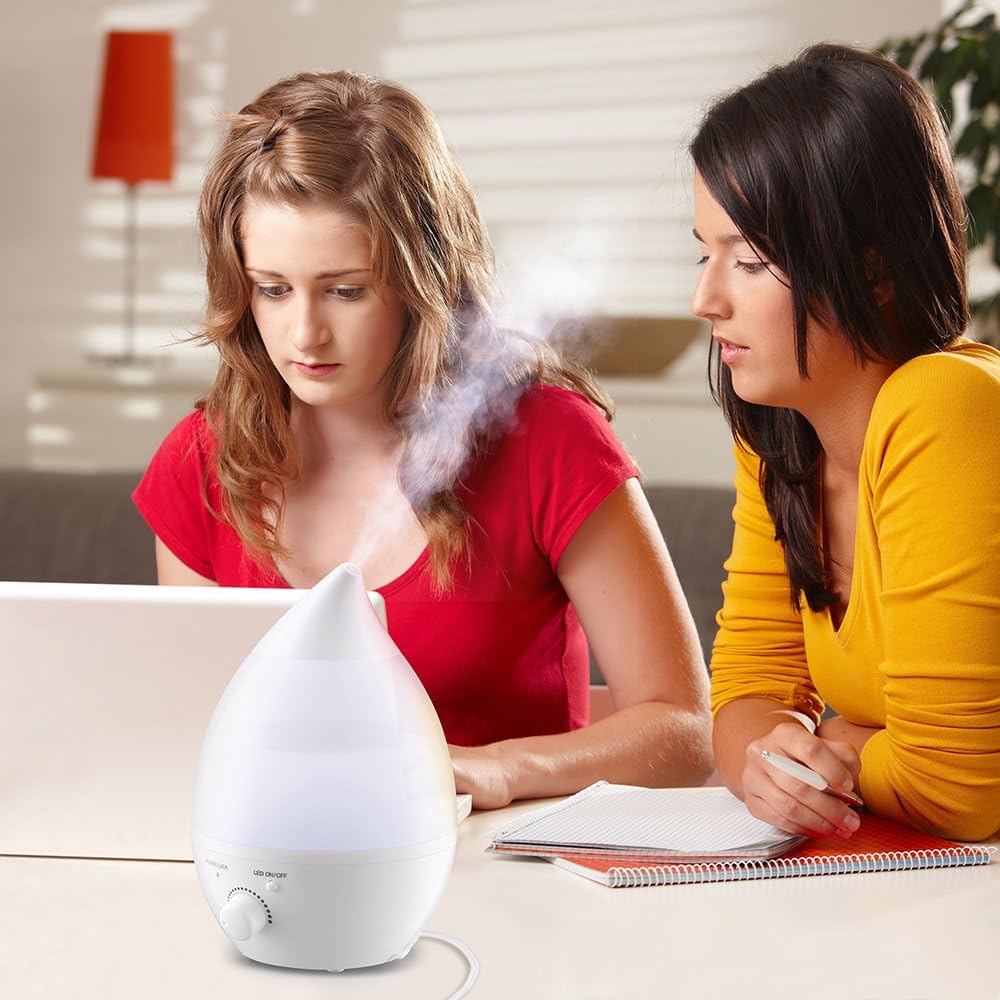
Figure 2: Proper placement of the humidifier on a stable surface, away from other objects.
4.3 Enchendo o depósito de auga
- Retire o depósito de auga da unidade base.
- Desenrosque a tapa do depósito na parte inferior do depósito de auga.
- Fill the water tank with clean, cool tap water. Distilled or demineralized water is recommended. Do not fill past the MAX line.
- Volva a roscar firmemente a tapa do depósito.
- Volva colocar o depósito de auga cheo na unidade base, asegurándose de que estea correctamente asentado.
4.4 Engadir aceites esenciais (opcional)
If you wish to use essential oils, locate the small tray at the bottom of the base unit. Add a few drops of your preferred essential oil to the tray. Do not add essential oils directly into the water tank, as this can damage the unit and void the warranty.
5. Instrucións de funcionamento
5.1 Power On/Off and Mist Control
- Plug the power cord into a standard electrical outlet. The Power/Lack indicator light will illuminate.
- Turn the control knob clockwise to turn on the humidifier and adjust the mist output. Continue turning clockwise to increase mist intensity.
- Turn the control knob counter-clockwise until it clicks to turn off the humidifier.
5.2 Control da luz LED
The humidifier features a 7-color changing LED light function.
- Press the "LED ON/OFF" button once to turn on the automatic color-changing mode.
- Press the "LED ON/OFF" button again to pause on a specific color.
- Press the "LED ON/OFF" button a third time to turn off the LED light.

Figure 3: The humidifier demonstrating its 7-color changing LED light feature, providing a soothing visual effect.
6. Mantemento e Limpeza
Regular cleaning is crucial for optimal performance and hygiene. Unplug the unit before any cleaning.
6.1 Mantemento diario
- Empty the water tank and base unit daily.
- Rinse the water tank and base unit with clean water.
- Wipe the base unit dry with a clean cloth.
6.2 Limpeza semanal
To remove mineral buildup and ensure proper operation:
- Unplug the humidifier and empty all water from the tank and base.
- Fill the water tank with 1 cup of white vinegar and 1 cup of water. Let it sit for 30 minutes.
- Pour the solution out and rinse the tank thoroughly with clean water.
- For the base unit, gently wipe the ultrasonic transducer (the small disc) and the water basin with a soft brush or cloth dipped in white vinegar.
- Rinse the base unit thoroughly with clean water, ensuring no vinegar residue remains.
- Seque todas as superficies antes de volvelas montar.
Note: Do not use harsh chemicals or abrasive cleaners. Do not submerge the base unit in water.
6.3 Almacenamento
When storing the humidifier for an extended period, ensure all parts are clean and completely dry. Store in a cool, dry place, preferably in its original packaging.
7 Solución de problemas
| Problema | Causa posible | Solución |
|---|---|---|
| Sen néboa ou baixa produción de néboa. |
|
|
| Fuga de auga da unidade. |
|
|
| Ruído insólito. |
|
|
| A luz LED non funciona. |
|
|
8. Especificacións
| Característica | Detalle |
|---|---|
| Número de modelo | SHM5W |
| Marca | Xenérico |
| Capacidade | 1.3 litros |
| Tempo de operación | Ata máis de 5 horas |
| Tecnoloxía | Ultrasónico Cool Mist |
| Características especiais | 7-Color Changing LED Light, Quiet Operation, Essential Oil Tray |
| Cor | Branco |
| Dimensións | 14 x 9.8 x 9.8 polgadas |
| Peso | 2 libras |
9. Garantía e soporte
Para obter información sobre a garantía ou asistencia técnica, consulte a embalaxe do produto ou póñase en contacto directamente co fabricante. Garde o recibo de compra como proba de compra.