
1. Introdución
Thank you for choosing the Superfish Smart Timer. This digital timer is designed to automate the on/off cycles of your aquarium lighting and other electrical devices, providing a consistent and stable environment for your aquatic life. Please read this manual carefully before use to ensure proper operation and safety.
2. Instrucións de seguridade
- Always disconnect the timer from the power supply before handling or performing any maintenance.
- This device is designed for indoor use only. Do not expose it to water splashes or high humidity.
- Ensure your hands are dry when plugging in or unplugging the timer.
- Do not exceed the maximum load capacity specified for this timer.
- Manter fóra do alcance dos nenos.
- If the timer appears damaged, do not use it. Contact customer support.
- Do not attempt to open or repair the timer yourself. This will void the warranty.
3. Produto rematadoview
The Superfish Smart Timer is a compact digital timer featuring a clear display and intuitive buttons for programming. It allows for precise control over the power supply to connected devices.
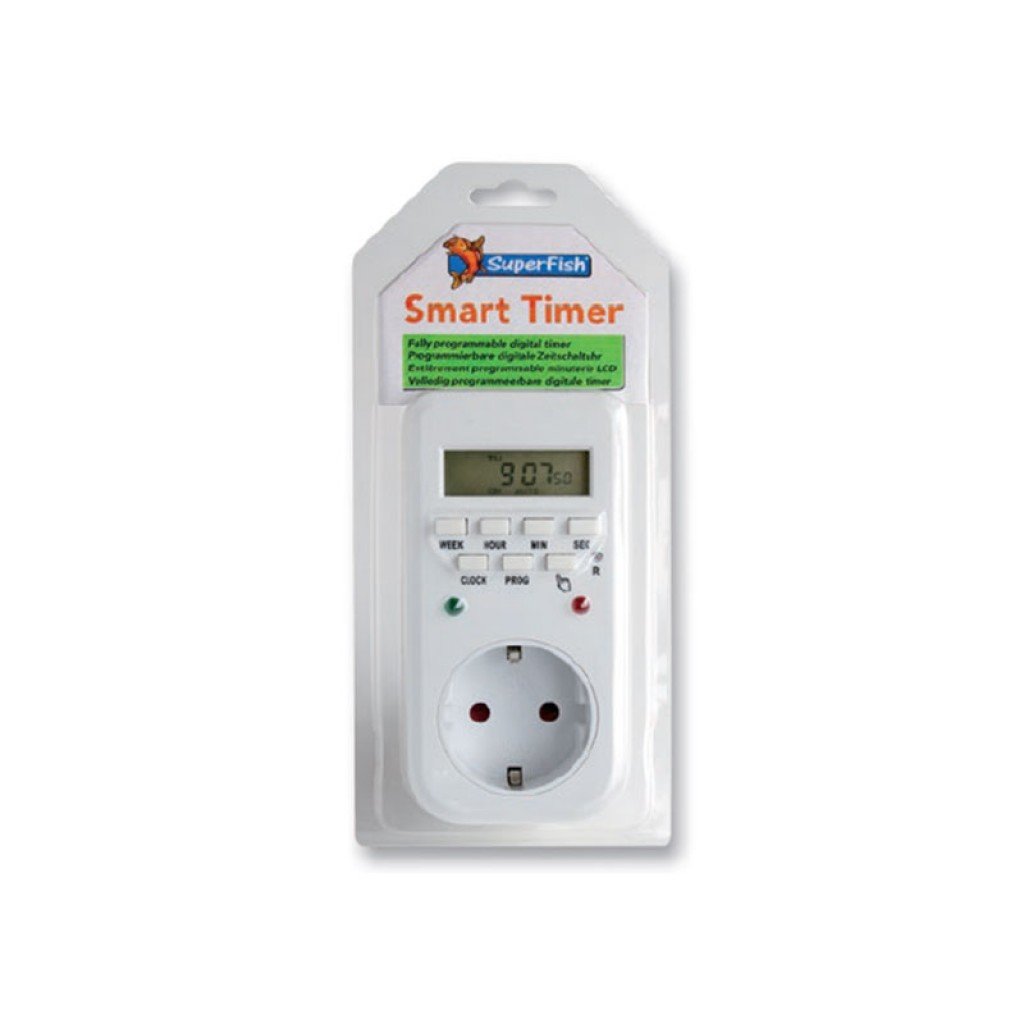
Image 1: Superfish Smart Timer. This image shows the front of the Superfish Smart Timer, highlighting its digital display and control buttons. The timer is designed for easy programming and monitoring of connected devices.
Os compoñentes clave adoitan incluír:
- Pantalla dixital: Mostra a hora actual, o estado do programa e a configuración.
- Botóns de control: For setting time, programs, and manual override.
- Toma de corrente: Where you connect your appliance.
- Enchufe de alimentación: To connect the timer to a wall socket.
4. Configuración
- Cargo inicial (se corresponde): If your timer has a built-in battery for memory backup, plug it into a wall socket for at least 30 minutes before first use to charge the internal battery.
- Borrar todas as opcións: Press the "R" (Reset) button with a pointed object (e.g., a pen tip) to clear all previous settings. The display will show "00:00".
- Establecer a hora actual:
- Prema o botón "RELOXO" e manteña premido.
- While holding "CLOCK", press "WEEK" to set the day of the week.
- While holding "CLOCK", press "HOUR" to set the hour.
- While holding "CLOCK", press "MINUTE" to set the minute.
- Release the "CLOCK" button. The current time is now set.
- Conectar o dispositivo: Plug the appliance you wish to control (e.g., aquarium light) into the outlet on the Superfish Smart Timer.
- Plug Timer into Wall Socket: Insert the Superfish Smart Timer's plug into a standard wall socket.
5. En funcionamento
5.1 Programación de ciclos de acendido/apagado
The Smart Timer allows you to set multiple ON/OFF programs. Follow these steps to program your desired cycles:
- Prema o botón "PROG" unha vez. A pantalla mostrará "1 ON".
- Press "WEEK" to select the day(s) for this program (e.g., MO, TU, WE, TH, FR, SA, SU, or combinations like MO-FR, SA-SU, MO-SU).
- Prema "HOUR" para axustar a hora de acendido desexada.
- Press "MINUTE" to set the desired ON minute.
- Prema "PROG" de novo. A pantalla mostrará "1 OFF".
- Repita os pasos 2-4 para axustar a hora de apagado desexada para o primeiro programa.
- Continue pressing "PROG" to cycle through "2 ON", "2 OFF", and so on, up to the maximum number of programs supported by your timer.
- Despois de configurar todos os programas desexados, prema o botón "RELOXO" para volver á visualización da hora actual.
5.2 Anulación manual
The "MANUAL" button allows you to override the programmed settings temporarily:
- Press "MANUAL" repeatedly to cycle through modes:
- ACTIVADO: The connected appliance will remain ON continuously, ignoring programs.
- OFF: The connected appliance will remain OFF continuously, ignoring programs.
- AUTOMÁTICO: The timer will operate according to the programmed ON/OFF cycles. This is the standard operating mode.
- Always ensure the timer is set to "AUTO" for automatic operation.
5.3 Random Function (if available)
Some models may include a "RANDOM" function, which can slightly vary the ON/OFF times to simulate a more natural environment or deter intruders. Consult your specific model's features for activation.
6. Mantemento
- Limpeza: Disconnect the timer from the power supply. Wipe the exterior with a soft, dry cloth. Do not use abrasive cleaners or immerse the timer in water.
- Almacenamento: Se garda o temporizador durante un período prolongado, asegúrese de que estea limpo e seco. Gárdeo nun lugar fresco e seco, lonxe da luz solar directa.
- Copia de seguridade da batería: The internal battery (if present) is designed for memory backup. If the display becomes dim or resets frequently after power outages, the internal battery may need recharging by keeping the timer plugged in for several hours.
7 Solución de problemas
| Problema | Causa posible | Solución |
|---|---|---|
| A pantalla do temporizador está en branco. | Sen fonte de alimentación. | Check if the timer is properly plugged into a live wall socket. Check the wall socket with another appliance. |
| O aparello non se acende/apaga segundo a programación. | Incorrect program settings; Timer in Manual ON/OFF mode; Appliance not working. | Review program settings carefully. Ensure the timer is in "AUTO" mode. Test the appliance by plugging it directly into a wall socket. |
| Time or programs reset after power outage. | Internal backup battery low or not charged. | Keep the timer plugged into a live socket for at least 4 hours to fully charge the internal battery. |
| Os botóns non responden. | Fallo temporal do software. | Perform a full reset using the "R" button. Re-program all settings. |
8. Especificacións
- Modelo: SF-SMARTIMER
- ASIN: B01CZTS47E
- Peso do artigo: 349.27 g
- Pilas necesarias: No (internal backup battery for memory, not user-replaceable)
- Montaxe necesaria: Non
- Referencia do fabricante: SF-SMARTIMER
- Primeira data dispoñible: 2 de decembro de 2022
- Actualizacións de software garantidas ata: Descoñecido
- Descontinuado polo fabricante: Non
- Note: Specific electrical ratings (Voltage, Max Load) are typically printed on the device itself. Always adhere to these ratings.
9. Garantía e soporte
Superfish products are manufactured to high-quality standards. For warranty information, please refer to the documentation provided with your purchase or visit the official Superfish websitio. Garda o comprobante de compra para reclamacións de garantía.
For technical support or further assistance, please contact your retailer or the Superfish customer service department. Contact details can usually be found on the product packaging or the official Superfish websitio.
Websitio: www.superfish.com (Nota: Este é un marcador de posición URL, please verify the actual official website for Superfish.)