
1. Produto rematadoview
The Atlanta 1882-19 is a compact, radio-controlled digital alarm clock designed for ease of use. It features an easy-to-read LCD display that shows the current time, date, and temperature. The clock automatically adjusts its time based on the DCF77 atomic clock radio signal, including automatic daylight saving time changes. It includes a convenient snooze function and a blue backlight for visibility in low light conditions.
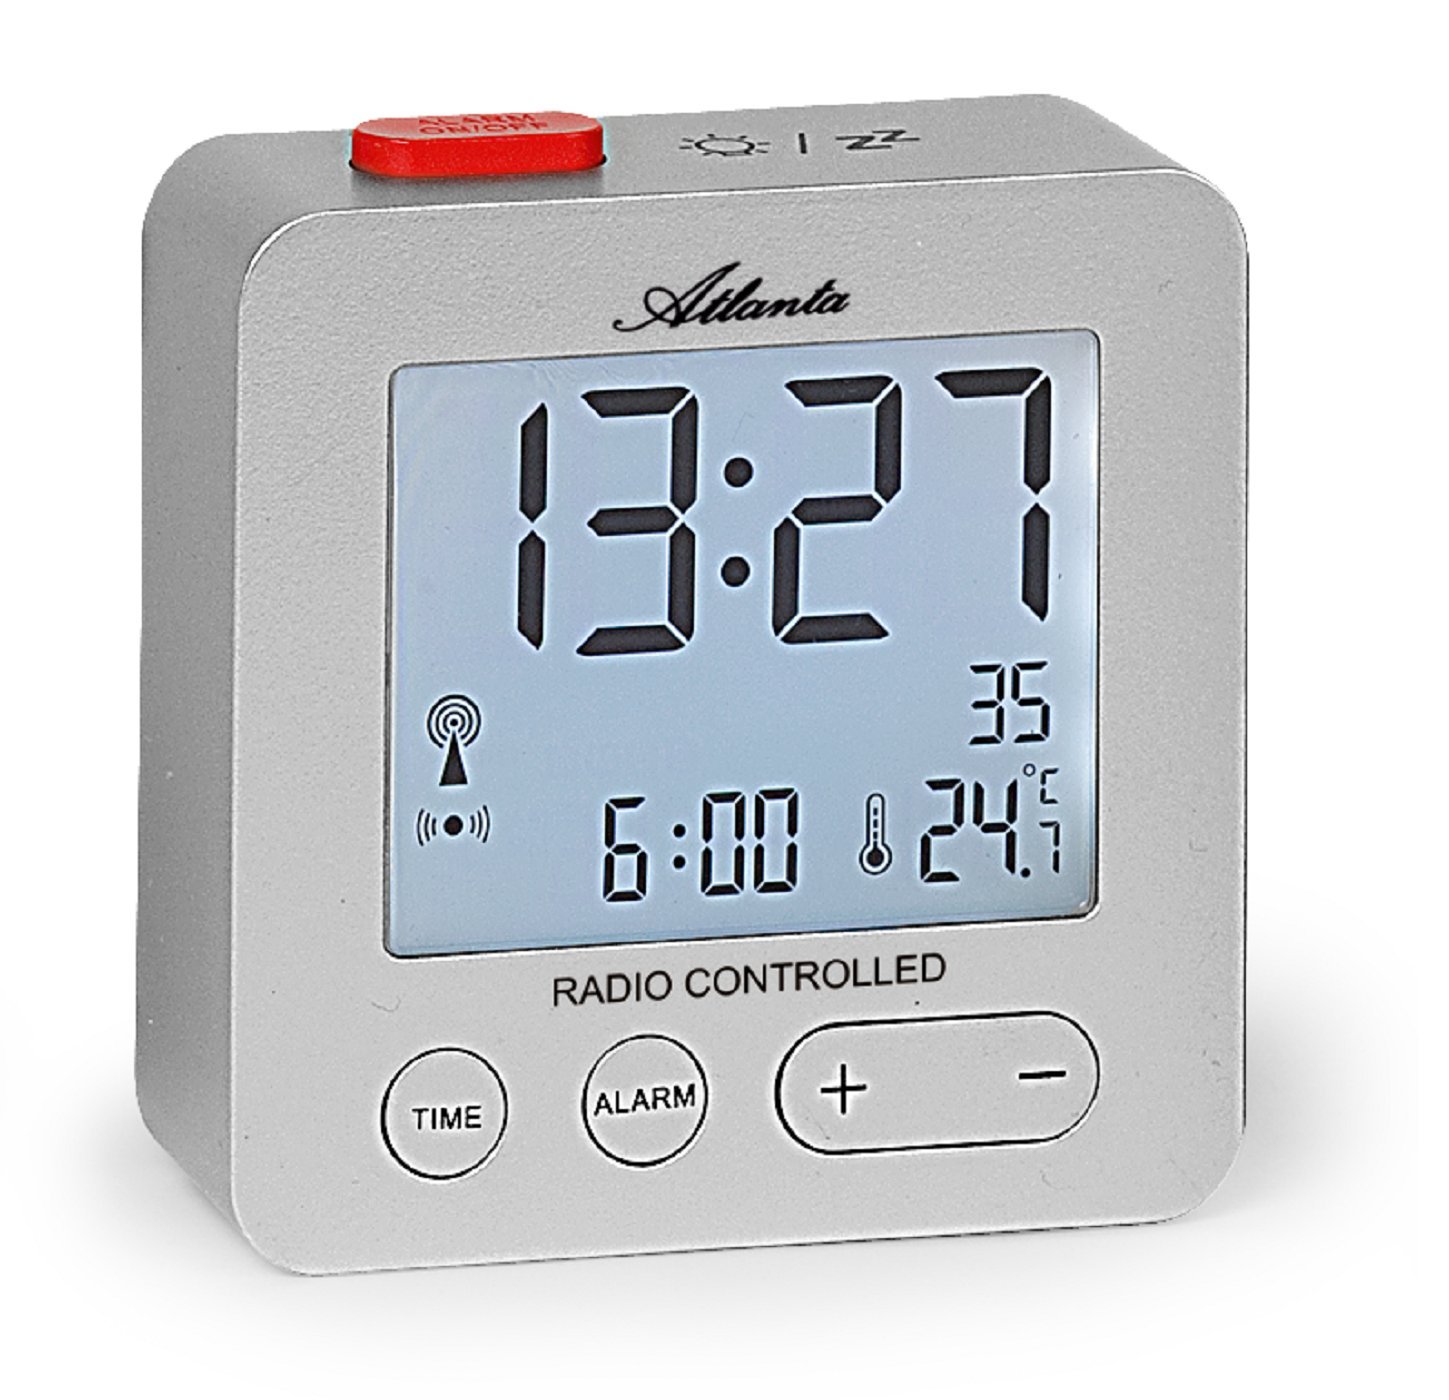
Figura 1: Fronte view of the Atlanta 1882-19 Digital LCD Alarm Clock. The display shows the time, date, and temperature, along with a radio signal indicator. A red button for alarm on/off is visible on top.
2. Contido do paquete
- Atlanta 1882-19 Digital LCD Alarm Clock
- Manual de usuario (este documento)
Nota: As pilas non están incluídas e deben mercarse por separado.
3. Configuración
3.1 Instalación da batería
- Localiza a tapa do compartimento das pilas na parte traseira do reloxo despertador.
- Deslice ou solte a tapa para abrir o compartimento.
- Insert the required batteries (typically 2x AAA, not included) according to the polarity indicators (+ and -) inside the compartment.
- Volva colocar a tapa do compartimento da batería, asegurándose de que estea ben pechada.

Figura 2: Traseira view of the alarm clock, illustrating the battery compartment and the 'WAVE' button for radio signal reception.
3.2 Initial Power On and Radio Signal Reception
Upon battery installation, the clock will automatically attempt to receive the DCF77 radio signal to set the time. This process may take several minutes. Ensure the clock is placed away from electronic devices that may cause interference and near a window for optimal signal reception.
- A radio signal icon will appear on the display when the clock is attempting to receive the signal.
- Once the signal is successfully received, the time will automatically set, and the icon will stabilize.
- If the signal is not received after a prolonged period, try relocating the clock or manually setting the time (refer to section 4.1).
4. Instrucións de funcionamento
4.1 Setting Time Manually
In areas with poor radio signal reception, the time can be set manually.
- Manteña premido o TEMPO button (located on the front) for a few seconds until the time display starts flashing.
- Usa o + e - botóns para axustar as horas.
- Preme o TEMPO button again to switch to minutes adjustment. Use + e - para establecer minutos.
- Continúa presionando TEMPO para percorrer os axustes de ano, mes e día, axustando cada un con + e -.
- Preme TEMPO one last time or wait a few seconds for the settings to be saved.
4.2 Axustar a alarma
- Manteña premido o ALARMA button (located on the front) for a few seconds until the alarm time display starts flashing.
- Usa o + e - buttons to adjust the alarm hours.
- Preme o ALARMA button again to switch to alarm minutes adjustment. Use + e - para establecer minutos.
- Preme ALARMA one last time or wait a few seconds for the alarm setting to be saved.
- To activate or deactivate the alarm, briefly press the red ALARMA ON / OFF button on the top of the clock. An alarm icon will appear on the display when the alarm is active.
4.3 Función Snooze
When the alarm sounds, press the red ALARMA ON / OFF button on the top of the clock to activate the snooze function. The alarm will temporarily stop and sound again after a few minutes (typically 5-10 minutes, depending on the model's default setting).
4.4 Luz de fondo da pantalla
To illuminate the display with a blue backlight, briefly touch the top of the clock. The backlight will remain on for a few seconds, providing temporary visibility in the dark.
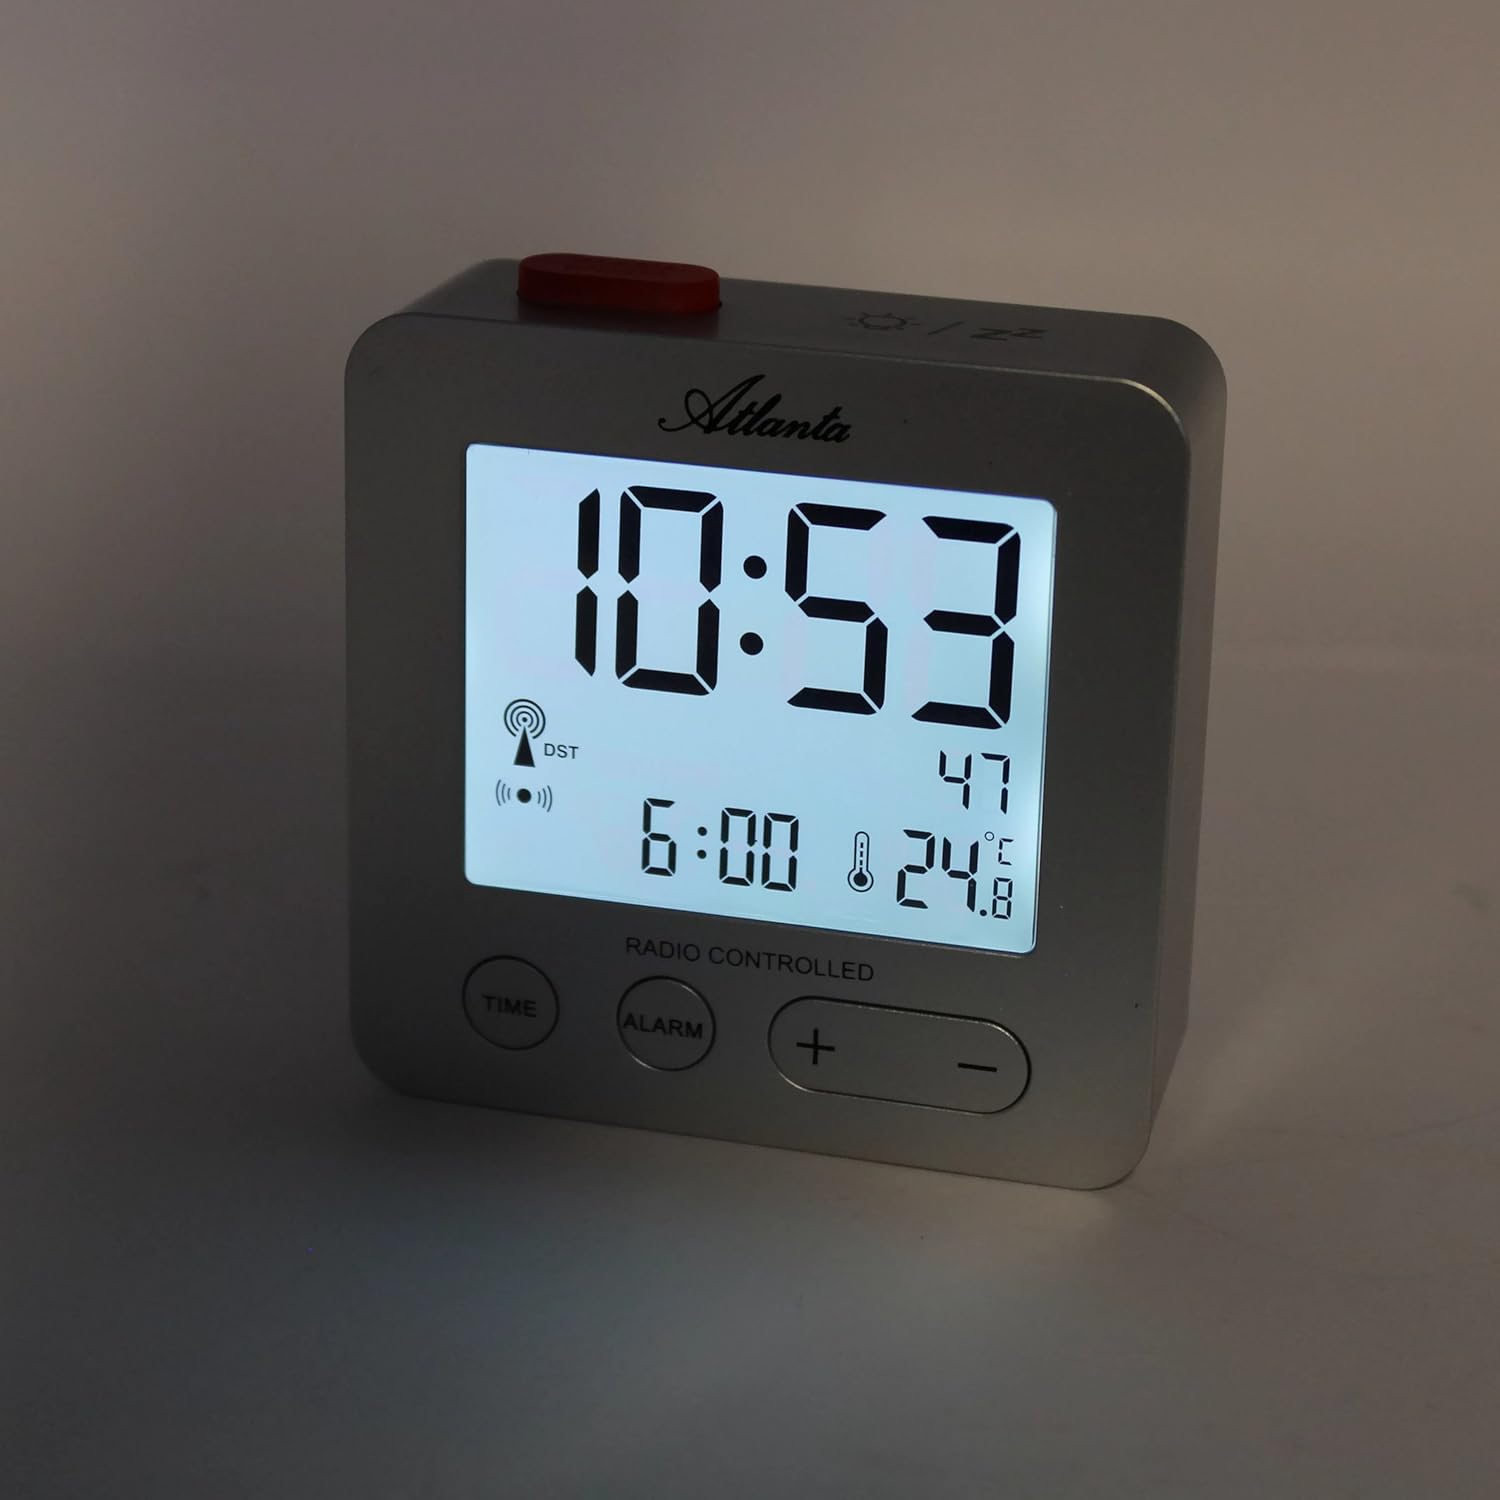
Figura 3: The alarm clock display with the blue backlight activated, enhancing readability in low light.
4.5 Temperature and Date Display
The clock continuously displays the indoor temperature and the current date alongside the time. No specific action is required to view these details.
5. Mantemento
- Limpeza: Limpa o reloxo cun pano suave e seco. Non empregues produtos de limpeza abrasivos nin disolventes.
- Substitución da batería: Replace batteries when the display dims or the clock functions become unreliable. Always replace all batteries at the same time with new ones of the same type.
- Almacenamento: Se garda o reloxo durante un período prolongado, retire as pilas para evitar fugas.
6 Solución de problemas
- Clock not setting time automatically:
Ensure the clock is placed in an open area, away from electronic interference (e.g., TVs, computers, mobile phones). Try placing it near a window. If the issue persists, manually set the time as described in section 4.1. - A alarma non soa:
Verify that the alarm is activated (alarm icon visible on display). Check battery levels and replace if necessary. - A pantalla está escura ou en branco:
Replace the batteries. Ensure batteries are inserted with correct polarity. - Lectura de temperatura incorrecta:
Ensure the clock is not exposed to direct sunlight or placed near heat sources/vents, which can affect the sensor.
7. Especificacións
| Número de modelo | 1882/19 |
| Marca | Atlanta |
| Tipo de visualización | LCD dixital |
| Características especiais | Temperature Display, Alarm, Snooze, Radio-Controlled (DCF77), Backlight |
| Dimensións (L x W x H) | 7 x 3.81 x 7 cm (aprox. 2.76 x 1.5 x 2.76 polgadas) |
| Peso | 65 gramos (aprox. 2.3 onzas) |
| Fonte de enerxía | Alimentado por pilas (pilas non incluídas) |
| Material | Plástico (acrilonitrilo butadieno estireno) |
| Cor | Prata |
8. Garantía e soporte
This product comes with a standard manufacturer's warranty. For detailed warranty information, please refer to the packaging or contact Atlanta customer support. For technical assistance or further inquiries, please visit the official Atlanta websitio ou póñase en contacto co seu departamento de atención ao cliente.