1. Introdución
This manual provides detailed instructions for the proper use and maintenance of your LUITON CS two-way radios. Please read this manual thoroughly before operating the device to ensure optimal performance and safety. The LUITON CS two-way radios are designed for reliable communication in various environments.
2. Contido do paquete
Ao abrir o paquete, comprobe que todos os elementos enumerados a continuación estean presentes e en bo estado:
- 6 x LUITON CS Two-Way Radios
- 6 x Air Acoustic Tube Headset Earpieces
- 6 x baterías recargables
- 6 x antenas
- 6 x correas de pulso
- 6 bases de carga
- 1 cable de programación USB
- 1 x Programming CD
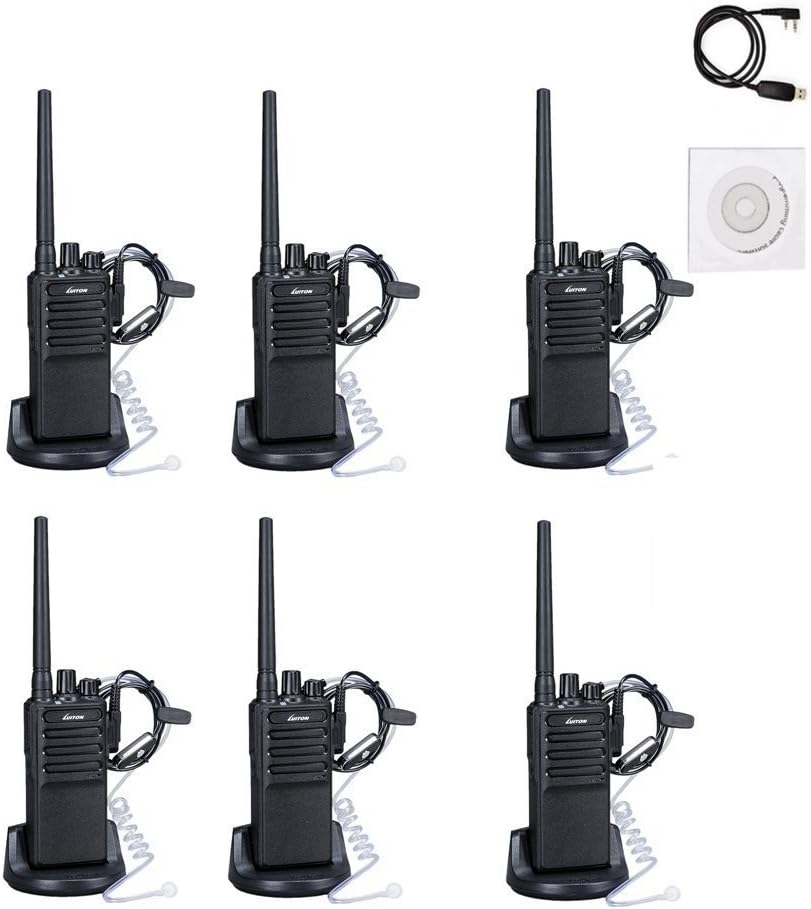
Imaxe: Máis deview of the LUITON CS 6-pack contents, including radios, earpieces, charging bases, and accessories.
3. Características do produto
- 16 canles predefinidas: Allows for communication across various groups or frequencies.
- Voice Scrambler: Mellora a privacidade das comunicacións.
- Comunicación de longo alcance: Up to 3.6 miles under optimal conditions.
- Earpieces Included: Provides hands-free operation and discreet communication.
- Deseño portátil: Slim body with anti-slip pattern and belt clip for easy carrying.
- Batería recargable: 1500mAh battery supports extended operation with low battery alarm.
- Programming Capability: Supports programming via cable and software for customized settings.
4. Guía de configuración
4.1. Conexión da antena
- Align the threaded end of the antenna with the antenna connector on top of the radio.
- Gently screw the antenna clockwise until it is firmly seated. Do not overtighten.

Imaxe: Fronte e lateral view of two LUITON CS radios, illustrating the antenna attachment point.
4.2. Instalación da batería
- Asegúrate de que a radio estea apagada.
- Aliñe a batería coas ranuras da parte traseira da radio.
- Deslice a batería cara arriba ata que encaixe no seu lugar.
- Para retirala, prema o pestillo de liberación (se o hai) e deslice a batería cara abaixo.
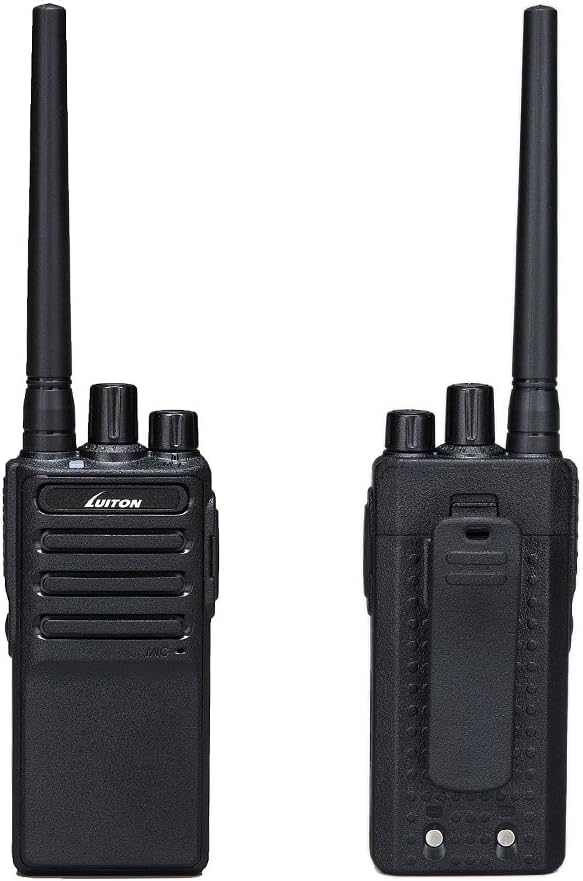
Imaxe: Fronte e parte traseira views of the LUITON CS radio, highlighting the battery area and belt clip.
4.3. Cargando a batería
- Place the radio with the battery installed into the charging dock, or place the battery directly into the charging dock.
- Conecte a base de carga a unha fonte de enerxía.
- A luz vermella indicates charging is in progress.
- A luz verde indica que a batería está completamente cargada.
- A carga adoita tardar de 3 a 5 horas.

Image: Charging status indicators for the LUITON CS radio and its battery, showing red for charging and green for fully charged.
4.4. Attaching the Earpiece
- Locate the earpiece jack on the side of the radio.
- Insert the earpiece plug firmly into the jack.
- Ensure the earpiece is securely connected for proper audio transmission and reception.
5. Instrucións de funcionamento
5.1. Acendido/apagado e control de volume
- Encendido: Xire o Botón de potencia/volume clockwise until you hear a click. The radio will emit a tone.
- Apagado: Xire o Botón de potencia/volume en sentido contrario ás agullas do reloxo ata que escoite un clic.
- Axuste de volume: Xire o Botón de potencia/volume sentido das agullas do reloxo para aumentar o volume e sentido antihorario para diminuír o volume.
5.2. Selección dunha canle
- Xire o Perilla de selección de canles (usually the top-most knob) to select one of the 16 available channels.
- Asegúrate de que todas as radios destinadas á comunicación estean configuradas no mesmo canal.
5.3. Transmisión e recepción
- Para transmitir: Manteña premido o Botón pulsar para falar (PTT). located on the side of the radio. Speak clearly into the microphone (or earpiece microphone if attached). Release the PTT button to stop transmitting.
- Para recibir: Asegúrate de non premer o botón PTT. A radio recibirá automaticamente as transmisións na canle seleccionada.
5.4. Voice Scrambler Function
The LUITON CS radios feature a voice scrambler for enhanced privacy. This function is typically enabled or disabled via programming software. When active, it encrypts your voice transmission, making it unintelligible to other radios not using the same scrambler setting. Consult the programming software manual for details on activating and configuring this feature.
5.5. Programación da radio
The radio's channels, frequencies, and advanced features (like voice scrambler, squelch level, etc.) can be customized using the provided programming cable and software. Refer to the programming software's specific instructions for detailed steps. A CD containing the software is typically included.
6. Mantemento
6.1. Limpeza
- Limpe a superficie da radio cun pano suave eamp pano.
- Non empregue produtos químicos agresivos, solventes nin produtos de limpeza abrasivos.
- Asegúrate de que a radio estea seca antes de usala ou cargala.
6.2. Coidado da batería
- Cargue a batería completamente antes do primeiro uso.
- Evite sobrecargar ou esgotar completamente a batería para prolongar a súa vida útil.
- Almacene as baterías nun lugar fresco e seco cando non esteas en uso.
- If the battery is not used for an extended period, charge it periodically (e.g., every 3 months) to maintain its capacity.

Image: Battery performance metrics for the LUITON CS radio, showing estimated standby, typical, and continuous use times, along with charging duration.
6.3. Atención xeral
- Do not expose the radio to extreme temperatures, direct sunlight, or excessive moisture. While water-resistant, it is not fully waterproof.
- Evite deixar caer a radio ou sometela a impactos fortes.
- Keep the antenna and earpiece connections clean and free of debris.
7 Solución de problemas
| Problema | Causa posible | Solución |
|---|---|---|
| A radio non se acende. | A batería está baixa ou non está instalada correctamente. | Cargue a batería ou volva a instalala de forma segura. |
| Non se pode transmitir nin recibir. | Incorrect channel selected; out of range; antenna loose. | Verify channel setting; move closer to other radios; check antenna connection. |
| Mala calidade de audio / Estático. | Weak signal; interference; volume too low/high; earpiece connection loose. | Move to an open area; adjust volume; re-seat earpiece. |
| A batería esgotarase rapidamente. | Old battery; continuous transmission; extreme temperatures. | Replace battery if old; minimize continuous PTT use; operate in moderate temperatures. |
| Voice scrambler not working. | Not enabled or incorrectly programmed. | Verify scrambler settings using programming software. |
8. Especificacións técnicas
| Categoría | Especificación |
|---|---|
| Xeral | |
| Canles de memoria | 16 Grupos |
| Operación Voltage | DC 3.7 V |
| Estabilidade de frecuencia | ± 2.5 ppm |
| Temperatura de funcionamento | -20℃ a +50℃ |
| Modo de Operación | Simplex |
| Impedancia da antena | 50Ω |
| Rango de frecuencias | 400 - 470 MHz |
| Rango de conversación máximo | 3.6 Miles (approx. 5.8 km) |
| Capacidade da batería | 1500 mAh |
| Nivel de resistencia á auga | Resistente á auga |
| Transmisor | |
| Potencia RF | <5 W |
| Maximum Deviation (W/N) | ≤5KHz/≤2.5KHz |
| Emisión espuria | ≤7.5uW |
| Potencia da canle adxacente | ≤-65dB/≤-60dB |
| SNR (O/N) | ≥-45dB/≥-40dB |
| QT/DQT (O/N) | 0.7 ± 0.1 kHz/0.4 ± 0.1 kHz |
| Sensibilidade de modulación | 8—12 mV |
| Corrente de transmisión | ≤1.2A |
| Receptor | |
| Sensibilidade | -122 dBm (12 dB SINAD) |
| Potencia de audio | 0.4W (8R Load) |
| Distorsión de audio | ≤10 % |
| Intermediation (W/N) | ≥65dB/≥60dB |
| Adjacent Channel Selectivity (W/N) | ≥65dB/≥60dB |
| Clutter Suppression | ≥65 dB |
| Corrente do receptor | ≤ 380 mA |
9. Garantía e soporte
For warranty information and customer support, please refer to the documentation provided with your purchase or contact LUITON customer service directly. Details regarding specific warranty periods and support channels are typically available on the manufacturer's official websitio web ou a través do seu vendedor.
For programming assistance or technical inquiries, please consult the programming software manual or contact LUITON support.