1. Produto rematadoview
The SONICAKE Twiggy Blues is a compact multi-effect pedal designed for guitarists seeking essential blues and retro rock tones. It integrates four core effects: Compressor, Overdrive, Delay, and Reverb, along with a built-in cabinet simulator for direct connection options. This pedal offers a streamlined solution for various playing environments.
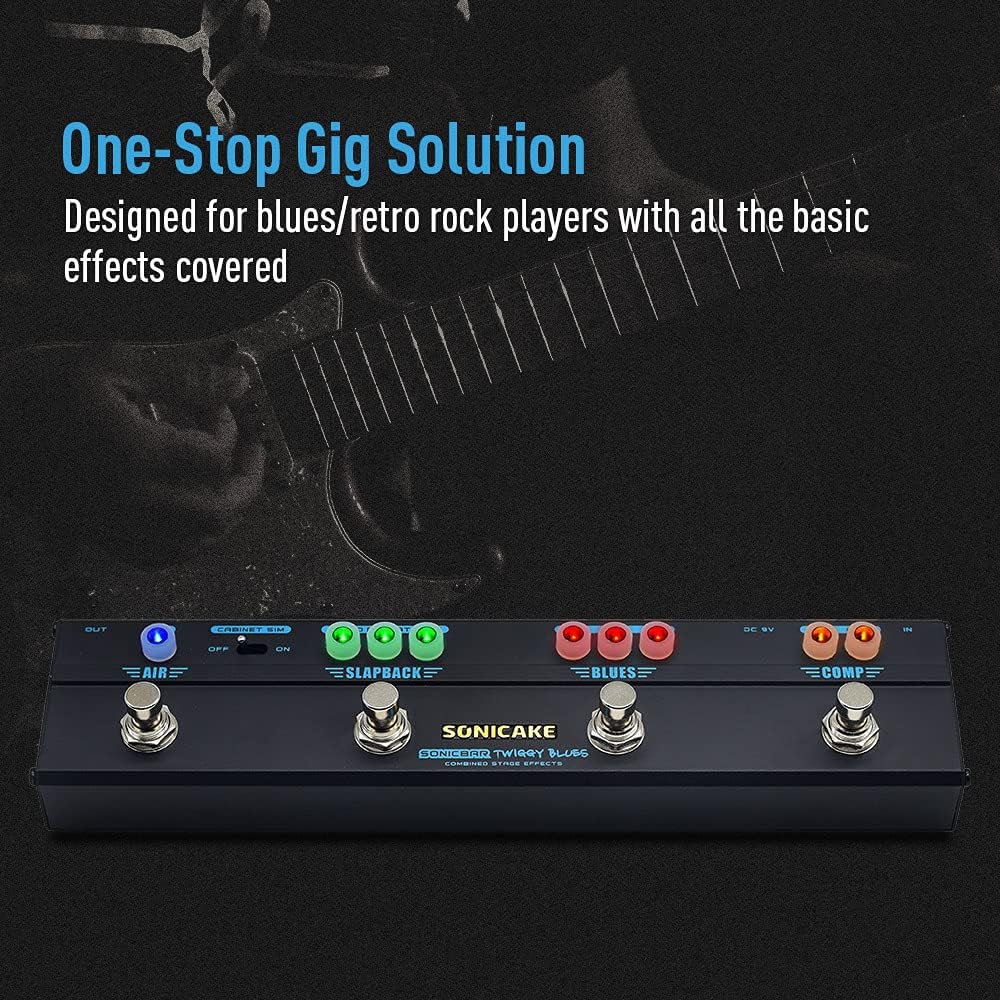
Image 1.1: The SONICAKE Twiggy Blues pedal, showcasing its compact design and integrated effects.
2. Configuración
Follow these steps to set up your Twiggy Blues pedal:
- Conexión de alimentación: Connect a standard 9V DC power adapter (center negative) to the "DC 9V" input jack on the pedal. Ensure the power source provides stable and clean power to prevent noise.
- Entrada de instrumento: Connect your guitar to the "IN" jack on the right side of the pedal using a standard 1/4-inch instrument cable.
- Conexión de saída: Connect the "OUT" jack on the left side of the pedal to your amplifier's input or an audio interface/mixer using a standard 1/4-inch instrument cable.
- Simulación de gabinete: If connecting directly to a PA system, mixer, or audio interface, ensure the "CABINET SIM" switch is set to "ON". If connecting to a guitar amplifier, set the switch to "OFF" to bypass the cabinet simulation.

Image 2.1: Proper connection of the Twiggy Blues pedal to a guitar and an ampmáis vivo.
3. Instrucións de funcionamento
The Twiggy Blues pedal features four footswitches, each activating a specific effect module. Each module has dedicated control knobs with LED indicators to show the active status.

Image 3.1: Labeled components of the Twiggy Blues pedal.
3.1. Identificación de compoñentes
- Entrada DC 9V: Conexión do adaptador de alimentación.
- EN Jack: Entrada de guitarra.
- Cabinet Simulation Switch: Toggles cabinet simulation ON/OFF.
- OUT Jack: Saída a amplifier ou sistema de audio.
- COMP Footswitch & Knobs: Activates/deactivates Compressor effect. Knobs control Volume and Compression level.
- BLUES Footswitch & Knobs: Activates/deactivates Overdrive effect. Knobs control Volume, Tone, and Gain.
- SLAPBACK Footswitch & Knobs: Activates/deactivates Delay effect. Knobs control Blend, Repeat, and Time.
- AIR Footswitch & Knob: Activates/deactivates Reverb effect. Knob controls Mix level.
3.2. Effect Modules
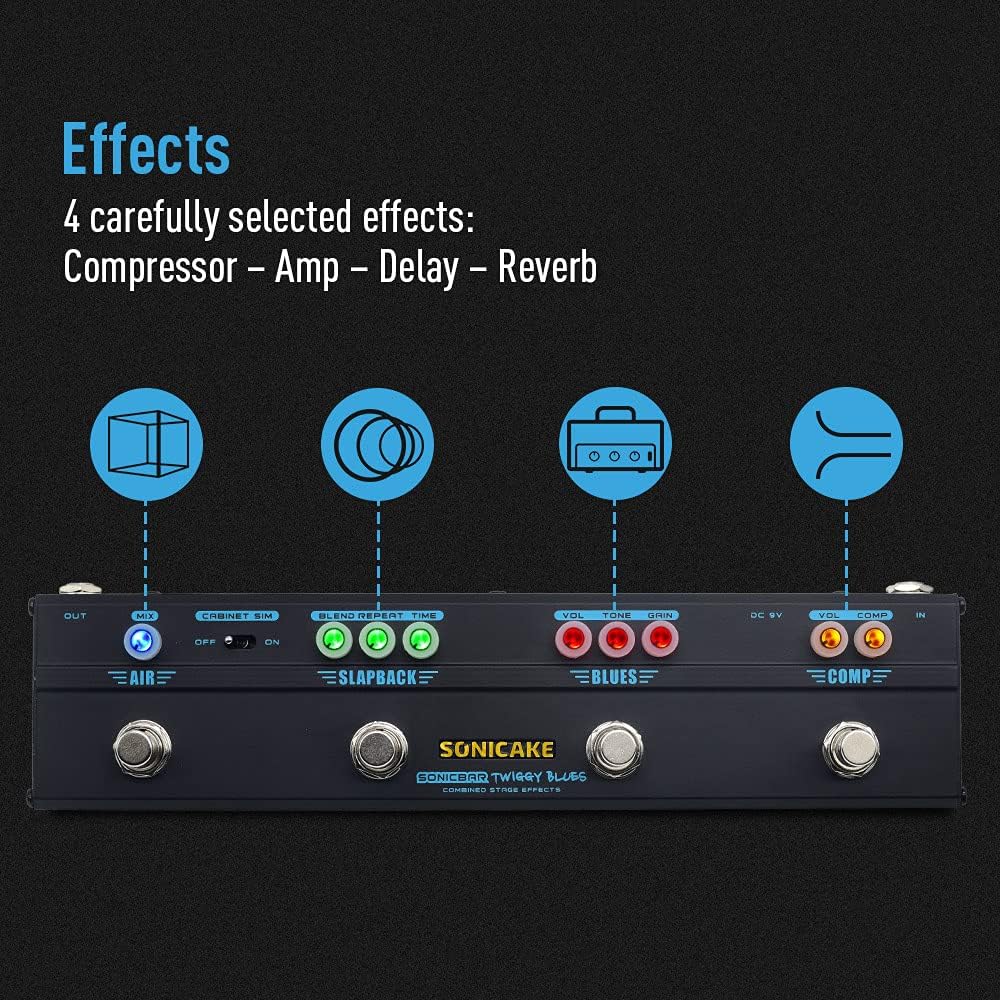
Imaxe 3.2: Acabadoview of the four integrated effects.
3.2.1. Compressor (COMP)
The Compressor module provides a smooth and sustained tone. Use the footswitch to engage or bypass the effect.
- VOL: Adjusts the overall output volume of the compressor.
- COMP: Controls the amount of compression applied to the signal. Higher settings result in more sustain and a more even dynamic range.
3.2.2. Overdrive (BLUES)
The BLUES module simulates a vintage Dumble-style tube amplifier, offering a range of overdrive tones suitable for blues and classic rock. Engage with its dedicated footswitch.
- VOL: Sets the output volume of the overdrive effect.
- TON: Adjusts the tonal character, from darker to brighter.
- GAÑA: Controls the amount of distortion or saturation. Lower settings provide a subtle breakup, while higher settings yield more aggressive overdrive.
3.2.3. Delay (SLAPBACK)
The SLAPBACK module provides an analog-voiced delay effect, ideal for adding depth and rhythmic repeats. Activate using its footswitch.
- MESTURA: Controls the mix between the dry signal and the delayed signal.
- REPETIR: Axusta o número de repeticións de retardo.
- HORA: Sets the delay time, from short slapback echoes to longer repeats (up to 500ms).
3.2.4. Reverb (AIR)
The AIR module offers a high-quality reverb effect to add spaciousness to your sound. Engage with its footswitch.
- MESTURA: Controls the amount of reverb mixed with the dry signal.
3.3. Simulación de armarios
The built-in cabinet simulation allows for direct connection to a PA system, mixer, or audio interface, providing a guitar cabinet-like sound without needing an amplifier. Use the toggle switch to activate or deactivate this feature.

Image 3.3: The Cabinet Simulation switch for direct output.
3.4. Indicadores LED
Each effect module features LED indicators around its control knobs. These LEDs illuminate when the corresponding effect is active, providing clear visual feedback on the pedal's status during use.
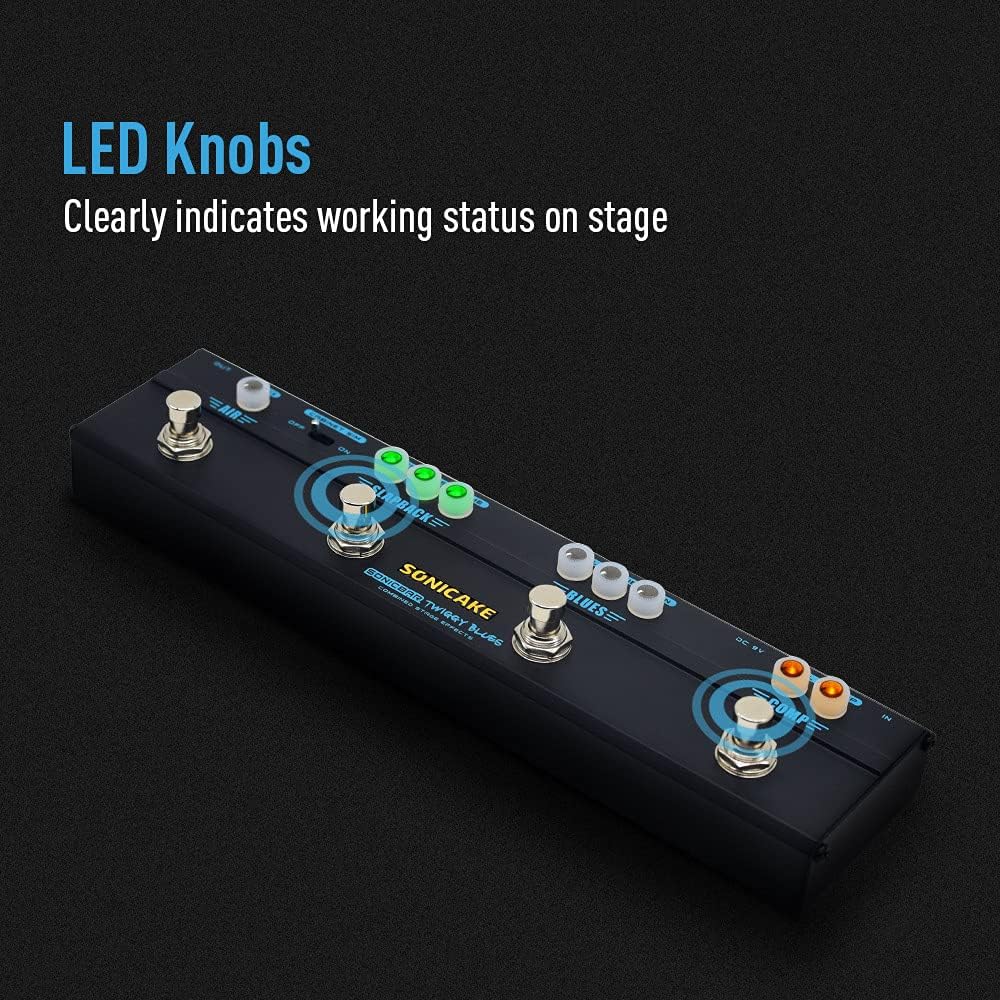
Image 3.4: LED knobs indicating active effects.
4. Mantemento
Proper maintenance ensures the longevity and optimal performance of your Twiggy Blues pedal.
- Limpeza: Use a soft, dry cloth to clean the pedal's surface. Avoid abrasive cleaners or solvents, which can damage the finish or internal components.
- Almacenamento: Store the pedal in a dry environment, away from extreme temperatures, humidity, and direct sunlight. When not in use for extended periods, disconnect the power adapter.
- Conexións: Comprobe periodicamente todas as conexións dos cables para detectar desgaste. Asegúrese de que os conectores estean libres de po e residuos.
5 Solución de problemas
If you encounter issues with your Twiggy Blues pedal, refer to the following common troubleshooting steps:
- Sen son:
- Ensure all cables (input, output, power) are securely connected.
- Verify the power adapter is functioning correctly and providing 9V DC (center negative).
- Check if your guitar and amplifier are working independently.
- Ensure the volume knobs on the pedal and your amplifier are not set to zero.
- Ruído/zunido non desexado:
- Use a high-quality, regulated 9V DC power supply specifically designed for guitar pedals.
- Asegúrate de que todos os cables estean apantallados e en bo estado.
- Try isolating the pedal from other electronic devices that might cause interference.
- Efecto pouco atractivo:
- Press the footswitch firmly to ensure it engages. The LED indicator should light up.
- Check the knob settings for the specific effect; some effects may be subtle at low settings.
If problems persist, contact SONICAKE customer support for further assistance.
6. Especificacións
| Característica | Especificación |
|---|---|
| Número de modelo | QCE-10-40 |
| Peso do elemento | 0.48 quilogramos (1.06 libras) |
| Dimensións do produto | 10.31" de longo x 1.73" de ancho x 2.52" de alto (26.19 cm x 4.39 cm x 6.40 cm) |
| Material do corpo | Metal |
| Fonte de enerxía | Eléctrico con cable |
| Voltage | 9 voltios DC |
| Formato de sinal | Analóxico |
| Interface de hardware | 3.5mm Audio (likely referring to internal components or specific connections, standard guitar jacks are 1/4 inch) |
| Tipo de conector | 3.5 mm audio (likely referring to internal components or specific connections, standard guitar jacks are 1/4 inch) |
7. Garantía e soporte
For warranty information, product registration, or technical support, please visit the official SONICAKE websitio web ou póñase en contacto directamente co servizo de atención ao cliente. Garde o recibo da compra como proba de compra.
SONICAKE Official Websitio: Visit the SONICAKE Store on Amazon