
Instrucións de seguridade importantes
AVISO: Este produto pode expoñelo a produtos químicos, incluído o chumbo, que o Estado de California sabe que causa cancro e defectos de nacemento ou outros danos reprodutivos. Para máis información vai a www.P65Warnings.ca.gov.
Always turn off the main power supply at the circuit breaker before beginning any electrical installation. Consult a qualified electrician if you are unsure about wiring procedures. Ensure all connections are secure and comply with local electrical codes. This fixture is authorized for use in dry interior locations.
Contido do paquete
Verifique que estean presentes todos os compoñentes antes de comezar a instalación.
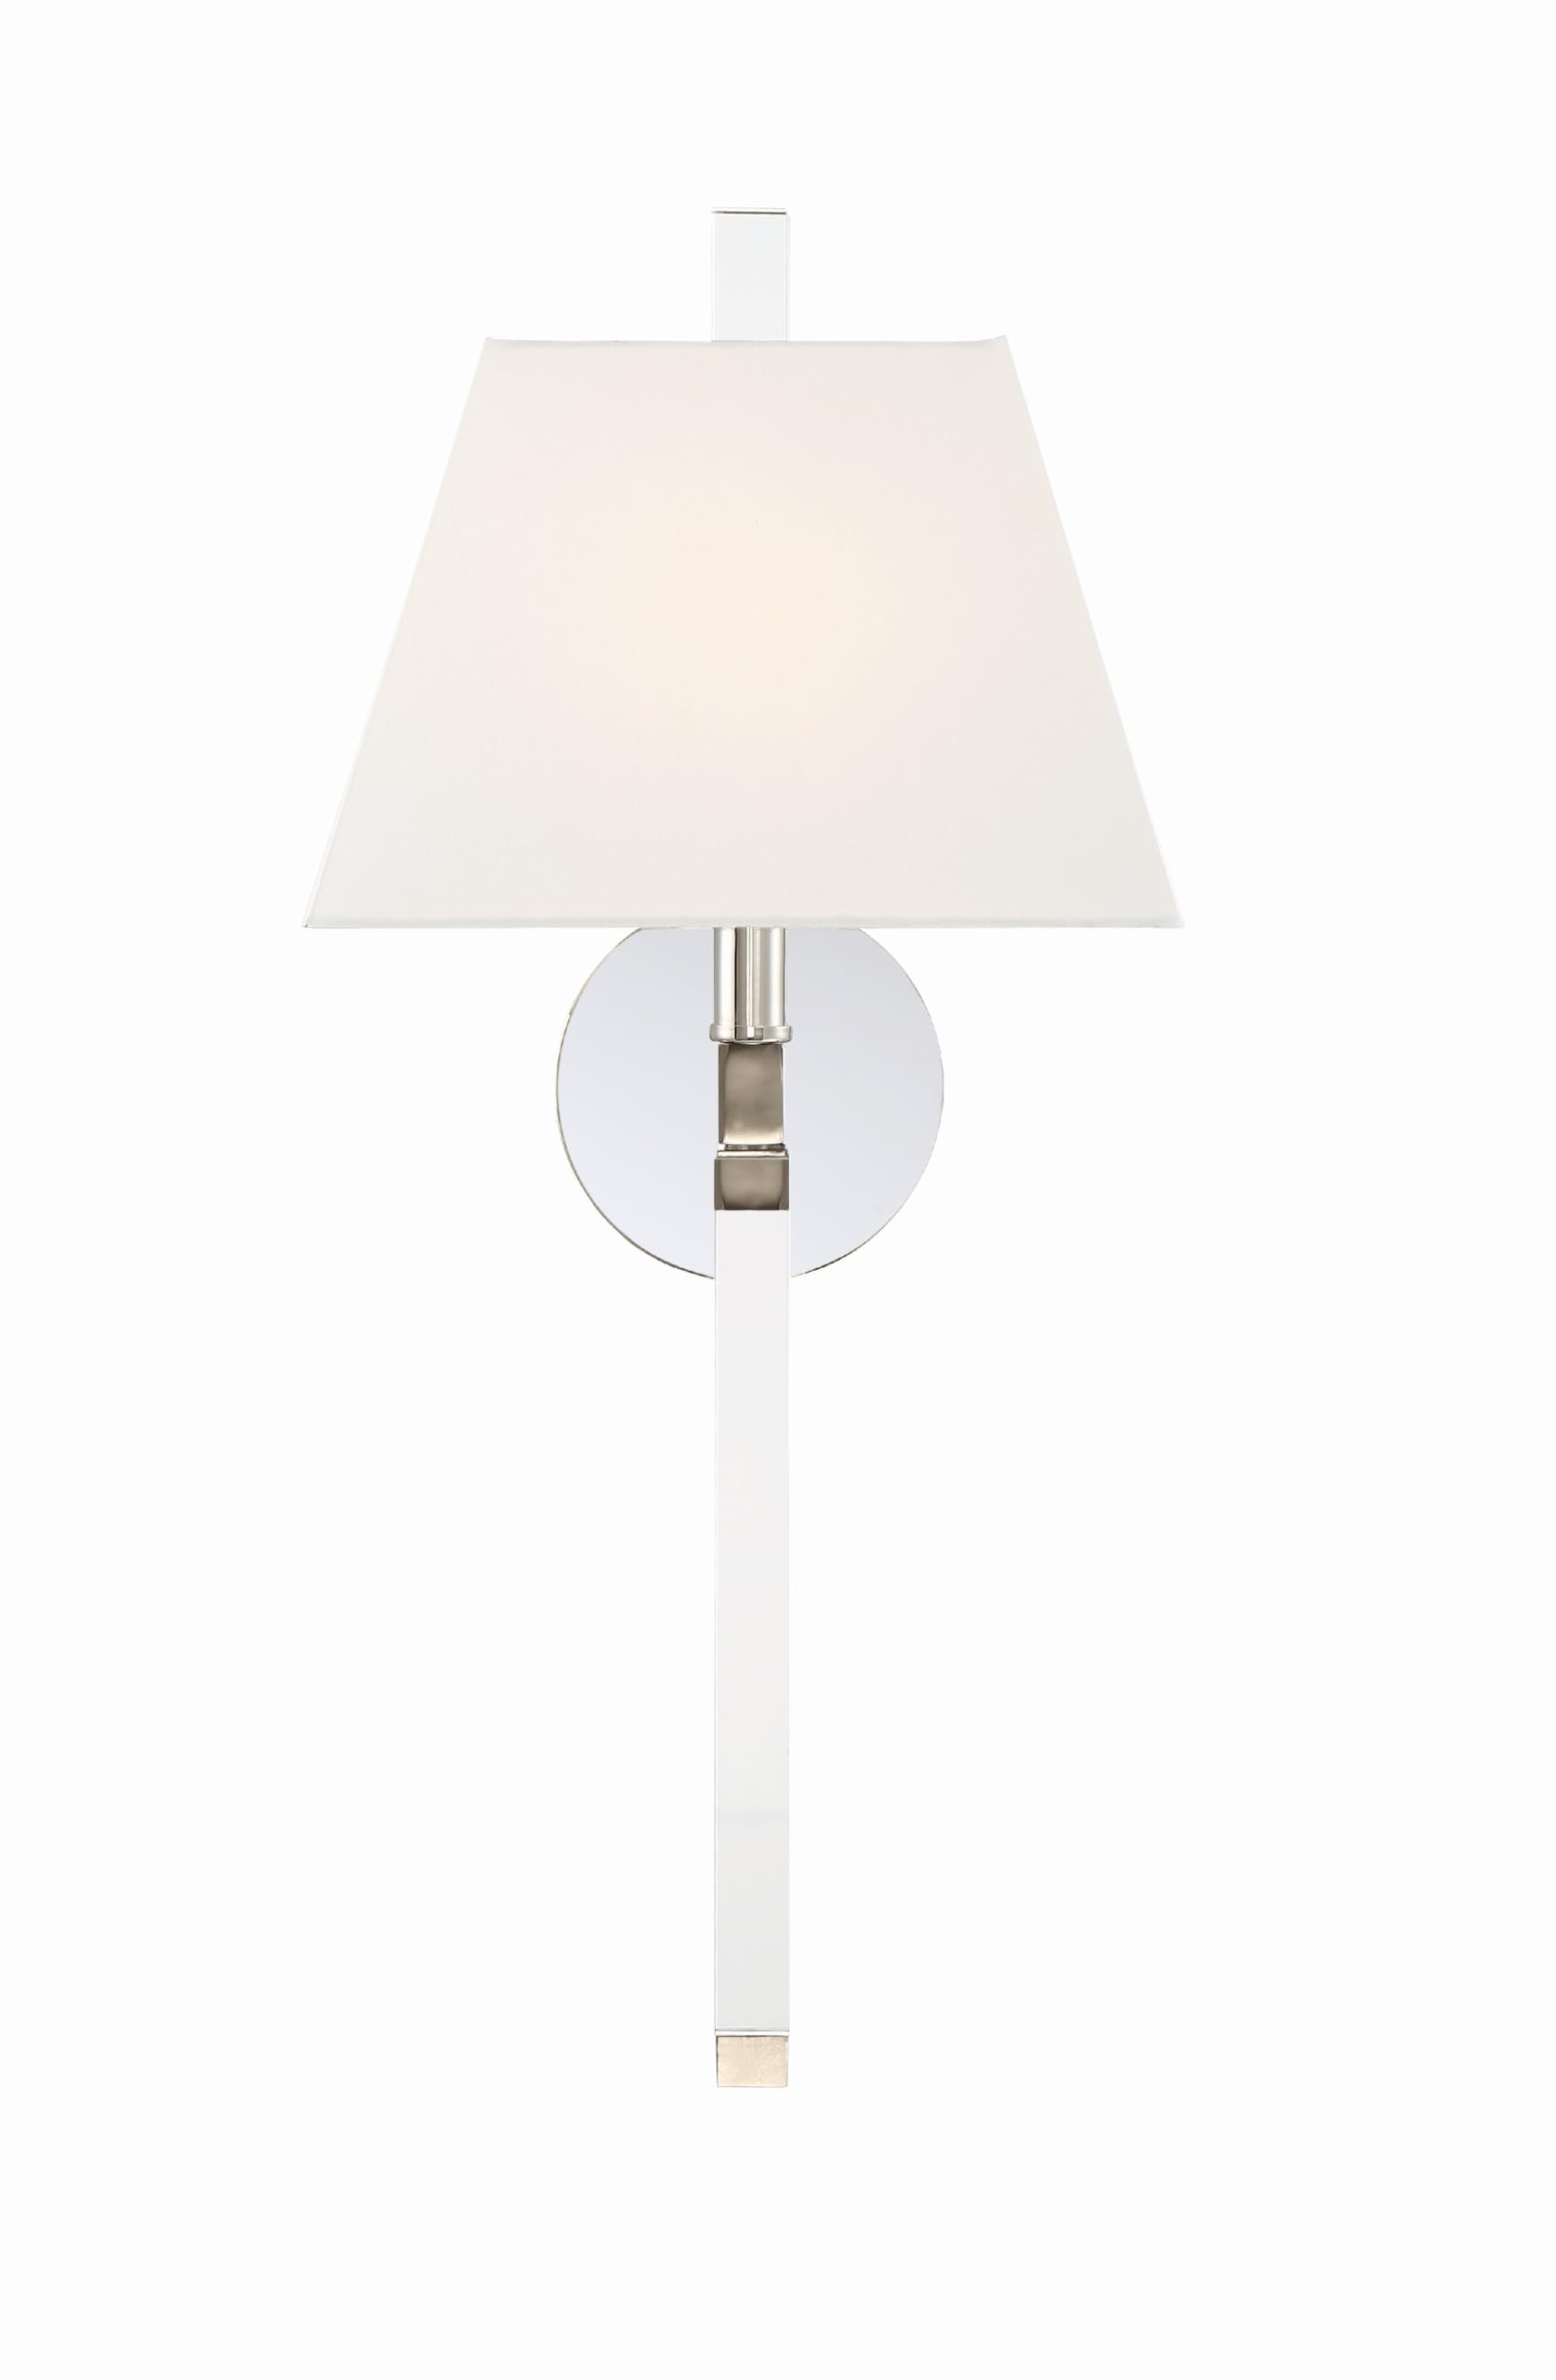
- Sconce Fixture (Polished Nickel)
- White Silk Shade
- Ferraxes de montaxe (parafusos, porcas para cables, placa de montaxe)
- Manual de instrucións
Nota: Bulbs are not included. This fixture requires one (1) E12 Candelabra base bulb, maximum 60 watts.
Especificacións
| Marca | Cristorama |
| Número de modelo | REN-261-PN |
| Remate | Níquel pulido |
| Dimensións (W x H x D) | 10 Inch W x 21.75 Inch H x 7 Inch D (Overall depth including shade) |
| Tipo de fonte de luz | E12 Candelabro |
| Número de luces | 1 |
| Wat máximotage | 60 vatios |
| Voltage | 120 voltios |
| Material de sombra | Seda |
| Material | Aceiro de aliaxe |
| Tipo de instalación | Soporte de parede |
| Uso interior/exterior | Indoor (Dry Locations) |
| Certificación | Listado UL |
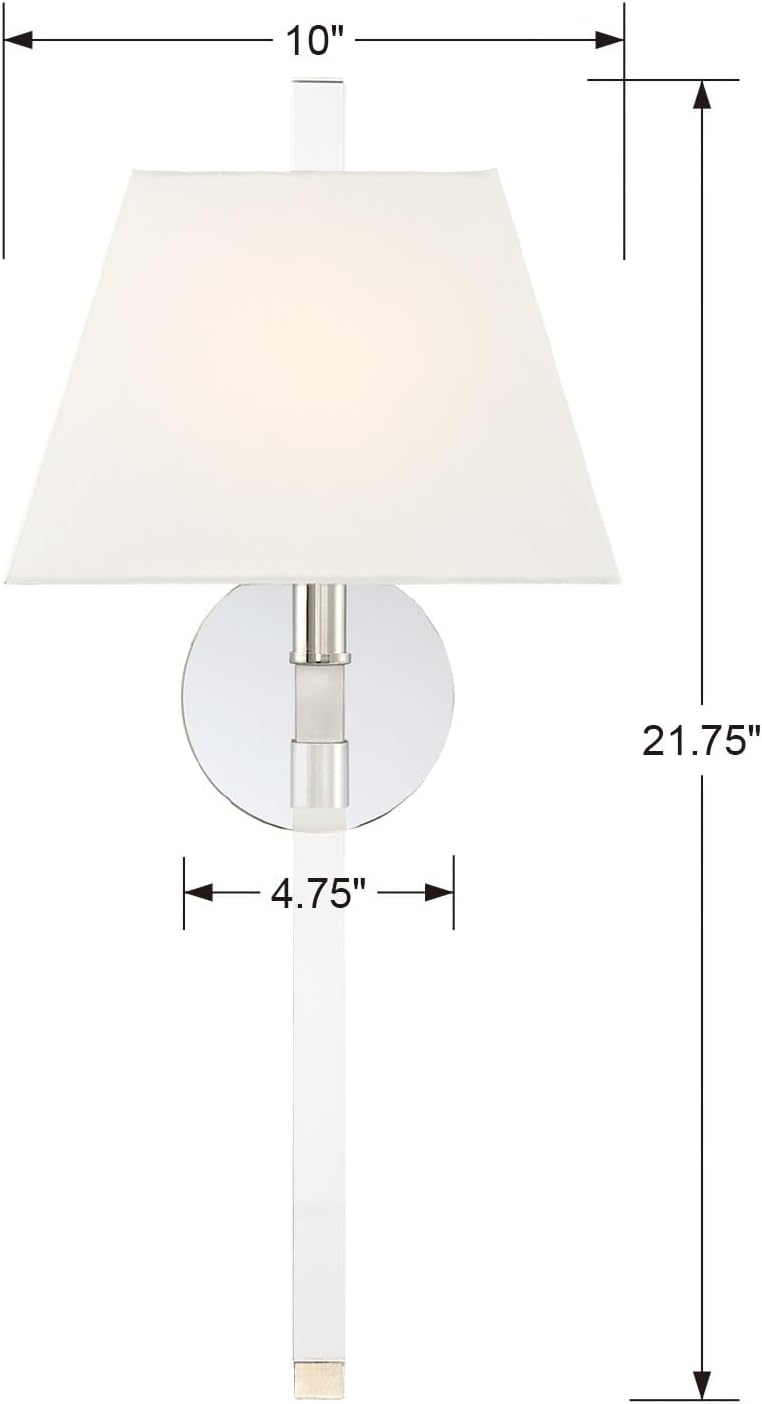
Figura 2: Diagrama de dimensións do produto
Configuración e instalación
Ferramentas necesarias (non incluídas):
- Desaparafusador (Phillips e Flathead)
- Pelacables
- Cinta eléctrica
- Alicates
- Gafas de seguridade
- Escaleira (se se instala en altura)
Lista de verificación previa á instalación:
- Apagar a enerxía: Localiza o disyuntor que controla a localización da luminaria e apágao. Verifica que a alimentación estea cortada cun volímetro.tagprobador.
- Desempaquetar contido: Retire con coidado todas as pezas da embalaxe e inspeccione se hai algún dano.
- Review Instrucións: Read through all steps before beginning installation.
Montaxe do aparello:
- Fixe a placa de montaxe á caixa de conexións cos parafusos proporcionados. Asegúrese de que a placa estea ben fixada.
- Connect the fixture's ground wire (usually bare copper or green) to the house ground wire using a wire nut.
- Connect the fixture's neutral wire (usually white) to the house neutral wire (white) using a wire nut.
- Connect the fixture's hot wire (usually black) to the house hot wire (black) using a wire nut.
- Meter coidadosamente todos os cables na caixa de conexión.
- Aliñe a base do dispositivo de fixación coa placa de montaxe e asegúrea cos parafusos proporcionados.

Figure 3: Sconce Base Detail and Mounting Area
Attaching the Shade and Bulb:
- Insert one (1) E12 Candelabra base bulb (max 60W) into the socket. Do not overtighten.
- Carefully place the white silk shade onto the fixture, ensuring it is level and secure.

Figure 4: White Silk Shade Installation
Instrucións de funcionamento
Once installation is complete and verified, restore power at the circuit breaker. Operate the sconce using the wall switch connected to the fixture. This model does not include a remote control or dimming capabilities unless integrated into your home's existing electrical system.
Mantemento
Limpeza:
- Desconecte sempre a alimentación do aparello antes de limpalo.
- Wipe the metal finish with a soft, dry cloth. Do not use abrasive cleaners or polishes, as they may damage the finish.
- For the silk shade, gently dust with a soft brush or a lint-free cloth. Avoid using water or liquid cleaners on the shade.
Substitución da lámpada:
- Asegúrese de que a alimentación estea desconectada no interruptor.
- Deixa que a lámpada arrefríe completamente antes de tocala.
- Desenrosque con coidado a lámpada vella do portalámpadas.
- Screw in a new E12 Candelabra base bulb (max 60W).
- Restablecer a enerxía no interruptor automático.
Resolución de problemas
| Problema | Causa posible | Solución |
|---|---|---|
| A luminaria non se ilumina. |
|
|
| Luz parpadea. |
|
|
If issues persist after attempting these solutions, contact a qualified electrician or Crystorama customer support.
Información da garantía
This Crystorama product is covered by a manufacturer's warranty. For specific details regarding warranty coverage, duration, and claims process, please refer to the warranty card included with your purchase or visit the official Crystorama websitio. Garda o comprobante de compra para validar a garantía.
Atención ao cliente
For further assistance, technical support, or inquiries about your Crystorama Renee Sconce, please visit the official Crystorama websitio ou póñase en contacto co seu departamento de atención ao cliente.
Cristorama Websitio: www.crystorama.com