
Maxlite RF6101CAT40W
Manual de instrucións do downlight Maxlite J-Box de 6 polgadas
Model: RF6101CAT40W
1. Información de seguridade
Please read these instructions carefully before installation and retain them for future reference. Failure to follow these instructions could result in electric shock or fire, which could cause property damage, serious injury, or death.
- Desconecte sempre a alimentación no disxuntor ou na caixa de fusibles antes de comezar a instalación ou realizar calquera mantemento.
- Todas as conexións eléctricas deben estar de acordo coas normas locais e do Código Eléctrico Nacional (NEC). Se non está familiarizado coas conexións eléctricas adecuadas, solicite os servizos dun electricista cualificado.
- Do not install this fixture in wet locations or where it will be directly exposed to water. This product is rated for indoor use only.
- Asegúrese de que todas as conexións estean seguras e debidamente illadas.
- Non modifiques o aparello de ningún xeito. Calquera modificación pode anular a garantía e supoñer un perigo para a seguridade.
2. Produto rematadoview
The Maxlite 6 inch J-Box Downlight is a modern, recessed LED lighting fixture designed for easy installation directly into a junction box. It provides efficient and consistent illumination for various indoor spaces.
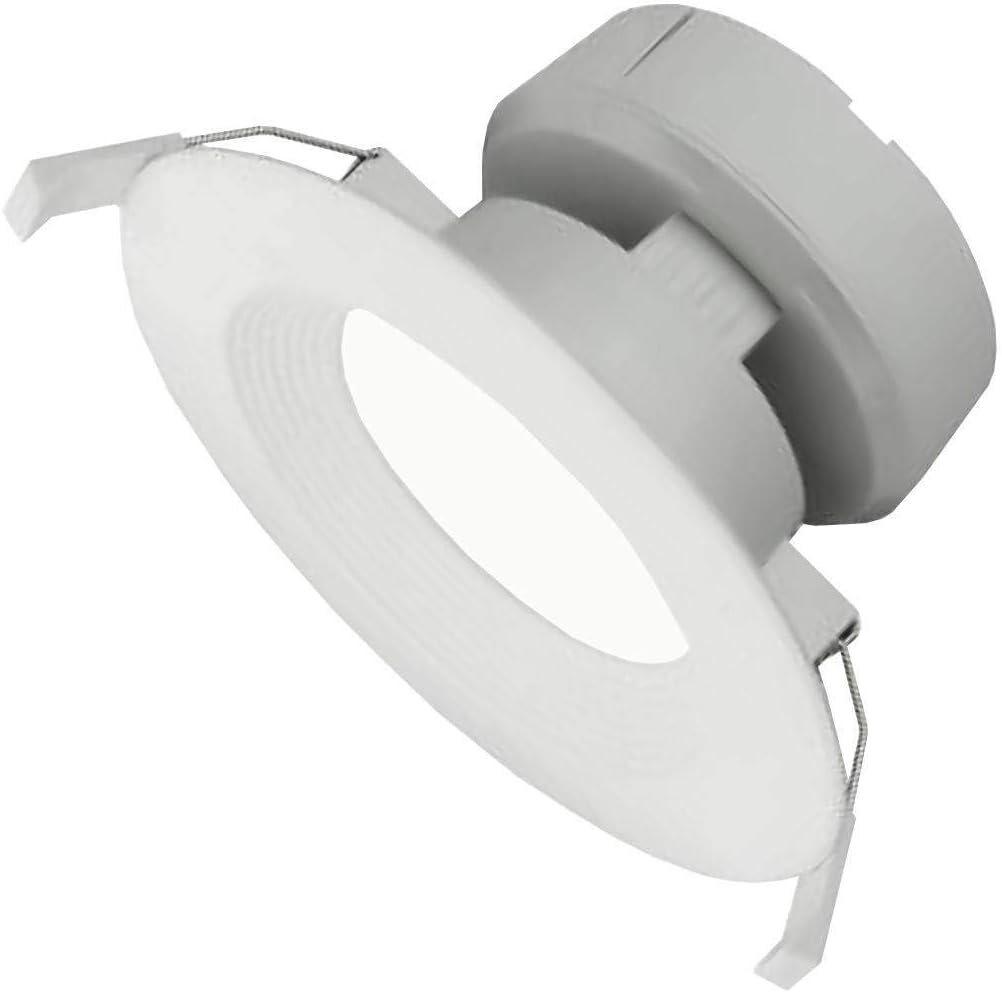
Image: Maxlite 6 inch J-Box Downlight, showing its white finish and integrated junction box connection.
Compoñentes incluídos:
- 6 inch J-Box Downlight Fixture
- Junction Box (integrated or separate, depending on model variant)
- Hardware de montaxe
3. Configuración e instalación
This downlight is designed for direct installation into a standard electrical junction box in the ceiling. Ensure the power is OFF at the circuit breaker before proceeding.
- Prepare a zona de instalación: Turn off power to the circuit at the main electrical panel. Use a voltago probador para confirmar que a alimentación está apagada.
- Access Junction Box: If installing in a new location, ensure a suitable junction box is securely mounted in the ceiling. If replacing an existing fixture, remove the old fixture and ensure the junction box is accessible and in good condition.
- Realizar conexións eléctricas: Open the wiring compartment of the downlight's integrated junction box. Connect the house wiring to the fixture's wires:
- Connect the black (hot) wire from the ceiling to the black wire of the fixture.
- Connect the white (neutral) wire from the ceiling to the white wire of the fixture.
- Connect the green or bare copper (ground) wire from the ceiling to the green wire of the fixture.
- Cableado seguro: Carefully tuck all wires and wire nuts into the junction box, ensuring they are not pinched. Close the junction box cover.
- Montar o aparello: Align the downlight fixture with the junction box opening. Use the provided mounting hardware to secure the fixture firmly to the junction box or ceiling structure. Ensure the fixture is flush with the ceiling surface.
- Restaurar enerxía: Once the fixture is securely installed, turn the power back on at the circuit breaker. Test the light to ensure proper operation.
4. Instrucións de funcionamento
The Maxlite 6 inch J-Box Downlight operates like any standard hardwired lighting fixture. It is controlled by a wall switch connected to the circuit.
- Activar/Desactivar: Use the wall switch connected to the fixture's circuit to turn the light on or off.
- Atenuación (se procede): If connected to a compatible dimmer switch, the light output can be adjusted by operating the dimmer control. Ensure any dimmer used is rated for LED lighting.
5. Mantemento
The Maxlite 6 inch J-Box Downlight is designed for long-lasting, maintenance-free operation. As it uses integrated LED technology, there are no bulbs to replace.
- Limpeza: To clean the fixture, ensure the power is off at the circuit breaker. Use a soft, dry, or slightly damp cloth. Do not use abrasive cleaners, solvents, or cleaners containing alcohol, as these may damage the finish or electrical components.
- Inspección: Periodically inspect the fixture for any signs of damage or loose connections. If any issues are found, turn off power immediately and consult a qualified electrician.
6 Solución de problemas
If you experience issues with your Maxlite 6 inch J-Box Downlight, refer to the following common troubleshooting steps:
| Problema | Causa posible | Solución |
|---|---|---|
| A luz non acende. | Non hai potencia para o dispositivo. Conexión de cableado solta. Interruptor de parede avariado. |
Check circuit breaker and ensure it is ON. Desconecte a alimentación e comprobe todas as conexións dos cables. Proba ou substitúe o interruptor de parede. |
| A luz parpadea ou esvaécese inesperadamente. | Interruptor regulador de intensidade incompatible. Conexión de cableado solta. Voltage flutuacións. |
Ensure dimmer is LED compatible. Replace if necessary. Desconecte a alimentación e comprobe todas as conexións dos cables. Consulte cun electricista para comprobar o volume da casatage. |
| A luz non é tan brillante como se esperaba. | Axuste do regulador de intensidade demasiado baixo. Incorrect fixture for application. |
Axusta o regulador de intensidade ao brillo máximo. Verify fixture specifications meet lighting requirements. |
If these steps do not resolve the issue, contact a qualified electrician or Maxlite customer support.
7. Especificacións
| Atributo | Valor |
|---|---|
| Marca | Maxlite |
| Número de modelo | RF6101CAT40W (767627905926) |
| Formulario de fixación | Empotrado |
| Tipo de fonte de luz | LED |
| Voltage | 120 voltios |
| Wattage | 9 vatios |
| Cor | Branco |
| Material | Metal, Plástico |
| Peso do elemento | 1.25 libras |
| Tipo de montaxe | Montaxe no teito |
| Uso interior/exterior | Interior |
8. Garantía e soporte
Maxlite products are manufactured to the highest quality standards. For information regarding warranty coverage, technical support, or replacement parts, please visit the official Maxlite websitio ou póñase en contacto co seu departamento de atención ao cliente.
Please have your model number (RF6101CAT40W) and date of purchase available when contacting support.
Ask a question about this manual
Ask about setup, troubleshooting, compatibility, parts, safety, or missing instructions. Manuals+ will review the question and use this page’s manual context to help answer it.