
TSL LTCMIP7342W-28M
LTS LTCMIP7342W-28M Platinum Network Vandal Dome IP Camera User Manual
Model: LTCMIP7342W-28M
Introdución
This manual provides comprehensive instructions for the installation, operation, and maintenance of your LTS LTCMIP7342W-28M Platinum Network Vandal Dome IP Camera. Please read this manual thoroughly before using the product to ensure proper setup and functionality. Keep this manual for future reference.
The LTS LTCMIP7342W-28M is a 4MP high-definition network vandal dome IP camera designed for robust surveillance applications. It features a 2.8mm fixed lens, True WDR (120dB), Matrix IR 2.0 with up to 100 feet range, and supports H.265/H.265+/H.264/H.264+ video compression. It is rated IP67 for weather resistance and IK10 for vandal resistance, making it suitable for outdoor use. The camera also includes a MicroSD slot supporting up to 128GB for local storage and can be powered by DC 12V or Power over Ethernet (PoE).
Contido do paquete
Verifique que todos os elementos estean presentes no paquete antes de continuar coa instalación.
- LTS LTCMIP7342W-28M Platinum Network Vandal Dome IP Camera
- Modelo de perforación
- Parafusos de montaxe e tacos de parede
- Hex Wrench
- Kit de conectores impermeables
- Guía de inicio rápido (consulte este manual para obter instrucións detalladas)
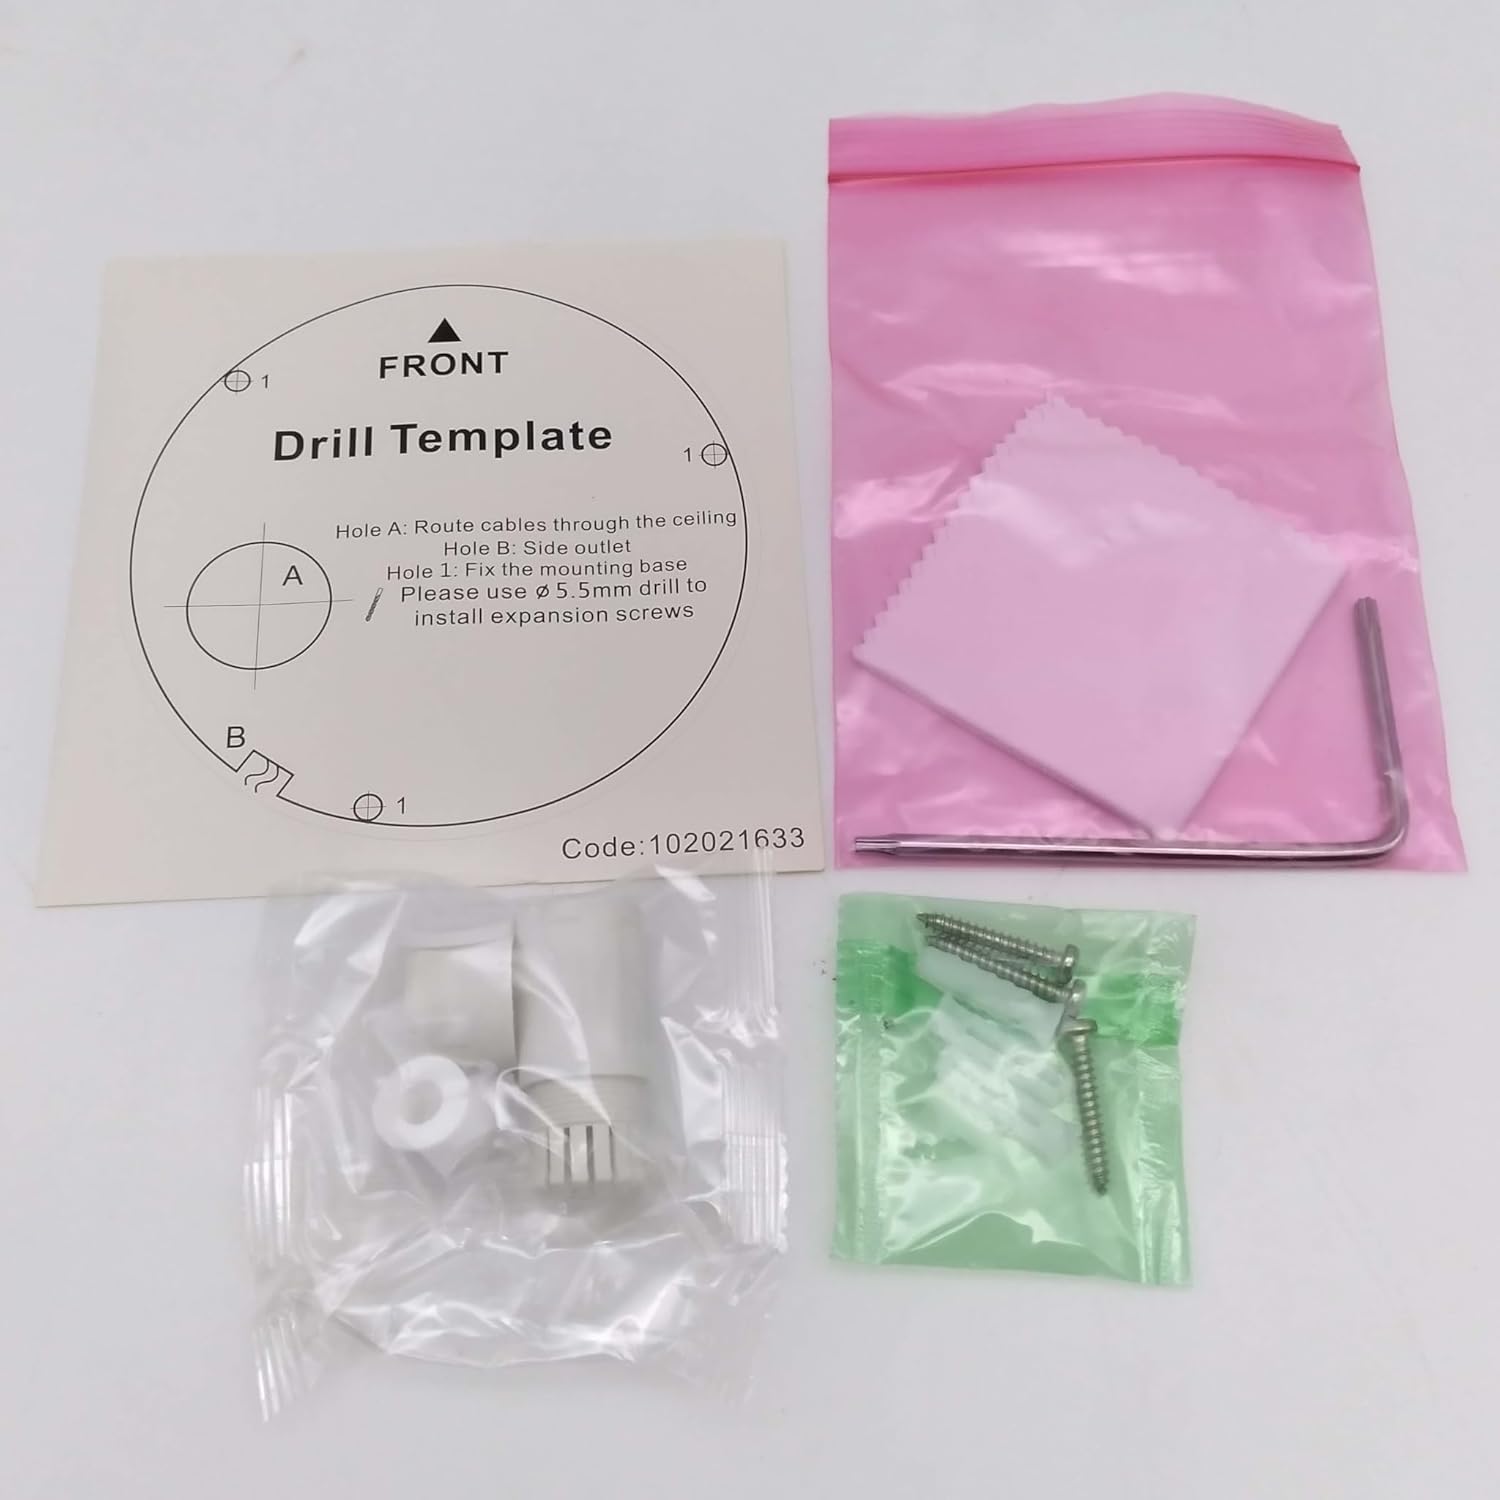
Imaxe: Contents of the camera package. This includes a drill template, mounting hardware (screws and wall plugs), a hex wrench for adjustments, and a waterproof connector kit for network cables. These components are essential for proper installation.
Configuración
1. Precaucións de seguridade
- Asegúrese de desconectar a alimentación antes da instalación ou mantemento.
- Use only specified power adapters (DC 12V) or PoE (Power over Ethernet) compliant equipment.
- Avoid exposing the camera to extreme temperatures, humidity, or corrosive environments.
- Do not attempt to disassemble the camera. Refer all servicing to qualified personnel.
2. Cámara rematadaview
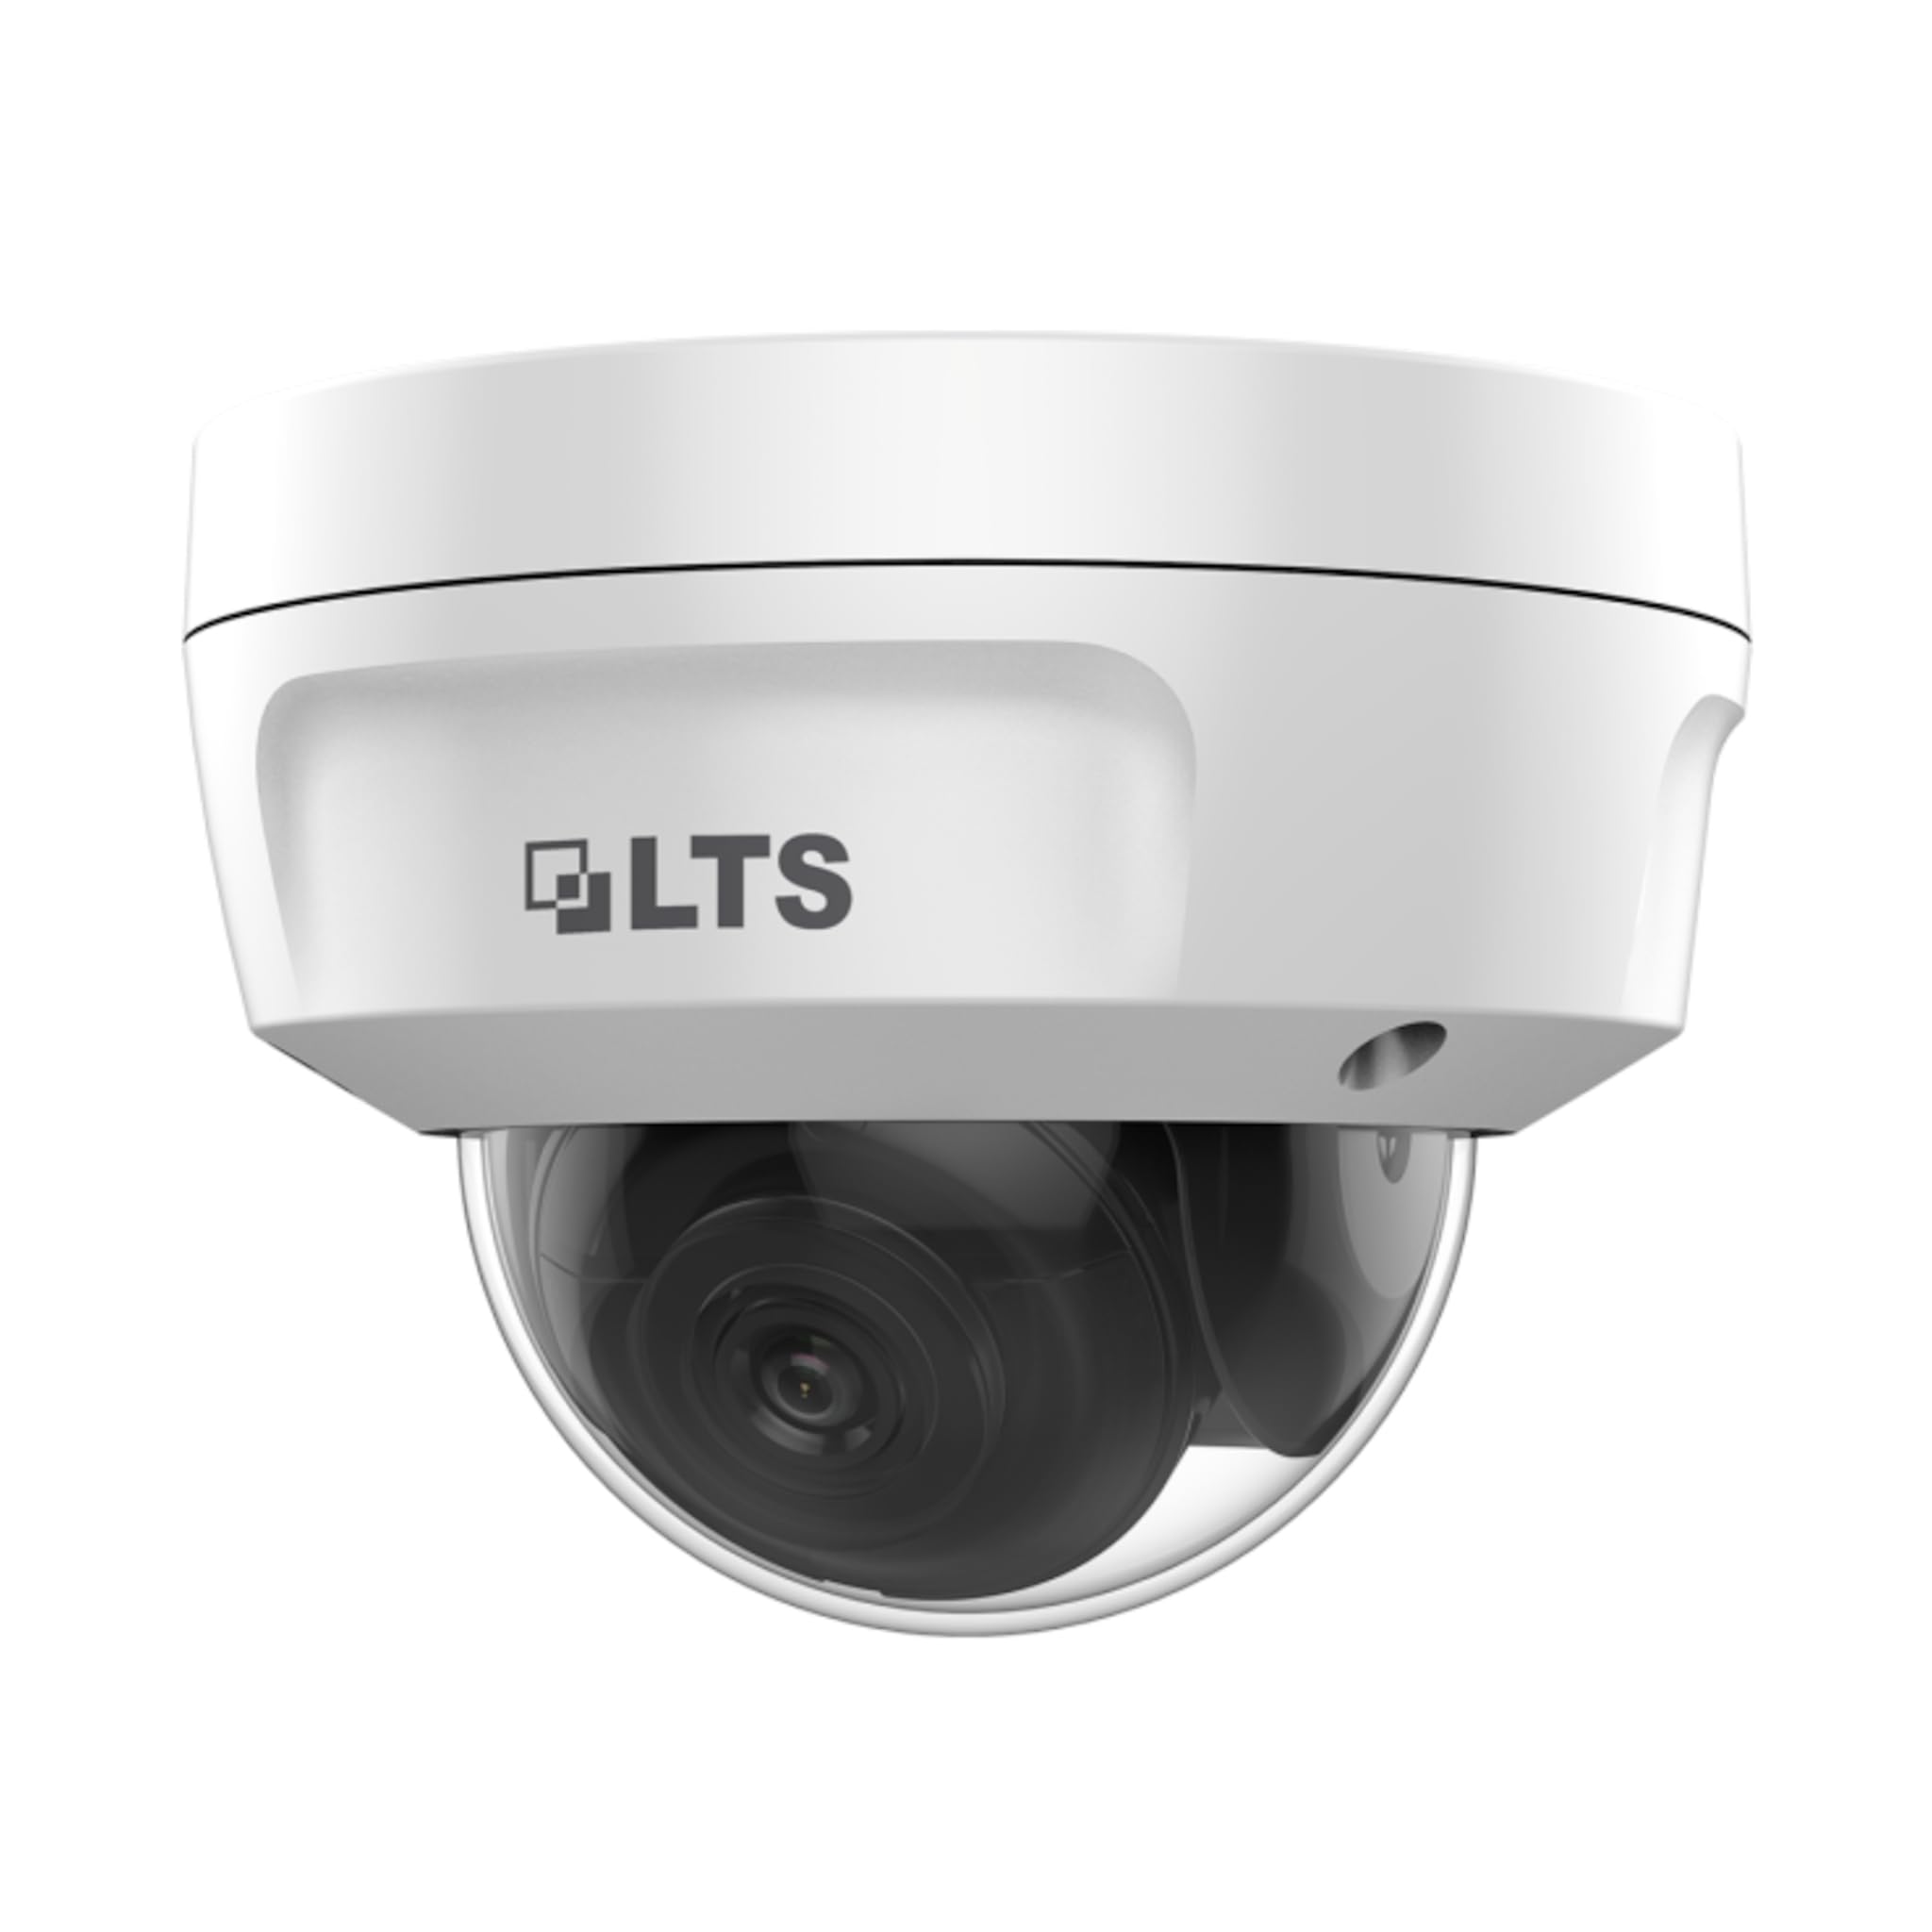
Imaxe: Fronte view of the LTS LTCMIP7342W-28M dome camera. This image shows the main body of the camera with its dome cover, indicating its compact and discreet design.

Imaxe: Lado view of the LTS LTCMIP7342W-28M dome camera, showing the attached cables for power and network connectivity. This view highlights the integrated cable management for installation.
3. Cableado e conectividade
The LTCMIP7342W-28M camera primarily uses a network cable for both data and power (PoE). It is not compatible with traditional DC power and BNC video connections.

Imaxe: This diagram illustrates the correct and incorrect wiring methods. On the left, a network cable (RJ45) is circled in green, indicating compatibility for both video and Power over Ethernet (PoE). On the right, DC power and BNC video connectors are circled in red, indicating they are not compatible with this camera model.
- Conexión de rede: Connect a standard Ethernet cable (Cat5e or Cat6) from the camera's RJ45 port to a PoE-enabled switch or NVR. If not using PoE, connect to a standard network switch and provide 12V DC power separately.
- Potencia: The camera supports Power over Ethernet (PoE) or a 12V DC power supply. Ensure the power source meets the camera's requirements.
- Conector impermeable: Use the provided waterproof connector kit for outdoor installations to protect the RJ45 connection from moisture.
4. Montaxe da cámara
- Prepare a superficie de montaxe: Choose a suitable location, typically a ceiling or wall, ensuring it can support the camera's weight.
- Use the Drill Template: Place the provided drill template on the desired mounting surface. Mark the positions for the mounting screws and cable routing hole.
- Perforación: Drill pilot holes for the mounting screws (typically 5.5mm diameter for expansion screws) and a larger hole for cable routing, if necessary.
- Cables de ruta: Pass the network cable through the cable routing hole.
- Fixar a base da cámara: Align the camera base with the drilled holes and secure it using the provided mounting screws and wall plugs.
- Axustar o ángulo da cámara: Loosen the adjustment screws (if applicable) to position the camera lens for the desired viewángulo de inglete. Aperte os parafusos unha vez axustados.
En funcionamento
1. Initial Power-Up and Network Configuration
- After connecting the camera to power and the network, it will boot up. This may take a few minutes.
- Use the manufacturer's IP search tool (e.g., SADP Tool) to discover the camera's IP address on your network.
- Acceder á cámara web interface introducindo o seu enderezo IP nun web navegador.
- Follow the on-screen prompts to set a strong password for the camera (if it's a new installation or reset).
- Configure network settings (IP address, subnet mask, gateway, DNS) as required by your network infrastructure.
2. Configuración de vídeo
- Resolución: The camera supports up to 4MP (2560x1440) resolution at 30 frames per second. Adjust as needed for bandwidth and storage considerations.
- Compresión: Utilize H.265+ or H.265 for efficient video storage and bandwidth usage. H.264+ and H.264 are also supported.
- WDR (amplo rango dinámico): Enable True WDR (120dB) in challenging lighting conditions to balance bright and dark areas in the image.
- Visión nocturna: The camera features Matrix IR 2.0 with a range up to 100 feet. IR LEDs automatically activate in low light.
3. Gravación e almacenamento
- Gravación NVR: Conecte a cámara a un gravador de vídeo en rede (NVR) compatible para a gravación continua ou baseada en eventos.
- Tarxeta MicroSD: Insert a MicroSD card (up to 128GB) into the camera's slot for local storage. Configure recording schedules and event triggers via the web interface.
- Detección de movemento: Set up motion detection zones and sensitivity to trigger recordings or alerts.
4. Acceso remoto
Para control remoto viewing, configure port forwarding on your router or use a P2P/Cloud service provided by the manufacturer (if available) to access the camera feed via a mobile app or client software.
Mantemento
- Limpeza de lentes: Periodically clean the camera lens and dome cover with a soft, damp pano. Evite produtos de limpeza abrasivos que poidan raiar a superficie.
- Actualizacións de firmware: Consulte o do fabricante website for firmware updates to ensure optimal performance and security. Follow update instructions carefully.
- Inspección de cables: Regularly inspect all cables and connections for signs of wear or damage, especially in outdoor installations.
- Comprobacións ambientais: Ensure the camera's environment remains within its specified operating temperature and humidity ranges.
- Xestión de contrasinais: Change passwords regularly and use strong, unique passwords for enhanced security.
Resolución de problemas
| Problema | Causa posible | Solución |
|---|---|---|
| Sen fonte de imaxes/vídeos | No power; Network cable disconnected; Incorrect IP address; Camera malfunction. | Check power supply/PoE connection; Verify network cable is securely connected; Use IP search tool to find camera; Contact technical support if malfunction suspected. |
| Mala calidade de imaxe | Dirty lens/dome; Low light conditions; Incorrect video settings; Network bandwidth issues. | Clean lens/dome; Ensure IR is active in low light; Adjust resolution, WDR, and other image settings; Check network connection speed. |
| Non se pode acceder á cámara de forma remota | Incorrect port forwarding; Firewall blocking access; Dynamic IP address changed; P2P/Cloud service offline. | Verify router port forwarding rules; Check firewall settings on router/NVR; Use DDNS service for dynamic IPs; Check status of P2P/Cloud service. |
| A tarxeta SD non grava | SD card full or faulty; Incorrect recording schedule; SD card not formatted. | Check SD card status and remaining space; Format SD card via camera interface; Verify recording schedule and event triggers. |
Especificacións
| Característica | Detalle |
|---|---|
| Modelo | LTCMIP7342W-28M |
| Resolución de captura de vídeo | 4 MP (2560 x 1440) |
| Velocidade de cadros | 30 fps |
| Lente | Lente fixa de 2.8 mm |
| WDR | Verdadeiro WDR 120dB |
| Alcance IR | Up to 100 feet (Matrix IR 2.0) |
| Iluminación mínima | 0.018 lux @ F1.6 |
| Compresión de vídeo | H.265, H.265+, H.264 e H.264+ |
| Almacenamento | MicroSD Slot (up to 128GB) |
| Fonte de alimentación | DC 12V, PoE (802.3af) |
| Protección de entrada | IP67 |
| Resistencia vándala | IK10 |
| Tecnoloxía de conectividade | Con cable (Ethernet) |
| Tipo de montaxe | Montaxe no teito |
| Temperatura de funcionamento | (Refer to manufacturer's full datasheet for exact range) |
| Dimensións | Aprox. 7 x 7 x 7 cm (dimensións do paquete) |
| Peso | Aprox. 2.5 libras |
Garantía e Soporte
For warranty information, technical support, and service inquiries, please contact your authorized TSL dealer or visit the official TSL websitio. Garde o recibo da compra como xustificante de compra para reclamacións de garantía.
Fabricante: LTS
Marca: TSL
Ask a question about this manual
Ask about setup, troubleshooting, compatibility, parts, safety, or missing instructions. Manuals+ will review the question and use this page’s manual context to help answer it.