
1. Introdución
The StarTech.com SV231DPU34K is a 2-Port DisplayPort KVM Switch designed to allow control of two DisplayPort-enabled computers from a single monitor, keyboard, and mouse. This device supports high-resolution video up to 4K at 60Hz and includes an integrated USB 3.0 hub for sharing additional USB peripherals between connected systems. It also features 3.5mm analog audio switching and offers flexible control via front-panel push buttons or hotkey commands.
2. Contido do paquete
- 1x KVM Switch (SV231DPU34K)
- 1x Universal Power Adapter (NA/JP, EU, UK, ANZ)
- 4x Rubber Foot Pads
3. Produto rematadoview
3.1 Panel frontal
The front panel provides convenient access to a USB HID port, a USB 3.0 port, and selection buttons for switching between connected computers.

Imaxe 1: Front Panel of the SV231DPU34K KVM Switch. Features include a USB HID port, a USB 3.0 port, and two computer selection buttons (1 and 2) with a 'SELECT' button.
3.2 Panel posterior
The rear panel houses the power input, console DisplayPort and USB HID ports, and dedicated DisplayPort, USB, and audio ports for each connected PC.
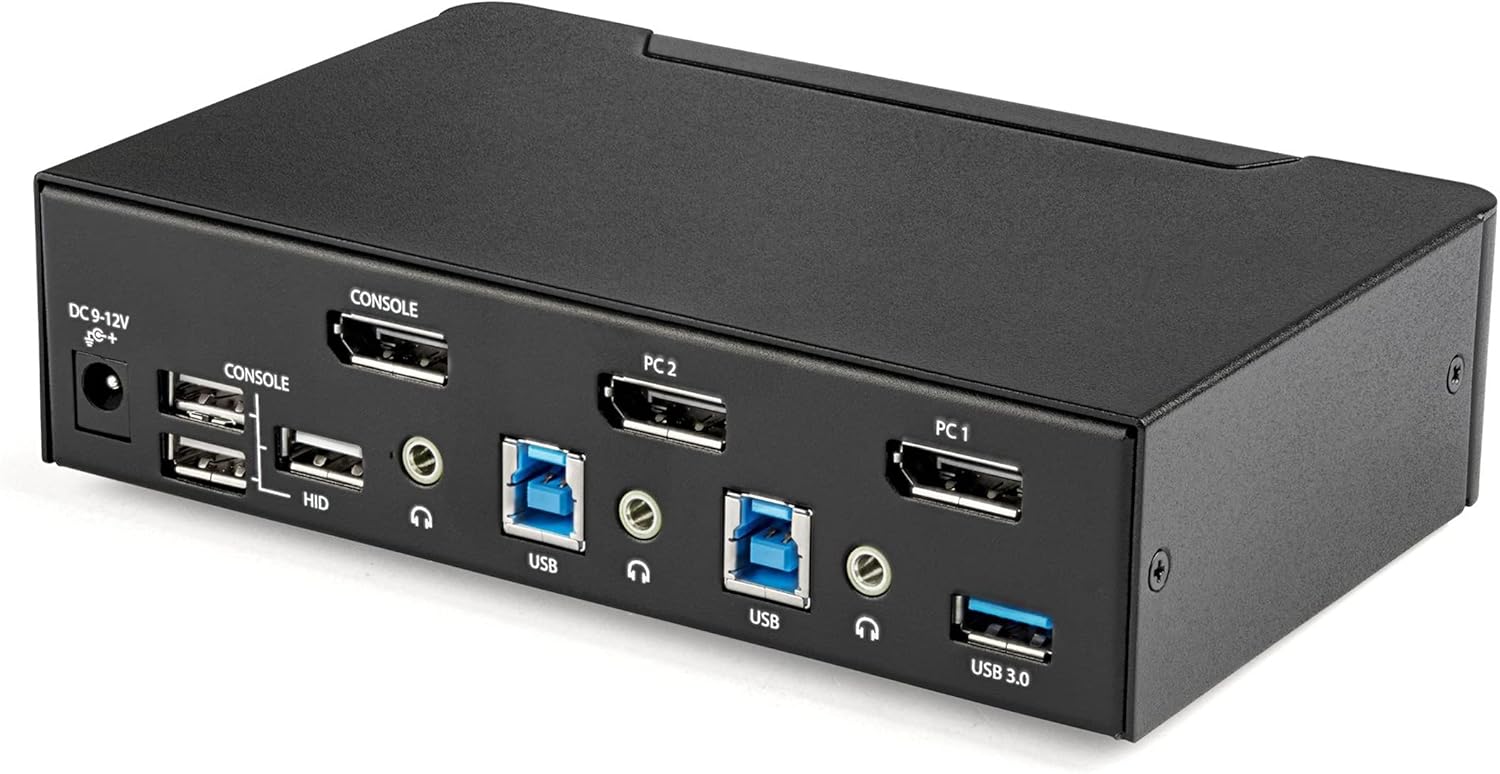
Imaxe 2: Rear Panel of the SV231DPU34K KVM Switch. Connections include DC 9-12V power, Console DisplayPort, Console USB HID ports, and individual DisplayPort, USB 3.0 Type-B, and 3.5mm audio jacks for PC1 and PC2.
3.3 Labeled Diagram
Este diagrama ofrece unha visión completa view of all ports and their functions on both the front and rear panels.

Imaxe 3: Labeled diagram illustrating all ports on the SV231DPU34K KVM Switch, including console connections for monitor, keyboard, and mouse, and PC connections for two computers.
4. Instrucións de configuración
Follow these steps to set up your StarTech.com SV231DPU34K KVM Switch:
- Apagar dispositivos: Ensure all computers, monitors, and peripherals are powered off before beginning the installation.
- Connect Console Devices:
- Conecta o teu monitor DisplayPort ao CONSOLE DisplayPort on the rear of the KVM switch.
- Conecta o teclado e o rato USB ao CONSOLE HID USB Type-A ports on the rear of the KVM switch.
- If using external speakers or a microphone, connect them to the CONSOLE 3.5mm audio jacks na parte traseira.
- Connect Computers (PC1 and PC2): Para cada ordenador:
- Connect a DisplayPort cable from your computer's DisplayPort output to the corresponding PC1 DisplayPort or PC2 DisplayPort input on the KVM switch.
- Connect a USB 3.0 Type-A to Type-B cable from your computer's USB 3.0 port to the corresponding PC1 USB 3.0 Type-B or PC2 USB 3.0 Type-B input on the KVM switch.
- If using audio, connect 3.5mm audio cables from your computer's audio output/input to the corresponding PC1/PC2 3.5mm audio jacks.
- Conectar periféricos USB: Connect any additional USB 3.0 peripherals (e.g., USB hub, printer, flash drive) to the Portos USB 3.0 tipo A on the front or rear of the KVM switch.
- Conectar enerxía: Connect the included universal power adapter to the Entrada de alimentación DC 9-12 V on the rear of the KVM switch, then plug it into a power outlet.
- Encendido: Power on the KVM switch, then power on your monitor, and finally power on your connected computers.
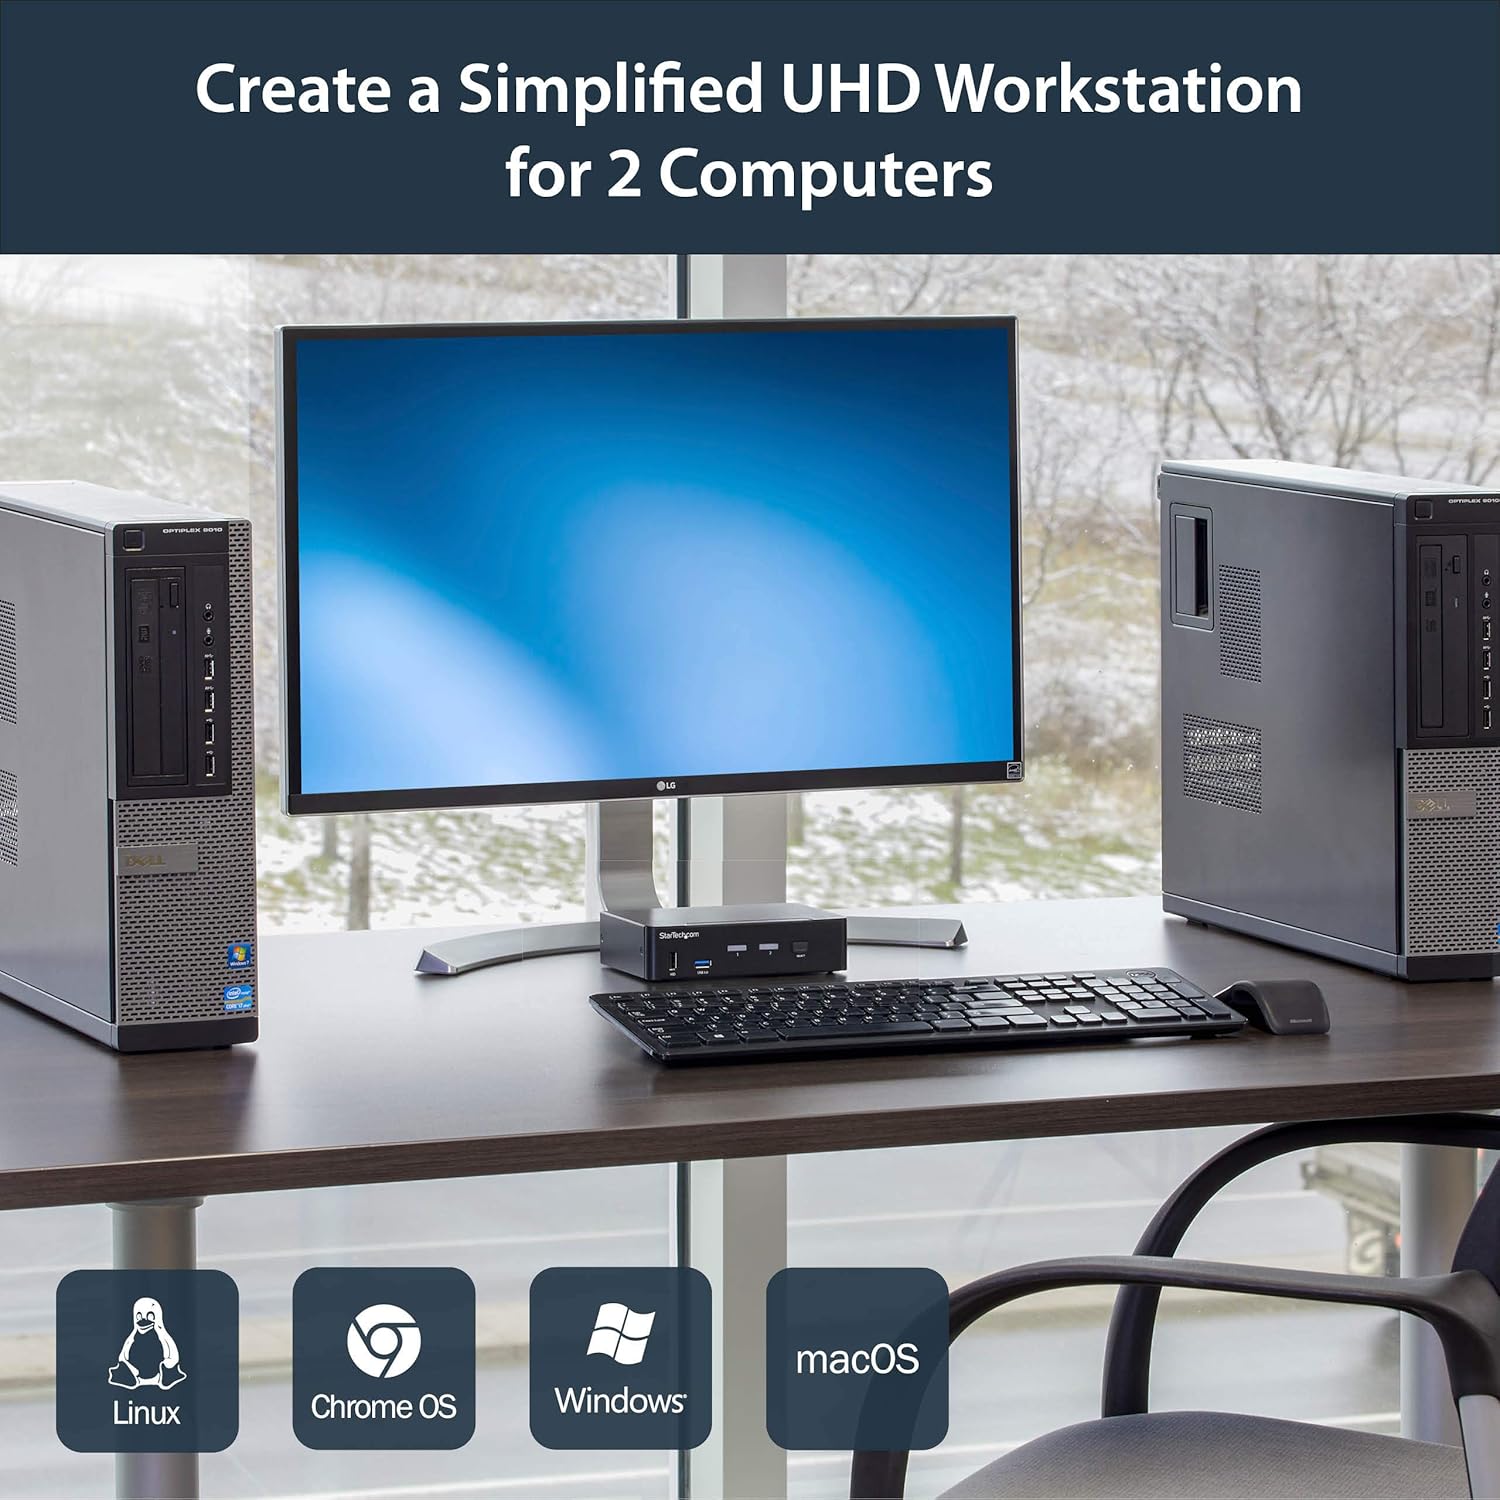
Imaxe 4: Connection diagram for the SV231DPU34K KVM Switch, showing how two computers share one display and peripherals.
5. Instrucións de funcionamento
The SV231DPU34K KVM Switch offers two methods for switching between connected computers:
5.1 Front Panel Push Buttons
Prema o correspondente SELECCIONAR button on the front panel of the KVM switch to switch to the desired computer (PC1 or PC2). The LED indicator for the selected computer will illuminate.
Imaxe 5: Front panel with computer selection buttons.
5.2 Hotkey Switching
The KVM switch supports hotkey commands for switching between computers. Refer to the quick start guide or the official StarTech.com product page for specific hotkey sequences.
6. Mantemento
To ensure optimal performance and longevity of your KVM switch, follow these maintenance guidelines:
- Limpeza: Keep the device clean and free from dust. Use a soft, dry, lint-free cloth for cleaning. Avoid using liquid or aerosol cleaners.
- Ventilación: Ensure adequate airflow around the KVM switch to prevent overheating. Do not block any ventilation openings.
- Xestión de cables Organiza os cables para evitar tensións nos portos e desconexións accidentais.
- Condicións ambientais: Operate the device within its specified temperature and humidity ranges. Avoid extreme temperatures or moisture.
7 Solución de problemas
Se tes problemas co teu conmutador KVM, consulta os seguintes problemas e solucións comúns:
| Problema | Posible Solución |
|---|---|
| No display or flickering display after switching. |
|
| O teclado ou o rato non responden. |
|
| USB 3.0 devices not detected or working intermittently. |
|
| Audio issues (static, no sound). |
|
| G-Sync or FreeSync not working. |
|
8. Especificacións
| Característica | Detalle |
|---|---|
| Modelo | SV231DPU34K |
| Marca | StarTech.com |
| Interface de vídeo | DisplayPort 1.2 |
| resolución máxima | 3840 x 2160 @ 60Hz (4K UHD) |
| MST Passthrough | Soportado |
| Hub USB | Hub USB 2 de 3.0 portas |
| Portos USB HID | 4x USB Type-A (for keyboard/mouse) |
| Audio | 3.5mm Analog Audio Switching |
| Métodos de conmutación | Push Button, Hotkey |
| Material | Aceiro |
| Dimensións (L x W x H) | 3.9 x 6.3 x 1.6 polgadas (9.9 x 16.0 x 4.1 cm) |
| Peso do elemento | 1.3 libras (0.59 kg) |
| Entrada de enerxía | DC 9-12V, 18 Watts |
| Cor | Negro |
| Temperatura de funcionamento | 0 °C a 40 °C (32 °F a 104 °F) |
| Temperatura de almacenamento | -20 °C a 60 °C (-4 °F a 140 °F) |
| Humidade | 0-80% RH (sen condensación) |
9. Garantía e soporte
9.1 Información da garantía
Este produto de StarTech.com está respaldado por un 2 ano de garantía. For detailed warranty terms and conditions, please refer to the official StarTech.com websitio.
9.2 Soporte técnico
For technical assistance, product documentation, or driver downloads, please visit the official StarTech.com support websitio: