Introdución
This manual provides instructions for the Sharper Image Motion Activated Candy Dispenser. This device is designed to dispense small, hard-shelled candies, nuts, and snacks using a touchless motion sensor, promoting hygiene and convenience. It is suitable for use in various settings, including homes and offices.
Información importante de seguridade
- Este produto non está pensado para o seu uso por nenos menores de 12 anos.
- The dispenser is designed for small, dry food items only. Do not use with liquids or sticky substances.
- Store the dispenser in a cool, dry area to maintain optimal performance and food quality.
- Asegúrate de que as pilas estean inseridas correctamente respectando as marcas de polaridade. Non mestures pilas vellas e novas, nin pilas de diferentes tipos.
- Remove batteries if the dispenser will not be used for an extended period to prevent leakage.
Contido do paquete
- 1x Sharper Image Motion Activated Candy Dispenser Unit
- Manual de usuario
Note: 4 "AA" batteries are required and not included. An optional 6V DC 0.5A (300mA) AC power adapter is also not included.
Configuración
1. Instalación da batería
- Locate the battery compartment on the underside of the dispenser base.
- Abra a tapa do compartimento da batería.
- Insert 4 "AA" batteries (not included), ensuring correct polarity (+/-) as indicated inside the compartment.
- Pecha a tapa do compartimento da batería de forma segura.
Alternatively, an optional 6V DC 0.5A (300mA) AC power adapter can be used (not included).
2. Filling the Dispenser
- Before first use, clean the transparent container thoroughly.
- Remove the lid from the top of the dispenser.
- Carefully pour your desired treats into the container. Ensure the items are suitable for dispensing (see "Operating Instructions" for details).
- Coloque a tapa de forma segura.

Figure 1: Filling the dispenser with treats.
Instrucións de funcionamento
Usando o sensor de movemento
- Place your hand directly under the dispensing chute.
- The built-in motion sensor will detect your hand and activate the dispensing mechanism.
- Hold your hand under the chute for a moment to allow the treats to dispense. The amount dispensed may vary. If no treats dispense on the first attempt, briefly remove your hand and place it back under the sensor.
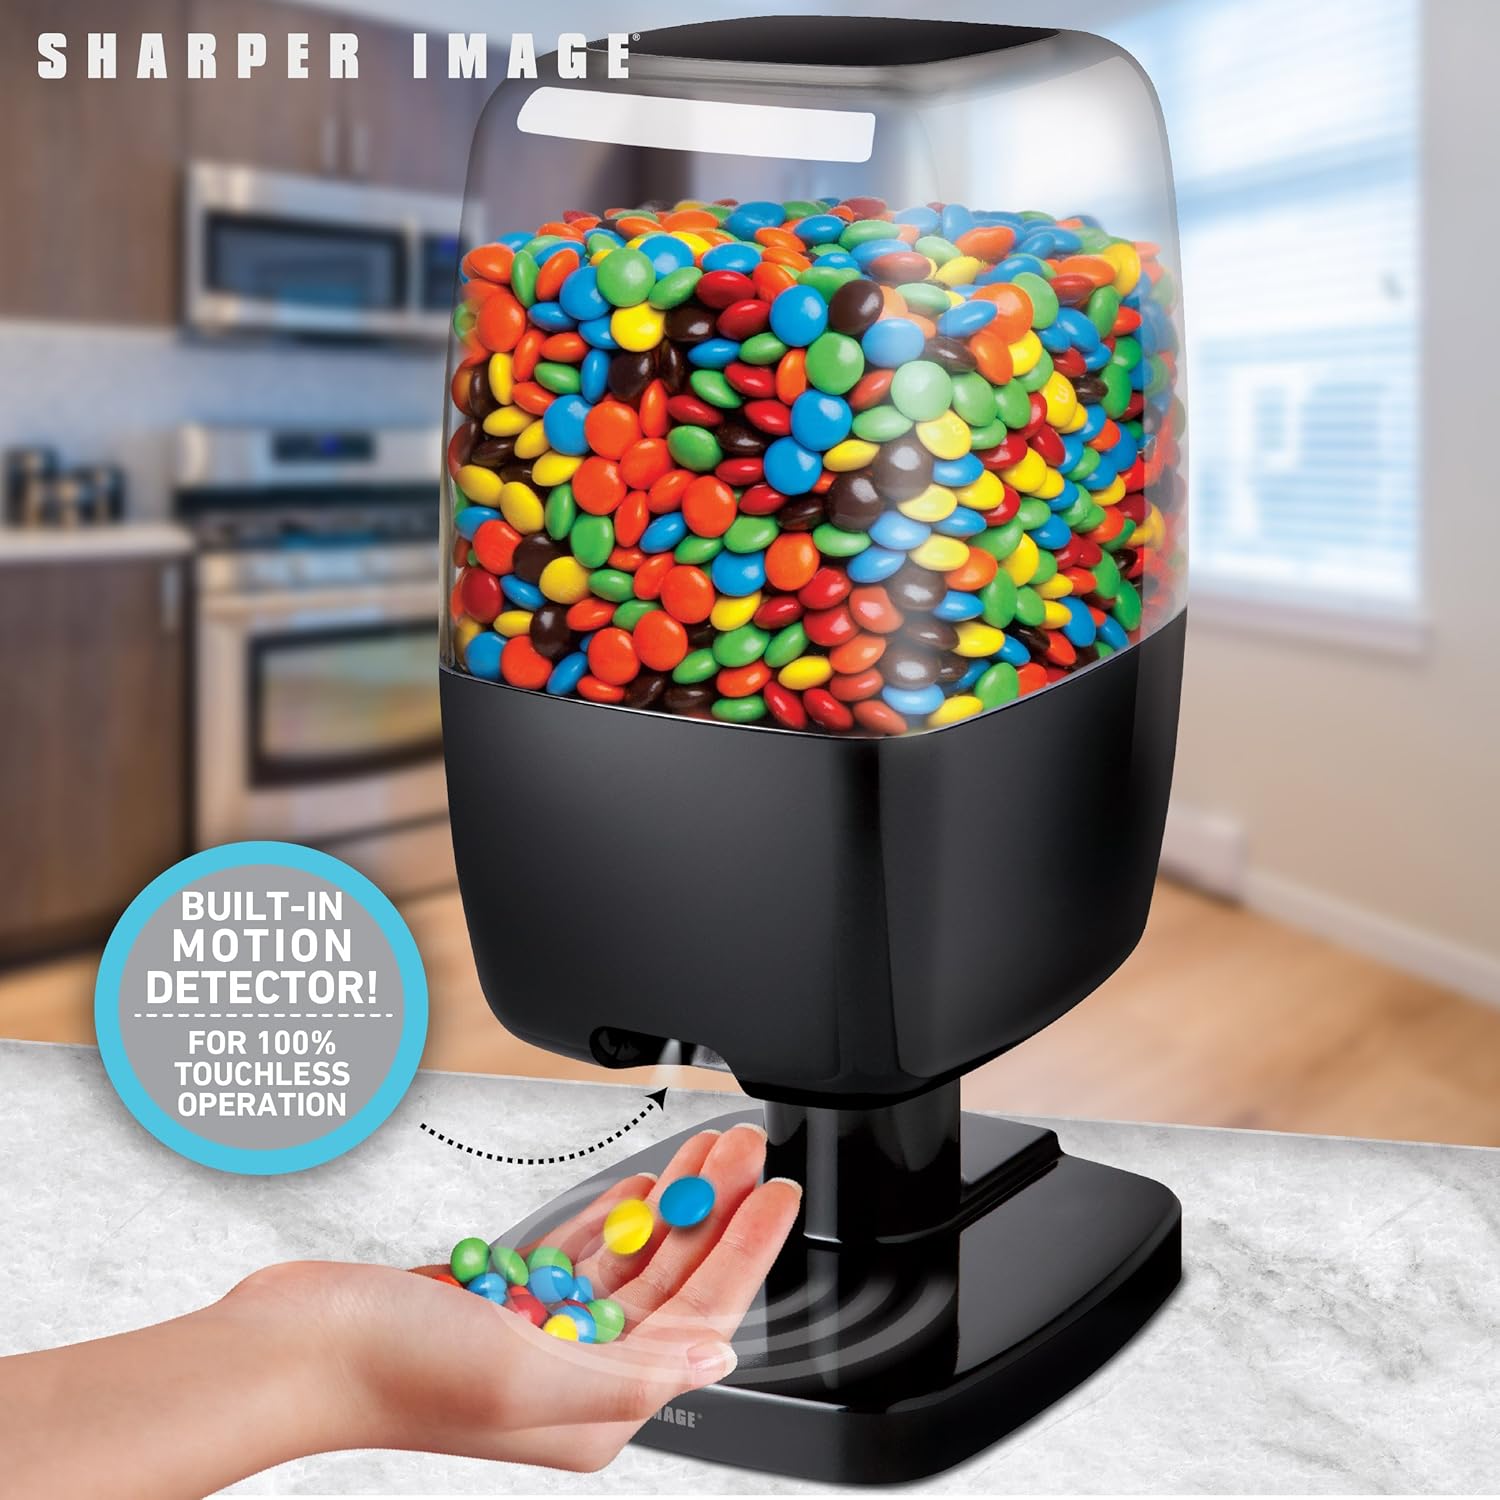
Figure 2: Hands-free dispensing in action.
Disabling Dispensing (Hidden Button)
A hidden button is located on the back of the dispenser. Pressing this button will temporarily disable the dispensing function, preventing treats from being dispensed even when the motion sensor is activated. Press it again to re-enable dispensing.
Recommended Items for Dispensing
For optimal performance, use items that are hard-shelled, dry, and approximately 0.75 inches (1.9 cm) or smaller in size. Exampos inclúen:
- Small Gumballs
- Hard shell, chocolate coated candy (e.g., M&M's)
- Hard shell, fruit flavored candy
- Abelás
- Gominolas
- Small Jawbreakers
- Noces de macadamia
- Piñeiros
- Shelled, unsalted peanuts
- Pistachos descascados
- Small Jordan almonds
- Noces de soia
- Sementes de xirasol
- Améndoas enteiras
- Cacahuetes salgados
Items NOT Recommended for Dispensing
Avoid using the following items to prevent blockages or damage to the dispenser:
- Candy that is wrapped
- Candy that has a soft chocolate coating
- Candy that is cylindrically or barrel-shaped
- Candy that is gummy
- Raisins or similar dried fruit
- Candy that is sticky
- Items larger than 0.75 inches (1.9 cm)
- Obxectos metálicos

Figure 3: Guide for suitable and unsuitable items.
Mantemento
Limpeza
- To clean the dispenser, first ensure it is empty of all treats and batteries are removed.
- Limpe as superficies exteriores cun suave, damp pano.
- The transparent container can be detached and washed with mild soap and water. Ensure it is completely dry before reassembling and refilling.
- Do not immerse the base unit in water or place it in a dishwasher.
Almacenamento
When not in use, store the dispenser in a cool, dry place away from direct sunlight and moisture. Remove batteries if storing for an extended period.
Resolución de problemas
Dispenser Not Activating or Dispensing
- Comprobe as baterías: Ensure batteries are correctly installed and have sufficient charge. Replace with fresh "AA" batteries if necessary.
- Obstrución do sensor: Verify that the motion sensor area is clean and free from obstructions.
- Colocación das mans: Ensure your hand is placed directly under the sensor and held steady for a moment.
- Hidden Button: Check if the hidden button on the back of the dispenser has been pressed, disabling the dispensing function. Press it again to re-enable.
Treats Not Dispensing Properly or Getting Stuck
- Item Suitability: Confirm that the items being dispensed are suitable for the dispenser (refer to "Recommended Items" section). Avoid sticky, wrapped, or oversized items.
- Sobrecarga: Do not overfill the dispenser, as this can impede the dispensing mechanism.
- Bloqueo: Gently shake the dispenser or use a soft, non-abrasive tool to clear any blockages in the chute.
Duración da batería curta
- Calidade da batería: Use high-quality alkaline batteries for best performance and longevity.
- Frecuencia de uso: Frequent use will naturally deplete batteries faster. Consider using an optional AC adapter for continuous power if available.
Especificacións
| Marca: | Imaxe máis nítida |
| Modelo: | B07KGMDK96 |
| Material: | Plástico |
| Cor: | Negro |
| Dimensións (H x W x D): | Approximately 13.125 in. x 6.00 in. x 6.75 in. (33.3 cm x 15.2 cm x 17.1 cm) |
| Fonte de enerxía: | 4 "AA" batteries (not included) or optional 6V DC 0.5A (300mA) AC adapter (not included) |
| Max Item Size: | Up to 0.5 inches (1.27 cm) in size (for optimal dispensing) |

Figura 4: Dimensións do produto.
Garantía e Soporte
For warranty information or technical support, please refer to the contact details provided with your product packaging or visit the official Sharper Image websitio. Garde o recibo da compra como xustificante da mesma.


