
Introdución
This manual provides detailed instructions for the safe installation, operation, and maintenance of your Progress Lighting Tobin Collection 1-Light Etched White Glass Modern Bath Vanity Light. Please read all instructions carefully before beginning installation and retain this manual for future reference.
The Tobin vanity light features a modern design with tubular arms and an etched white glass shade, finished in Brushed Nickel. It is designed to provide functional and aesthetic lighting for your bathroom space.
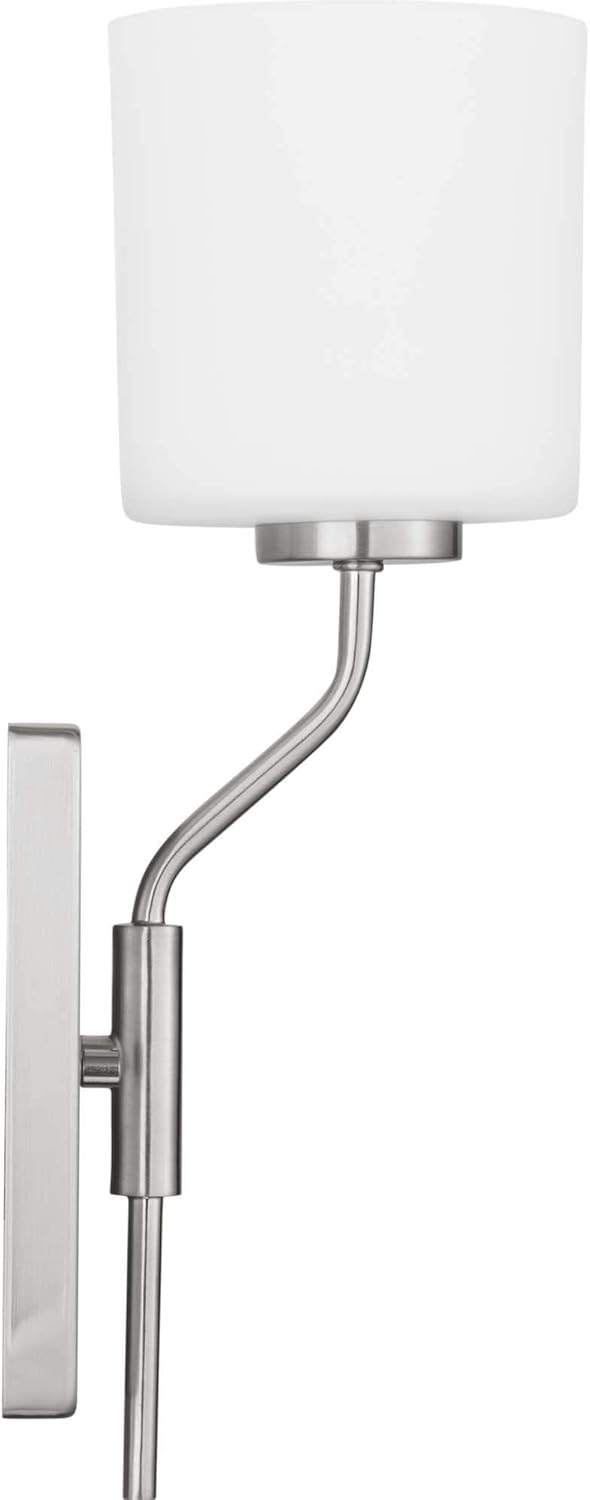
Figure 1: Progress Lighting Tobin 1-Light Vanity Light.
Información de seguridade
- AVISO: Risco de descarga eléctrica. Desconecte a alimentación na caixa de fusibles ou no disyuntor antes da instalación ou do mantemento.
- Todas as conexións eléctricas deben cumprir cos códigos e ordenanzas locais ou co Código Eléctrico Nacional (NEC). Póñase en contacto cun electricista cualificado se non está familiarizado coas conexións de cableado eléctrico axeitadas.
- Este aparello está destinado só para uso en interiores.
- Use só o tipo e wat de lámpadatage specified for this fixture. Exceeding the recommended wattage pode causar sobrequecemento e danos.
- Manexa os compoñentes de vidro con coidado para evitar que se rompan.
- Ensure the fixture is securely mounted to a structural element of the building.
- This product is UL Listed, ensuring it meets specific safety standards.
Contido do paquete
Desembala con coidado o teu novo aparello e coloca todas as pezas nunha zona despexada. Asegúrate de que todos os compoñentes que se indican a continuación estean presentes antes de desfacerte dos materiais de embalaxe.
- Fixture Body (with tubular arm and backplate)
- Pantalla de vidro branco gravada
- Ferraxes de montaxe (barra transversal, parafusos de montaxe, porcas para cables)
- Folla de instalación
Especificacións
| Marca | Iluminación de progreso |
| Nome do modelo | Tobin |
| Número de peza | P300222-009 |
| Cor | Brushed Nickel (Fixture), Etched White (Shade) |
| Material | Alloy Steel (Fixture), Glass (Shade) |
| Estilo | Moderno |
| Forma de luminaria | Vaidade |
| Tipo de habitación | Baño |
| Uso interior/exterior | Interior |
| Fonte de enerxía | AC |
| Tipo de instalación | Montado en superficie |
| Característica especial | Regulable |
| Tipo de fonte de luz | Incandescente (compatible con LED) |
| Número de fontes de luz | 1 |
| Voltage | 120 voltios |
| Wattage | 100 vatios (máximo) |
| Base de bulbo | E26 Medio |
| Brillo | 250 lumens (typical for included bulb, may vary with bulb choice) |
| Peso do elemento | 3.02 libras |
| Requírese montaxe | Si |
| Especificación Met | Listado UL |

Figura 2: Dimensións do produto.
Configuración e instalación
Antes de comezar: Ensure power is turned off at the circuit breaker. Read all instructions thoroughly.
- Prepare a superficie de montaxe: Ensure the electrical box is securely installed and capable of supporting the fixture's weight.
- Coloque a placa de montaxe: Secure the mounting crossbar to the electrical box using the provided screws.
- Conexións de cable: Connect the fixture's wires to the corresponding house wires (black to black, white to white, ground to ground) using the provided wire nuts. Ensure all connections are secure.
- Montar o aparello: Carefully align the fixture's backplate with the mounting screws on the crossbar. Secure the fixture in place with the decorative nuts or screws.
- Instalar pantalla de vidro: Place the etched white glass shade over the socket and secure it according to the specific design (e.g., with a threaded ring or set screws).
- Instalar lámpada: Insert one E26 medium base bulb (max 100W incandescent or equivalent LED) into the socket.
This fixture can be mounted with the light facing upwards or downwards, depending on your preference and desired lighting effect.

Figure 3: Mounting Options (Up or Down).
Video guía de instalación
Video 1: Bath and Vanity Sizing and Placement Guidelines. This video provides general guidance on sizing and placement for bathroom vanity lights, which can be helpful during installation.
Instrucións de funcionamento
Once installed, restore power at the circuit breaker. The fixture is operated via a standard wall switch (not included). If connected to a compatible dimmer switch, the light output can be adjusted. Ensure the bulb used is dimmable if you intend to use a dimmer switch.
Mantemento
- Limpeza: Always turn off power before cleaning. Wipe the fixture with a soft, dry cloth. Do not use abrasive cleaners or solvents as they may damage the finish.
- Pantalla de vidro: The etched white glass shade can be removed for cleaning. Wash with mild soap and water, rinse thoroughly, and dry completely before reattaching.
- Substitución da lámpada: Ensure power is off and the bulb has cooled before attempting to replace it. Use an E26 medium base bulb, not exceeding 100 watts.
Resolución de problemas
| Problema | Causa posible | Solución |
|---|---|---|
| A luz non acende. |
|
|
| Luz parpadea. |
|
|
| A pantalla de vidro está solta. |
|
|
Garantía e Soporte
This Progress Lighting product is covered by a Garantía limitada de 1 anos. This warranty guarantees your complete satisfaction with your purchase and includes professional after-sales customer service support.
For warranty claims or technical assistance, please refer to the contact information provided on your purchase receipt or visit the official Progress Lighting websitio.