
1. Produto rematadoview
The Goodman HKSX10XC is a 10 kW electric heat kit designed for use with Goodman Air Handlers. This kit provides supplemental heating for HVAC systems, operating on 208/240 V single-phase power. It is an essential component for systems requiring additional heat capacity, particularly when paired with heat pumps or AC-only systems where occasional heating is needed.
As características principais inclúen:
- Goodman HKSX10XC Air Handlers Electric Heat Kit compatibility.
- Heating capacity: 10 kW.
- Electrical specifications: 208/240 V, 1 Phase.
2. Especificacións
| Atributo | Detalle |
|---|---|
| Fabricante | Goodman |
| Número de peza | HKSX10XC |
| Peso do elemento | 3.8 libras |
| Dimensións do paquete | 14.96 x 9.65 x 8.43 polgadas |
| Número de modelo do artigo | HKSX10XC |
| Tamaño | 10 kW (Heating), 208/240V, 1 Phase |
| Fonte de enerxía | Eléctrico con cable |
| Cantidade do paquete do artigo | 1 |
| Pilas incluídas? | Non |
| Requírense baterías? | Non |
| Data de primeira dispoñibilidade | 25 de xaneiro de 2019 |
3. Configuración e instalación
Installation of the Goodman HKSX10XC Electric Heat Kit should only be performed by a qualified HVAC technician. Improper installation can lead to electrical hazards, system malfunction, or voiding of the product warranty. Always refer to the detailed installation instructions provided with the physical product for specific wiring diagrams and safety precautions.
3.1 Comprobacións previas á instalación
- Verify that the electric heat kit model (HKSX10XC) is compatible with your specific Goodman air handler model (e.g., ARUF, ASPT, ASPTC lines, or AMST-line air handlers with model numbers ending in "AA").
- Ensure the electrical supply matches the kit's requirements (208/240 V, 1 Phase).
- Confirm that all necessary tools and safety equipment are available.
3.2 Pasos de instalación (resumo)
- Desconexión de alimentación: Turn off all power to the air handler unit at the main electrical panel.
- Extracción do panel de acceso: Remove the appropriate access panel on the air handler to expose the heat kit compartment.
- Kit Insertion: Carefully slide the electric heat kit into the designated slot within the air handler.
- Conexións eléctricas: Connect the heat kit's wiring to the air handler's control board and power supply according to the wiring diagram in the product's full instruction manual. Ensure all connections are secure.
- Reinstalación do panel: Replace the access panel and secure it properly.
- Restauración de enerxía: Restore power to the air handler unit.
- Proba do sistema: Perform a functional test to ensure the heat kit operates correctly.
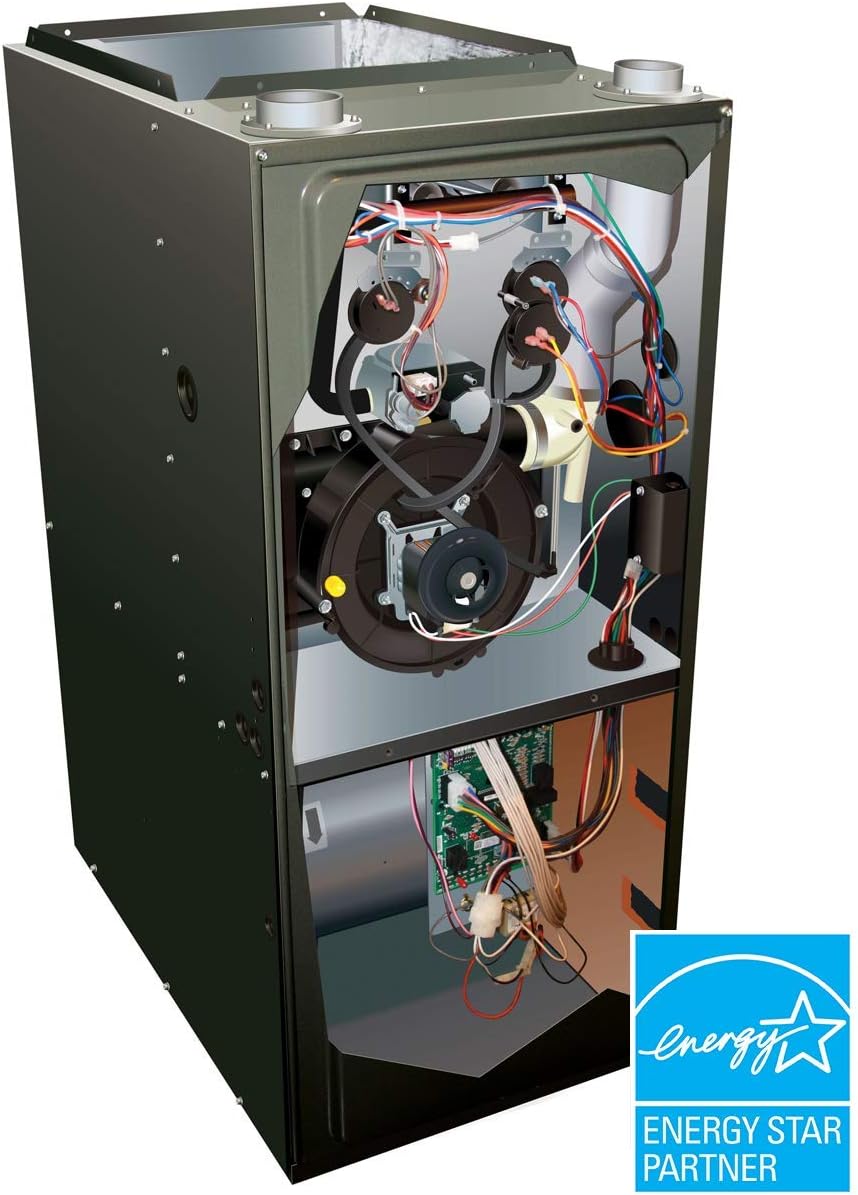
Imaxe: Interna view of a Goodman air handler, similar to where the electric heat kit would be installed.
4. Instrucións de funcionamento
Once installed and verified by a professional, the Goodman HKSX10XC Electric Heat Kit operates in conjunction with your air handler and thermostat. The heat kit will activate when the thermostat calls for heat and the primary heating source (if applicable, like a heat pump) cannot meet the demand, or if it's the sole heating source.
4.1 Control de termostato
- Set your thermostat to the desired temperature in heating mode.
- The heat kit will engage automatically as needed to reach and maintain the set temperature.
- For optimal efficiency, avoid frequently adjusting the thermostat to extreme temperatures.
4.2 Consideracións importantes
- Electric heat kits consume significant electricity. Monitor your energy usage, especially during peak demand.
- Ensure proper airflow by keeping return air vents unobstructed and regularly changing air filters.
5. Mantemento
Regular maintenance ensures the longevity and efficient operation of your electric heat kit and the entire HVAC system. It is recommended to have your system inspected annually by a qualified HVAC technician.
5.1 Mantemento do usuario
- Substitución do filtro de aire: Regularly check and replace the air filter in your air handler, typically every 1-3 months, or more frequently if you have pets or allergies. A dirty filter restricts airflow and reduces heating efficiency.
- Ventilacións transparentes: Ensure all supply and return air vents in your home are open and unobstructed by furniture, drapes, or other items.
5.2 Mantemento profesional
- Annual inspection of electrical connections for tightness and corrosion.
- Verification of proper amperage draw and voltage.
- Cleaning of heating elements and surrounding components.
- Checking the overall condition and operation of the air handler and heat kit.
6 Solución de problemas
Before calling for service, perform these basic troubleshooting steps. For complex issues, always contact a qualified HVAC technician.
6.1 Sen saída de calor
- Check Thermostat: Ensure the thermostat is set to heating mode and the desired temperature is above the current room temperature.
- Comprobar o interruptor automático: Verify that the circuit breaker for the air handler and heat kit has not tripped. Reset if necessary.
- Inspeccionar o filtro de aire: A severely clogged air filter can cause the system to shut down or reduce performance. Replace if dirty.
- Fonte de alimentación: Confirm the unit is receiving power.
6.2 Insufficient Heating
- Airflow Restriction: Check for blocked return or supply vents.
- Filtro sucio: Substitúe o filtro de aire.
- Calibración do termostato: Ensure the thermostat is accurately reading the room temperature.
6.3 Ruídos ou cheiros pouco comúns
- Cheiro a queimado: A slight burning smell can occur when the heat kit is first used after a period of inactivity, as dust burns off. If the smell persists or is strong, turn off the unit and call a technician.
- Mechanical Noises: Squealing, grinding, or rattling noises indicate a mechanical issue. Turn off the unit and contact a professional.
7. Garantía e soporte
Goodman offers comprehensive warranty coverage for its products. Registering your new Goodman unit is crucial for enhanced warranty benefits.
7.1 Información da garantía
- Garantía limitada de substitución da unidade de 10 anos: Provides for replacement of the entire unit under specific conditions.
- Garantía limitada do compresor de por vida: Cobre o compresor durante toda a vida útil da unidade.
- Garantía limitada de pezas de 10 anos: Cobre as pezas de reposto para calquera peza que resulte defectuosa debido á man de obra ou aos materiais en condicións de uso e mantemento normais.
Note: Warranty terms and conditions may vary. Please refer to the official Goodman warranty documentation included with your product or visit the Goodman website for the most current and detailed information. Registration is typically required to activate full warranty benefits.
7.2 Atención ao cliente
For technical assistance, warranty claims, or service inquiries, please contact Goodman customer support or your authorized Goodman dealer. Always provide your product model number (HKSX10XC) and serial number when seeking support.
8. Recursos adicionais
Video: Essential considerations when purchasing a furnace, including fuel type, configuration, and efficiency ratings. Provided by Superior Home Supplies.

Image: Diagram illustrating internal components and features of a Goodman furnace, highlighting design for comfort and efficiency.