
1. Introdución
The Autel MaxiLink ML519 is an advanced OBDII/EOBD scanner designed to assist in diagnosing vehicle issues. This tool provides comprehensive diagnostic functions, including reading and clearing trouble codes, viewing live data, performing I/M readiness tests, and more. It is compatible with most OBDII-compliant vehicles manufactured from 1996 onwards in the US, and from 2000 for EU-based and Asian cars.
2. Produto rematadoview
2.1 Características principais
- Reads and clears generic (P0, P2, P3, U0) and manufacturer-specific (P1, P3, U1) codes, and pending codes.
- Apaga a luz de verificación do motor (MIL), borra os códigos e reinicia os monitores.
- Patented One-Click I/M Readiness Status Key for quick emissions readiness check.
- Views freeze frame data.
- Displays live PCM data stream in text and graphing formats.
- Performs O2 Monitor Test, On-Board Monitor Test (Mode 6), and Component Test.
- Retrieves vehicle identification information (VIN, CALID, and CVN).
- Built-in DTC lookup library for code definitions.
- Memory backup for off-vehicle data review e análise.
- Internet updatable for software and language.
- Prints data via Windows-based PC.
2.2 Contido do paquete
The Autel MaxiLink ML519 package typically includes the following items:
- MaxiLink ML519 Unit
- OBD II Connector Cable
- USB Data Line
- Guía rápida
- Bolsa de almacenamento

Image: Contents of the Autel MaxiLink ML519 package, including the scanner unit, cables, quick guide, and storage bag.
3. Configuración
3.1 Connecting the Scanner to the Vehicle
- Turn the vehicle's ignition off.
- Locate the vehicle's 16-pin Data Link Connector (DLC). The DLC is usually located under the dashboard on the driver's side.
- Connect the OBD II connector cable from the ML519 scanner to the vehicle's DLC. Ensure a secure connection.
- Xire o contacto do vehículo á posición ON (motor apagado). O escáner acenderase automaticamente.
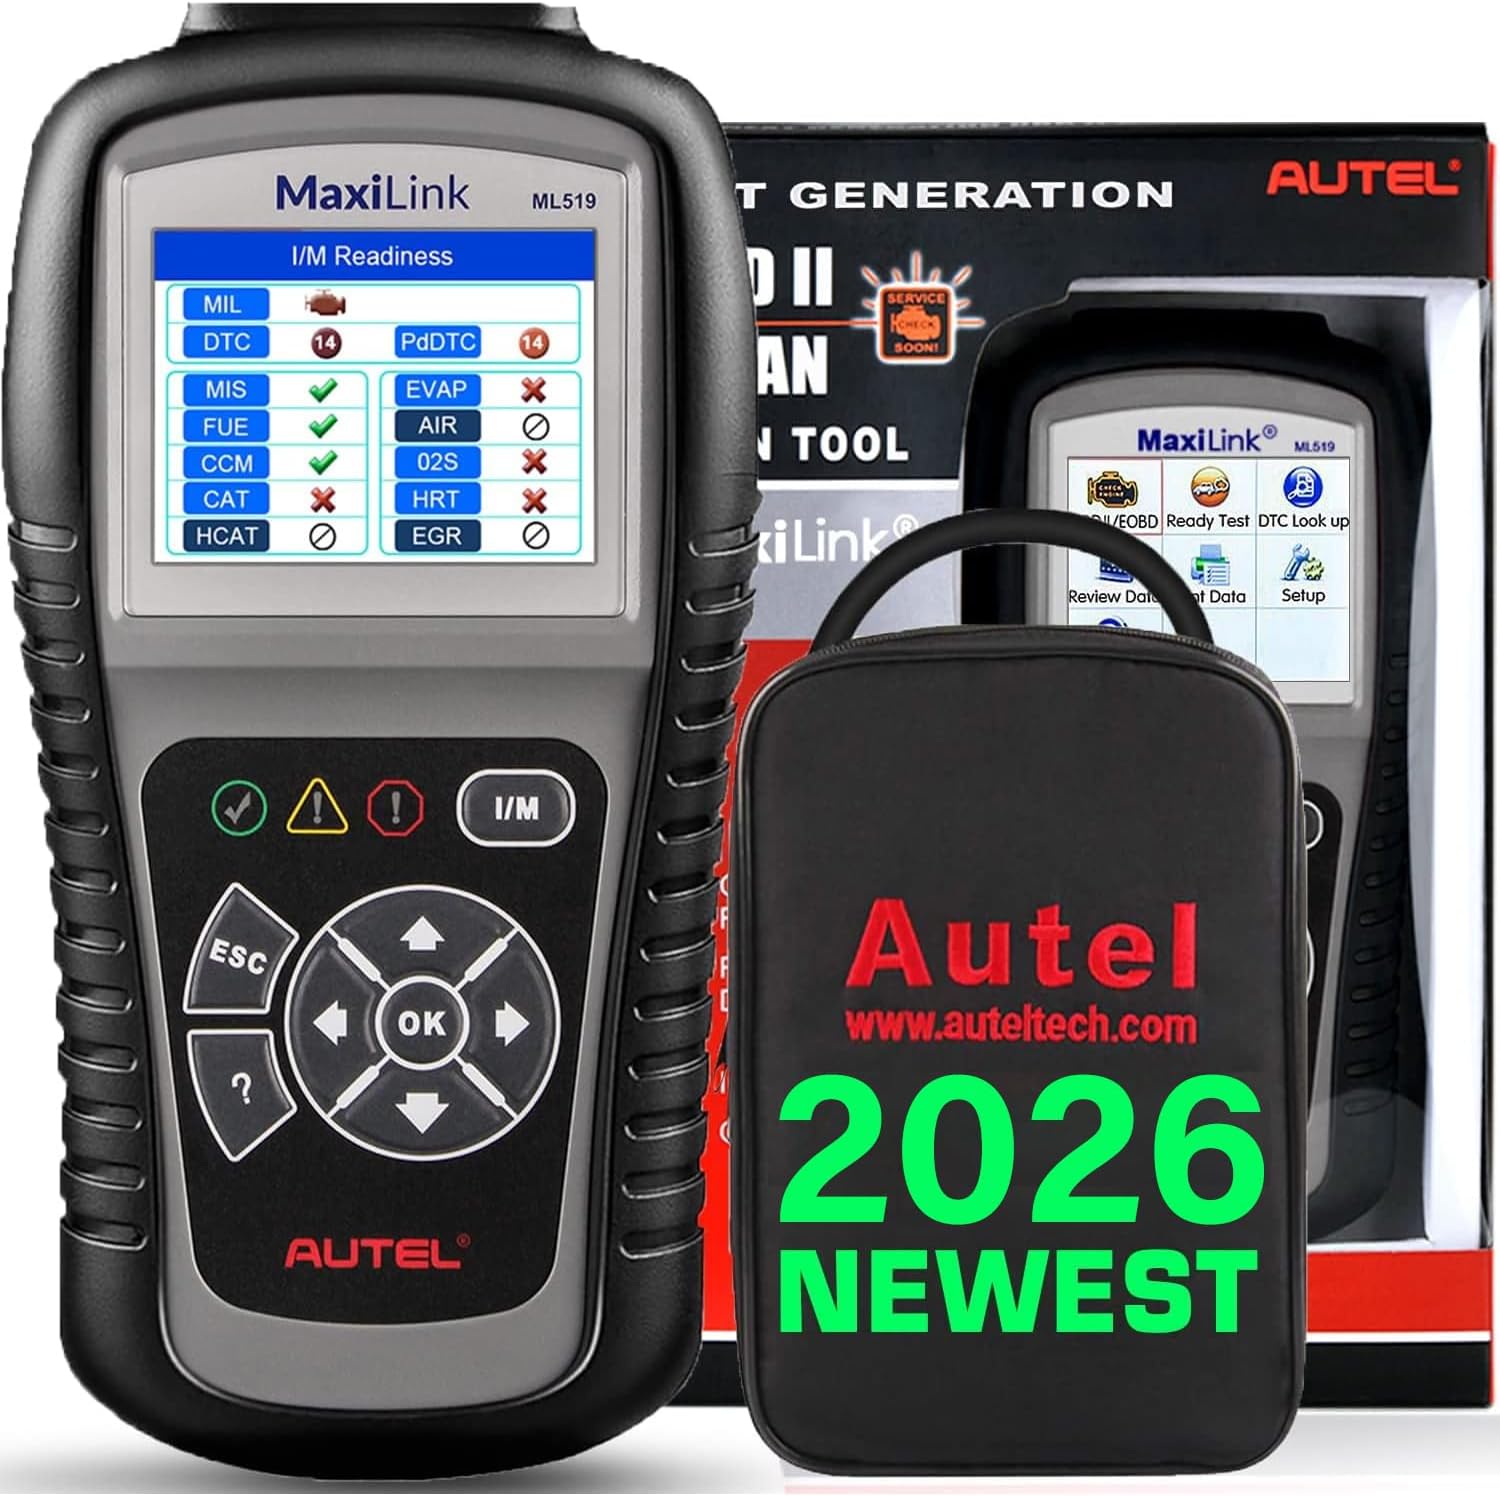
Image: The Autel MaxiLink ML519 scanner connected to a vehicle's OBD-II port, displaying its main menu.
4. Instrucións de funcionamento
4.1 Full OBDII Scan Tool Functions
The ML519 supports all 10 modes of OBD II operation, providing comprehensive diagnostic capabilities.

Imaxe: Unha vez máisview of the Autel MaxiLink ML519's full OBDII scan tool functions, including erase codes, DTC definition, live data, and more.
4.2 Lectura e borrado de códigos de diagnóstico de problemas (DTC)
To read DTCs:
- No menú principal, seleccione 'Read Codes'.
- The scanner will display any stored or pending DTCs.
To clear DTCs:
- No menú principal, seleccione 'Erase Codes'.
- Confirm the action when prompted. This will turn off the Check Engine Light (MIL) and reset monitors.
4.3 One-Click I/M Readiness (Ready Test)
This function allows you to quickly check the readiness status of the vehicle's emission system, which is crucial for annual emission tests. The ML519 provides visual and audible indications.
- Prema o botón dedicado Preparación I/M button on the scanner.
- The screen will display the status of various monitors (e.g., Misfire, Fuel System, O2 Sensors, EVAP). A green checkmark indicates readiness, while an 'X' indicates not ready.

Image: The Autel MaxiLink ML519 displaying the I/M Readiness screen, showing the status of various emission monitors with checkmarks and 'X' symbols.
4.4 Viewdatos en directo
The ML519 can display real-time sensor data from the vehicle's Powertrain Control Module (PCM) in both text and graphical formats. This allows for detailed analysis of vehicle performance.
- No menú principal, seleccione 'Live Data'.
- Choose between 'View Data' (text list) or 'Graph Data' (graphical representation).
- Use the navigation buttons to scroll through parameters or zoom in/out on graphs.

Image: The Autel MaxiLink ML519 displaying live data, showing RPM in a graphical format and a list of data parameters.
4.5 DTC Lookup Function
The built-in DTC lookup library provides detailed definitions for generic and manufacturer-specific trouble codes, helping you understand the cause of a fault.
- No menú principal, seleccione 'DTC Lookup'.
- Enter the DTC code using the scanner's buttons.
- The scanner will display the definition of the entered code.

Image: The Autel MaxiLink ML519 displaying the DTC Lookup function, showing how to input a code and view a súa definición.
4.6 Other Diagnostic Tests
- Proba do monitor de O2: Recupera os resultados das probas do monitor do sensor de O2 para as probas completadas máis recentemente desde o ordenador de a bordo do vehículo.
- On-Board Monitor Test (Mode 6): Obtén os resultados das probas para compoñentes e sistemas do tren motriz relacionados coas emisións que non se monitorizan continuamente.
- Proba de compoñentes: Permite o inicio dunha proba de fugas para o sistema EVAP do vehículo.
- Recuperar información do vehículo: Displays the Vehicle Identification Number (VIN), Calibration ID (CALID), and Calibration Verification Number (CVN).
4.7 Data Printing
The ML519 allows you to print diagnostic data via a Windows-based PC. Connect the scanner to your PC using the provided USB cable and use the Autel PC Suite software (available for download from the Autel website) to manage and print data.
5. Mantemento
5.1 Coidados xerais
- Keep the scanner dry and clean. Avoid exposure to moisture or extreme temperatures.
- Do not use abrasive cleaners or solvents on the unit. Use a soft, damp pano para limpar.
- Store the scanner in its protective storage bag when not in use to prevent damage.
6 Solución de problemas
6.1 Problemas comúns e solucións
- O escáner non se acende: Ensure the OBD II cable is securely connected to the vehicle's DLC and the vehicle's ignition is in the ON position. Check the vehicle's battery voltage (must be 8.0 to 18.0 V).
- Link error: Verify the vehicle is OBDII compliant. Check the connection of the OBD II cable. Turn the ignition off, wait 10 seconds, then turn it back on.
- Sen comunicación co vehículo: Confirm the vehicle supports OBDII protocols. Try connecting to a different OBDII-compliant vehicle to rule out scanner issues.
- Screen freezes: Disconnect the scanner from the vehicle, then reconnect. If the issue persists, perform a software update.
7. Especificacións
| Especificación | Valor |
|---|---|
| Mostrar | Pantalla TFT a cor (320 x 240 ppp) |
| Temperatura de funcionamento | 0 °C a 60 °C (32 °F a 140 °F) |
| Temperatura de almacenamento | -20 °C a 70 °C (-4 °F a 158 °F) |
| Potencia Externa | 8.0 a 18.0 V a través da batería do vehículo |
| Tamaño da pantalla | 3.5 polgadas |
| Operating System (for PC connection) | Windows XP (or later for updates) |
| Peso do elemento | 300 gramos |
8. Actualizacións de software
The Autel MaxiLink ML519 comes with lifetime free software updates. Regular updates ensure compatibility with newer vehicle models and provide enhanced features. To update the software:
- Download the Autel PC Suite software from the official Autel websitio.
- Install the software on a Windows-based PC.
- Connect the ML519 scanner to your PC using the provided USB cable.
- Follow the on-screen instructions in the PC Suite to download and install the latest software updates to your device.
9. Garantía e soporte
9.1 Información da garantía
The Autel MaxiLink ML519 is backed by a 12-month warranty against defects in materials and workmanship from the date of purchase. This warranty covers repair or replacement of the product under normal use conditions.
9.2 Atención ao cliente
For any questions, technical assistance, or warranty claims, please contact Autel customer service. Refer to the official Autel website for the most current contact information or use the email provided in your product documentation.