
1. Produto rematadoview
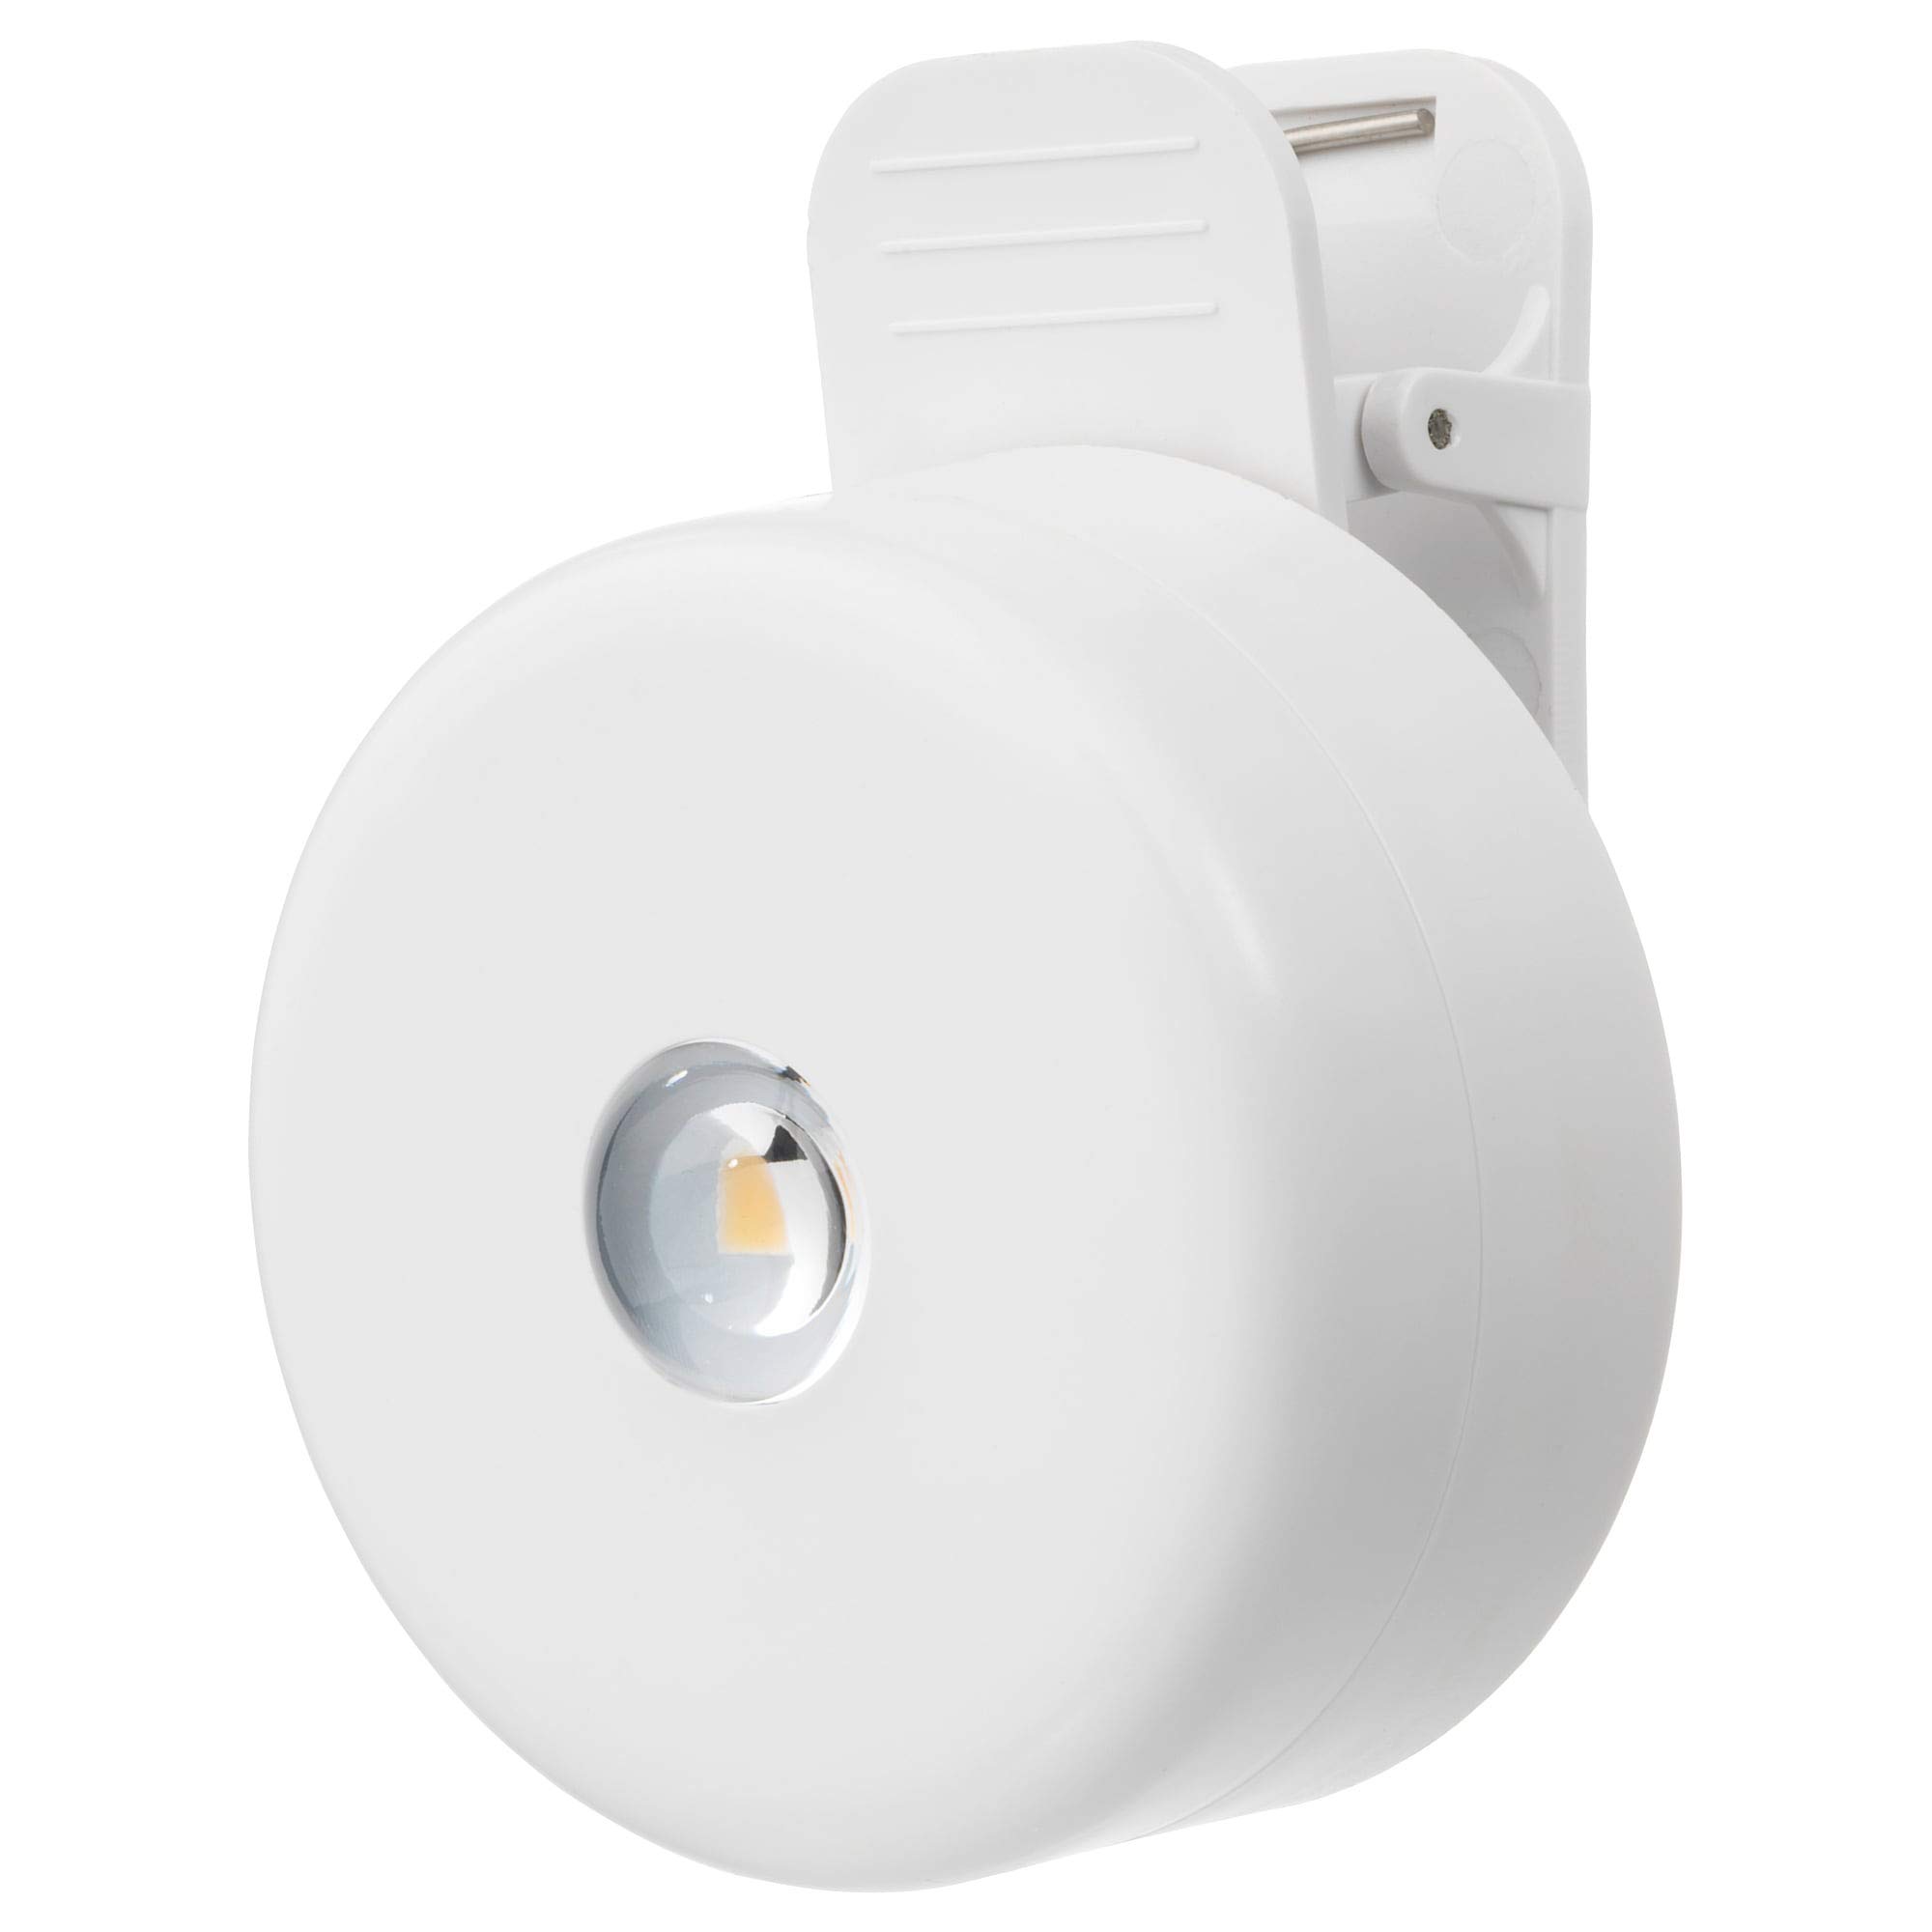
The Ikea KLUNSA LED Spotlight and Clamp is a versatile, battery-operated lighting solution designed for small or multi-purpose spaces. Its portable design allows for flexible placement using either a clamp or permanent screw installation. The integrated LED light source offers energy efficiency and a long lifespan. The light activates with a touch and features an automatic shut-off after 30 minutes.
Características principais:
- Funciona con pilas para maior comodidade sen fíos.
- Flexible mounting options: clamp or screw installation.
- Touch-activated operation with 30-minute automatic shut-off.
- Fonte de luz LED de eficiencia enerxética.
- Provides focused light for smaller areas.
This image shows the KLUNSA LED Spotlight providing illumination within a dark closet space, highlighting its utility for discreet and effective lighting in confined areas. The compact design allows it to be mounted unobtrusively.
2. Información de seguridade
Lea e comprenda todas as instrucións de seguridade antes de usar o produto. Garde este manual para futuras consultas.
- Seguridade da batería:
- Use only the specified battery type (AAA, not included).
- Non mesture pilas antigas e novas, nin tipos diferentes de pilas.
- Insira as baterías coa polaridade correcta (+/-).
- Remove depleted batteries promptly to prevent leakage.
- Non expoña as baterías a calor excesivo ou lume.
- Manteña as pilas fóra do alcance dos nenos.
- Colocación do produto:
- Ensure the spotlight is securely mounted, whether by clamp or screws, to prevent it from falling.
- Do not place the spotlight in direct contact with water or high humidity, as it is not water resistant.
- Avoid placing the spotlight near heat sources or in direct sunlight.
- Luz LED:
- Do not stare directly into the LED light source, as it may cause eye strain.
- The LED light source is not replaceable. Do not attempt to disassemble the lamp.
3. Contido do paquete
Verifica que todos os compoñentes estean presentes no paquete:
- Ikea KLUNSA LED Spotlight unit
- cl integradoamp mecanismo
- Mounting screws (for permanent installation option)
- Manual de usuario (este documento)
Note: Batteries (AAA) are not included and must be purchased separately.
4. Configuración
4.1 Instalación da batería
- Locate the battery compartment cover on the back of the spotlight unit.
- Gently twist or slide the cover to open it.
- Insira dúas pilas AAA, asegurándose de manter a polaridade correcta (+ e -) como se indica no interior do compartimento.
- Volva colocar a tapa do compartimento da batería, asegurándose de que estea ben pechada.

Esta imaxe ofrece unha clara view of the open battery compartment, illustrating how two AAA batteries (specifically "LADDA 2450" batteries are shown) should be placed with their positive and negative terminals aligned correctly.
4.2 Opcións de montaxe
The KLUNSA spotlight offers two installation methods:
4.2.1 clamp Instalación
Para unha colocación temporal ou flexible, use o cl integradoamp:
- Identify a suitable surface (e.g., shelf edge, cabinet partition) where the clamp can securely grip.
- Abre o clamp premendo a palanca.
- Position the spotlight and release the lever to secure the clamp onto the desired surface.
- Ensure the spotlight is stable and does not wobble.

This image demonstrates the KLUNSA spotlight clamped onto the edge of a white shelf, providing illumination to the items below. It highlights the ease of repositioning the light without permanent fixtures.
4.2.2 Screw Installation (Permanent)
For a more permanent fixture, use the provided screws:
- Choose a desired mounting location.
- Mark the positions for the screws using the spotlight's mounting bracket as a guide.
- Drill pilot holes if necessary, appropriate for the screw size and material.
- Secure the spotlight to the surface using the provided screws.
- Ensure the spotlight is firmly attached and stable.

This image illustrates two KLUNSA LED Spotlights permanently installed via screws on the underside of a cabinet shelf, providing downward illumination. This setup is ideal for consistent lighting in areas like wardrobes or display cabinets.
5. Instrucións de funcionamento
The KLUNSA LED Spotlight is designed for simple, touch-activated operation.
- Para activar: Gently touch the surface of the spotlight. The LED light will illuminate.
- Apagado automático: The spotlight is equipped with an automatic timer and will turn off by itself after approximately 30 minutes of continuous operation.
- To Turn Off Manually: If you wish to turn off the light before the 30-minute timer expires, simply touch the surface of the spotlight again.

This image shows the KLUNSA LED Spotlight in operation, casting a bright, focused light on items placed on a glass shelf inside a cabinet, demonstrating its effectiveness in illuminating specific areas.
6. Mantemento
Regular maintenance ensures optimal performance and longevity of your KLUNSA LED Spotlight.
- Limpeza:
- Wipe the spotlight clean with a soft, dry cloth.
- Do not use abrasive cleaners, solvents, or harsh chemicals, as these can damage the finish or electronic components.
- Substitución da batería:
- When the light dims or stops functioning, it is time to replace the batteries.
- Follow the "Battery Installation" steps in Section 4.1 to replace the AAA batteries.
- Elimina as baterías usadas segundo a normativa local.
- Almacenamento:
- If storing the spotlight for an extended period, remove the batteries to prevent leakage.
- Almacenar nun lugar fresco e seco.
7 Solución de problemas
If you encounter issues with your KLUNSA LED Spotlight, refer to the following common problems and solutions:
| Problema | Causa posible | Solución |
|---|---|---|
| A luz non acende. |
|
|
| A luz é débil. | As baterías están baixas. | Substitúeo por pilas AAA novas. |
| A luz apágase demasiado rápido. | Automatic shut-off feature is active. | This is normal operation. The light is designed to turn off after 30 minutes. Touch again to reactivate. |
8. Especificacións
| Característica | Detalle |
|---|---|
| Marca | Ikea |
| Nome do modelo | KLUNSA (STOTTA) |
| Número de modelo | 403.252.43 |
| ASIN | B07T5KTSZR |
| GTIN/UPC | 300846119714 |
| Cor | Branco |
| Material | Brass (Enclosure), Acrylic (Shade) |
| Fonte de luz | LED |
| Fonte de enerxía | Alimentado por pilas (2 pila AAA, non incluída) |
| Fluxo luminoso | 30 lúmenes |
| Método de control | Toca |
| Apagado automático | Aprox. 30 minutos |
| Tipo de montaxe | Clamp and Screw Mount |
| Dimensións (diámetro x alto) | 7 cm (3") x 3 cm (1") |
| Peso do elemento | 0.1 quilogramos |
| Uso interior/exterior | Interior |
| País de Orixe | China |
9. Garantía e soporte
Ikea products are designed with quality and durability in mind. For information regarding warranty coverage, returns, or technical support, please refer to your purchase receipt or visit the official Ikea websitio para a súa rexión.
You can also contact Ikea customer service directly for assistance with product-related inquiries.
Oficial de Ikea Websitio: www.ikea.com