
1. Introdución
The ThermoPro TP200B is a digital indoor/outdoor thermometer designed to monitor temperature and humidity levels in your environment. This manual provides detailed instructions for setting up, operating, and maintaining your device to ensure accurate readings and optimal performance.
2. Contido do paquete
- 1 x ThermoPro TP200B Main Unit (Indoor Display)
- 1 x Outdoor Temperature Sensor (Wireless)
- 5 pilas AAA (incluídas)
- 1 x Manual de usuario
3. Características clave
- Large Backlit Display with Large Digits: Features a 3.3-inch LCD display with large digits for easy readability, even in low light conditions.
- Rexistros máximos/mínimos: Stores and displays maximum and minimum temperature and humidity records for the past 24 hours.
- Color Air Comfort Indicator: A visual indicator with an arrow shows current air conditions (Dry/Comfort/Wet), allowing for environmental adjustments.
- Lecturas moi precisas: Equipped with a premium sensor for precise temperature and humidity measurements, accurate to ±2°F and ±2-3%RH.
- Deseño fácil de usar: Easily adjust settings with three front-facing buttons.
- Varias opcións de colocación: Can be wall-mounted, placed on a tabletop, or attached via magnetic back.
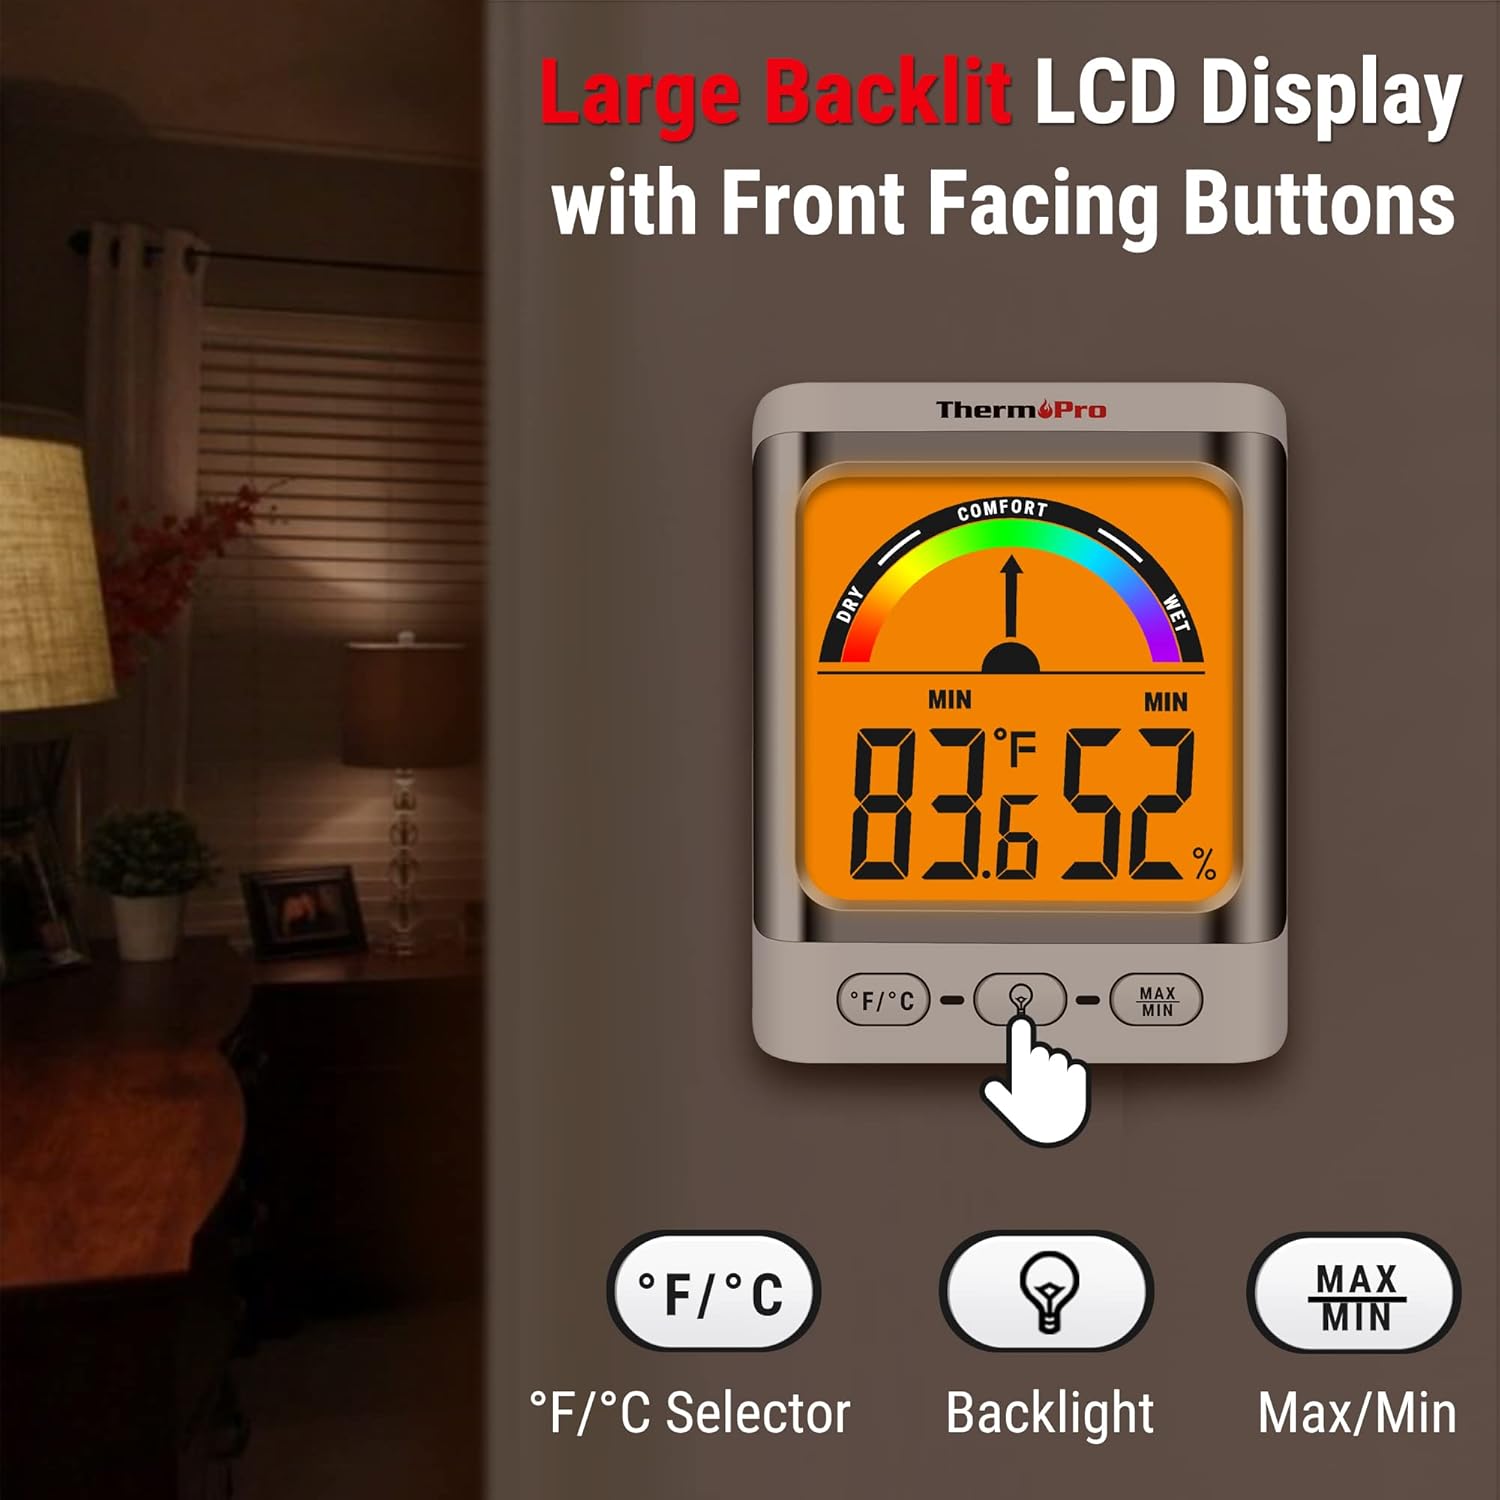
Image: The ThermoPro TP200B main unit display, highlighting the large digits, comfort indicator, and the three control buttons: °F/°C selector, Backlight, and Max/Min.
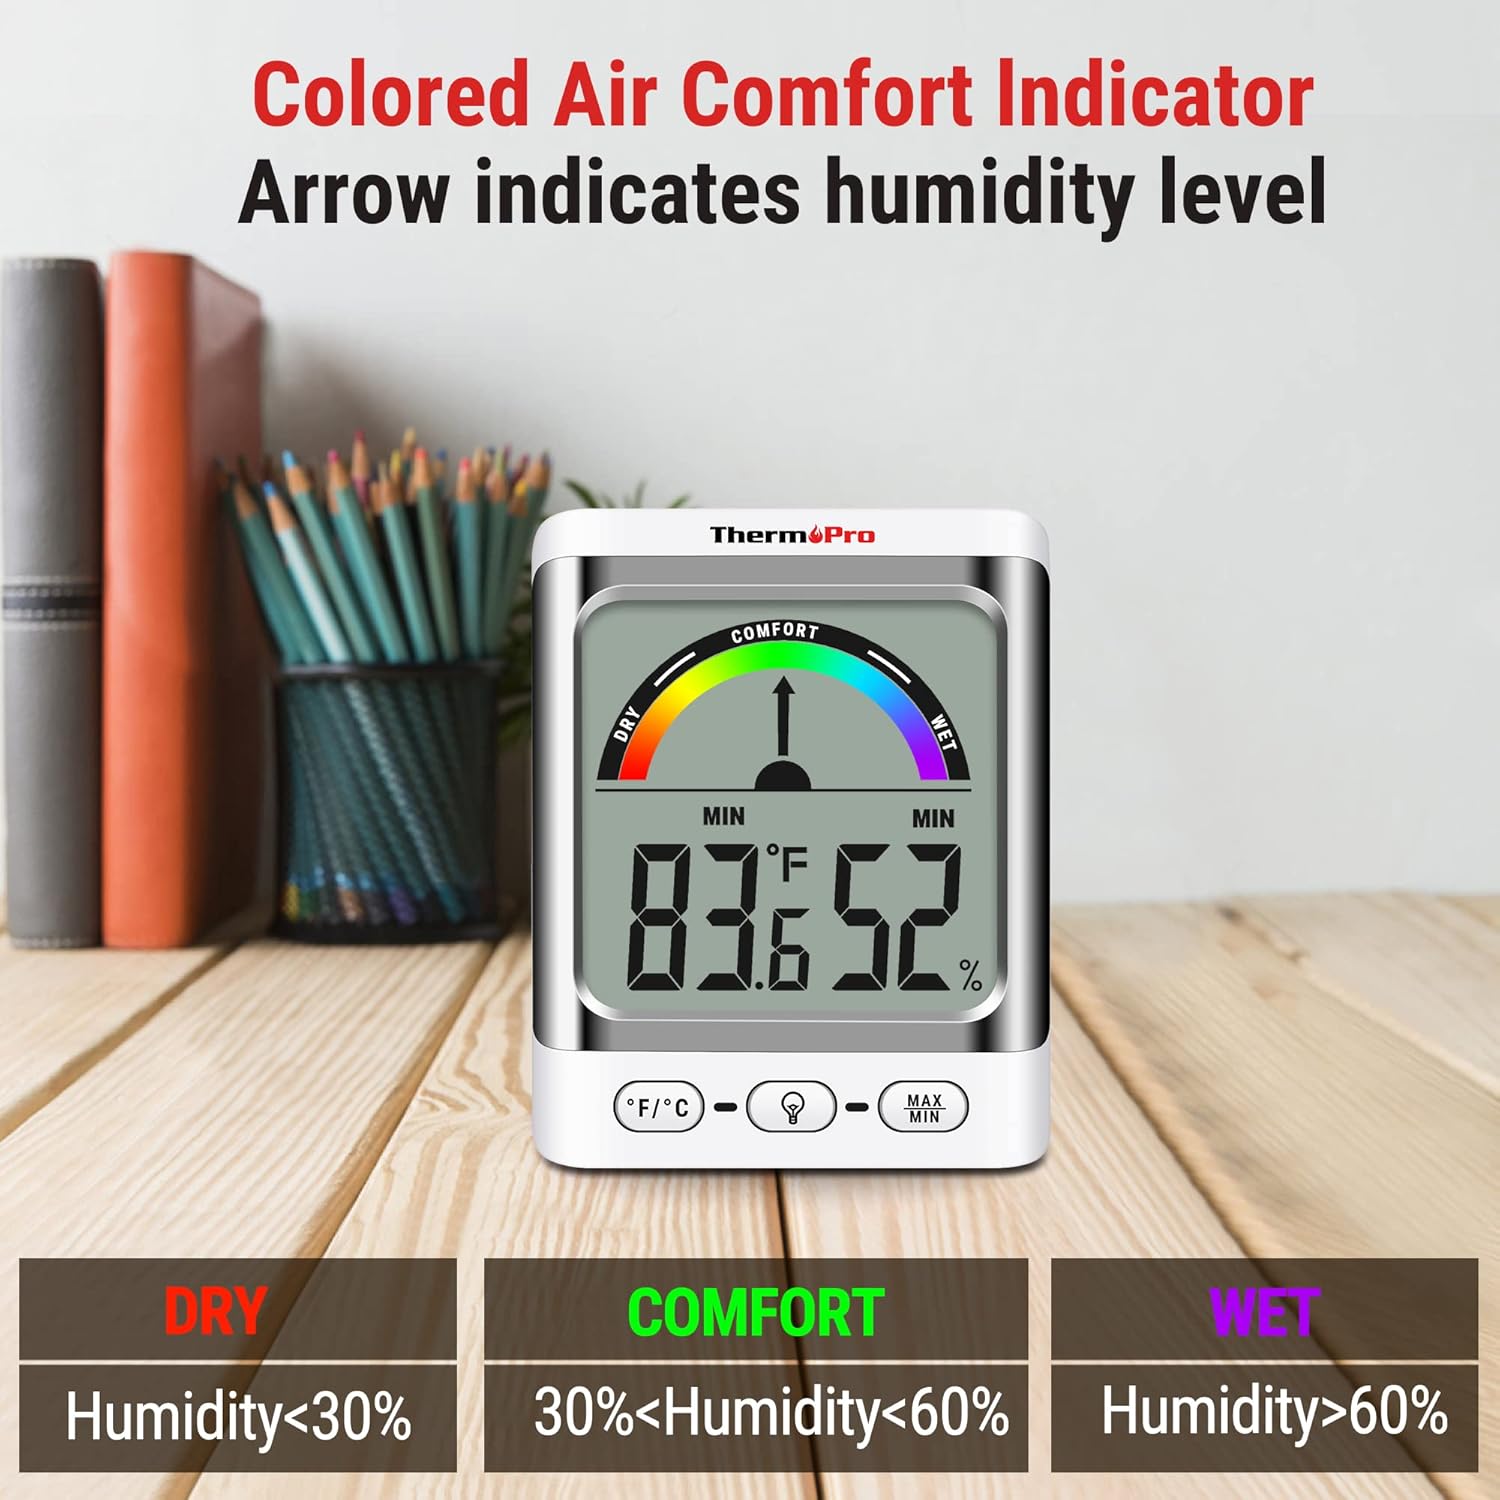
Image: A close-up of the ThermoPro TP200B display, illustrating the colored comfort indicator that visually represents dry (humidity <30%), comfort (30% < humidity < 60%), and wet (humidity >60%) conditions.
4. Configuración
- Instalación da batería:
- Open the battery compartment on the back of both the main unit and the outdoor sensor.
- Insira as pilas AAA incluídas, asegurándose de manter a polaridade correcta (+/-).
- Pecha os compartimentos das baterías de forma segura.
- Colocación do sensor:
- Place the outdoor sensor in a location that is protected from direct sunlight and precipitation for accurate readings.
- Ensure the sensor is within the 500ft wireless range of the main unit.
- Main Unit Placement:
- The main unit can be placed on a tabletop using its integrated stand, mounted on a wall, or attached to a metallic surface via its magnetic back.
- Position the main unit in a central location indoors for optimal signal reception from the outdoor sensor.

Imaxe: Examples of flexible placement options for the ThermoPro TP200B, including wall mounting, magnetic attachment to a refrigerator, and freestanding on a countertop.
5. Instrucións de funcionamento
5.1 Mostrar máisview
The large LCD display shows indoor temperature, humidity, and the comfort level indicator. The outdoor temperature is displayed from the wireless sensor.
5.2 Funcións dos botóns
- Botón °F/°C: Press to switch between Fahrenheit and Celsius temperature units.
- Botón de retroiluminación: Press to activate the backlight for 15 seconds, improving visibility in dim conditions.
- Botón MAX/MIN: Preme para view the maximum and minimum temperature and humidity recorded over the past 24 hours. Press again to cycle through current, MAX, and MIN readings. Hold to reset MAX/MIN records.

Image: The ThermoPro TP200B displaying maximum and minimum temperature and humidity values, accompanied by a conceptual graph showing how these values fluctuate over a 24-hour period.
6. Mantemento
- Limpeza: Limpe a unidade e o sensor cun pano suave eamp pano. Non use produtos de limpeza abrasivos nin mergullo en auga.
- Substitución da batería: Replace batteries when the low battery indicator appears on the display. Ensure to use fresh AAA batteries.
- Almacenamento: Se garda o dispositivo durante un período prolongado, retire as baterías para evitar fugas.
7 Solución de problemas
- Sen pantalla/Indicador de batería baixa: Replace all batteries in both the main unit and the outdoor sensor.
- Lecturas inexactas:
- Ensure the outdoor sensor is not in direct sunlight or exposed to extreme weather conditions.
- Verify the main unit and sensor are within effective range and not obstructed by thick walls or electronic interference.
- Allow both units to stabilize for 30 minutes after initial setup or battery replacement.
- No Signal from Outdoor Sensor:
- Relocate the main unit or sensor closer to each other.
- Check batteries in both units.
- Reset the connection by removing batteries from both units, waiting a few minutes, then reinserting them.
8. Especificacións
| Característica | Detalle |
|---|---|
| Nome do modelo | TP200B |
| Marca | ThermoPro |
| Característica especial | Alta precisión |
| Cor | Branco |
| Tipo de visualización | Dixital |
| Fonte de enerxía | Funciona con pilas (5 pilas AAA incluídas) |
| Precisión da temperatura | ± 2 ° F (± 1.1 ° C) |
| Precisión da humidade | ±2% from 30% to 80% RH; ±3% outside this range |
| Tempo de resposta | 0.5 segundos |
| Peso do elemento | 4.2 onzas |
| Lonxitude do elemento | 3.9 polgadas |

Image: Multiple ThermoPro TP200B units demonstrating consistent temperature and humidity readings, highlighting the specified accuracy tolerances of ±2°F (±1.1°C) for temperature and ±2% RH (30-80% range) for humidity.

Image: A visual comparison showcasing the large, compact display of the ThermoPro TP200B (3.3 inches) next to a smaller, generic thermometer (1.7 inches), emphasizing its enhanced readability.
9. Garantía e soporte
ThermoPro ofrece unha garantía para este produto contra defectos de materiais e fabricación. Para obter información detallada sobre a garantía, o rexistro do produto ou a asistencia técnica, visite o sitio web oficial de ThermoPro. websitio web ou póñase en contacto co servizo de atención ao cliente. Garde o recibo da compra como proba de compra.
ThermoPro oficial Websitio: www.thermopro.com