
1. Introdución
The ProMaster Dually Charger (Model 4546) is designed to efficiently charge two Nikon EN-EL15, EN-EL15a, EN-EL15b, or EN-EL15c camera batteries simultaneously. This compact and lightweight charger features a built-in USB-A input cable for convenient power access and an LCD display to monitor charging status. Advanced intelligent circuitry ensures optimal and safe charging for battery longevity.
2. Información de seguridade
- Non abra nin desmonte o cargador.
- Do not use the charger near liquids or flammable gases.
- Asegúrate de usar o cargador nunha zona ben ventilada.
- Manter fóra do alcance dos nenos.
- Desconéctese da alimentación cando non estea en uso.
3. Contido do paquete
- 1 x ProMaster Dually Charger (Model 4546)
4. Configuración
- Unfold the USB-A Cable: Locate the integrated USB-A input cable neatly stored in the base of the charger. Gently pull it out and unfold it.
- Conectar á enerxía: Plug the USB-A cable into a compatible USB power source. This can be a USB power adapter (minimum 5V 2.2A recommended), a power bank, a laptop USB port, or any other standard USB port.
- The charger's LCD display will illuminate, indicating it is ready for use.
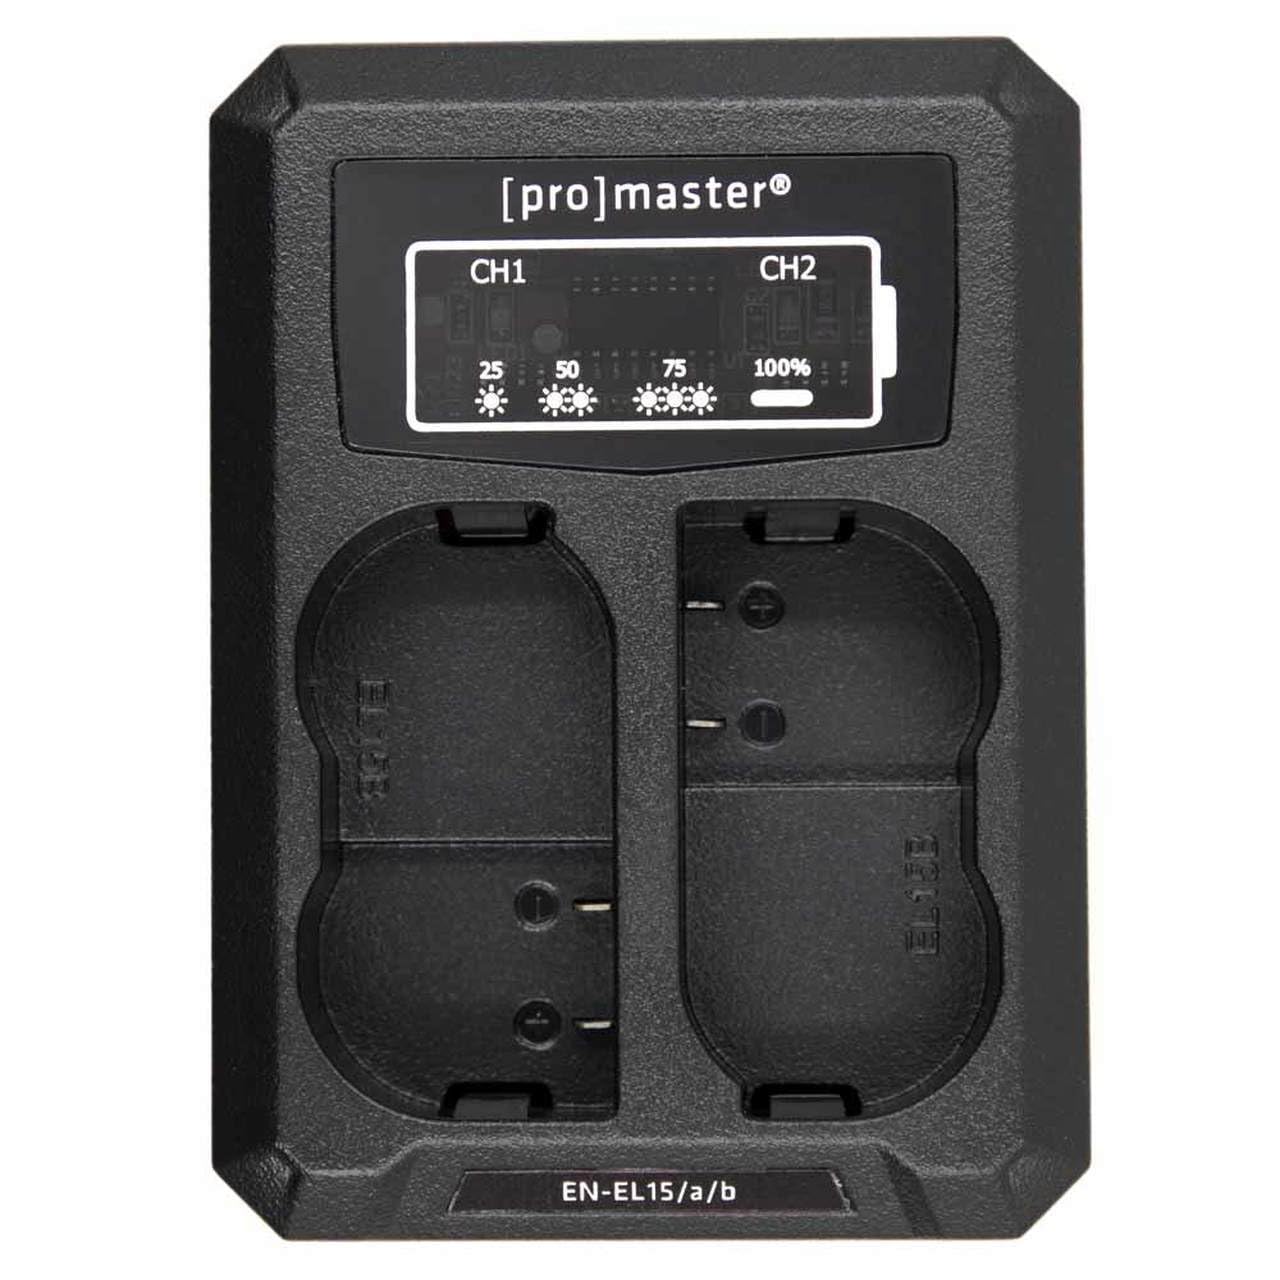
Figura 1: Traseira view of the charger with the integrated USB-A cable.
5. Instrucións de funcionamento
- Inserir pilas: Carefully insert one or two compatible Nikon EN-EL15 series batteries into the charging slots. Ensure the battery contacts align correctly with the charger's pins.
- Monitor de estado de carga: The LCD display will show the charging status for each battery (CH1 and CH2).
- Indicadores de carga: The display uses blinking segments to indicate charging progress:
- 1 blink = 25% charged
- 2 blinks = 50% charged
- 3 blinks = 75% charged
- Solid light = 100% charged (fully charged)
- Tempo de carga: Charging two depleted batteries to 100% typically takes approximately 2 hours and 30 minutes.
- Eliminar baterías: Once the batteries show a solid light (100% charged), carefully remove them from the charging slots.

Figura 2: Fronte view of the charger with battery slots and LCD display.
6. Mantemento
- Clean the charger with a soft, dry cloth. Do not use abrasive cleaners or solvents.
- Ensure the battery contacts on both the charger and batteries are clean and free of debris for optimal connection.
- Garda o cargador nun lugar fresco e seco cando non estea en uso.
- Evite deixar caer o cargador nin sometelo a impactos fortes.
7 Solución de problemas
Charger Not Powering On / No Display
- Ensure the USB-A cable is fully inserted into a functional USB power source.
- Verify the power source is providing sufficient power (minimum DC 5V 2.2A). Try a different USB port or power adapter.
Batteries Not Charging
- Confirm batteries are correctly inserted into the slots with contacts aligned.
- Check if the batteries are compatible with the charger (Nikon EN-EL15, EN-EL15a, EN-EL15b, EN-EL15c).
- Ensure battery contacts on both the charger and batteries are clean.
- If only one battery slot is not charging, try the battery in the other slot to isolate the issue.
- The charger features overcharge and short-circuit protection. If an error occurs, remove the battery, disconnect the charger, and reconnect after a few moments.
Carga lenta
- Ensure your USB power source provides at least DC 5V 2.2A. Lower amperage sources may result in slower charging times.
8. Especificacións
| Número de modelo | 4546 |
| Marca | ProMaster |
| Entrada | DC 5V 2.2A (Minimum) via USB-A port |
| Saída | DC 8.4 V, 600 mA |
| Compatibilidade da batería | Nikon EN-EL15, EN-EL15a, EN-EL15b, EN-EL15c |
| Tempo de carga aproximado | 2 hours 30 minutes (for two depleted batteries) |
| Dimensións (L x W x H) | 80 mm x 58 mm x 25 mm (3 3/16" x 2 1/4" x 1") |
| Peso | 68 g (2 3/8 oz) |
| Certificacións | CE, FCC |
9. Camera Compatibility
This charger is compatible with batteries used in the following Nikon camera models:
- Nikon D500
- Nikon D600, D610
- Nikon D750, D780
- Nikon D7100, D7200, D7500
- Nikon D800, D800E
- Nikon D810, D810A
- Nikon D850
- Nikon Z5
- Nikon Z6, Z6 II
- Nikon Z7, Z7 II
Nota: Este cargador é non compatible with batteries for the Nikon Z8 and Nikon Zf camera models.


