
XElectron M2
XElectron Techno Plus M2 Grand FHD Miracast Projector User Manual
Modelo: M2
1. Introdución
Thank you for choosing the XElectron Techno Plus M2 Grand FHD Miracast Projector. This manual provides essential information for the safe and efficient operation of your device. Please read it thoroughly before use and retain it for future reference.
This projector features a native 1080P resolution with 4K support, Android 13 operating system, auto-focus, auto-keystone correction, dual-band WiFi 6, and Bluetooth 5.0 connectivity, offering a versatile and immersive viewexperiencia ing.
2. Información de seguridade
- Non mire directamente á lente do proxector cando estea aceso.amp está activado.
- Asegure unha ventilación adecuada ao redor do proxector para evitar o sobreenriquecido.
- Use só o adaptador de alimentación que se proporciona co dispositivo.
- Manteña o proxector lonxe da auga ou outros líquidos.
- Evite colocar o proxector en superficies inestables.
- Non intente desmontar nin reparar o proxector vostede mesmo. Póñase en contacto co servizo de atención ao cliente para obter axuda.
3. Contido do paquete
Verifica que todos os elementos estean presentes no teu paquete:
- Proxector
- Cable de alimentación
- Control remoto
- Manual de usuario (este documento)
- Tarxeta de garantía
4. Produto rematadoview
Familiarize yourself with the projector's components and features.

Figura 4.1: Fronte view of the XElectron Techno Plus M2 Projector, showcasino seu deseño compacto e a súa lente.
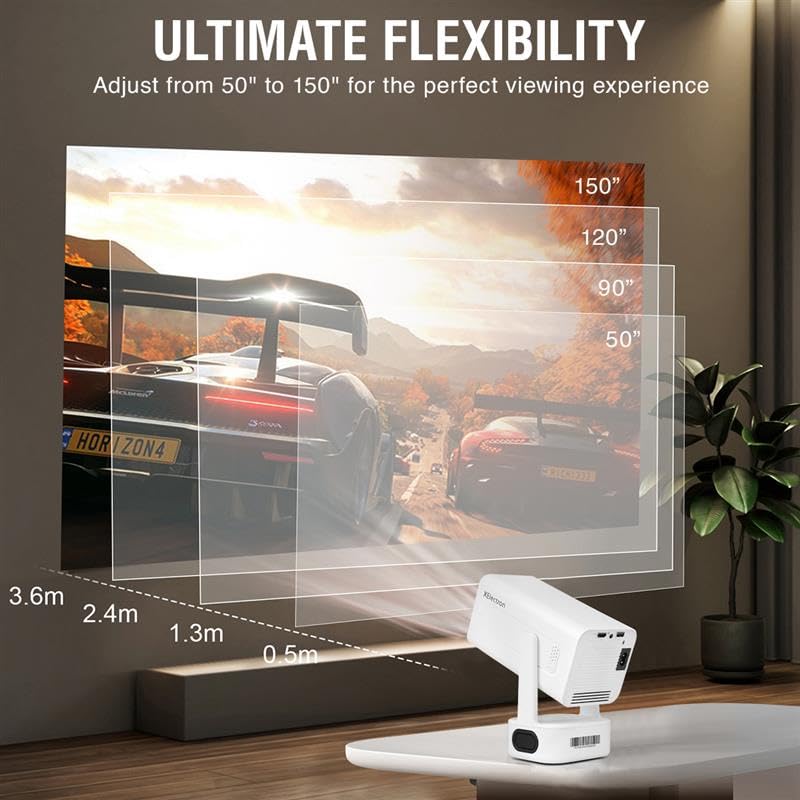
Figura 4.2: Traseira view of the projector, illustrating the various input and output ports for connectivity.

Figura 4.3: Máisview of the projector highlighting features such as Android 13, 1080P Native resolution, 210° rotation, automatic keystone, 50,000 hours lamp life, built-in speaker, 4D+4P correction, and various connectivity options (HDMI, USB, AUX).
5. Configuración
5.1 Colocación inicial
Place the projector on a stable, flat surface. The rotatable design allows for flexible positioning, including ceiling projection. Ensure there is adequate space for ventilation around the device.
5.2 Conexión de alimentación
- Conecte o cable de alimentación á entrada de alimentación do proxector.
- Conecte o outro extremo do cable de alimentación a unha toma de corrente axeitada.
- Preme o botón de acendido do proxector ou do control remoto para acender o dispositivo.
5.3 Axustar a proxección
The projector features auto-focus and auto-keystone correction for a clear and rectangular image. Minor adjustments can be made manually if needed.

Figure 5.1: The projector offers ultimate flexibility, allowing adjustment of projection size from 50 to 150 inches for an optimal viewexperiencia ing.

Figure 5.2: The projector automatically corrects image distortion (keystone) and focuses for a sharp, straight, and seamless picture from various angles.
6. Instrucións de funcionamento
6.1 Sistema operativo Android 13
The projector runs on Android 13, providing access to various streaming applications and content directly. Navigate the interface using the remote control.
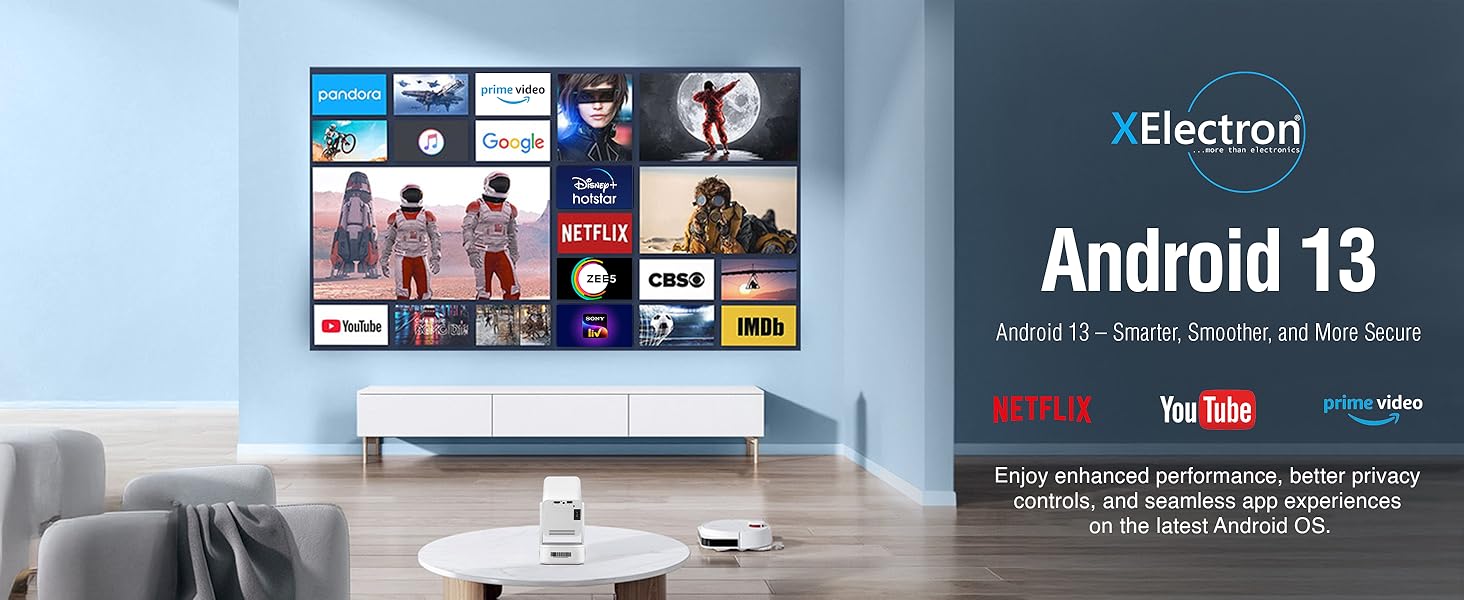
Figure 6.1: The Android 13 interface offers a smart, smooth, and secure experience with pre-installed apps like Netflix, YouTube, and Prime Video.
6.2 Network Connectivity (WiFi 6)
Para conectarse a unha rede sen fíos:
- Ir a Configuración on the projector's home screen.
- Seleccione Rede e Internet.
- Acende Wi-Fi e selecciona a rede desexada da lista.
- Introduza o contrasinal se se lle solicita e conéctese.
The dual-band 2.4/5G WiFi 6 ensures reduced latency and enhanced responsiveness for streaming and online applications.
6.3 Bluetooth 5.0 Audio
The projector supports two-way Bluetooth 5.0, allowing connection to external speakers, headphones, or soundbars for enhanced audio. It can also function as a standalone Bluetooth speaker.

Figure 6.2: Two-way Bluetooth 5.0 allows seamless connection to various audio devices, enhancing the sound experience.
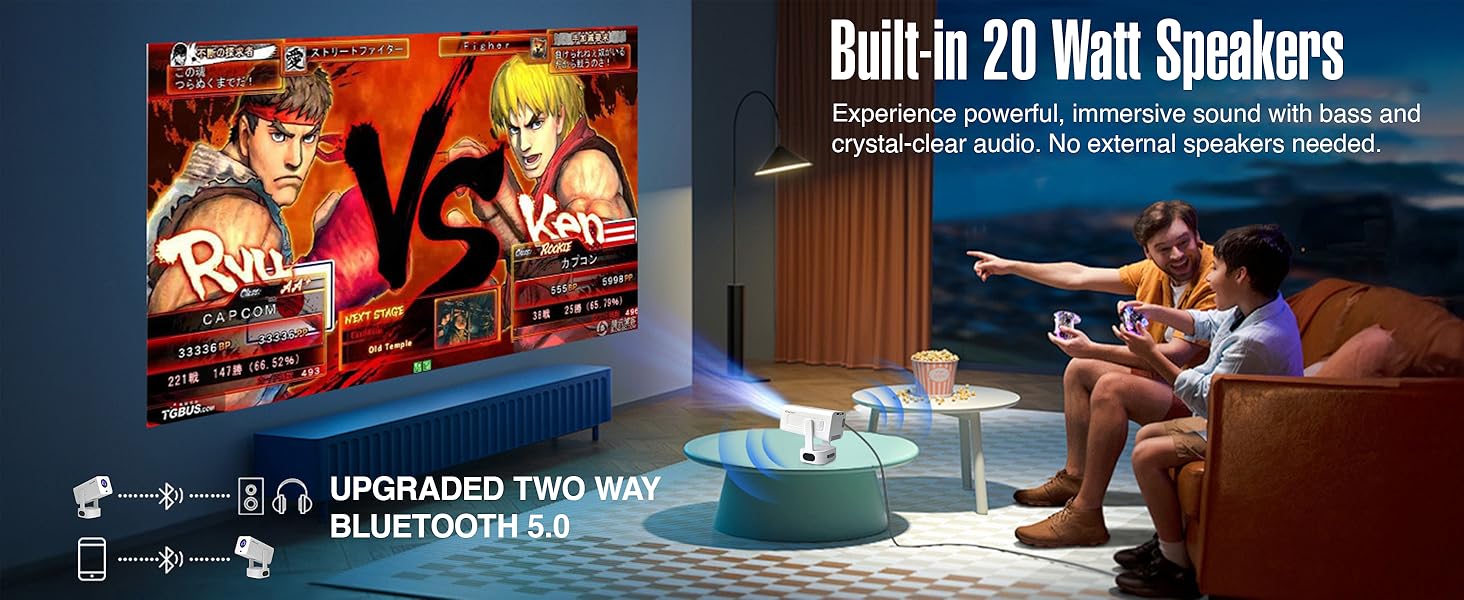
Figure 6.3: The projector features built-in 20-watt speakers for powerful, immersive sound, and supports upgraded two-way Bluetooth 5.0 for external audio.
6.4 Duplicación da pantalla (Miracast)
The projector supports Miracast for wireless screen mirroring from compatible devices. Refer to your device's instructions for initiating screen mirroring and select the projector from the available devices.
6.5 Conexión de dispositivos externos
Use the HDMI and USB ports to connect external devices such as laptops, gaming consoles, USB drives, or other media players.
- HDMI: Connect an HDMI cable from your device to the projector's HDMI port. Select the HDMI input source from the projector's menu.
- USB: Insert a USB drive into the USB port. The projector's media player will typically detect the drive, allowing you to browse and play media files.
Calidade de imaxe 6.6
The projector delivers native 1080P resolution with 4K support, 3X brightness, and a 5000:1 contrast ratio for vivid and detailed projections.
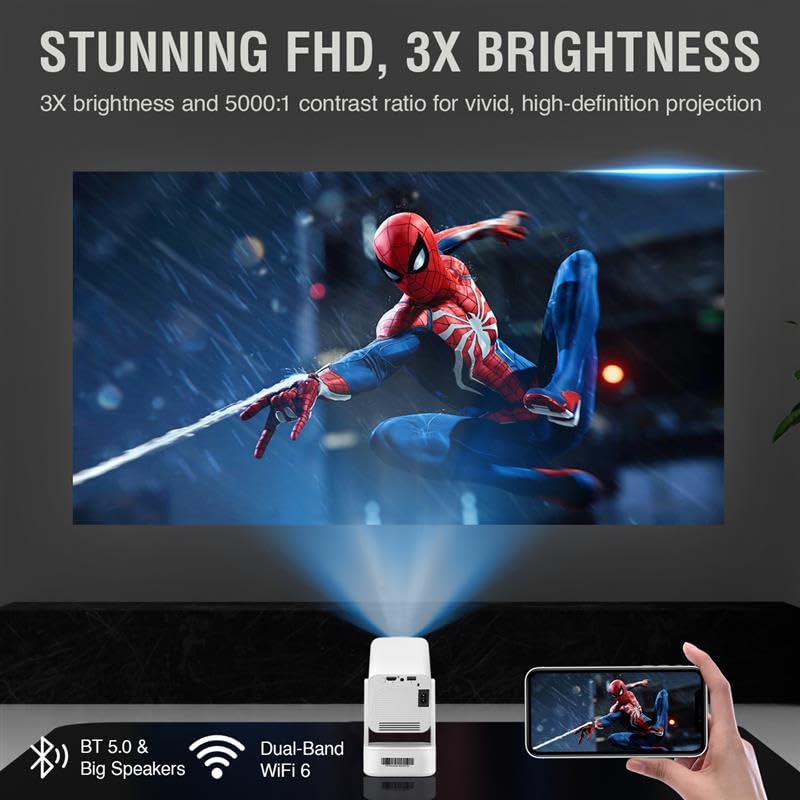
Figure 6.4: The projector provides stunning Full HD visuals with 3X brightness and a 5000:1 contrast ratio for a high-definition projection.
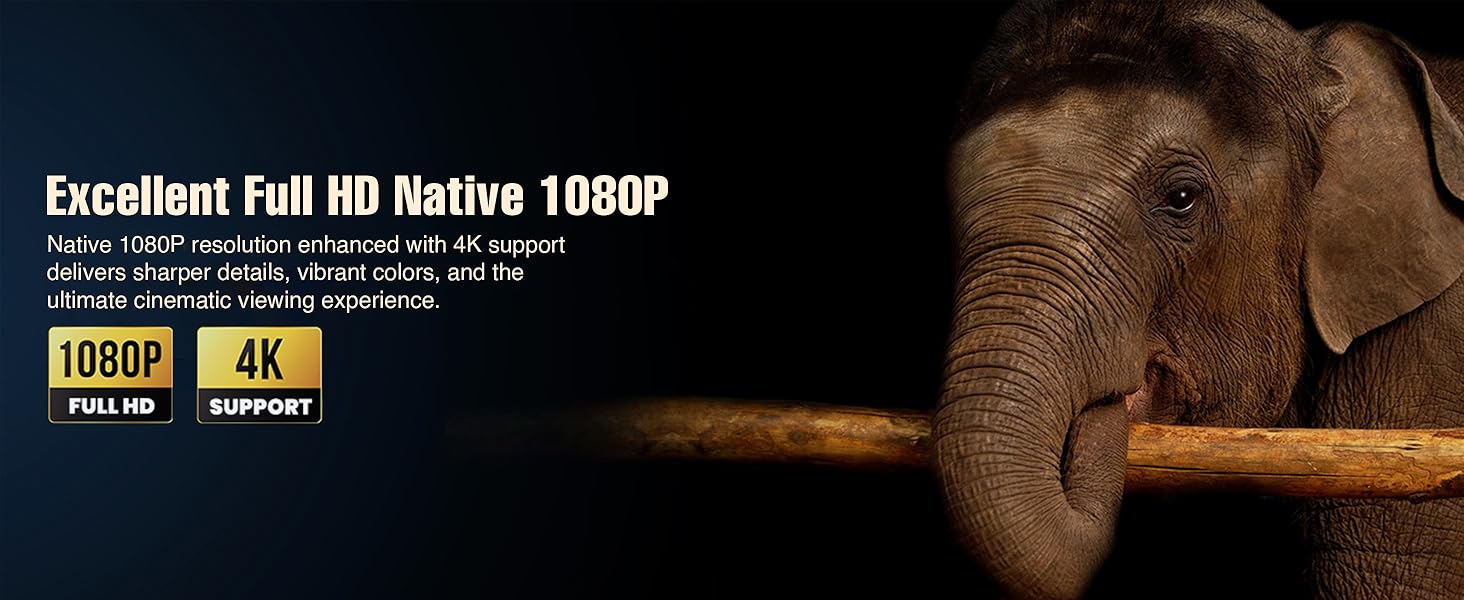
Figure 6.5: Experience excellent Full HD Native 1080P resolution, enhanced with 4K support, for sharper details, vibrant colors, and an ultimate cinematic viewexperiencia ing.
7. Mantemento
7.1 Limpeza do proxector
The XElectron Techno Plus M2 features advanced dust-resistant technology to minimize dust accumulation and extend lamp life. However, regular cleaning is recommended.

Figure 7.1: The advanced dust-resistant technology helps prevent black spots and extends the projector's lifespan by 60% compared to non-dust-resistant models.
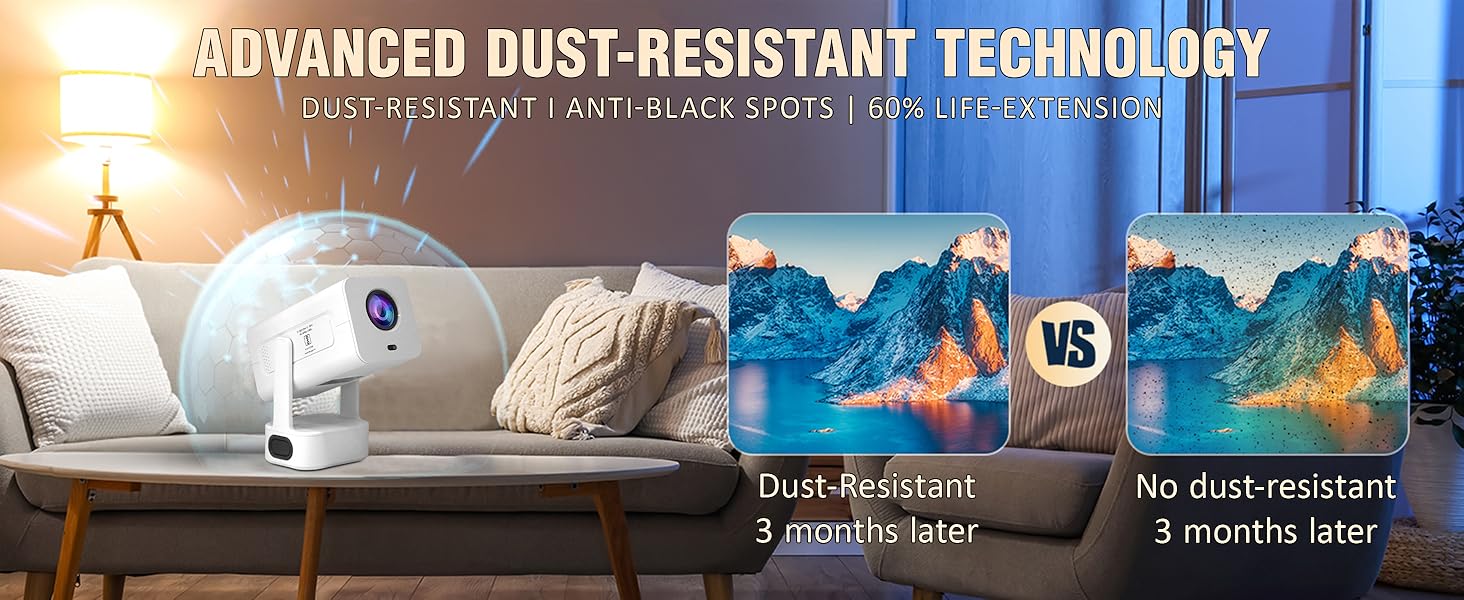
Figure 7.2: The advanced dust-resistant technology ensures a clearer image and longer product life by preventing dust accumulation on internal components.
- Lente: Usa un pano suave e sen fiapos deseñado especificamente para lentes ópticas. Non empregues produtos de limpeza abrasivos.
- Casing: Limpa o exterior cun pano suave e seco. Para marcas difíciles, un pano lixeiramente seco.amp pódese usar un pano, seguido dun pano seco.
- Portos de ventilación: Periodically check and gently clean the ventilation ports to ensure unobstructed airflow.
7.2 Lamp A vida
O LED lamp has a lifespan of up to 50,000 hours, providing long-term usage without frequent lamp substitución.
8 Solución de problemas
Se tes problemas co teu proxector, consulta os seguintes problemas e solucións comúns:
| Problema | Causa posible | Solución |
|---|---|---|
| Non hai imaxe na pantalla | Alimentación non conectada, fonte de entrada incorrecta, tapa da lente posta. | Check power connection, select correct input source (HDMI/USB), remove lens cap. |
| Imaxe borrosa ou distorsionada | Focus or keystone not adjusted. | Allow auto-focus/auto-keystone to complete. Manually adjust if needed via settings. |
| Sen son | Volume too low, external audio device not connected/paired, incorrect audio output selected. | Increase volume. Check Bluetooth connection for external speakers. Ensure internal speakers are selected or external device is properly connected. |
| Projector unresponsive/freezes | Software issue, unsupported media file. | Restart the projector. If playing media from USB, ensure file format is supported. Wait for a few moments if it's processing an unsupported file. |
| O control remoto non funciona | Batteries low/dead, obstruction, remote not paired. | Replace batteries. Ensure no obstruction between remote and projector. Re-pair if necessary. |
9. Especificacións
Detailed technical specifications for the XElectron Techno Plus M2 Projector:
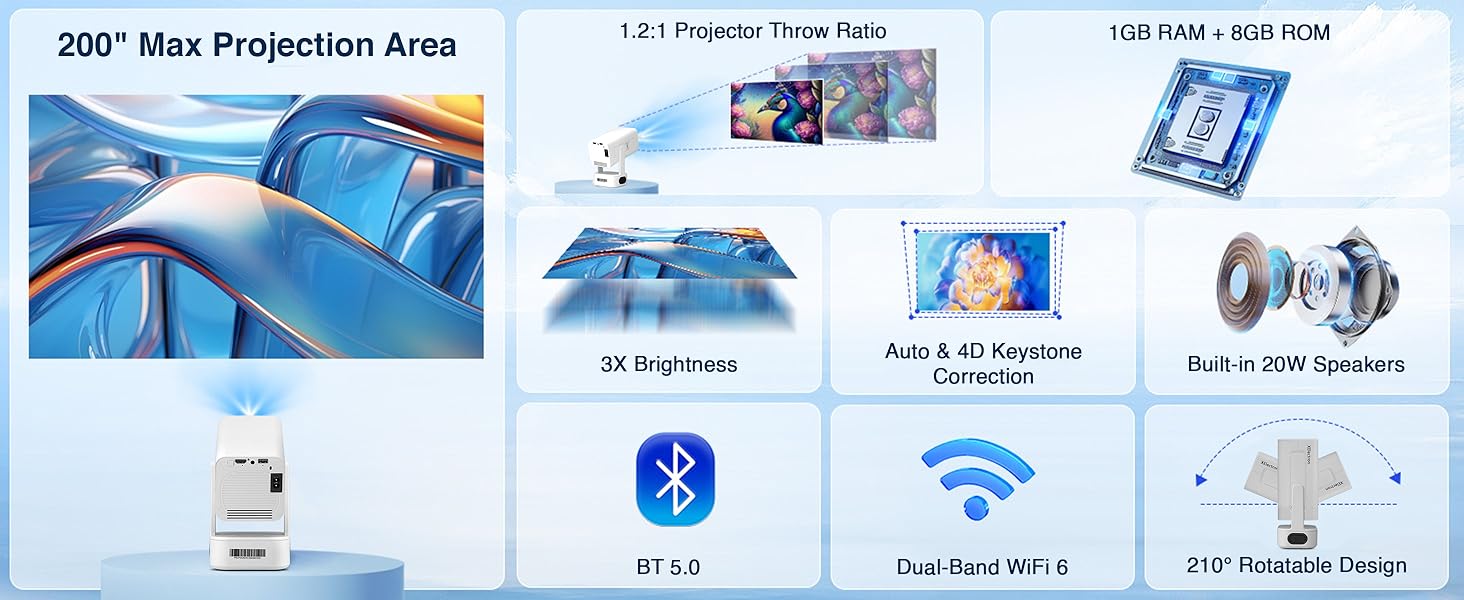
Figure 9.1: Key specifications of the XElectron Techno Plus M2 Projector, including 200" max projection, 1GB RAM + 8GB ROM, 3X brightness, auto & 4D keystone, 20W speakers, BT 5.0, WiFi 6, and 210° rotatable design.
| Característica | Especificación |
|---|---|
| Marca | XElectron |
| Modelo | M2 (Techno Plus Series) |
| Resolución nativa | 1920 x 1080 (Full HD) |
| Resolución admitida | Up to 3840 x 2160 (4K) |
| Relación de contraste | 5000:1 |
| Sistema Operativo | Android 13 |
| Conectividade | Bluetooth 5.0 (Two-way), Miracast, Wi-Fi 6 (Dual-Band 2.4/5G), HDMI, USB, 3.5mm Jack |
| Características especiais | Auto Focus, Auto Keystone Correction (4D), Built-In Speaker, Dust-Proof, 210° Rotatable Design |
| Lamp A vida | Ata 50,000 horas |
| Altavoz incorporado | Yes (20 Watts) |
| Dimensións (LxWxH) | 22 x 19.4 x 11.6 cm |
| Peso do elemento | 720 g |
| Fonte de enerxía | AC |
| Wattage | 60 vatios |
10. Garantía e soporte
10.1 Información da garantía
The XElectron Techno Plus M2 Projector comes with a 1 ano de garantía do fabricante. Please retain your purchase receipt and warranty card for any claims.
10.2 Atención ao cliente
For technical assistance, warranty claims, or any other inquiries, please contact XElectron customer support:
- Teléfono: 0120-4134583, 8527312304
- Horario de funcionamento: Monday to Saturday, 10:30 AM to 6:00 PM
Ask a question about this manual
Ask about setup, troubleshooting, compatibility, parts, safety, or missing instructions. Manuals+ will review the question and use this page’s manual context to help answer it.