1. Introdución
This manual provides essential information for the safe and efficient operation of your ASUS ROG Strix XG27WQ gaming monitor. Please read this manual thoroughly before using the product to ensure proper setup, usage, and maintenance. Retain this manual for future reference.
The ASUS ROG Strix XG27WQ is a 27-inch WQHD (2560 x 1440) curved gaming monitor designed for an immersive visual experience. It features a native 165Hz refresh rate, 1ms MPRT response time, ASUS Extreme Low Motion Blur (ELMB) technology, FreeSync Premium Pro, and DisplayHDR 400 support.
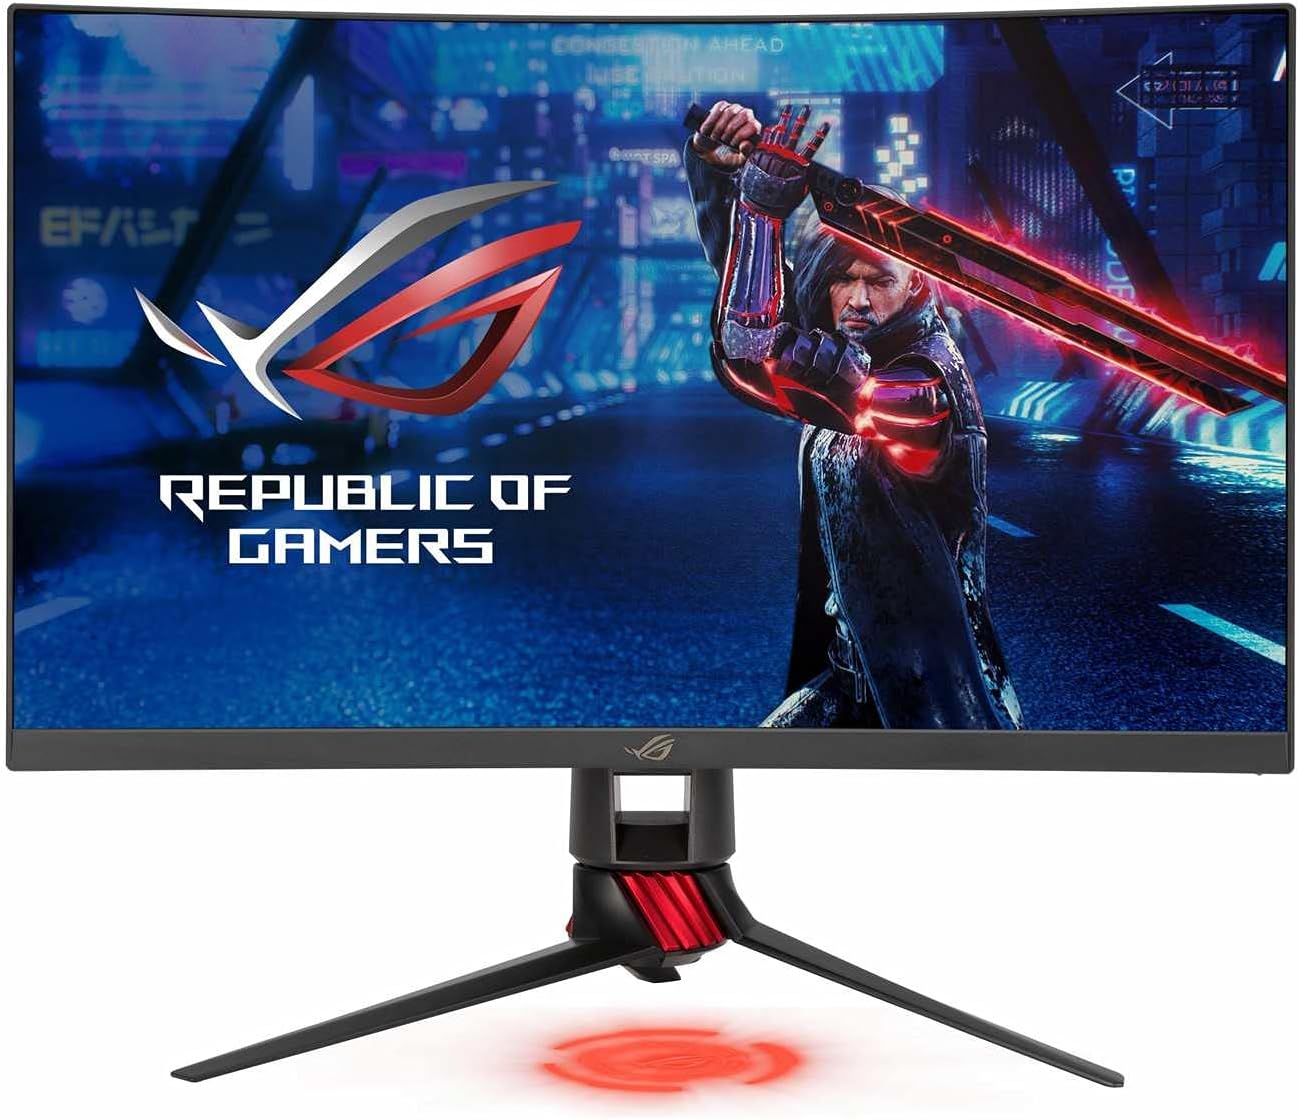
Figura 1: Fronte view of the ASUS ROG Strix XG27WQ gaming monitor, showcasing its curved display and stand.
2. Información de seguridade
- Fonte de enerxía: Use only the power adapter and cable supplied with your monitor. Ensure the power outlet is properly grounded.
- Ventilación: Non bloquees as aberturas de ventilación. Deixa espazo suficiente arredor do monitor para un fluxo de aire axeitado e evitar o sobrequecemento.
- Líquido e humidade: Keep the monitor away from water, rain, or any wet environments. Do not spill liquids onto the monitor.
- Limpeza: Disconnect the power cable before cleaning. Use a soft, dry cloth. Avoid using liquid or aerosol cleaners.
- Colocación: Coloque o monitor sobre unha superficie estable e plana. Evite colocalo baixo a luz solar directa ou preto de fontes de calor.
- Servizo: Non intente realizar o mantemento do monitor vostede mesmo. Encargue calquera mantemento a persoal de servizo cualificado.
3. Contido do paquete
Verify that your package contains the following items. If any item is missing or damaged, contact your retailer.
- ASUS ROG Strix XG27WQ Monitor
- Base de soporte para monitor
- Soporte de monitor para pescozo
- Adaptador de alimentación
- Cable de alimentación
- Cable DisplayPort
- Cable HDMI
- Cable ascendente USB 3.0
- Guía de inicio rápido
- Tarxeta de garantía
4. Configuración
4.1 Montaxe do soporte do monitor
- Coloque o panel do monitor cara abaixo sobre unha superficie suave e limpa para evitar rabuñaduras.
- Fixe o colo do soporte á parte traseira do panel do monitor. Asegúrese de que encaixe firmemente no seu lugar.
- Attach the stand base to the stand neck. Tighten the captive screw at the bottom of the base to secure it.
4.2 Cables de conexión
Conecta os cables necesarios aos portos correspondentes do monitor e do teu ordenador ou outros dispositivos.

Figura 2: Traseira view of the monitor, illustrating the location of various input ports and the stand attachment point.
- Potencia: Connect the power adapter to the monitor's DC-in port, then plug the power cord into a power outlet.
- DisplayPort: For optimal performance and to utilize the 165Hz refresh rate, connect the DisplayPort cable from your computer's graphics card to the monitor's DisplayPort input.
- HDMI: Connect an HDMI cable from your computer or console to one of the monitor's HDMI inputs. Note that HDMI 2.0 supports up to 144Hz at WQHD resolution.
- USB Upstream: Connect the USB 3.0 upstream cable from your computer to the monitor's USB upstream port to enable the monitor's USB 3.0 downstream ports.
- Descarga USB: Connect USB devices (e.g., keyboard, mouse) to the monitor's USB 3.0 downstream ports.
- Conector de audio: Conecta auriculares ou altofalantes externos á toma de son de 3.5 mm.
4.3 Encendido inicial
After connecting all cables, press the power button located on the back of the monitor to turn it on. The monitor will automatically detect the active input source.
5. Instrucións de funcionamento
5.1 Encendido/apagado
Press the power button on the rear of the monitor to turn it on or off.
5.2 Navigating the OSD Menu
The monitor features a 5-way joystick and several hotkeys on the rear for navigating the On-Screen Display (OSD) menu and quick access to functions.
- Joysticks: Push the joystick up, down, left, or right to navigate menu options. Press the joystick in to confirm a selection.
- Teclas de acceso rápido: Dedicated buttons provide shortcuts to features like GamePlus, GameVisual, and input selection.
5.3 Configuración principal do menú OSD
- Xogos: Adjust settings such as OverDrive, FreeSync Premium Pro, ELMB, and refresh rate.
- Imaxe: Control brightness, contrast, sharpness, and aspect ratio.
- Cor: Fine-tune color temperature, saturation, and gamma.
- Selección de entrada: Cambia manualmente entre as entradas DisplayPort e HDMI.
- Configuración do sistema: Access general monitor settings like OSD language, OSD timeout, and LED indicators.
6. Mantemento
6.1 Limpeza do monitor
- Apague sempre o monitor e desconecte o cable de alimentación antes de limpalo.
- Usa un pano suave e sen fiapos para limpar con coidado a pantalla e as superficies exteriores.
- Para marcas difíciles, espolvoree lixeiramenteampen the cloth with water. Avoid using alcohol-based cleaners, ammonia, or abrasive materials, as these can damage the screen coating.
6.2 Almacenamento
If storing the monitor for an extended period, disconnect all cables, clean it thoroughly, and pack it in its original packaging if possible. Store in a cool, dry place.
7 Solución de problemas
If you encounter issues with your monitor, refer to the following troubleshooting guide. If the problem persists, contact ASUS customer support.
| Problema | Posible Solución |
|---|---|
| Sen poder | Ensure the power cord is securely connected to the monitor and a working power outlet. Check the power adapter connection. |
| Sen sinal | Verify that the video cable (DisplayPort or HDMI) is securely connected to both the monitor and your computer. Ensure the correct input source is selected in the OSD menu. Check if your computer is powered on and not in sleep mode. |
| A imaxe é demasiado escura ou demasiado brillante | Adjust the brightness and contrast settings in the OSD menu (Image section). |
| A imaxe está borrosa ou distorsionada | Check the display resolution settings on your computer to ensure they match the monitor's native resolution (2560x1440). Adjust sharpness in the OSD menu. |
| Pantalla parpadeando | Ensure your graphics card drivers are up to date. Check the refresh rate setting on your computer and in the OSD menu. Try a different video cable. |
| No audio from headphones/speakers | Ensure the audio cable is properly connected. Check the volume settings on the monitor and your computer. |
8. Especificacións
The following table outlines the technical specifications for the ASUS ROG Strix XG27WQ monitor.

Figura 3: Lateral view of the monitor, indicating its physical dimensions.
| Característica | Especificación |
|---|---|
| Modelo | XG27WQ |
| Tamaño da pantalla | 27 polgadas |
| Tipo de panel | VA |
| Resolución | 2560 x 1440 (WQHD) |
| Relación de aspecto | 16:9 |
| Curvatura | 1500R |
| Taxa de actualización | 165 Hz (nativo) |
| Tempo de resposta | 1 ms (MPRT) |
| Soporte HDR | Pantalla HDR 400 |
| Sincronización adaptativa | FreeSync Premium Pro |
| Brillo | 400 cd/m² (típico) |
| Relación de contraste | 3000:1 (típico) |
| Mostrar cores | 16.7 millóns |
| Portos de vídeo | 1 DisplayPort 1.2, 2 HDMI 2.0 |
| Portos USB | 3 x USB 3.0 (1 Upstream, 2 Downstream) |
| Portos de audio | Conector para auriculares de 3.5 mm |
| Consumo de enerxía | 10 W (típico) |
| Dimensións (con soporte) | Aprox. 75.03 x 53.04 x 26 cm |
| Peso (con soporte) | 6.2 kg |
9. Garantía e soporte
This ASUS product comes with a limited warranty. The specific terms and duration of the warranty may vary by region and local laws. Please refer to the warranty card included in your package for detailed information.
For technical support, troubleshooting assistance, or service inquiries, please visit the official ASUS support website or contact your local ASUS customer service center. You may need your product's serial number and proof of purchase when seeking support.
Soporte ASUS Websitio: https://www.asus.com/support/