Introdución
This manual provides instructions for the installation, operation, and maintenance of your Peerless Elmhurst Two-Handle Centerset Bath Faucet. Please read all instructions carefully before beginning installation and keep this manual for future reference.
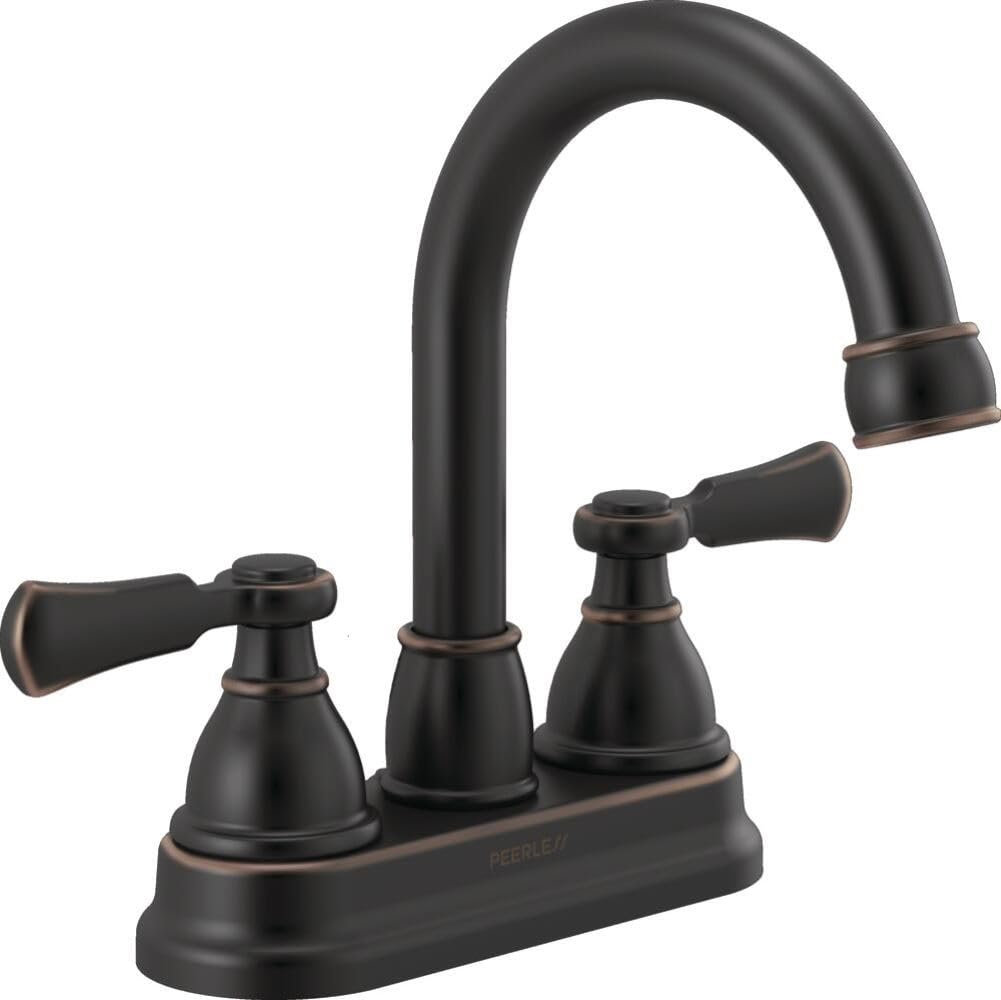
Image: Peerless Elmhurst Two-Handle Centerset Bath Faucet in Oil-Rubbed Bronze, shown installed on a bathroom vanity with a mirror and plant.
Información de seguridade
- Peche sempre a subministración de auga da billa antes de comezar calquera traballo.
- Use lentes de seguridade durante a instalación.
- Se tes algunha dúbida sobre calquera parte do proceso de instalación, consulta cun fontaneiro cualificado.
- Asegúrate de que todas as conexións estean seguras para evitar fugas.
O que hai na caixa
Comprobe que todos os compoñentes estean presentes antes de comezar a instalación:
- Montaxe da billa
- Asas (2)
- Push Pop-Up Drain Assembly
- Hardware de montaxe
Especificacións

Image: Diagram illustrating key dimensions and features of the Peerless Elmhurst Two-Handle Centerset Lavatory Faucet, including 3-hole installation, ceramic disc valve, 7.6 inch height, 5 inch spout reach, 9.3 inch width, and 2.5 inch minimum clearance to backsplash.
| Característica | Detalle |
|---|---|
| Número de modelo | P2665LF-OB |
| Remate | Bronce aceitado |
| Tipo de montaxe | Monte de cuberta |
| Número de buratos | 3-hole, 4-inch installations |
| Número de tiradores | 2 |
| Material | Zinc |
| Tipo de válvula | Válvula de disco cerámico |
| Cacho giratorio | 360 graos |
| Tipo de drenaxe | Push Pop-Up Drain (included) |
| Certificado WaterSense | Yes (uses at least 20% less water) |
| Compatible con ADA | Si |
Configuración e instalación
This faucet is designed for 3-hole, 4-inch centerset installations. Refer to the included installation guide for detailed step-by-step instructions and diagrams.
- Prepare a zona de instalación: Pecha o subministro de auga nas válvulas principais de corte. Limpa a zona debaixo do lavabo.
- Retirar a billa vella (se corresponde): Disconnect water lines and mounting nuts from the old faucet. Clean the sink surface.
- Instalar o corpo da billa: Place the faucet body onto the sink holes. Secure it from underneath with the provided mounting hardware.
- Conectar as liñas de subministración de auga: Attach the hot and cold water supply lines to the corresponding inlets on the faucet body. Hand-tighten, then use a wrench for a quarter turn. Do not overtighten.
- Instalar sumidoiro emerxente: Follow the instructions for installing the push pop-up drain assembly into the sink drain hole. Ensure a watertight seal.
- Proba de fugas: Turn on the water supply slowly and check all connections for leaks. Operate the faucet to ensure proper function.
Instrucións de funcionamento
The Peerless Elmhurst faucet features two handles for precise control of water temperature and flow.
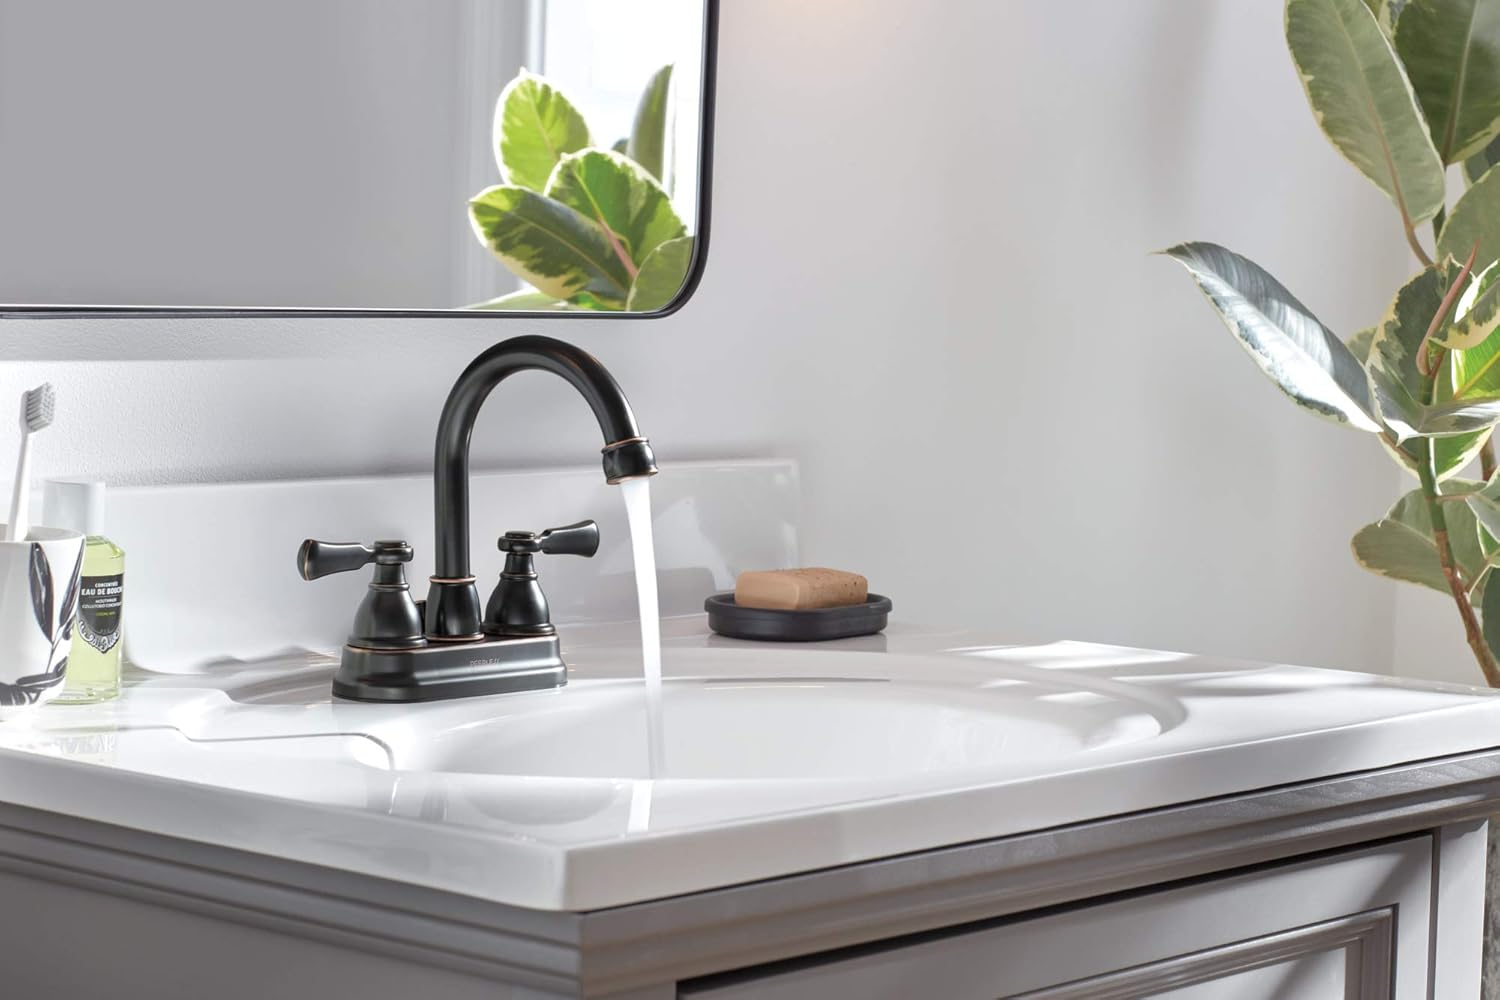
Image: The Peerless Elmhurst Two-Handle Centerset Bath Faucet in Oil-Rubbed Bronze with water flowing from its high-arc spout into a white sink.
- Auga Fría: Turn the right handle counter-clockwise a quarter turn to activate cold water.
- Auga quente: Turn the left handle counter-clockwise a quarter turn to activate hot water.
- Control de temperatura: Adjust the mix of hot and cold water by rotating both handles simultaneously.
- Control de fluxo: The handles feature 1/4 turn stops for easy on/off and flow adjustment.
- Xiratorio do bico: The high-arc spout can swivel 360 degrees for increased flexibility.
- Drenaxe emerxente: Press the top of the drain stopper to open or close the drain.
Mantemento
Proper care will ensure the longevity and appearance of your faucet.
- Limpeza: Limpar a billa regularmente cun pano suave eamp pano. Evite produtos de limpeza abrasivos, produtos químicos agresivos ou abrillantadores que poidan danar o acabado.
- Depósitos minerais: For hard water spots, use a solution of equal parts white vinegar and water. Apply with a soft cloth, let sit briefly, then rinse thoroughly and dry.
- Mantemento do aireador: If water flow decreases, the aerator may be clogged. Unscrew the aerator from the spout, clean any debris, and reattach.
Resolución de problemas
Consulta os seguintes problemas e solucións comúns:
- Caudal de auga baixo: Check if the aerator is clogged. Ensure water supply valves are fully open.
- Fugas da base da billa: Ensure mounting nuts are tightened securely. Check for proper seating of gaskets.
- Leaks from Handles: This may indicate a worn O-ring or cartridge. Consult the full installation guide or contact customer support for replacement parts.
- Problemas coa temperatura da auga: Verifique que as liñas de subministración de auga quente e fría estean conectadas correctamente e que o quentador de auga funcione.
Información da garantía
Peerless products are manufactured to high-quality standards and are backed by a limited warranty. For specific warranty details and terms, please refer to the warranty card included with your product or visit the official Peerless websitio.
Apoio
For further assistance, technical support, or to order replacement parts, please contact Peerless customer service or visit their official websitio:
- Websitio: Visit the Peerless Store on Amazon (for product information) or search for the official Peerless Faucet websitio.
- Atención ao cliente: Refer to the contact information provided in your product packaging or on the official Peerless websitio.