
Introdución
This manual provides detailed instructions for the setup, operation, and maintenance of your FANGOR 15.6" Portable Monitor, model DH112222. Please read this manual thoroughly before using the product to ensure proper functionality and to prevent damage.
The FANGOR DH112222 is a versatile 15.6-inch Full HD 1080P IPS display designed for various applications, including extending laptop screens, gaming, and multimedia consumption. It features USB Type-C and HDMI connectivity, built-in speakers, and a smart cover for portability and protection.
Contido do paquete
Comprobe o contido do paquete ao desembalar. Se falta algún elemento ou está danado, póñase en contacto co servizo de atención ao cliente.
- FANGOR 15.6" Portable Monitor (DH112222)
- Smart Cover / Stand
- USB-C to USB-C Cable (for power and video/data)
- Cable HDMI a Mini HDMI (para vídeo)
- USB-A to USB-C Cable (for power)
- Adaptador de alimentación (se está incluído)
- Manual de usuario (este documento)
Produto rematadoview
Familiarize yourself with the monitor's components and ports.
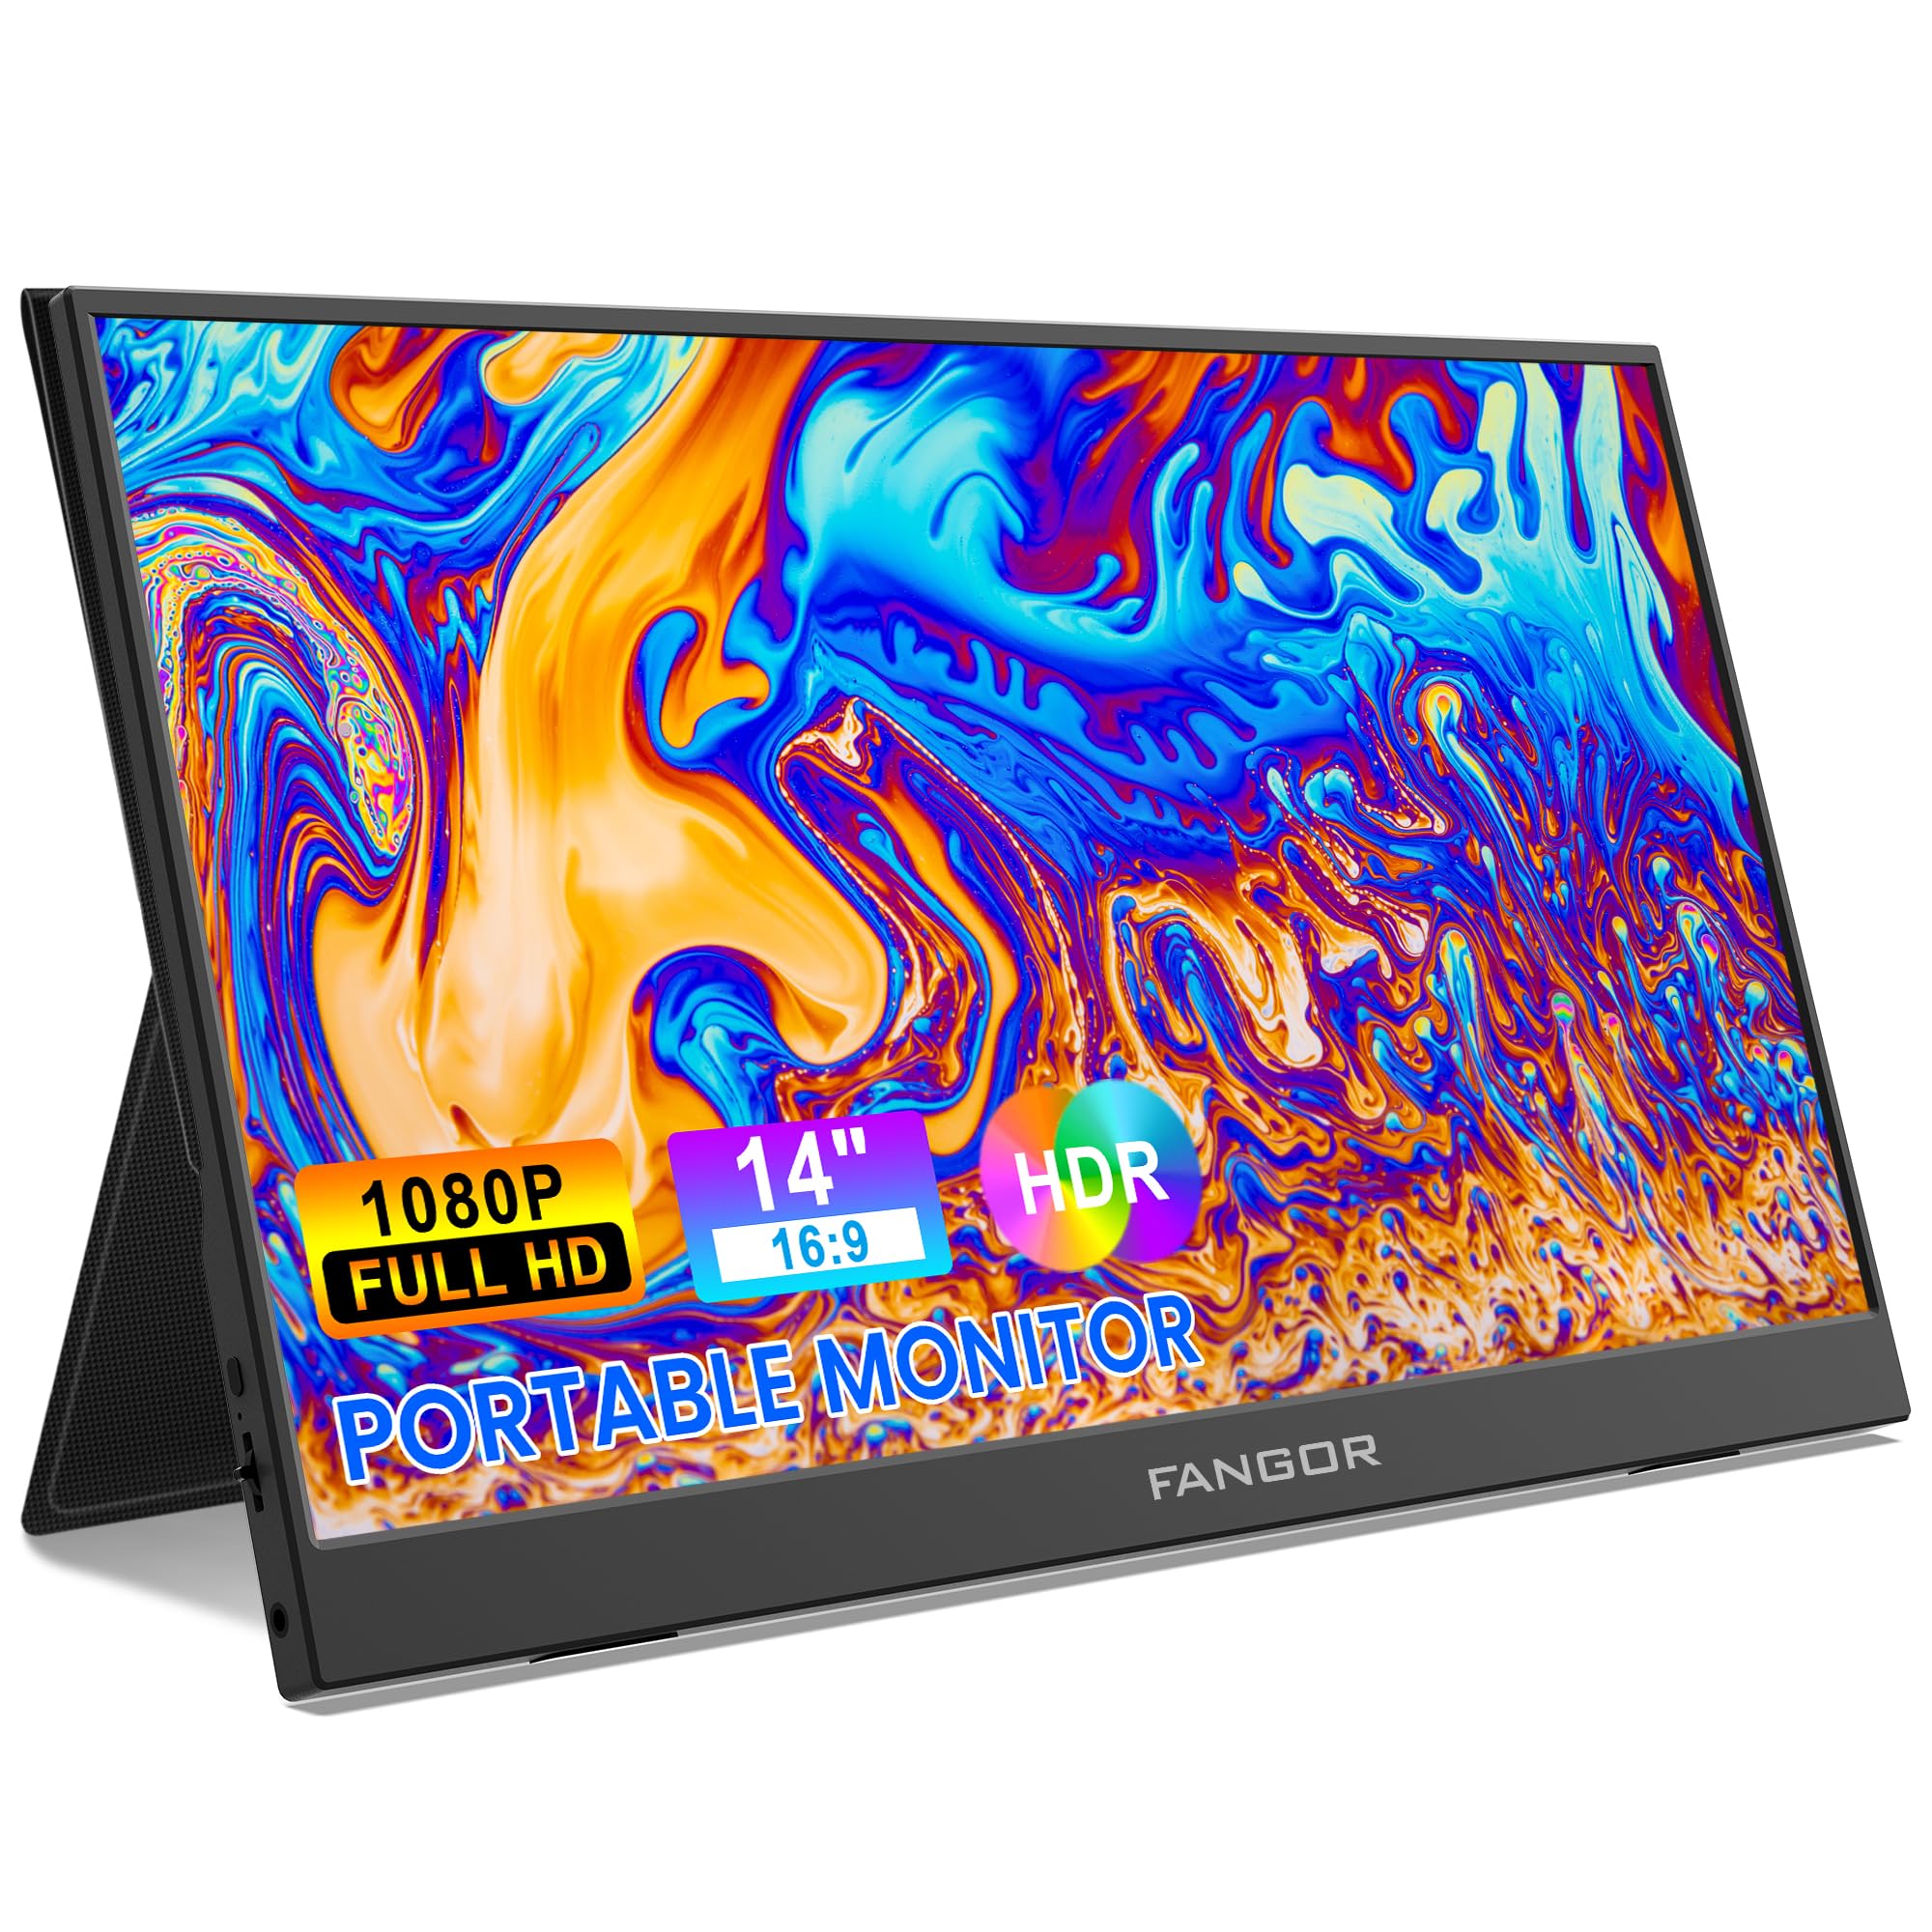
Image: FANGOR 15.6" Portable Monitor DH112222. This image displays the monitor with its smart cover, showcasing é Slim Profile e pantalla.
Portos e botóns:
- USB-C Port (Full-featured): For power, video, and data transmission from compatible devices.
- Porta mini HDMI: For video input from devices using an HDMI cable.
- Conector de audio de 3.5 mm: Para conectar auriculares ou altofalantes externos.
- Power Button / OSD Menu Button: Press and hold to power on/off. Press to access the On-Screen Display (OSD) menu.
- Volume / Navigation Buttons: Used to adjust volume or navigate through the OSD menu.
- Altofalantes incorporados: Located on the sides or rear of the monitor.
Note: A visual diagram showing the exact location of each port and button would typically be included here.
Instrucións de configuración
1. Setting up the Smart Cover:
- Unfold the smart cover to form a triangular stand.
- Place the monitor into the grooves of the stand to achieve the desired viewángulo de ing.
Note: An illustration demonstrating how to fold the smart cover into a stand would be beneficial here.
2. Connecting to a Power Source:
The monitor requires power to operate. It can be powered via USB-C.
- Conecta un extremo do cable USB-C a USB-C ao porto USB-C con todas as funcións do monitor.
- Connect the other end to a power adapter (5V/3A or higher recommended) or a compatible device's USB-C port that supports power delivery.
- Alternatively, use the USB-A to USB-C cable with a power adapter.
Note: A diagram showing power connection options would be helpful.
Instrucións de funcionamento
Conexión a dispositivos:
The FANGOR DH112222 supports various devices via USB-C and HDMI.
1. Connecting to a Laptop/PC (USB-C):
For laptops/PCs with a full-featured USB-C port (supporting DisplayPort Alternate Mode and Power Delivery):
- Conecta un extremo do cable USB-C a USB-C ao porto USB-C con todas as funcións do monitor.
- Connect the other end to the laptop's full-featured USB-C port.
- The monitor should automatically detect the signal and display the screen. If not, ensure the laptop's display settings are configured for an external monitor (e.g., Extend, Duplicate).
Note: Some laptops may require an external power source for the monitor if their USB-C port does not provide sufficient power.
2. Connecting to a Laptop/PC (HDMI):
For laptops/PCs with an HDMI port:
- Connect one end of the HDMI to Mini HDMI cable to the monitor's Mini HDMI port.
- Connect the other end (HDMI) to the laptop's HDMI port.
- Ensure the monitor is powered via its USB-C port (using a USB-A to USB-C cable connected to a power adapter or a USB-C to USB-C cable connected to a power source).
- The monitor should automatically detect the signal. Adjust display settings on your PC if necessary.
3. Connecting to Gaming Consoles (PS4, Xbox, Switch):
Use the HDMI to Mini HDMI cable for video and a USB-C cable for power.
- Connect the monitor to a power source via USB-C.
- Connect the HDMI to Mini HDMI cable from the console's HDMI output to the monitor's Mini HDMI input.
- Power on the console and the monitor.
4. Connecting to Smartphones (USB-C):
For smartphones with a full-featured USB-C port (supporting DisplayPort Alternate Mode and Power Delivery):
- Conecta un extremo do cable USB-C a USB-C ao porto USB-C con todas as funcións do monitor.
- Connect the other end to the smartphone's USB-C port.
- The monitor will display the phone's screen. Some phones may offer a desktop mode.
Note: Not all smartphones support video output via USB-C. Check your phone's specifications.
Menú de visualización en pantalla (OSD):
O menú OSD permíteche axustar varios axustes de pantalla.
- Press the Power/OSD button to open the OSD menu.
- Use the Volume/Navigation buttons to move up/down or left/right through the menu options.
- Press the Power/OSD button again to select an option or confirm a setting.
- Para saír do menú OSD, navegue ata a opción "Saír" ou agarde a que o menú esgote o tempo de espera.
Common OSD Menu Options: Brightness, Contrast, Color Temperature, Aspect Ratio, Input Source, Volume.
Mantemento
- Limpeza da pantalla: Use un pano suave e sen pelusa lixeiramente damplimpa con auga ou cun limpador de pantallas non abrasivo. Non pulverice líquido directamente sobre a pantalla.
- Limpeza do Casing: Use a soft, dry cloth. Avoid harsh chemicals or abrasive materials.
- Almacenamento: When not in use, store the monitor in its smart cover to protect the screen from scratches and dust. Avoid extreme temperatures and humidity.
- Manexo: Sujete sempre o monitor polos bordos. Evite exercer presión sobre a pantalla.
Resolución de problemas
| Problema | Posible Solución |
|---|---|
| Sen sinal / Pantalla negra |
|
| Non hai son dos altofalantes |
|
| Pantalla parpadeante ou imaxe inestable |
|
| O monitor non se acende |
|
Especificacións
| Característica | Detalle |
|---|---|
| Número de modelo | DH112222 |
| Tamaño da pantalla | 15.6 polgadas |
| Resolución | FHD 1080p (1920 x 1080) |
| Tipo de visualización | LCD, IPS |
| Relación de aspecto | 16:9 |
| Taxa de actualización | 60 Hz |
| Relación de contraste | 1000:1 |
| Viewángulo ing | 160 graos |
| Screen Finish | Brillante |
| Conectividade | HDMI, USB-C (full-featured), Mini HDMI |
| Audio | Built-In Speakers, 3.5mm Audio Jack |
| Dimensións do produto | 38 x 28.5 x 45 cm |
| Peso do elemento | 612.35 g (1.35 libras) |
| Dispositivos compatibles | Laptop, PC, Smartphone, XBOX, Switch, PS4 |
Información de seguridade
- Non expoña o monitor á choiva nin á humidade para evitar riscos de incendio ou descargas eléctricas.
- Non abra o monitor casing. Encomende todo o mantemento a persoal de servizo cualificado.
- Evite colocar o monitor preto de fontes de calor ou baixo a luz solar directa.
- Empregue só o adaptador de corrente e os cables subministrados ou recomendados polo fabricante.
- Manteña o monitor lonxe de campos magnéticos fortes.
Garantía e Soporte
For warranty information and technical support, please refer to the warranty card included with your product or visit the official FANGOR websitio. Garde o recibo da compra como xustificante de compra para reclamacións de garantía.
For further assistance, contact FANGOR customer support through their official channels.