Introdución
This manual provides detailed instructions for the installation, operation, and maintenance of your Infinity PRIMUS3000A Primus Amplificador. Lea este manual detidamente antes de tentar instalar ou operar o amplificador para garantir o seu correcto funcionamento e evitar danos.
The Infinity PRIMUS3000A is a compact mono amplifier designed to deliver 300W of power. It features full on-board protection and input level control for optimal audio performance.
Información de seguridade
- Desconecte sempre o terminal negativo da batería do vehículo antes de comezar calquera instalación.
- Asegúrate de que todo o cableado estea correctamente colocado e fixado para evitar danos por bordos afiados ou pezas móbiles.
- Empregar cableado do calibre axeitado para as conexións de alimentación e terra para evitar o sobrequecemento e posibles riscos de incendio.
- Instala o ampo refrigerador nun lugar que permita unha ventilación axeitada para evitar o sobrequecemento.
- Non expoña o amphumidade ou temperaturas extremas.
- Se tes algunha dúbida sobre calquera parte do proceso de instalación, consulta cun profesional cualificado.
Contido do paquete
Verifica que todos os elementos estean presentes no paquete:
- Infinity PRIMUS3000A Primus Ampmáis vivo
- Manual de usuario
Produto rematadoview
The Infinity PRIMUS3000A amplifier is designed for reliable performance in a compact form factor. Key features include:
- Pegada compacta: Allows for flexible installation in various vehicle types.
- Full On-Board Protection: Salvagardas as amplifier against short circuits, over-voltage, baixo voltage, and thermal overload.
- Control de nivel de entrada: Adjustable input sensitivity to match the output of your head unit.
AmpDisposición lifier
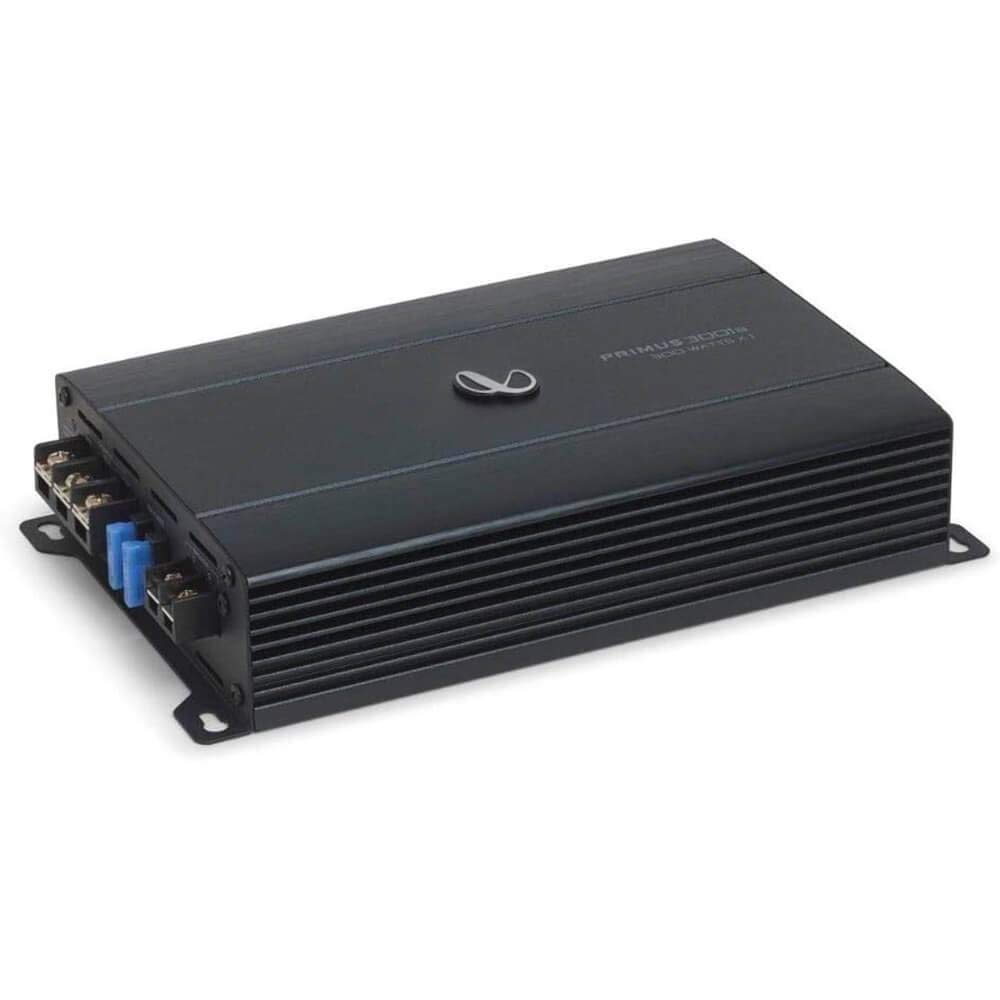
Figura 1: Arriba view of the Infinity PRIMUS3000A Primus Amplifier. This image displays the overall compact design of the amplifier, featuring the Infinity logo and model designation on the top panel.

Figura 2: Control panel of the Infinity PRIMUS3000A Primus Amplificador. Isto view shows the input section with High Input and Line Input terminals, along with adjustable controls for Gain, Level, Frequency (FREQ), Low-Pass Filter (LPF), and Phase.

Figura 3: Power and speaker connection terminals of the Infinity PRIMUS3000A Primus Amplifier. This image highlights the GND (Ground), REM (Remote), +12V (Power), and Speaker output terminals, along with the dual 15A fuses for protection.
Configuración e instalación
Proper installation is crucial for optimal performance and safety. Follow these general guidelines:
1. Lugar de montaxe
- Escolle un lugar seco e ben ventilado, lonxe da luz solar directa e de fontes de calor.
- Ensure the mounting surface is sturdy enough to support the amppeso do viveiro.
- Allow sufficient space around the amplifier para circulación de aire.
2. Conexións de cableado
Antes de facer calquera conexión, desconecte o terminal negativo da batería do vehículo.
- Potencia (+12 V): Connect a suitable gauge power cable directly from the vehicle's positive battery terminal to the amplifier's "+12V" terminal. Install an in-line fuse holder (not supplied) within 18 inches (45 cm) of the battery.
- Terra (GND): Conecte un cable de terra de calibre axeitado desde o amplifier's "GND" terminal to a clean, unpainted metal surface on the vehicle's chassis. Ensure a good electrical connection.
- Remoto (REM): Conecta un cable de acendido remoto da saída remota da unidade principal ao ampterminal "REM" do transformador. Este cable activa o ampacende e apaga o activador coa unidade principal.
- Entrada de audio:
- Entrada de liña (RCA): Conecte os cables RCA da toma de corrente da unidade principalamp saída ao amplifier's "LINE INPUT" jacks.
- High Input (Speaker Level): If your head unit does not have RCA outputs, connect the speaker output wires from your head unit to the amplifier's "HIGH INPUT" terminals.
- Saída do altofalante: Conecte o(s) seu(s) subwoofer(es) ao amplifier's "SPEAKER" terminals. Ensure correct polarity (+ to + and - to -). Refer to your subwoofer's specifications for proper impedance matching.
Instrucións de funcionamento
Unha vez que amplifier is installed and wired, follow these steps for initial setup and operation:
- Encendido inicial: Volva conectar o terminal negativo da batería do vehículo. Acenda a unidade principal. O amplifier should power on (indicated by an LED, if present).
- Gain/Level Adjustment:
- Establece o amplifier's "GAIN" or "LEVEL" control to its minimum position.
- Play a familiar piece of music at a moderate volume on your head unit (around 75% of maximum).
- Aumentar lentamente o amplifier's gain control until you hear distortion, then back it off slightly until the sound is clear.
- Filtro paso baixo (LPF): The LPF control allows you to set the upper frequency limit for the subwoofer. Adjust this control (e.g., between 40Hz and 120Hz) to blend the subwoofer's output smoothly with your main speakers.
- Control de fase: The "PHASE" switch (0°/180°) helps to align the subwoofer's output with the main speakers. Experiment with both settings to find the one that provides the most impactful and cohesive bass response.
Mantemento
- Limpeza: Limpar periodicamente o ampo exterior do lifador cun pano suave e seco. Non empregue produtos químicos agresivos nin produtos de limpeza abrasivos.
- Inspección: Regularly check all wiring connections for tightness and signs of corrosion or damage. Ensure adequate ventilation around the ampmáis vivo.
- Fusibles: O amplifier is equipped with two 15A fuses. If a fuse blows, replace it only with a fuse of the same type and rating. Never use a higher-rated fuse.
Resolución de problemas
| Problema | Causa posible | Solución |
|---|---|---|
| Sen enerxía / Ampo lifier non se acende |
|
|
| Sen saída de son |
|
|
| Son distorsionado |
|
|
| Amplifier goes into protection mode |
|
|
Especificacións
| Número de modelo | PRIMUS3000A |
| Marca | Infinito |
| Potencia de saída | 300W x 1 (Mono) |
| Dimensións do produto (L x W x H) | 12.5 x 7.6 x 3.9 polgadas |
| Peso do elemento | 3.75 libras |
| Vol. Subministración máximatage | 14.4 voltios (DC) |
| Tipo de montaxe | Montaxe en superficie |
Garantía e Soporte
This product is covered by a manufacturer's warranty. For specific warranty terms and conditions, please refer to the documentation included with your purchase or visit the official Infinity website. For technical support or service inquiries, please contact Infinity customer service.
As this is a renewed product, please also refer to the Amazon Renewed Guarantee for details regarding replacement or refund options, as mentioned in the product description.