
LIECTROUX C30B
LIECTROUX C30B Hybrid Robot Vacuum and Mop User Manual
Model: C30B
1. Introdución
Thank you for choosing the LIECTROUX C30B Hybrid Robot Vacuum and Mop. This intelligent cleaning device is designed to simplify your home maintenance with its advanced features, including dynamic navigation, powerful 4KPA suction, and versatile 2-in-1 vacuuming and mopping capabilities. It integrates seamlessly with smart home systems like Amazon Alexa and Google Assistant for convenient control. Please read this manual thoroughly before operating the device to ensure proper use and maintenance.

Figure 1.1: LIECTROUX C30B Robot Vacuum and Mop with its accompanying mobile application interface and the interchangeable dustbin/water tank.
2. Instrucións de seguridade importantes
To reduce the risk of injury or damage, read these safety instructions carefully and keep them handy for future reference. This appliance is for household use only.
- Do not operate the robot in environments with open flames or fragile objects.
- Ensure all power cords, small objects, and loose items are cleared from the floor before operation to prevent entanglement.
- Do not allow children or pets to play with the robot. Supervise children when the robot is in use.
- Emprega só a base de carga e o adaptador de corrente orixinais subministrados polo fabricante.
- Non empregue o robot para recoller residuos grandes, líquidos ou materiais ardendo/fumegantes.
- Regularly clean the brushes and sensors to maintain optimal performance.
- Non mergulles o robot nin os seus compoñentes electrónicos na auga.
- If the robot is not used for a long period, fully charge it and store it in a cool, dry place.
3. Contido do paquete
Comprobe que todos os compoñentes estean presentes e en bo estado ao desembalar.
- Robot Host (Main Unit)
- Estación de carga
- Mando a distancia (pilas non incluídas)
- Adaptador de alimentación
- Depósito de auga
- Basura
- Ferramenta de limpeza
- HEPA Filters (2x)
- Cepillos laterais (4x)
- Mopping Pads (2x)
- Manual de instrucións
- Guía de instalación da aplicación
4. Produto rematadoview
Familiarize yourself with the main components of your LIECTROUX C30B robot vacuum.
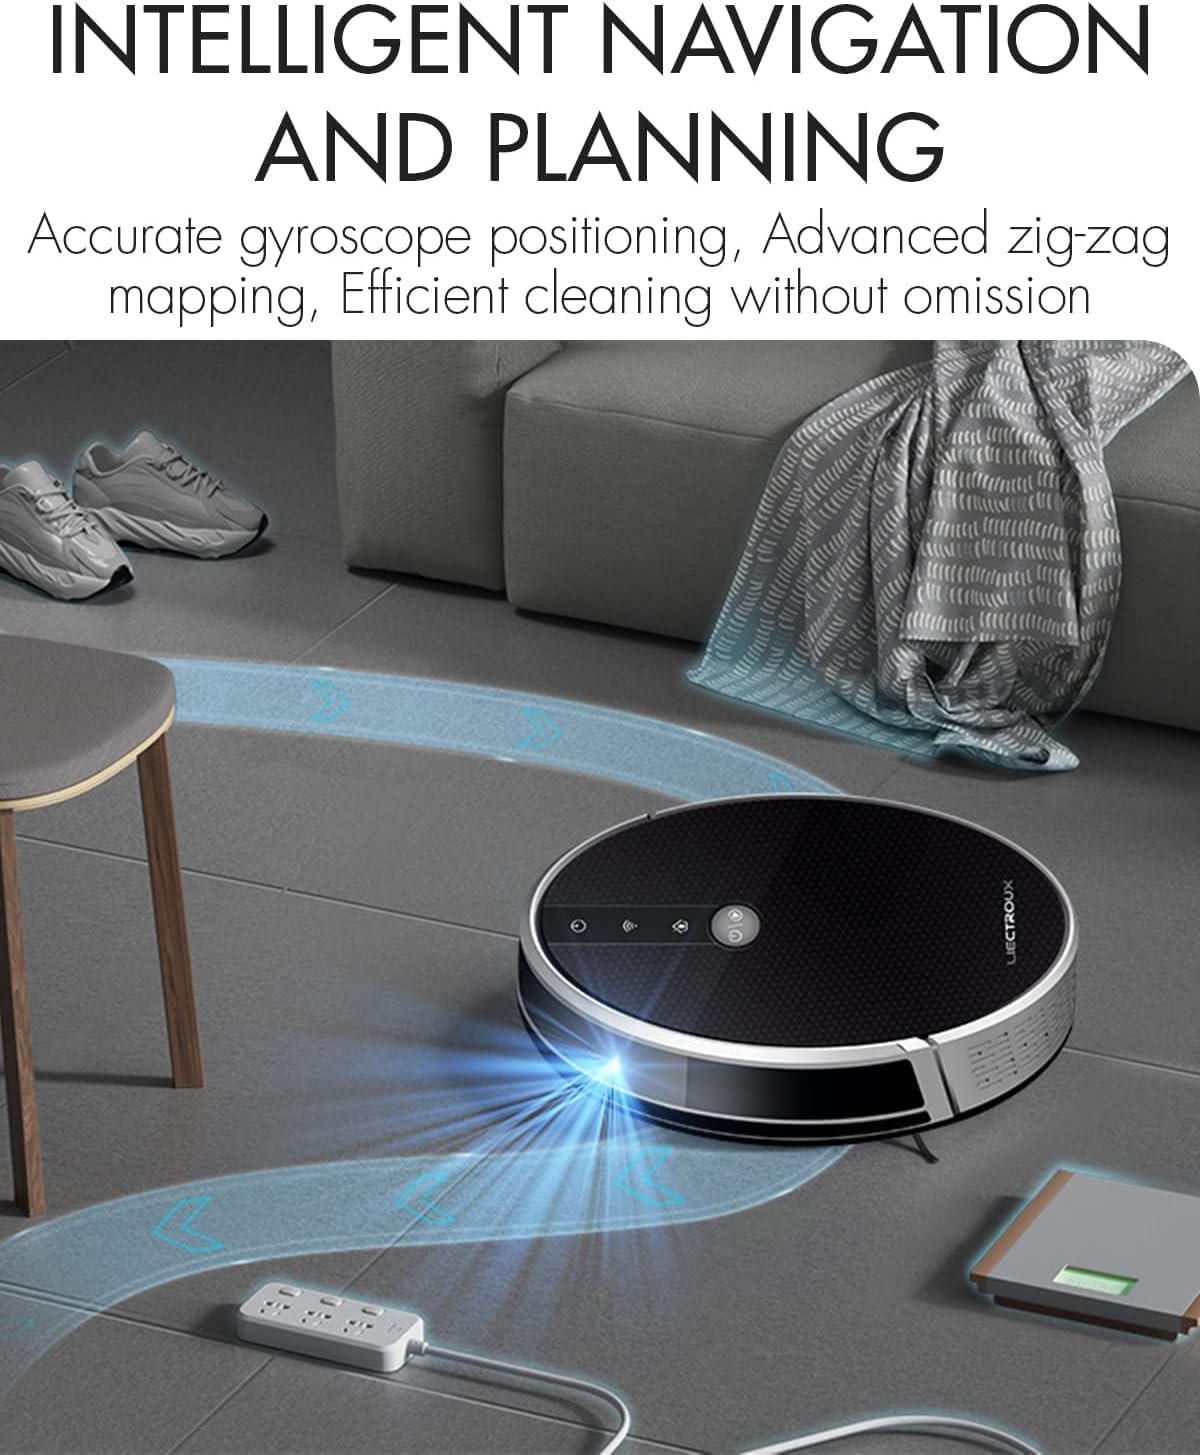
Figure 4.1: The robot vacuum utilizing its intelligent navigation system to plan and execute efficient cleaning paths, ensuring thorough coverage of your home.
4.1. Características clave
- Navegación intelixente con xiroscopio: Detects the entire house and builds a real-time cleaning roadmap for efficient, room-to-room cleaning.
- Super Suction & 2-in-1 Functionality: Equipped with a NIDEC brushless motor and V-shaped floating central brush for deep cleaning. Interchangeable 600ml dustbin and water tank allow for simultaneous vacuuming and mopping.
- Deseño de corpo delgado: At 7.4 cm (2.9 inches) thin, it can easily clean under furniture and hard-to-reach areas.
- Sensores anti-caída: Integrated infrared sensors detect obstacles and prevent falls from stairs or ledges.
- Funcionamento silencioso: Designed to operate at a low noise level (45 dB), minimizing disturbance.
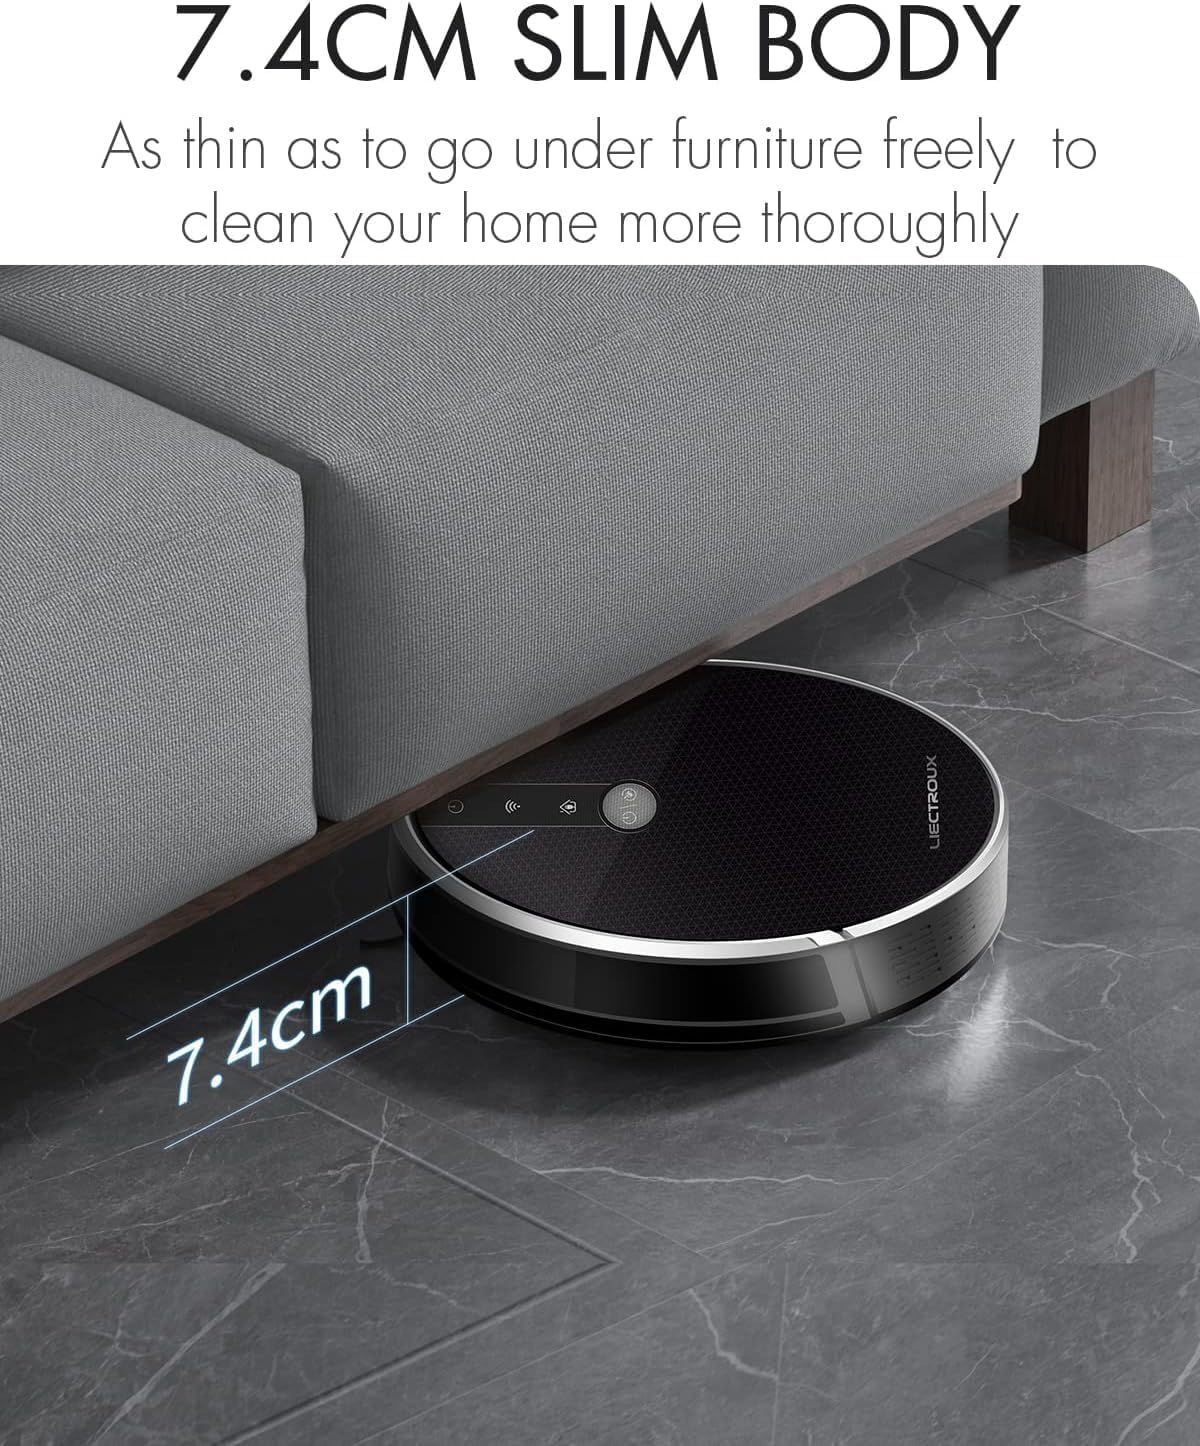
Figure 4.2: The robot's ultra-slim 7.4 cm body allows it to effortlessly clean under low-lying furniture, ensuring no dust or debris is left behind.
5. Configuración
5.1. Cargando o Robot
- Place the charging station against a wall in an open, uncluttered area. Ensure there is at least 1 meter (3.3 feet) of clear space on both sides and 2 meters (6.6 feet) in front of the station.
- Connect the power adapter to the charging station and plug the other end into a wall outlet.
- Place the robot onto the charging station, ensuring the charging contacts align. The robot will automatically begin charging. A full charge takes approximately 4-5 hours.
- For initial use, it is recommended to fully charge the robot before its first cleaning cycle.
5.2. Instalación dos cepillos laterais
Attach the side brushes by pressing them onto the square posts at the bottom of the robot until they click into place. Ensure the left (L) and right (R) brushes are installed on the correct sides.
5.3. Instalación do colector de lixo ou do depósito de auga
The LIECTROUX C30B comes with an interchangeable dustbin and water tank. Choose the appropriate container for your cleaning needs.
- Para aspirar: Insert the dustbin into the designated slot at the rear of the robot until it locks securely.
- Para fregar: Fill the water tank with clean water (do not use detergents or harsh chemicals). Attach a mopping pad to the bottom of the water tank. Insert the water tank into the designated slot at the rear of the robot until it locks securely.
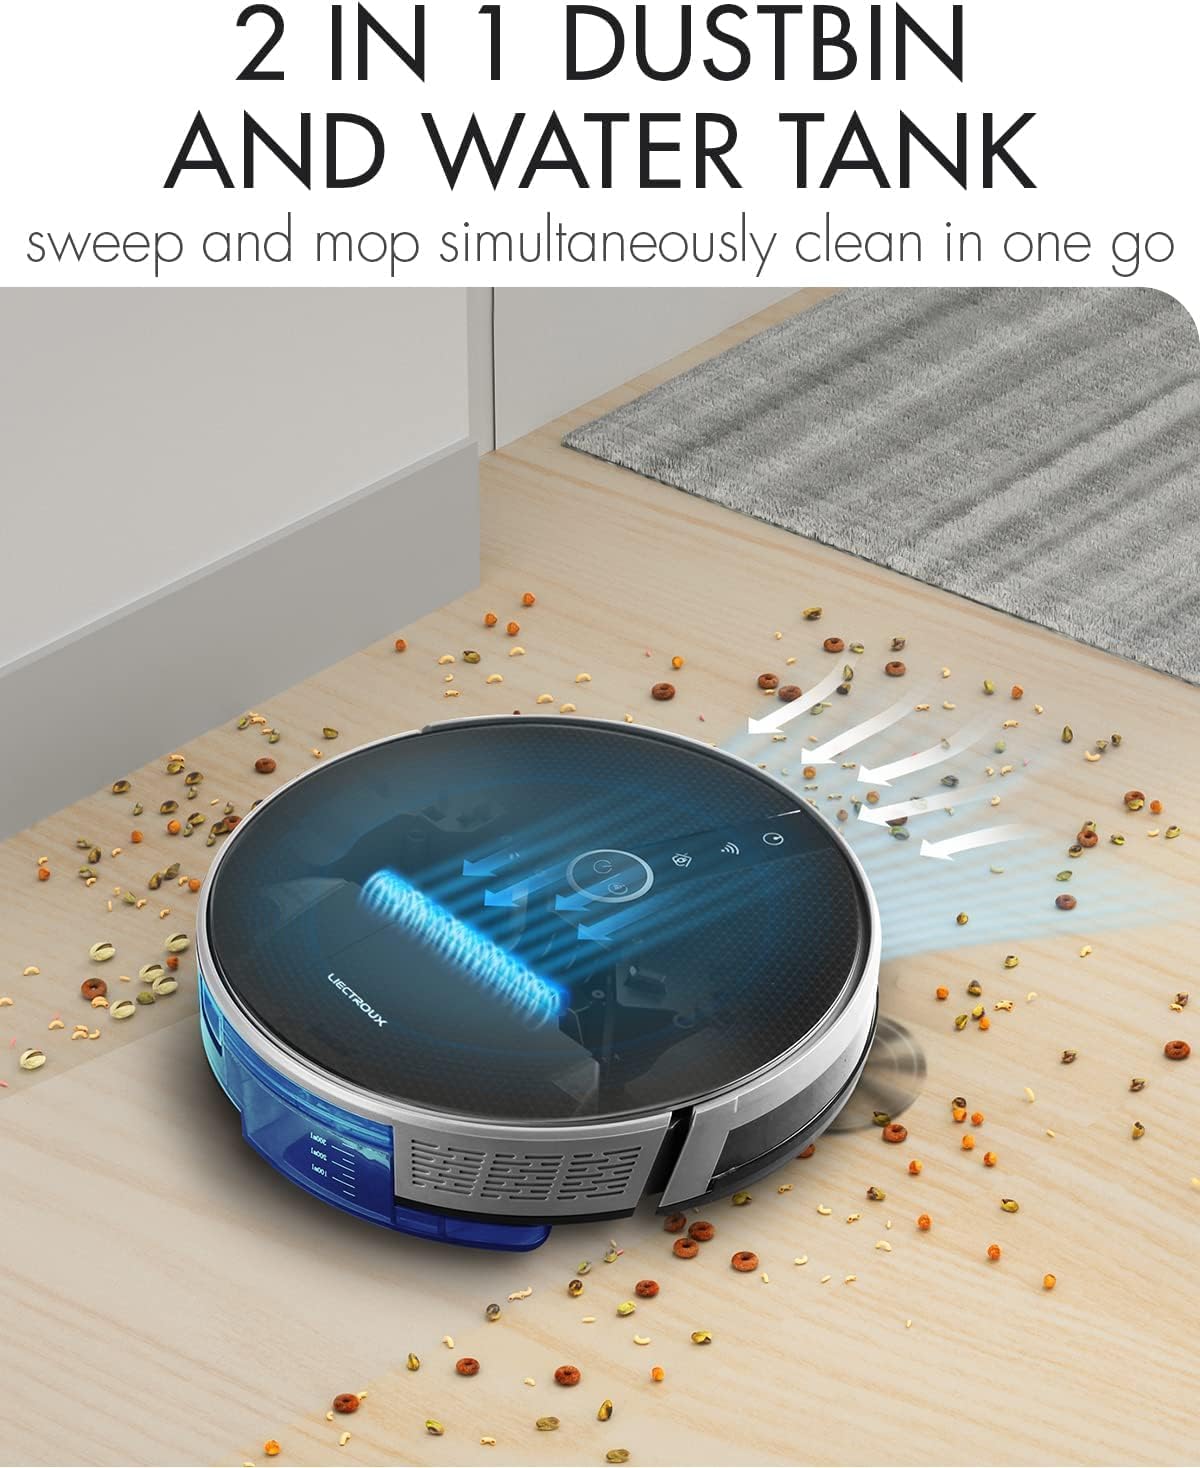
Figure 5.1: The robot's innovative 2-in-1 design allows for easy switching between the dustbin for vacuuming and the water tank for mopping, enabling simultaneous sweep and mop functions.
5.4. Instalación e conexión da aplicación
The LIECTROUX C30B can be controlled via the Tuya Smart app. It also supports voice control through Amazon Alexa and Google Assistant.
- Download the "Tuya Smart" app from the App Store (iOS) or Google Play Store (Android).
- Rexistra unha conta e inicia sesión.
- Ensure your robot is charged and powered on.
- In the app, tap "+" to add a device. Select "Small Home Appliance" > "Robot Vacuum".
- Follow the on-screen instructions to connect the robot to your home Wi-Fi network (2.4GHz only).
- Unha vez conectado, podes controlar o robot, programar limpezas e monitorizar o seu estado desde o teu teléfono intelixente.

Figure 5.2: The mobile application provides comprehensive remote control, allowing users to manage cleaning modes, schedules, and monitor the robot's status from anywhere.
6. Instrucións de funcionamento
6.1. Modos de limpeza
The LIECTROUX C30B offers 6 cleaning modes to suit various needs:
- Limpeza automática: The robot intelligently plans its route to clean the entire area.
- Modo de fregado: When the water tank is installed, the robot will perform wet mopping.
- Limpeza de habitación individual: Cleans a specific room. Close the door to confine the robot to that area.
- Limpeza de bordes: O robot limpa paredes e bordos de mobles.
- Limpeza de manchas: Concentrates cleaning on a specific dirty area in a spiral pattern.
- Limpeza programada: Set specific times for the robot to start cleaning automatically via the app.
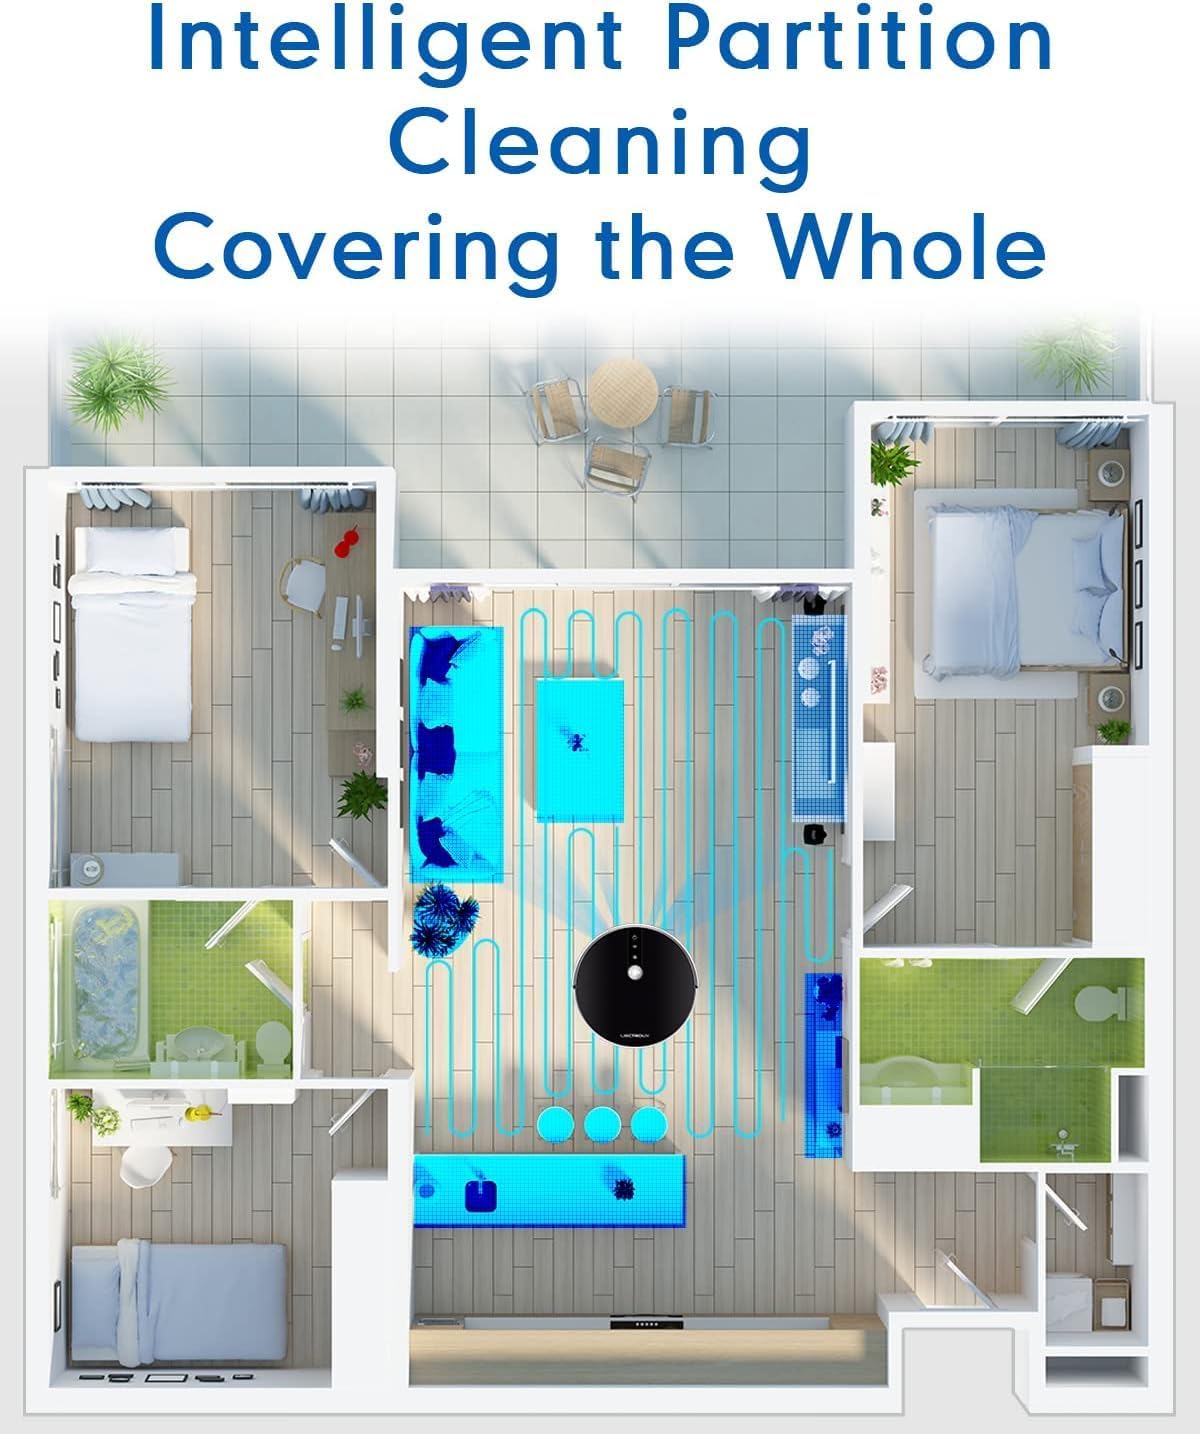
Figure 6.1: The robot's intelligent partition cleaning capability allows it to map and clean different areas of your home systematically, ensuring comprehensive coverage.
6.2. Starting/Pausing Cleaning
- No robot: Press the power button on the robot's top panel to start or pause cleaning.
- Usando o control remoto: Use the "Auto Clean" button on the remote control.
- A través da aplicación: Use the "Start" or "Pause" buttons within the Tuya Smart app.
6.3. Control por voz (Alexa/Asistente de Google)
Once connected to the Tuya Smart app, you can link your robot to Amazon Alexa or Google Assistant for voice commands.
- Enable the "Tuya Smart" skill in your Alexa or Google Home app.
- Link your Tuya Smart account.
- Descubre dispositivos.
- Agora podes usar comandos como:
- "Alexa, start cleaning the robot vacuum."
- "Hey Google, tell the robot vacuum to go back to charging."
- "Alexa, stop the robot vacuum."

Figure 6.2: The robot vacuum seamlessly integrates with smart home assistants like Amazon Alexa and Google Assistant, allowing for convenient voice-activated control of cleaning tasks.
7. Mantemento
Regular maintenance is crucial for optimal performance and longevity of your robot vacuum.
7.1. Baleirar o colector de lixo
Empty the dustbin after each use or when the "Dustbin Full" indicator appears on the app.
- Prema o botón de liberación do depósito do po e tire do depósito para fóra.
- Abra a tapa do colector de lixo e baleire o seu contido nun colector de lixo.
- Clean the dustbin with the provided cleaning tool or a soft cloth. It can also be rinsed with water, but ensure it is completely dry before re-installing.
7.2. Limpeza de filtros
Clean the HEPA filter and sponge filter weekly. Replace HEPA filters every 3-6 months, depending on usage.
- Retire o colector de lixo.
- Take out the HEPA filter and sponge filter.
- Tap the filters gently to remove dust. Do not wash HEPA filters with water.
- Rinse the sponge filter with water if necessary, and ensure it is completely dry before re-installing.
7.3. Cleaning Main Brush and Side Brushes
Clean the main brush and side brushes weekly to remove tangled hair and debris.
- Cepillo principal: Flip the robot over. Press the release tabs on the brush guard to remove it. Lift out the main brush. Use the cleaning tool to cut and remove any tangled hair. Reinstall the brush and guard.
- Cepillos laterais: Gently pull the side brushes off their posts. Remove any hair or debris. If brushes are worn, replace them.
7.4. Cleaning Water Tank and Mopping Pads
After each mopping session:
- Baleirar a auga restante do tanque.
- Remove the mopping pad and rinse it thoroughly with water. Allow it to air dry completely.
- Clean the water tank interior if necessary.
7.5. Limpeza de sensores e contactos de carga
Wipe the sensors and charging contacts regularly with a clean, dry cloth to ensure proper function.
- Sensores anti-caída: Located on the bottom of the robot.
- Sensores de parede: Located on the front bumper.
- Contactos de carga: On the bottom of the robot and on the charging station.

Figure 7.1: The robot is equipped with anti-drop sensors that detect changes in elevation, such as stairs, preventing it from falling and ensuring safe operation.
8 Solución de problemas
Se tes problemas co teu robot aspirador, consulta a táboa seguinte para ver os problemas e as solucións máis habituais.
| Problema | Causa posible | Solución |
|---|---|---|
| O robot non se acende. | Batería baixa ou sen carga. | Place the robot on the charging station and ensure it is fully charged. |
| O robot quédase atascado con frecuencia. | Obstacles, tangled brushes, or dirty sensors. | Clear obstacles from the cleaning path. Clean main brush, side brushes, and all sensors. |
| Mal rendemento de limpeza. | Full dustbin, clogged filter, or worn brushes. | Empty dustbin. Clean/replace filters. Clean/replace brushes. |
| O robot non volve á estación de carga. | Charging station obstructed or out of range. Dirty charging contacts. | Ensure charging station is in an open area. Clean charging contacts on both robot and station. |
| Problemas de conexión coa aplicación. | Incorrect Wi-Fi password, 5GHz network, or robot too far from router. | Ensure you are using a 2.4GHz Wi-Fi network. Re-enter Wi-Fi password. Move robot closer to router. Restart robot and router. |
Se o problema persiste despois de probar estas solucións, póñase en contacto co servizo de atención ao cliente.
9. Especificacións técnicas
| Característica | Especificación |
|---|---|
| Número de modelo | C30B |
| Marca | LIECTROUX |
| Dimensións (L x W x H) | 33 x 33 x 7.4 cm (13 x 13 x 2.9 polgadas) |
| Peso | 2.7 kg (5.95 lb) |
| Poder | 28 vatios |
| Voltage | 14.4 voltios |
| Tipo de batería | Ión de litio (2500 mAh) |
| Nivel de ruído | 45 dB |
| Capacidade do lixo | 0.6 litros |
| Tipo de filtro | HEPA |
| Recomendación de superficie | Hard Floors, Carpets |
| Tipo de control | App Control, Voice Control (Alexa, Google Assistant), Remote Control |
| Tempo de execución | 100-120 minutes (approx. 170-220 sq meters) |
10. Garantía e soporte
The LIECTROUX C30B Hybrid Robot Vacuum and Mop comes with a 24-month professional warranty desde a data de compra. Esta garantía cobre defectos de fabricación e avarías de funcionamento en condicións normais de uso.
10.1. Exclusións da garantía
A garantía non cobre:
- Damage caused by improper use, negligence, or accident.
- Normal wear and tear of consumable parts (e.g., brushes, filters, mopping pads).
- Danos causados por reparacións ou modificacións non autorizadas.
- Damage caused by external factors such as power surges or natural disasters.
10.2. Atención ao cliente
For technical assistance, warranty claims, or general inquiries, please contact LIECTROUX customer support through the retailer where you purchased the product or visit the official LIECTROUX websitio para información de contacto.
Please have your model number (C30B) and proof of purchase ready when contacting support.
Documentos relacionadosC30B


Ask a question about this manual
Ask about setup, troubleshooting, compatibility, parts, safety, or missing instructions. Manuals+ will review the question and use this page’s manual context to help answer it.