Arcchio 9649002
Manual de instrucións do foco empotrado LED Arcchio Katerin
Modelo: 9649002
1. Introdución
Thank you for choosing the Arcchio Katerin LED Recessed Spotlight. This manual provides essential information for the safe and efficient installation, operation, and maintenance of your new lighting fixture. Please read these instructions carefully before installation and retain them for future reference.

Figure 1: Arcchio Katerin LED Recessed Spotlight, front view.
2. Instrucións de seguridade
- Seguridade eléctrica: Installation must be performed by a qualified electrician in accordance with all local and national electrical codes. Ensure the power supply is disconnected before installation, maintenance, or repair.
- Voltage: This fixture operates on 230V. Verify your mains voltage cumpre este requisito.
- Clasificación IP44: This product is rated IP44, meaning it is protected against solid objects larger than 1mm and against splashing water from any direction. It is suitable for use in bathrooms and other damp environments, but not for direct water immersion.
- Clase de protección II: Este produto está dobremente illado e non precisa de conexión a terra.
- Calor: Do not cover the fixture with insulating material unless specifically designed for it. Ensure adequate ventilation around the fixture.
- Danos: Do not use the fixture if any part is damaged. Contact the manufacturer or seller for replacement parts.
3. Configuración e instalación
The Arcchio Katerin LED Recessed Spotlight is designed for ceiling installation. Follow these steps for proper setup:
- Preparar o teito: Ensure the power supply to the installation area is switched off at the main circuit breaker. Cut a circular opening in the ceiling suitable for the spotlight's diameter (refer to specifications for exact dimensions).
- Seleccione a temperatura da cor: Before installation, locate the DIP switch on the housing of the spotlight. Use this switch to select your desired light color: 3000K (warm white), 4000K (neutral white), or 5700K (cool white). This setting cannot be changed easily after installation.
- Conexión eléctrica: Connect the mains wiring to the terminal block on the spotlight. This fixture supports through-wiring, allowing multiple spotlights to be connected in series if required. Ensure all connections are secure.
- Insert into Ceiling: Fold back the spring clips on the sides of the spotlight. Carefully push the spotlight into the prepared ceiling opening until the clips secure it in place.
- Restaurar enerxía: Once the spotlight is securely installed, restore power at the main circuit breaker.

Figure 2: Close-up of the DIP switch for selecting color temperature (3000K/4000K/5700K).

Figure 3: Spotlight showing the spring-loaded mounting clips.

Figure 4: The Katerin spotlight seamlessly installed in a ceiling.
4. Instrucións de funcionamento
- Encendido/apagado: Control the spotlight using a standard wall switch connected to the circuit.
- Adormecer: The Katerin spotlight is dimmable and compatible with both phase-on (leading edge) and phase-off (trailing edge) dimmers. Ensure your dimmer switch is suitable for LED lighting.
- Axuste da dirección da luz: The central light unit of the spotlight is swivel-mounted and can be rotated up to 25 degrees. Gently adjust the inner ring to direct the light beam as desired. This allows for focused illumination of specific areas or objects.
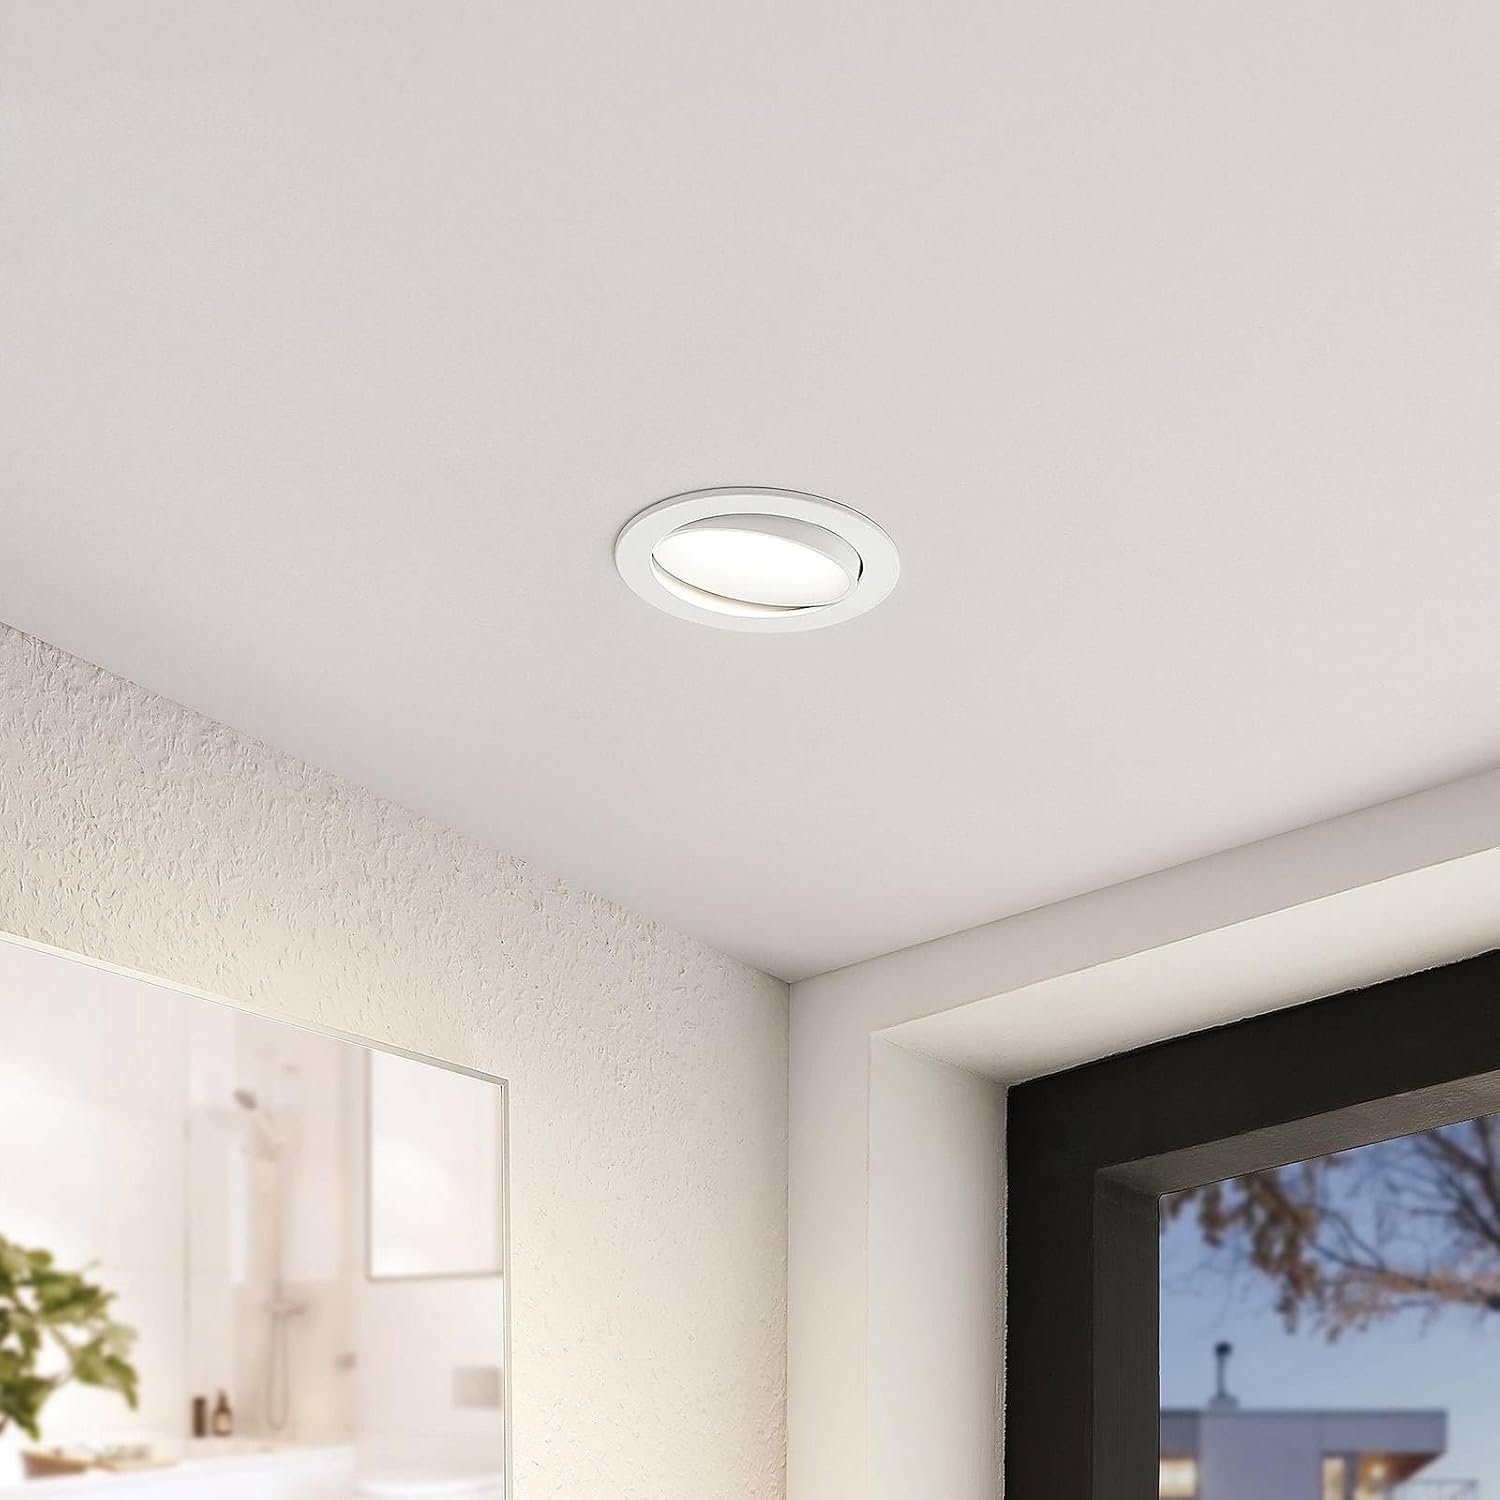
Figura 5: Example of the Katerin spotlight providing focused illumination in a room.
5. Mantemento
- Limpeza: Desconecte a alimentación antes de limpala. Limpe a luminaria cun pano suave, seco ou lixeiramente húmido.amp pano. Non empregue produtos de limpeza abrasivos, solventes nin produtos químicos agresivos, xa que poden danar o acabado ou os compoñentes eléctricos.
- Fonte de luz LED: The LED light source is integrated and not user-replaceable. The expected lifespan of the LED is long, reducing the need for frequent replacement.
- Inspección: Inspeccione periodicamente a instalación para detectar calquera sinal de danos ou conexións soltas. Se atopa algún problema, desconecte a alimentación e consulte cun electricista cualificado.
6 Solución de problemas
| Problema | Causa posible | Solución |
|---|---|---|
| A luz non acende. | Sen subministración de enerxía; conexión solta; interruptor defectuoso. | Check circuit breaker. Verify wiring connections. Test the switch. |
| A luz parpadea ou atenúase incorrectamente. | Incompatible dimmer; faulty dimmer; unstable power. | Ensure dimmer is LED-compatible (phase-on/off). Replace dimmer if faulty. Consult electrician for power stability. |
| Incorrect light color. | DIP switch set incorrectly during installation. | Disconnect power, carefully remove fixture, adjust DIP switch (see Section 3), and reinstall. |
If the problem persists after attempting these solutions, please contact a qualified electrician or the product supplier for assistance.
7. Especificacións
| Característica | Detalle |
|---|---|
| Marca | Arcchio |
| Número de modelo | 9649002 |
| Material | Plástico |
| Cor | Branco (RAL 9016) |
| Dimensións do produto | 10.3 cm (diámetro) x 7.5 cm (altura) |
| Peso | 190 g |
| Fonte de luz | LED integrado |
| Wattage | 9 W (7.9 W effective) |
| Fluxo luminoso | 900 lúmenes |
| Temperatura da cor | 3000K / 4000K / 5700K (selectable via DIP switch) |
| Ángulo do feixe | 36° |
| Voltage | 230 V |
| Clasificación IP | IP44 (adecuado para damp cuartos) |
| Clase de protección | II |
| Regulabilidade | Yes (Phase-on / Phase-off dimmer compatible) |
| Ángulo de giro | Ata 25° |
| SDCM | <5 |
| UGR | <21 |
| Clase de eficiencia enerxética | E |

Figure 6: Dimensional drawing showing a diameter of 103mm and a height of 75mm.

Figure 7: EU Energy Label indicating efficiency class E. For more details, visit the Base de datos EPREL.
8. Garantía e soporte
For warranty information, please refer to the terms and conditions provided by your retailer or the manufacturer, Arcchio. In case of technical issues or questions not covered in this manual, please contact the seller or Arcchio customer support. Keep your proof of purchase for warranty claims.