Introdución
This manual provides detailed instructions for the safe and efficient operation, maintenance, and troubleshooting of your BE COOL Air Cooler, Model BCP5AC2101F. Please read this manual thoroughly before using the appliance and keep it for future reference.
Instrucións de seguridade importantes
- Asegúrese sempre de colocar o aparello sobre unha superficie estable e nivelada.
- Non mergullo o aparello, o cable ou o enchufe en auga ou outros líquidos.
- Unplug the appliance from the power outlet before cleaning, filling, or performing any maintenance.
- Manteña o aparello fóra do alcance dos nenos e das mascotas.
- Non bloquee as entradas nin as saídas de aire. Asegúrese de que haxa unha ventilación axeitada arredor da unidade.
- Use only clean tap water in the water tank. Do not add any chemicals or additives.
- Se o cable de alimentación está danado, debe substituílo o fabricante, o seu axente de servizo ou persoas similares para evitar riscos.
- Este aparello é só para uso doméstico en interiores.
Produto rematadoview
Familiarize yourself with the components of your BE COOL Air Cooler.

Figura 1: Fronte view of the BE COOL Air Cooler, showing the main fan grille, water level indicator, and "BE COOL" logo.

Figure 2: Top control panel with buttons for Timer, Cool, Speed, and On/Off, along with indicator lights.

Figure 3: Diagram illustrating key features: integrated dust filter, timer function, and remote control operation.
Configuración
1. Desembalaxe
Retire con coidado o arrefriador de aire da súa embalaxe. Garde a embalaxe para o seu almacenamento ou transporte futuros.
2. Fixación das rodas
The appliance comes with 4 castor wheels for easy mobility. Insert each wheel into the designated slots at the bottom of the unit until they click securely into place.
3. Enchendo o depósito de auga
The BE COOL Air Cooler features a 5-liter water tank. For cooling and humidifying functions, the tank must be filled with water.
- Asegúrese de que o aparello estea desconectado da toma de corrente.
- Locate the water tank opening, typically at the bottom rear or side of the unit.
- Carefully pour clean tap water into the tank. Do not exceed the "MAX" fill line indicated on the water level indicator.
- For enhanced cooling, you may add ice packs (not included) to the water tank if available.
- Close the water tank opening securely.
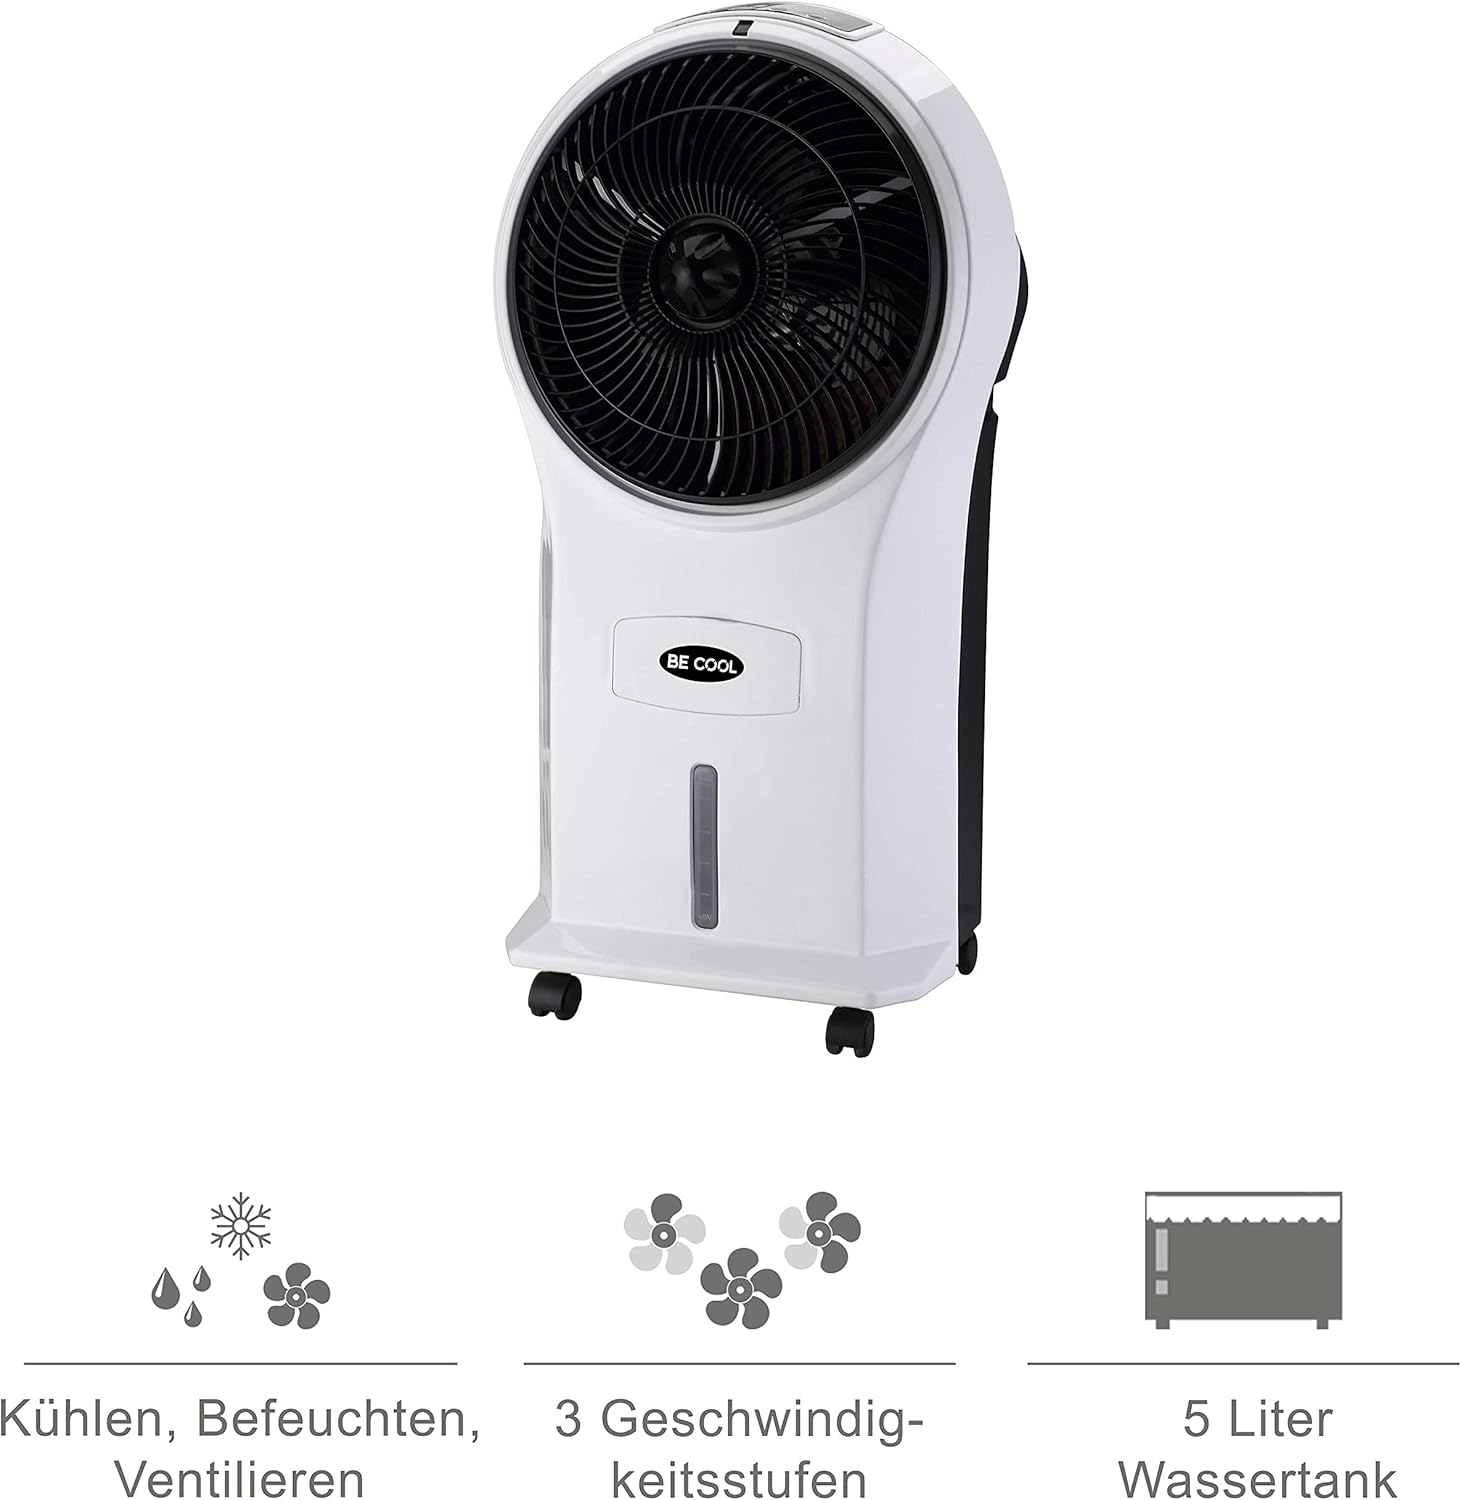
Figure 4: Visual representation of the 3-in-1 functions (cooling, humidifying, ventilating), 3 speed levels, and the 5-liter water tank capacity.
Instrucións de funcionamento
1. Acendido/apagado
Plug the power cord into a suitable electrical outlet. Press the On/Off botón no panel de control ou no control remoto para acender ou apagar a unidade.
2. Axustar a velocidade do ventilador
Preme o Velocidade button repeatedly to cycle through the three available fan speeds: Low, Medium, and High. The corresponding indicator light will illuminate.
3. Cooling and Humidifying Function
To activate the cooling and humidifying function, ensure the water tank is filled. Press the Genial button. The unit will begin to draw water from the tank to cool and humidify the air. This function can reduce room temperature by up to 8°C.
4. Función de temporizador
The air cooler features a 7-hour timer. Press the Temporizador button repeatedly to set the desired operating time in increments (e.g., 1 hour, 2 hours, 4 hours, up to 7 hours). The unit will automatically turn off once the set time has elapsed.
5. Uso do control remoto
The included remote control allows for convenient operation from a distance. Ensure the remote control has batteries installed (batteries not included). Point the remote control towards the front of the air cooler when operating.
6. Air Purification
The integrated filter helps to purify the air by trapping dust, pollen, mites, bacteria, and unpleasant odors, contributing to a cleaner indoor environment.

Figure 5: The BE COOL Air Cooler positioned in a bedroom, demonstrating its compact size and portability.

Figure 6: The BE COOL Air Cooler in an office environment, highlighting its suitability for various indoor spaces.
Mantemento
Un mantemento regular garante un rendemento óptimo e unha maior duración do seu arrefriador de aire.
1/XNUMX/XNUMX. Limpeza do filtro de aire
The air filter should be cleaned regularly, especially if the unit is used frequently or in dusty environments.
- Desenchufe o aparello da toma de corrente.
- Locate and remove the air filter, usually found at the back of the unit.
- Gently clean the filter with a soft brush or vacuum cleaner to remove dust. For deeper cleaning, rinse with lukewarm water and mild detergent.
- Deixe que o filtro seque completamente ao aire antes de volvelo inserir na unidade.
2. Limpeza do depósito de auga
To prevent mold and mildew growth, clean the water tank weekly or as needed.
- Unplug the appliance and empty any remaining water from the tank.
- Limpe o interior do tanque cun pano suave dampcon solución de deterxente suave.
- Rinse the tank thoroughly with clean water to remove any detergent residue.
- Allow the tank to air dry completely before refilling or storing the unit.
3. Limpeza Exterior
Limpe o exterior da unidade cun suave, damp pano. Non use produtos de limpeza ou disolventes abrasivos.
4. Almacenamento
If storing the air cooler for an extended period, ensure the water tank is empty and clean, and the unit is dry. Store it in a cool, dry place, preferably in its original packaging.
Resolución de problemas
Consulta esta sección para ver os problemas comúns e as súas solucións.
| Problema | Causa posible | Solución |
|---|---|---|
| A unidade non se acende. | Sen subministración de enerxía; o botón de acendido non está premido. | Check if the power cord is securely plugged in. Press the On/Off button. |
| Sen efecto de arrefriamento. | Water tank empty; Cool function not activated. | Fill the water tank. Press the Cool button. |
| Fluxo de aire débil. | Air filter clogged; Fan speed set too low. | Clean the air filter. Increase the fan speed. |
| Cheiro desagradable. | Stagnant water in tank; Dirty filter. | Empty and clean the water tank. Clean or replace the air filter. |
| O control remoto non funciona. | Pilas gastadas ou inseridas incorrectamente; Obstrución entre o mando a distancia e a unidade. | Replace batteries. Ensure no obstructions and point directly at the unit. |
Especificacións
- Modelo: BCP5AC2101F
- Tipo: 3-in-1 Evaporative Air Cooler (Cooler, Humidifier, Fan)
- Consumo de enerxía: 45 vatios
- Capacidade de fluxo de aire: 17.5 cubic meters per minute (1050 m³/h)
- Capacidade do depósito de auga: 5 litros
- Velocidades do ventilador: 3 (Baixo, Medio, Alto)
- Temporizador: Ata 7 horas
- Tipo de control: Remote Control, Manual Buttons
- Dimensións (L x W x H): 31.5 x 27 x 61 cm (12.4 x 10.6 x 24 polgadas)
- Peso: 2.9 quilogramos (6.4 libras)
- Cor: Branco/Negro
- Compoñentes incluídos: Main unit, Remote control, 4 Castor wheels
Garantía e Soporte
For warranty information or technical support, please refer to the warranty card included with your purchase or contact Be Cool customer service. Keep your proof of purchase for warranty claims.
For further assistance, you may visit the official Be Cool store on Amazon: Be Cool Store