
1. Produto rematadoview
The Ergosolid H100 is a professional gas spring desk mount designed to enhance your workspace ergonomics. It supports single LCD, TFT, or LED screens ranging from 22 to 35 inches, with a weight capacity of 2 to 12 kg. This mount features a 360-degree pivot function, tilt, and rotation capabilities, allowing for smooth and precise adjustments to achieve your ideal viewing angle. It is compatible with VESA mounting patterns of 75x75mm and 100x100mm. The integrated cable management system helps maintain a tidy and organized desk.
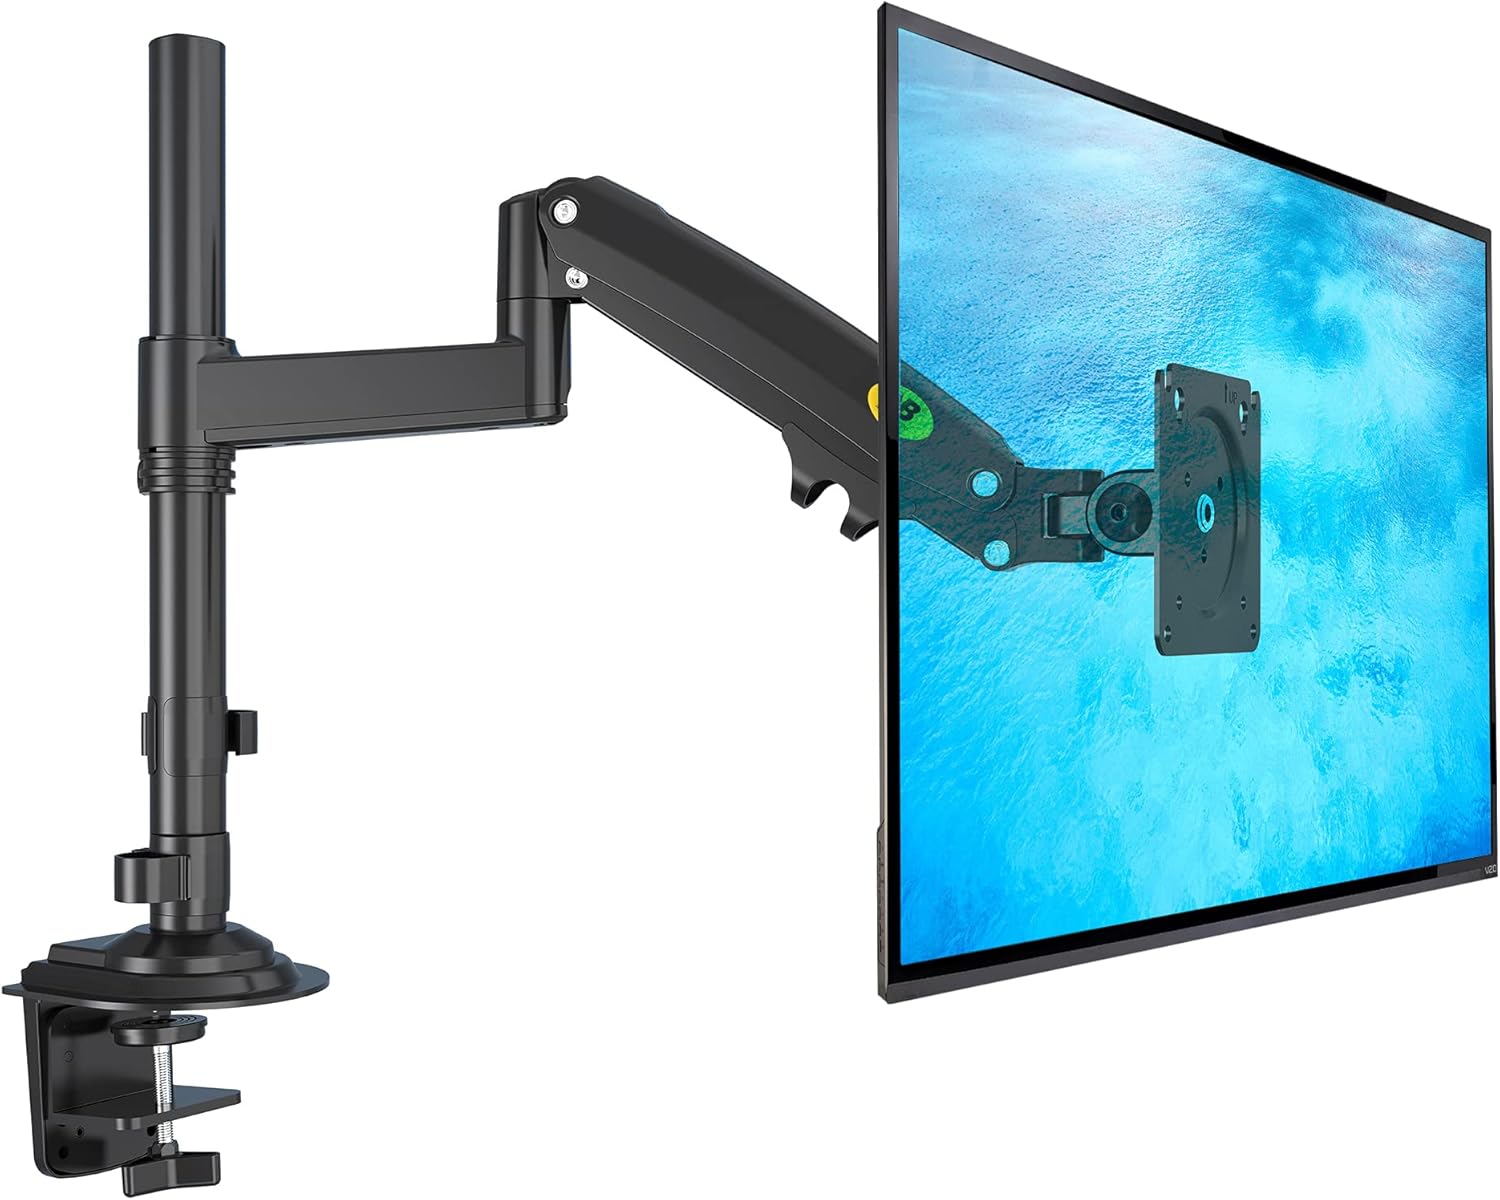
Image 1.1: Ergosolid H100 Gas Spring Desk Mount with a monitor.
2. Que hai na caixa
Asegúrese de que todos os compoñentes estean presentes antes de comezar a instalación:
- Monitor holder (main arm assembly)
- Set of screws (for VESA mounting and desk attachment)
- Instrucións de instalación
- Allen keys for adjustments
3. Configuración e instalación
The Ergosolid H100 offers two primary installation methods: desk clamp and grommet mount. Choose the method best suited for your desk.
3.1. VESA Compatibility Check
Before installation, verify your monitor's VESA compatibility and weight. This mount supports VESA patterns of 75x75mm and 100x100mm, and monitors weighing between 2 kg and 12 kg.

Image 3.1: VESA mounting pattern compatibility.
3.2. Escritorio Clamp Instalación
- Coloque o escritorio clamp base to the main pole using the provided screws.
- Coloque o clamp on the edge of your desk (desk thickness 25-80 mm).
- Apretar o clamp screw until the mount is securely fastened to the desk.
3.3. Grommet Mount Installation
- If your desk has a grommet hole, or if you plan to drill one, attach the grommet base to the main pole.
- Insert the pole through the grommet hole.
- Secure the mount from underneath the desk using the provided plate and screw.

Image 3.2: Desk clamp and grommet mounting options.
3.4. Conexión do monitor
- Carefully attach your monitor to the VESA plate on the arm using the appropriate screws.
- Ensure the screws are tightened securely but do not overtighten.
For a visual guide on installation and features, please refer to the official product video:
Video 3.1: Ergosolid H100 Product Overview and Installation Guide. This video demonstrates the assembly process and various adjustment capabilities of the monitor arm.
4. Instrucións de funcionamento
The Ergosolid H100 monitor arm provides extensive flexibility for positioning your screen.
4.1. Adjusting the Gas Spring Tension
The gas spring tension needs to be adjusted to match your monitor's weight. Use the provided Allen key to turn the adjustment screw on the arm. Turn clockwise to increase tension for heavier monitors, and counter-clockwise to decrease tension for lighter monitors. Adjust until the monitor stays at any desired height without drifting up or down.
4.2. Monitor Positioning
- Axuste de altura: Gently push or pull the monitor up or down to the desired height.
- Inclinación: Tilt the monitor screen +85 degrees upwards or -30 degrees downwards to reduce glare and optimize viewángulos de inflexión.
- Xiratorio: Swivel the monitor arm left or right up to 360 degrees around the pole. The VESA plate also allows 180-degree swivel.
- Rotation (Pivot): Xire o monitor 360 graos para alternar entre as orientacións horizontal e vertical.
- Extensión/Retracción: Extend or retract the arm to bring the monitor closer or push it further away from you, with a maximum extension of 550 mm.

Image 4.1: Adjustment ranges for the Ergosolid H100 monitor arm.
4.3. Xestión de cables
Route your monitor and power cables through the integrated cable clips on the underside of the arm to keep your workspace neat and organized.
5. Mantemento
To ensure the longevity and optimal performance of your Ergosolid H100 desk mount, follow these simple maintenance guidelines:
- Limpeza regular: Limpa a montura cun pano suave eamp pano para eliminar o po e a sucidade. Evita produtos de limpeza abrasivos.
- Comproba as conexións: Comprobe periodicamente todos os parafusos e bulóns para asegurarse de que seguen axustados. Aperte de novo se é necesario, pero non os aperte demasiado.
- Axuste do resorte de gas: If your monitor's weight changes, or if the arm starts to drift, re-adjust the gas spring tension as described in Section 4.1.
6 Solución de problemas
- Monitor drifts up or down: The gas spring tension is not correctly adjusted for your monitor's weight. Refer to Section 4.1 to adjust the tension.
- O monitor está inestable: Ensure all mounting screws (both to the desk and to the monitor) are securely tightened. Check that the desk clamp or grommet mount is firmly attached to the desk.
- Dificultade para mover o brazo: Check if any adjustment points are overly tightened. Loosen slightly if necessary. If the gas spring is too tight or too loose, adjust it according to Section 4.1.
- Cables are not tidy: Ensure all cables are routed through the designated cable management clips on the arm.
7. Especificacións
| Marca | Ergosolid |
| Número de modelo | H100 |
| Cor | Negro |
| Dispositivos compatibles | Monitor |
| Compatibilidade do tamaño da pantalla | 22 - 35 polgadas |
| Capacidade de peso | 2 - 12 kg |
| Compatibilidade VESA | 75x75 mm, 100x100 mm |
| Tipo de montaxe | Escritorio Clamp (25-80 mm thickness), Grommet Mount |
| Tipo de movemento | Pivot, Swivel, Tilt, Rotation |
| Ángulo de inclinación máximo | +85 / -30 degrees |
| Rotación | 360 graos |
| Material | Metal or solid plastic joint |
8. Garantía e soporte
The Ergosolid H100 desk mount comes with a 2 anos de garantía do fabricante. For any support inquiries, technical assistance, or warranty claims, please contact Ergosolid customer service through their official channels or the retailer where the product was purchased. Please retain your proof of purchase for warranty validation.