
Diswoe Controller for Nintendo Switch
Diswoe Wireless Pro Controller User Manual
Model: Controller for Nintendo Switch
Introdución
Thank you for choosing the Diswoe Wireless Pro Controller. This gamepad is designed to enhance your gaming experience on Nintendo Switch, Switch Lite, OLED, and PC. It features advanced functionalities such as a 6-axis gyro, adjustable Turbo function, dual shock vibration, and a comfortable ergonomic design for extended play sessions. This manual provides detailed instructions on setup, operation, maintenance, and troubleshooting to ensure optimal performance of your controller.

Figure 1: Diswoe Wireless Pro Controller
Contido do paquete
- Diswoe Wireless Pro Controller
- Cable de carga USB
- Manual de usuario
Disposición do controlador

Figure 2: Controller Button Layout
- Left 3D Stick: Para movemento direccional.
- D-pad: Directional Pad for precise inputs.
- Botón de inicio: Volve á pantalla de inicio da consola.
- Botón de captura de pantalla: Fai capturas de pantalla dentro do xogo.
- Botón Turbo: Activates and adjusts Turbo function.
- Botóns +/-: System menu navigation, volume control.
- Botóns A/B/X/Y: Botóns de acción estándar.
- Right 3D Stick: Para o control da cámara ou o apuntamento.
- Botóns L1/R1: Botóns de ombreiro.
- Botóns L2/R2: Botóns de disparo.
- TAPY-C Port: Porto USB-C para carga e conexión por cable.
Configuración
1. Carga inicial
Before first use, fully charge the controller. Connect the supplied USB charging cable to the controller's USB-C port and the other end to a USB power source (e.g., Switch dock, PC, or USB wall adapter). The charging time is approximately 2-3 hours for a full charge, providing up to 12 hours of continuous gameplay.

Figure 3: Battery and Charging Indication
2. Pairing with Nintendo Switch/Switch Lite/OLED
- No menú INICIO, selecciona "Controis" > "Cambiar agarre/orde".
- While on the "Change Grip/Order" screen, press and hold the Home button on the Diswoe controller for 3-5 seconds until the LED indicators start flashing rapidly.
- Unha vez emparellado, o(s) LED do reprodutor correspondente(s) no controlador acenderase(n) de forma fixa.
- The controller supports up to 4 players simultaneously.

Figure 4: Controller in use with Nintendo Switch
3. Connecting to PC (Wired Only)
The Diswoe controller can be connected to a PC via the USB charging cable. No specific driver installation is required for basic functionality.
- Connect the USB-C end of the cable to the controller and the USB-A end to your PC.
- The PC should automatically recognize the controller as a gamepad.
Instrucións de funcionamento
1. Controis básicos
Utilize the Left and Right 3D sticks for analog movement and camera control. The D-pad provides precise digital inputs. The A/B/X/Y buttons are for in-game actions. L1/R1 and L2/R2 serve as shoulder and trigger buttons respectively.
2. Gyro Axis Motion Sensors
The controller features a high-quality 6-axis centrifugal chip for precise somatosensory targeting. This allows for motion control in compatible games, enabling actions like rotation, tilt, and acceleration-based inputs.

Figure 5: 6-Axis Gyro Motion Sensors in Action
3. Adjustable TURBO Function
The Turbo function allows for rapid, automatic pressing of a button. To set up Turbo:
- Manteña premido o Botón Turbo, then press the desired action button (A/B/X/Y/L1/R1/L2/R2) to enable Turbo for that button.
- To adjust Turbo speed, press and hold the Botón Turbo e move o Right 3D stick Up/Down. There are 3 speeds: 5 shots/s, 12 shots/s, and 20 shots/s.
- To clear Turbo for a specific button, press and hold the Botón Turbo and press the action button again. To clear all Turbo settings, press and hold the Botón Turbo durante 5 segundos.

Figura 6: Activación da función Turbo
4. Dual Shock Vibration Adjustment
The controller features dual motors for realistic vibration feedback. You can adjust the vibration intensity:
- Manteña premido o Botón Turbo e move o Left 3D stick Up/Down to cycle through 3 vibration intensities: Low, Medium, and Strong.
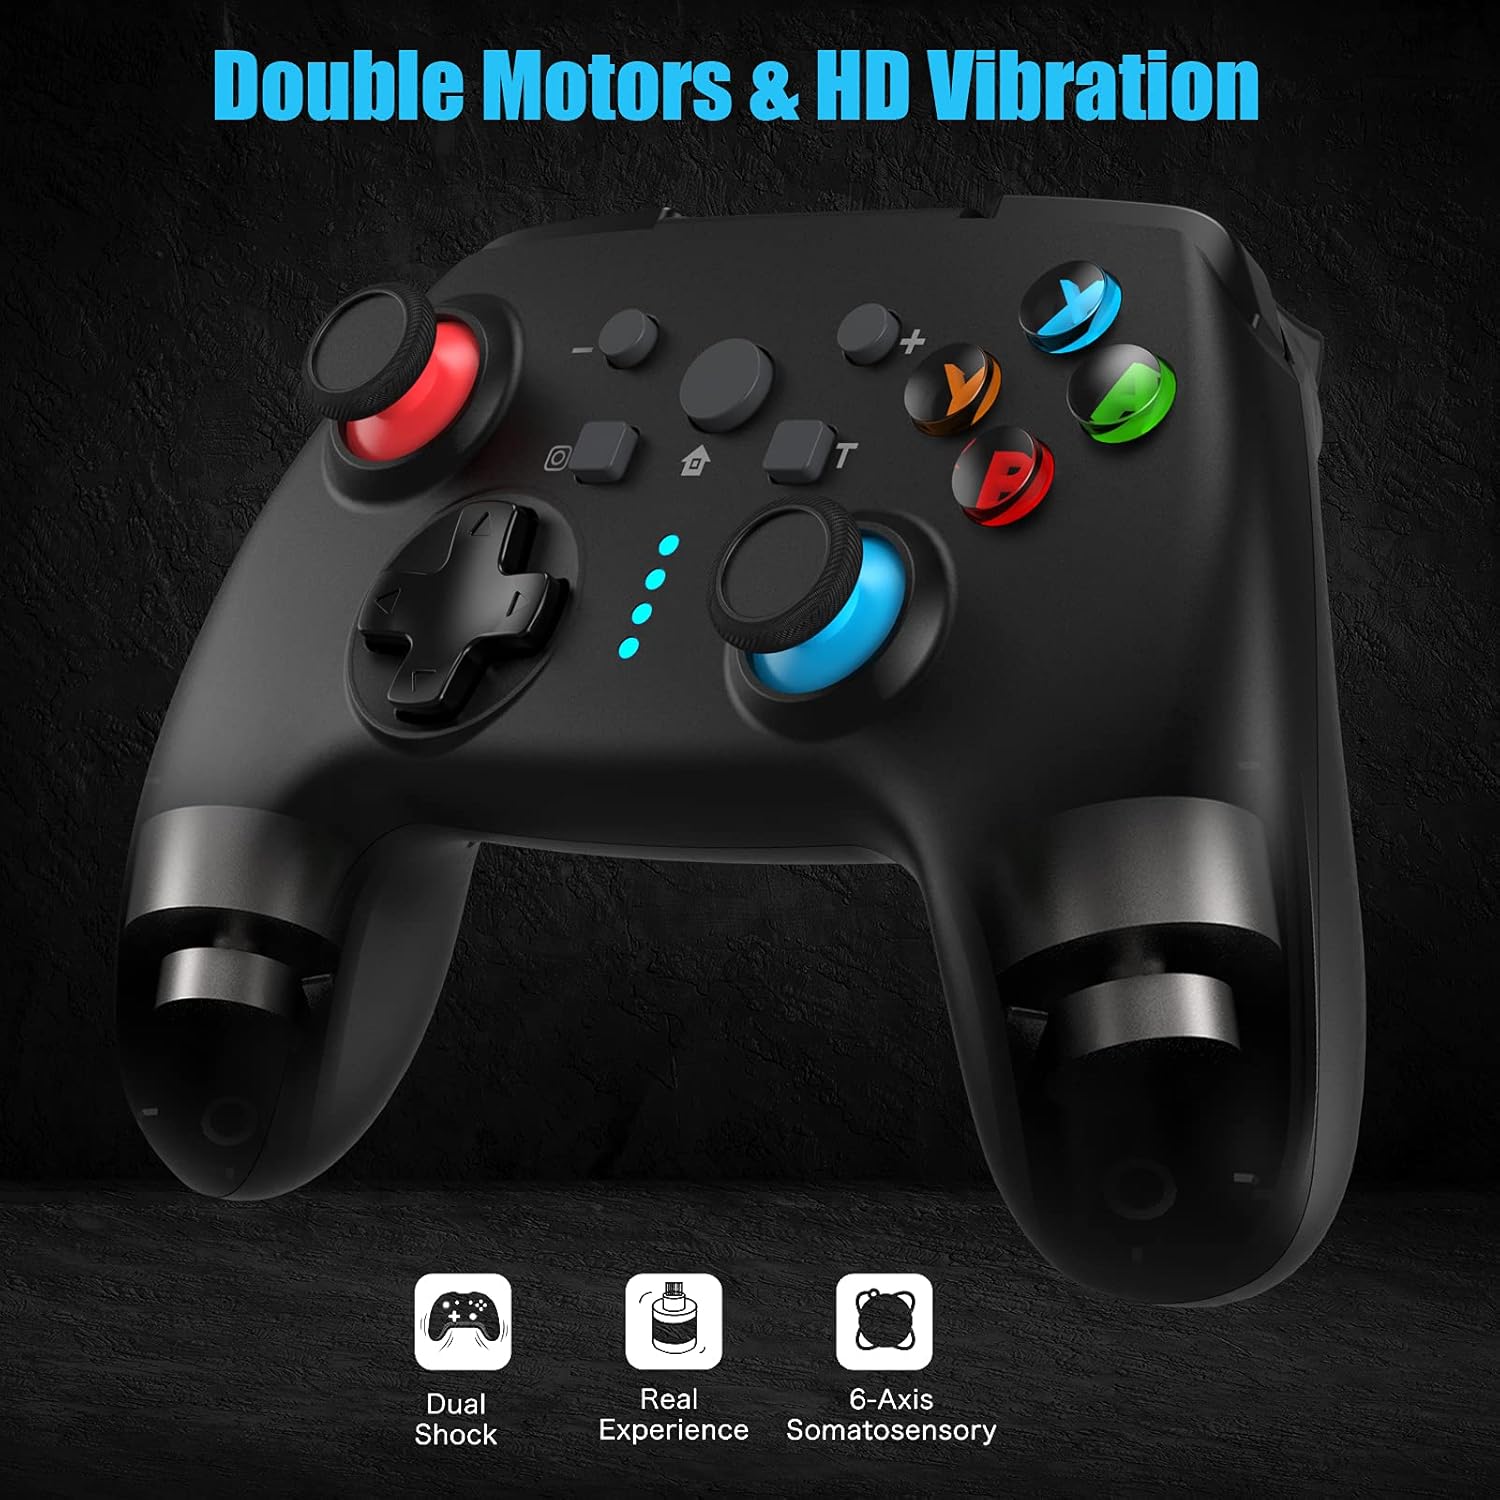
Figure 7: Dual Shock Vibration Feature
5. Screenshot Capture
Preme o Botón de captura de pantalla (located near the Home button) to instantly capture your in-game moments.
6. Wake-up Function
When the Switch console is in sleep mode, you can press the Botón de inicio on the controller to wake up the console and automatically reconnect the controller.
Mantemento
1. Directrices de carga
- Charge the controller when the battery indicator is low.
- Evita a sobrecarga; desconecta unha vez que estea completamente cargado.
- The controller supports charging while playing.
2. Limpeza e almacenamento
- Limpa o controlador cun pano suave e seco. Non empregues produtos químicos agresivos nin materiais abrasivos.
- Garde o controlador nun lugar fresco e seco, lonxe da luz solar directa e de temperaturas extremas.
- Se non o usa durante un período prolongado, cárgueo polo menos unha vez cada tres meses para manter a batería en bo estado.
3. Función Auto Sleep
The controller will automatically enter sleep mode after 5 minutes of no input to conserve battery life. Press any button to wake it up.
Resolución de problemas
- O controlador non se conecta/emparella:
- Asegúrese de que o controlador estea cargado.
- Make sure the Switch console is updated to the latest system version.
- Try restarting the Switch console.
- Repeat the pairing process carefully.
- If issues persist, try connecting the controller via USB cable to the Switch dock (if applicable) to force a connection, then try wireless pairing again.
- Buttons or sticks unresponsive:
- Comproba o nivel da batería.
- Ensure the controller is within the 10m wireless range.
- Restart the controller by holding the Home button for 10 seconds until it turns off, then turn it back on.
- If connected to PC, try a different USB port.
- Vibration not working or too weak/strong:
- Adjust the vibration intensity as described in the "Operating Instructions" section.
- Asegúrate de que o xogo admite a retroalimentación por vibración.
- A función turbo non funciona:
- Ensure you have correctly assigned the Turbo function to the desired button.
- Check if the Turbo speed is set appropriately.
Especificacións
| Característica | Detalle |
|---|---|
| Marca | Desgraza |
| Nome do modelo | Mando para Nintendo Switch |
| Tecnoloxía de conectividade | Wireless (Bluetooth), USB (Wired) |
| Tipo de controlador | Gamepad |
| Plataformas compatibles | Nintendo Switch, Switch Lite, OLED, PC |
| Tipo de batería | Iones de litio (600 mAh) |
| Tempo de carga | Aprox. 2-3 horas |
| Tempo de xogo | Ata 12 horas |
| distancia wireless | Ata 10 metros |
| Características especiais | 6-Axis Gyro, Adjustable Turbo, Dual Shock Vibration, Screenshot Capture, Wake-up Function |
| Número de botóns | 16 |
| Cor | Negro |
Garantía e Soporte
Information regarding specific warranty terms and conditions for this product is not provided in the available data. For warranty claims, technical support, or further inquiries, please contact the manufacturer or your point of purchase. Keep your purchase receipt as proof of purchase.
Manufacturer: Diswoe
Ask a question about this manual
Ask about setup, troubleshooting, compatibility, parts, safety, or missing instructions. Manuals+ will review the question and use this page’s manual context to help answer it.