
1. Introdución
This manual provides essential instructions for the safe and efficient use of your Andoer NP-FV5 Battery Charger and NP-FV5 Plus rechargeable batteries. Please read this manual thoroughly before using the product and retain it for future reference.

Image 1.1: Andoer NP-FV5 Battery Charger Kit Components
2. Información de seguridade
To prevent injury or damage to your product, observe the following safety precautions:
- Do not disassemble, open, or shred battery packs.
- Non expoña as baterías á calor nin ao lume. Evite o almacenamento baixo a luz solar directa.
- Non cortocircuite a batería. Non garde as pilas ao azar nunha caixa ou caixón onde poidan producirse curtocircuítos entre si ou por outros obxectos metálicos.
- Non someta as baterías a golpes mecánicos.
- En caso de fuga dunha batería, non permita que o líquido entre en contacto coa pel ou os ollos. En caso de contacto, lave a zona afectada con abundante auga e consulte un médico.
- Mantén as baterías limpas e secas.
- Non utilice ningún cargador que non sexa o especificamente proporcionado para o seu uso co equipo.
- Non deixes unha batería en carga cando non estea en uso.
- Do not immerse the charger or batteries in water or other liquids.
- Manter fóra do alcance dos nenos.
3. Contido do paquete
Verifica que todos os elementos estean presentes no teu paquete:
- 1 x Andoer NP-FV5 Battery Charger
- 2 x Andoer NP-FV5 Plus 3.7V 1000mAh Lithium-ion Polymer Batteries
- 1 cable de carga USB (micro USB)
4. Produto rematadoview
The Andoer NP-FV5 Battery Charger is designed to charge NP-FV5 series batteries efficiently. It features a compact design and an LED indicator for charging status.
4.1. Charger Components
- Ranura para batería: Zona onde se introduce a batería para a súa carga.
- Contactos de carga: Metal pins inside the slot that connect to the battery.
- Porto micro USB: Input for the USB charging cable.
- Luz indicadora LED: Mostra o estado de carga.

Image 4.1: Charger Battery Slot and Contacts

Image 4.2: Charger with USB Port and LED
4.2. Batería agotadaview
The NP-FV5 Plus batteries are 3.7V 1000mAh Lithium-ion Polymer batteries, providing reliable power for compatible devices.
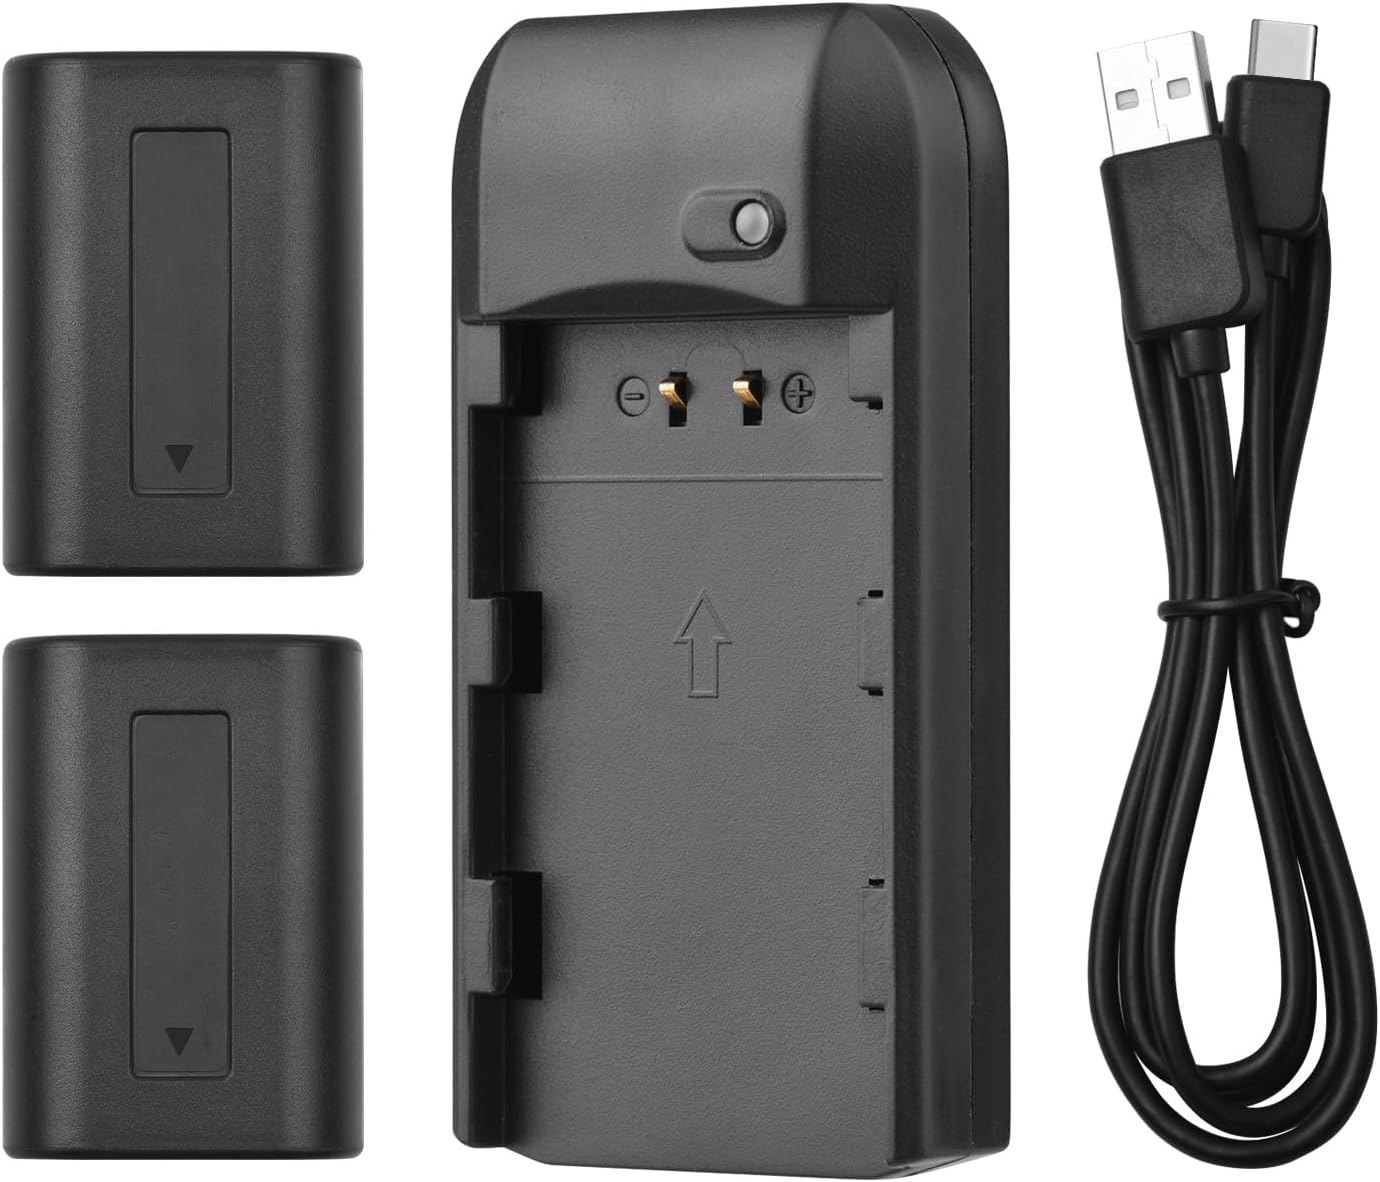
Image 4.3: All Kit Components
5. Configuración e carga
Follow these steps to set up your charger and begin charging the batteries:
- Conecte o cargador: Insert the Micro USB end of the provided USB charging cable into the charger's Micro USB port.
- Conectar á fonte de enerxía: Connect the standard USB-A end of the cable to a compatible 5V 1A USB power source. This can be a laptop, a USB wall adapter, or a power bank.
- Inserir batería: Carefully align the NP-FV5 battery with the charger's battery slot and gently push it in until it clicks into place. Ensure the battery contacts align with the charger's pins.
- Monitor de estado de carga: The LED indicator light on the charger will show the charging status:
- Luz vermella: Indica que a batería está a cargar actualmente.
- Luz verde: Indica que a batería está completamente cargada.
- Eliminar batería: Once the LED turns green, the battery is fully charged. Gently pull the battery out of the charger.

Image 5.1: LED Indicator Light Status
6. Instrucións de funcionamento
The charger operates automatically once a battery is inserted and power is connected. No manual intervention is required during the charging process.
- Always ensure the charger is connected to a stable 5V 1A power source.
- Only charge NP-FV5 series batteries with this charger.
- Do not cover the charger during operation to ensure proper ventilation.
7. Mantemento e almacenamento
Proper maintenance ensures the longevity of your charger and batteries:
- Limpeza: Use a soft, dry cloth to clean the charger and batteries. Do not use liquid cleaners or solvents.
- Almacenamento: Garde o cargador e as baterías nun lugar fresco e seco, lonxe da luz solar directa e de temperaturas extremas.
- Coidado da batería: For long-term storage, it is recommended to charge batteries to approximately 50% capacity. Avoid storing fully charged or completely depleted batteries for extended periods.
- Coidado do cable: Evite dobrar ou retorcer o cable USB en exceso.
8 Solución de problemas
Se tes algún problema, consulta os seguintes problemas e solucións comúns:
| Problema | Causa posible | Solución |
|---|---|---|
| O indicador LED non se acende. | No power supply, faulty cable, or incorrect battery insertion. |
|
| Battery does not charge (LED remains red indefinitely or doesn't change). | Battery fault, charger fault, or insufficient power input. |
|
| O cargador ou a batería quéntanse excesivamente durante a carga. | Overload, faulty battery, or poor ventilation. |
|
9. Especificacións
Technical details for the Andoer NP-FV5 Battery Charger and NP-FV5 Plus Batteries:
| Compoñente | Especificación |
|---|---|
| Entrada do cargador | DC 5V 1A |
| Saída do cargador | DC 4.2 V, 400 mA |
| Porto de carga | Micro USB |
| Tipo de batería | Polímero de iones de litio |
| Batería Voltage | 3.7 V |
| Capacidade da batería | 1000 mAh |
| Dimensións do cargador | 6.5 x 3.3 x 1.5 cm (2.6 x 1.3 x 0.6 polgadas) |
| Peso do cargador | 11 g (0.4 onzas) |
| Número de modelo | XCW2361199610991EL (Charger) / NP-FV5 (Batteries) |

Image 9.1: Charger Dimensions

Image 9.2: Charger Label with Specifications
10. Garantía e soporte
For warranty information and customer support, please refer to the documentation provided at the time of purchase or contact your retailer. Keep your proof of purchase for warranty claims.
For further assistance, you may visit the official Andoer websitio ou póñase en contacto co seu departamento de atención ao cliente.