
1. Introdución
Thank you for choosing the DEWALT DCF903P2-QW 12V XR Brushless Cordless Impact Wrench. This manual provides essential information for the safe and efficient operation, maintenance, and troubleshooting of your new tool. Please read this manual thoroughly before use and keep it for future reference.
Produto rematadoview

Image: The DEWALT DCF903P2-QW Cordless Impact Wrench, showing its front profile with a 12V XR 5.0 Ah battery attached.
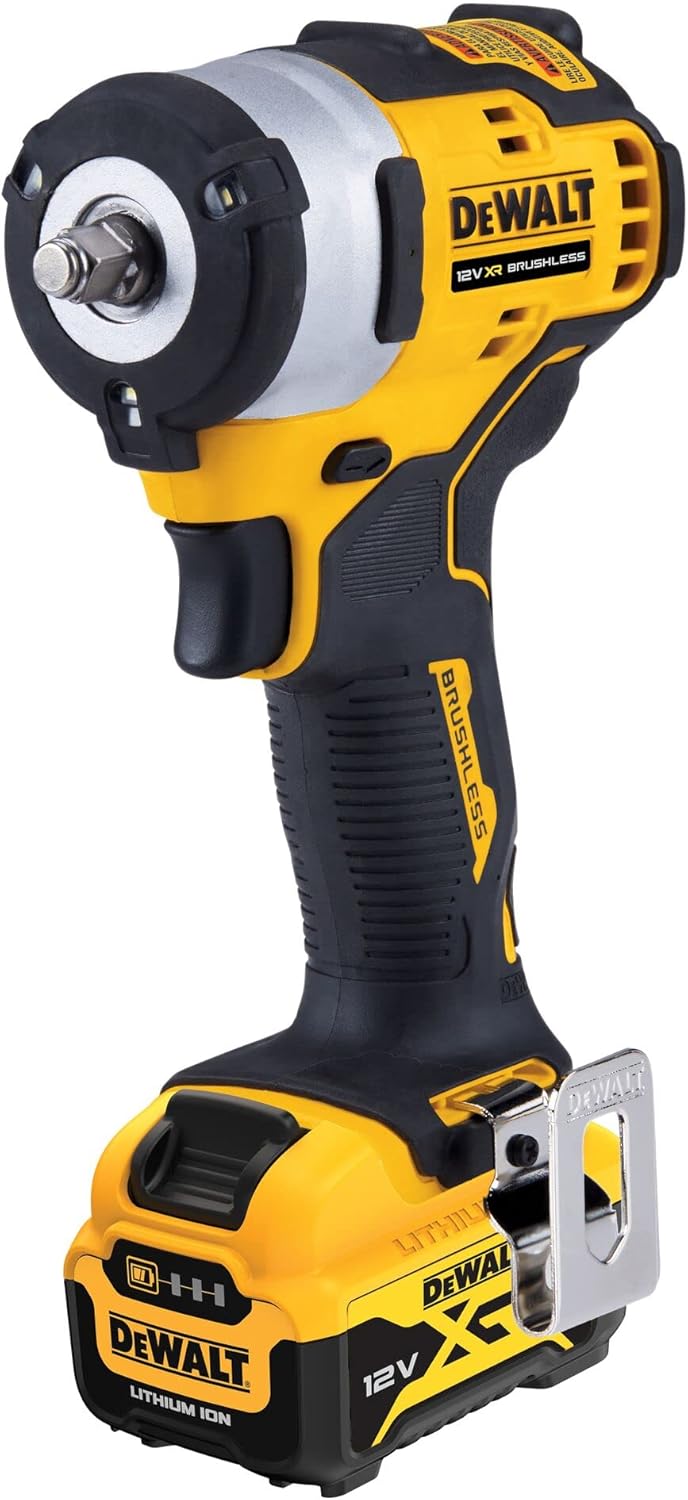
Imaxe: Un lado view of the DEWALT DCF903P2-QW Cordless Impact Wrench, highlighting its ergonomic grip and compact design.
Contido do paquete
- 1x DEWALT DCF903P2-QW 12V XR Brushless Cordless Impact Wrench
- 2x 12V XR 5.0 Ah Li-ion Batteries
- 1x DCB115 Fast Charger
- 1x Belt Hook
- 1x TSTAK-Box II Carry Case
2. Instrucións de seguridade
Observe sempre as precaucións básicas de seguridade para reducir o risco de incendio, descarga eléctrica e lesións persoais ao usar ferramentas eléctricas. Garde este manual para futuras consultas.
Avisos xerais de seguridade das ferramentas eléctricas
- Seguridade na zona de traballo: Manteña a zona de traballo limpa e ben iluminada. As zonas desordenadas ou escuras propician os accidentes. Non manexe ferramentas eléctricas en atmosferas explosivas, como en presenza de líquidos, gases ou po inflamables.
- Seguridade eléctrica: Power tool plugs must match the outlet. Never modify the plug in any way. Avoid body contact with earthed or grounded surfaces such as pipes, radiators, ranges and refrigerators.
- Seguridade persoal: Stay alert, watch what you are doing and use common sense when operating a power tool. Do not use a power tool while you are tired or under the influence of drugs, alcohol or medication. Always wear eye protection.
- Uso e coidado da ferramenta: Non force a ferramenta eléctrica. Empregue a ferramenta eléctrica axeitada para a súa aplicación. Desconecte o enchufe da fonte de alimentación e/ou a batería da ferramenta eléctrica antes de facer axustes, cambiar accesorios ou gardar ferramentas eléctricas.
Specific Impact Wrench Safety
- Suxeite a ferramenta eléctrica por superficies de suxeición illadas cando realice unha operación onde o fixador pode entrar en contacto co cableado oculto.
- Wear ear protectors when operating impact wrenches. Exposure to noise can cause hearing loss.
- Always use impact-rated sockets and accessories. Non-impact accessories can shatter and cause injury.
- Asegúrese de que a peza de traballo estea fixada firmemente antes de aplicar torque.
3. Configuración
Instalación e eliminación da batería
- To install the battery: Align the battery with the tool's battery port. Slide the battery into the tool until it clicks securely into place.
- To remove the battery: Press the battery release button (usually located on the front of the battery) and slide the battery out of the tool.
Cargando a batería
Use the supplied DCB115 Fast Charger to charge your 12V XR Li-ion batteries. Refer to the charger's instruction manual for detailed charging procedures and safety information.
- Ensure the charger is connected to a suitable power outlet.
- Insira a batería no cargador. O indicador luminoso do cargador mostrará o estado de carga.
- Retire a batería unha vez que estea completamente cargada.
Colocación e eliminación de enchufes
The impact wrench features a 3/8" square drive with a HOG ring for quick and secure socket changes.
- To attach a socket: Push the impact-rated socket firmly onto the 3/8" square drive until the HOG ring secures it.
- To remove a socket: Pull the socket firmly off the square drive. The HOG ring will release the socket.

Imaxe: Primeiro plano view of the impact wrench head, highlighting the 3/8" square drive with the HOG ring and the integrated LED work lights.
4. Instrucións de funcionamento
Acendido/apagado e control de velocidade
- A ferramenta actívase premendo o interruptor de disparo.
- The impact wrench features electronic speed and impact rate regulation. Pressing the trigger further increases the speed and impact rate.
- Solta o gatillo para apagar a ferramenta.
Forward/Reverse Selection
A forward/reverse selector switch is located above the trigger. Push the switch to the left for forward rotation (tightening) and to the right for reverse rotation (loosening). Ensure the tool is stopped before changing direction.
Uso da chave de impacto
- Select the appropriate impact-rated socket for the fastener.
- Attach the socket securely to the 3/8" square drive.
- Coloque o encaixe no fixador.
- Select the desired direction (forward for tightening, reverse for loosening).
- Press the trigger to begin operation. Apply steady pressure to the tool.
- The tool will deliver impacts to tighten or loosen the fastener.
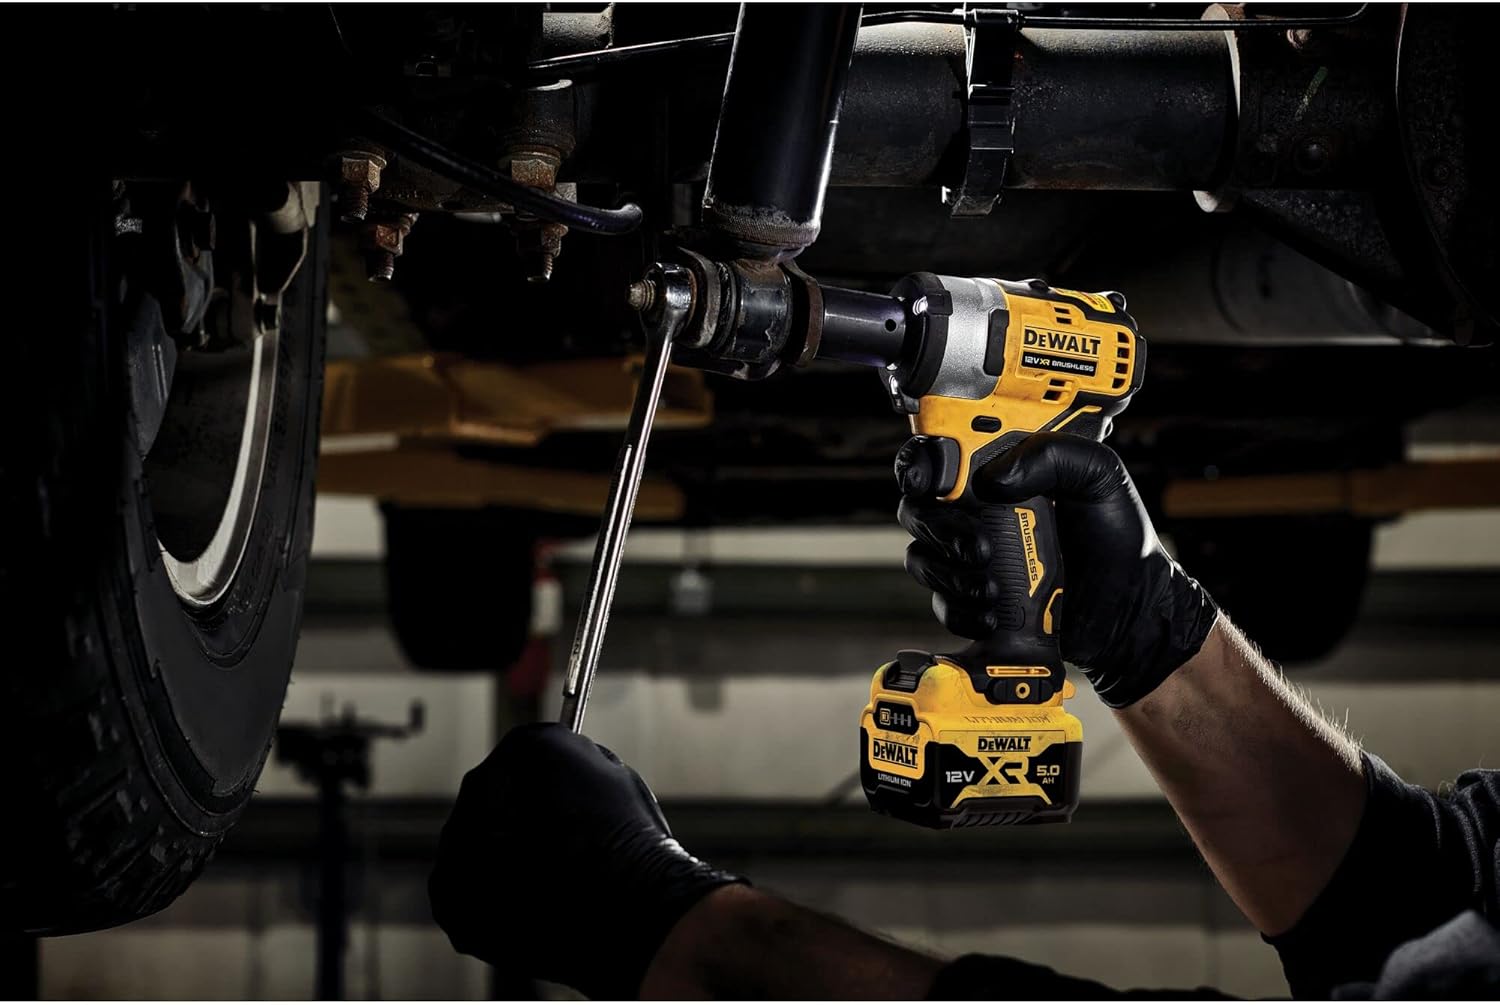
Image: An operator using the DEWALT impact wrench to work on a vehicle's suspension system, demonstrating its application in automotive tasks.

Image: The impact wrench in action, tightening or loosening fasteners on a vehicle's brake assembly, showcasing its utility for brake maintenance.
Luz de traballo LED
The impact wrench is equipped with integrated LED lights that illuminate the work area when the trigger is pressed, improving visibility in dimly lit conditions.
5. Mantemento
Un mantemento regular garante un rendemento óptimo e prolonga a vida útil da súa ferramenta.
Limpeza
- Manteña limpas as ranuras de ventilación para evitar o sobrequecemento.
- Use a soft brush or dry cloth to remove dust and debris from the tool.
- Do not use water or chemical cleaning agents. The tool is resistant to chemicals and fuels, but direct exposure to harsh solvents should be avoided.
Almacenamento
- Garde a ferramenta e as baterías nun lugar fresco e seco, lonxe da luz solar directa e da humidade.
- Always remove the battery from the tool before storage.
- Store the tool in its TSTAK-Box II carry case for protection.
Coidado da batería
- Do not store batteries in discharged condition. Charge them regularly, especially if not used for extended periods.
- Evite expoñer as baterías a temperaturas extremas.
- Non intente abrir nin modificar as baterías.
6 Solución de problemas
If you encounter issues with your impact wrench, refer to the table below for common problems and solutions.
| Problema | Causa posible | Solución |
|---|---|---|
| A ferramenta non comeza | Batería non instalada correctamente ou descargada. | Asegúrate de que a batería estea completamente inserida. Carga a batería. |
| Potencia/par reducido | Battery low on charge. Tool overheating. | Recargue a batería. Deixe que a ferramenta arrefríe. |
| Vibración excesiva | Loose socket or damaged accessory. | Check socket for secure fit. Replace damaged accessories. |
| A luz LED non funciona | Faulty LED or internal wiring issue. | Contacte co centro de servizo técnico DEWALT para a reparación. |
If the problem persists after attempting these solutions, please contact DEWALT customer service or an authorized service center.
7. Especificacións
Technical specifications for the DEWALT DCF903P2-QW Cordless Impact Wrench.
| Característica | Especificación |
|---|---|
| Número de modelo | DCF903P2-QW |
| Voltage | 12 voltios |
| Porta Ferramentas | 3/8" External Square with HOG Ring |
| Par máximo | 340 Nm (Newton-meters) |
| Regulación de velocidade | Electronic (Variable Speed) |
| Impact Rate Regulation | Electronic (Variable Impact Rate) |
| Chemical/Fuel Resistance | Resistente |
| Material | Metal |
| Lonxitude do elemento | 13.2 Centímetros |
| Dimensións do produto (L x W x H) | 10 x 10 x 10 cm; 4.08 kilograms (approximate shipping dimensions/weight) |
8. Garantía e soporte
DEWALT products are manufactured to high quality standards and are guaranteed for professional use. For detailed warranty information, please refer to the warranty card included with your product or visit the official DEWALT websitio.
Atención ao cliente
For technical assistance, service, or to locate an authorized service center, please contact DEWALT customer support:
- Websitio: www.dewalt.com
- Teléfono: Consulte o seu DEWALT rexional websitio web para números de contacto locais.
When contacting support, please have your product model number (DCF903P2-QW) and serial number (if applicable) ready.