
1. Produto rematadoview
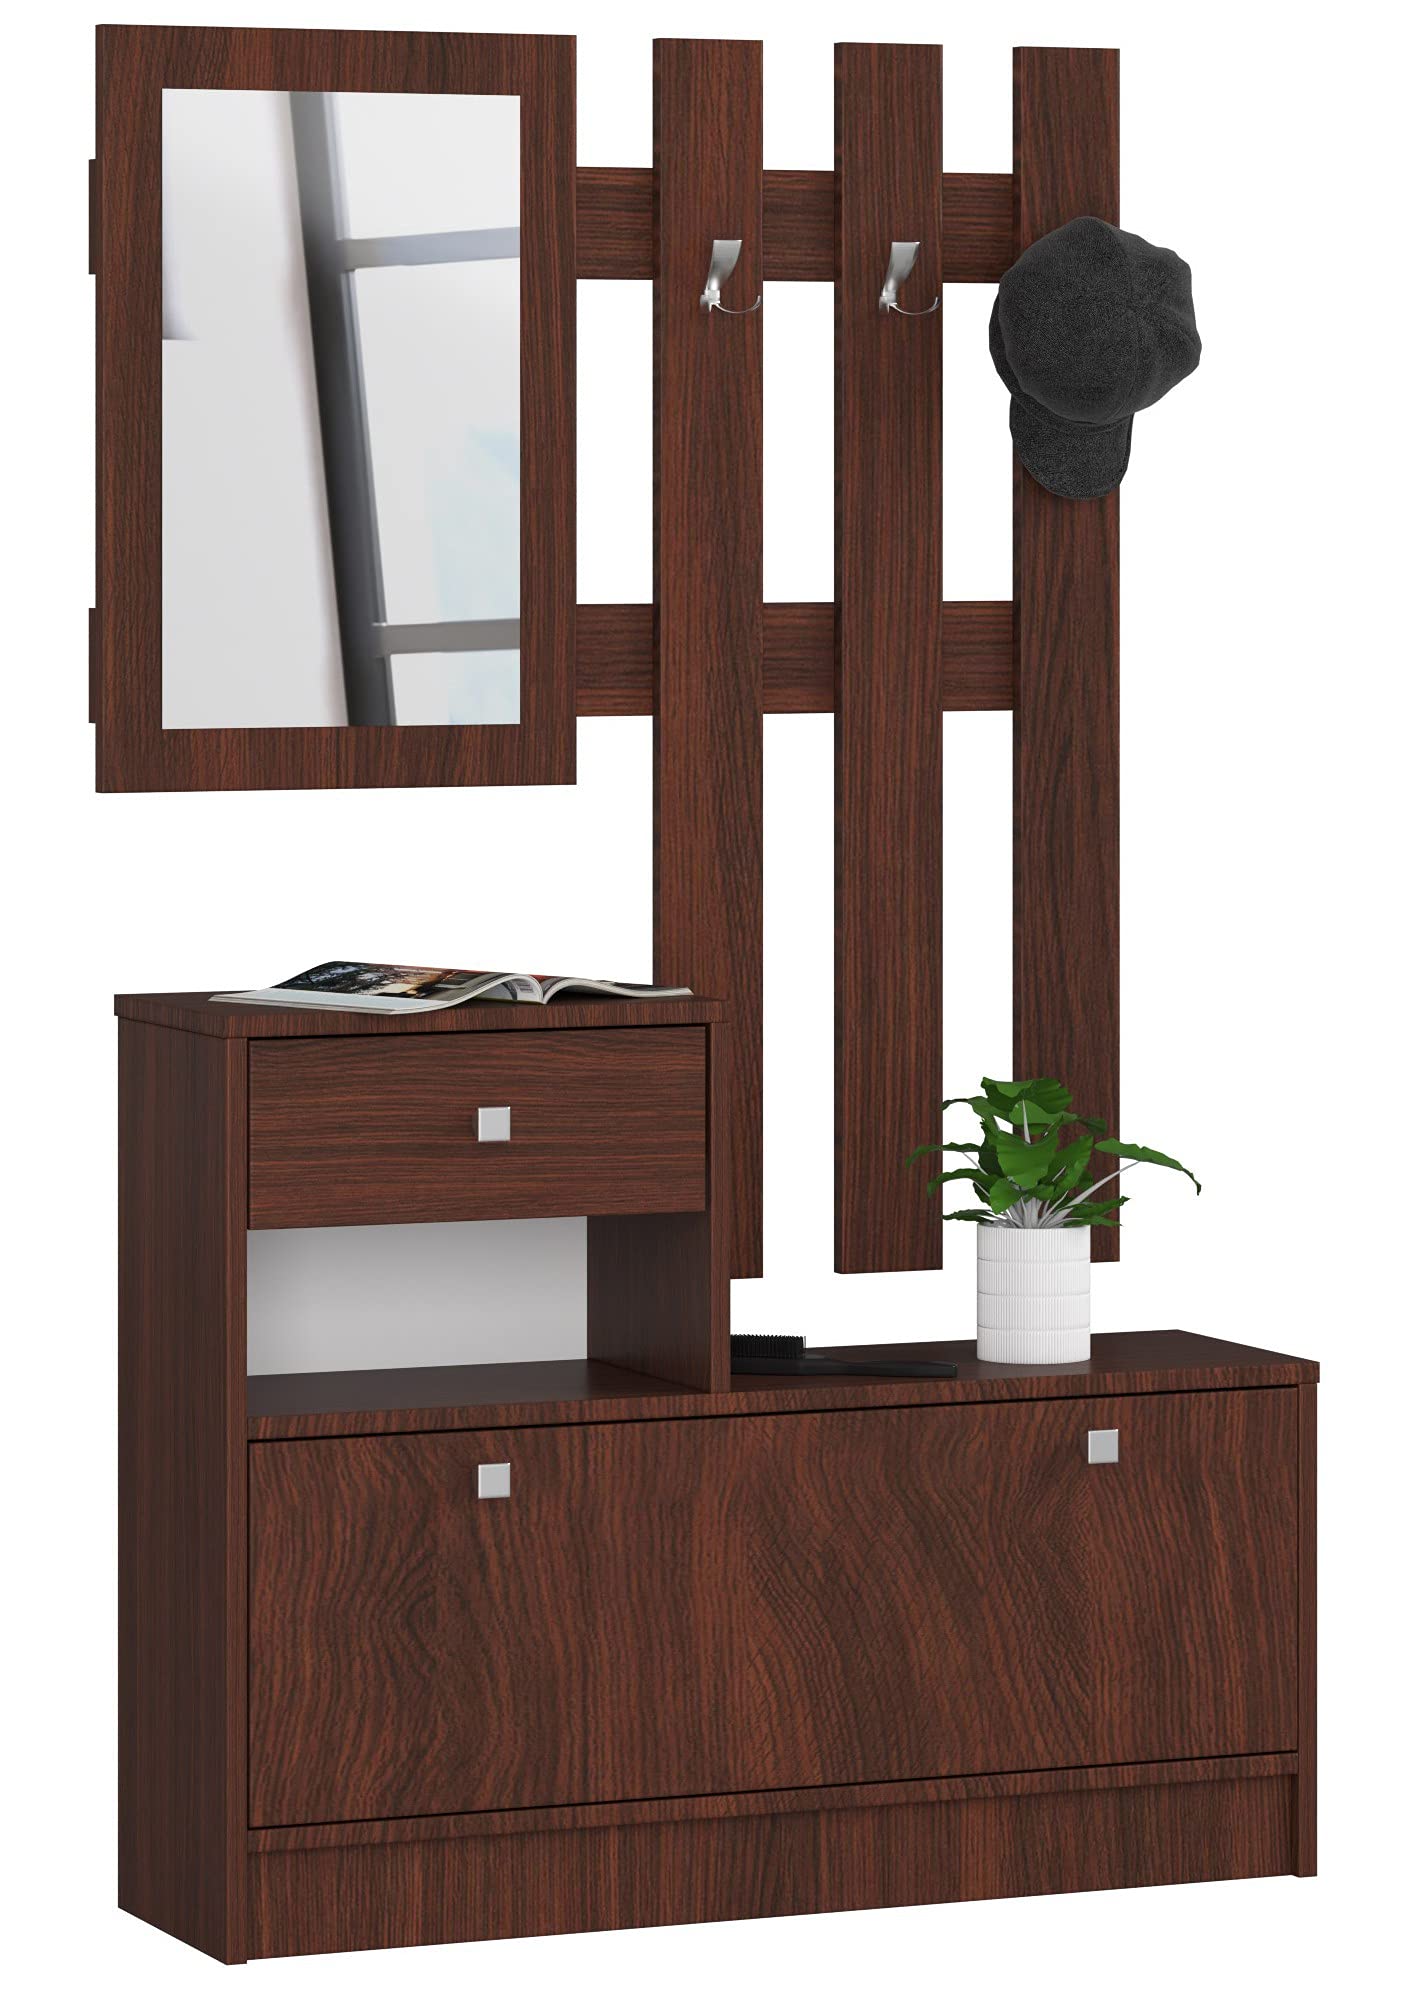
The AKORD Complete 2-Piece Wardrobe Set is designed to enhance your entryway with functional storage and a modern aesthetic. This set includes a shoe cabinet with an integrated drawer and a wall-mounted coat rack with a mirror.
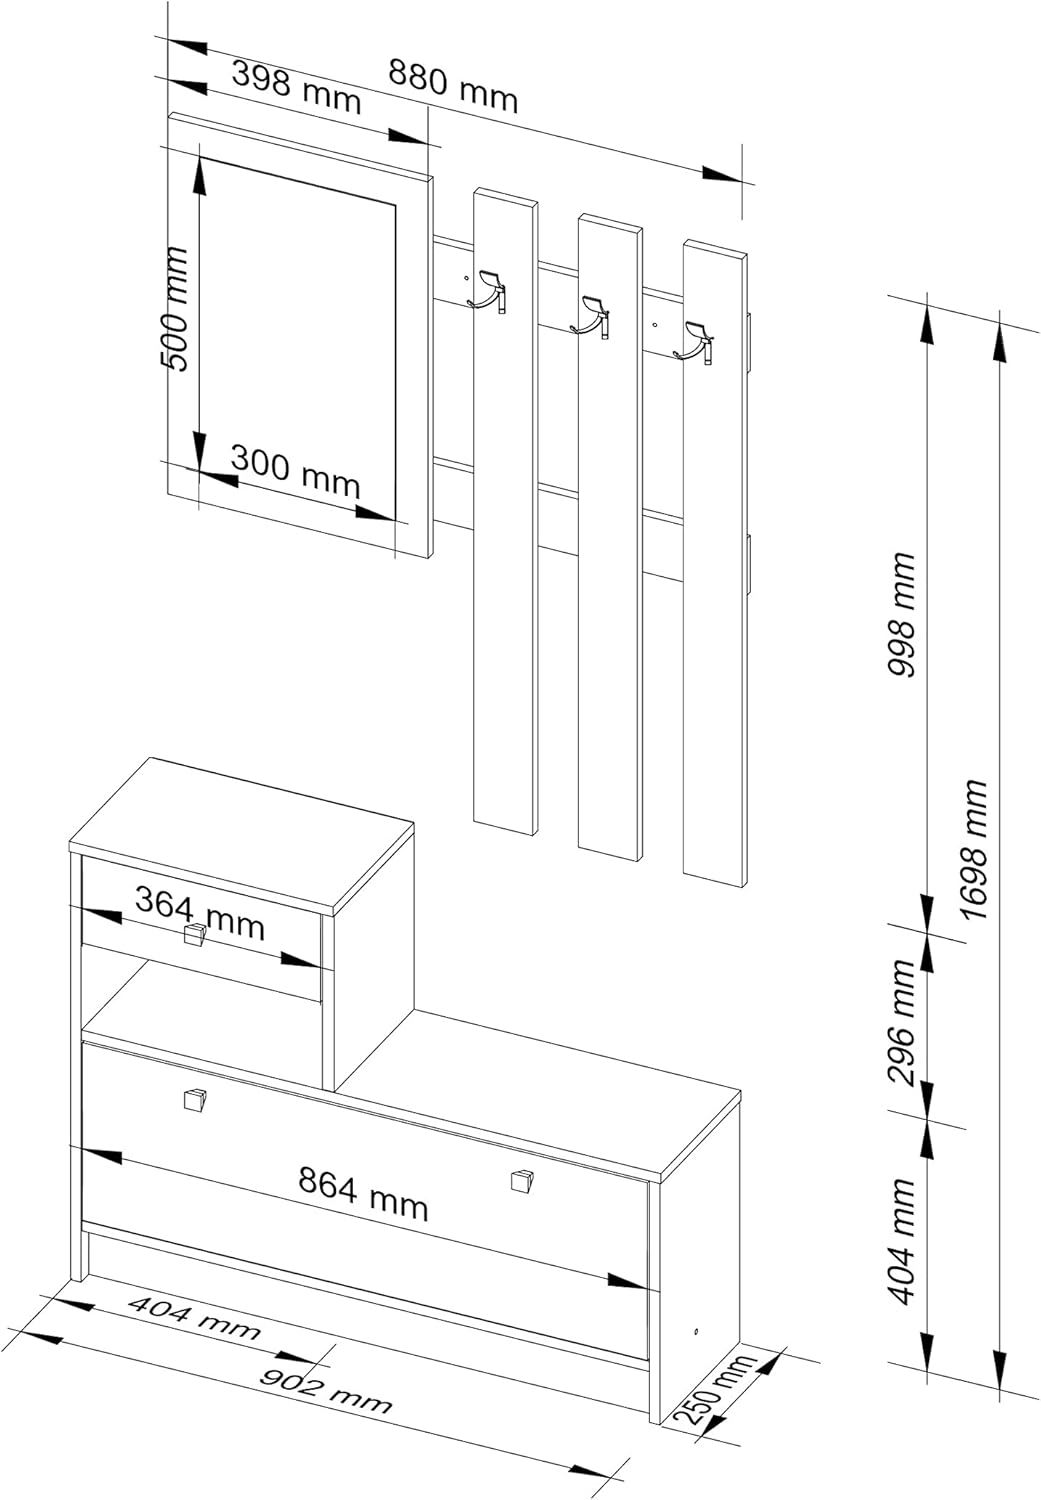
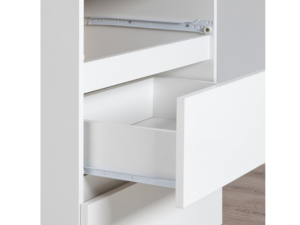
- Armario de zapatos: Features a top surface, a drawer, and a shoe storage compartment. Overall dimensions are approximately 90 cm (width) x 70 cm (height) x 25 cm (depth). The drawer section is approximately 40 cm wide, 30 cm high, and 25 cm deep. The drawer itself measures about 33 cm wide and 21.5 cm deep.
- Wall-Mounted Coat Rack: Combines a coat panel with three double hooks and a mirror. Overall dimensions are approximately 90 cm (width) x 100 cm (height). The mirror measures approximately 40 cm (width) x 60 cm (height), and the coat panel is 50 cm wide x 100 cm high.
- Construción: Made from robust 16 mm thick laminated furniture board. Edges are covered with abrasion-resistant melamine. Surfaces are scratch-resistant, dirt-repellent, and water-resistant.
2. Información de seguridade
Lea atentamente todas as instrucións antes da montaxe e o uso. Garde este manual para futuras consultas.
- Asegúrese de que todas as pezas estean presentes e sen danos antes de comezar a montaxe.
- Monte a unidade sobre unha superficie suave e limpa para evitar rabuñaduras.
- Always use appropriate tools and follow the assembly steps precisely.
- Securely fasten the wall-mounted coat rack to a sturdy wall using suitable anchors and screws (not always included, verify contents). Improper installation can lead to injury or damage.
- Do not overload the hooks or shelves.
- Manteña as pezas pequenas e os materiais de embalaxe lonxe dos nenos para evitar riscos de asfixia.
- The product adheres to safety regulations and has no specific safety warnings listed in the provided information.
3. Configuración e montaxe
Assembly is required for this product. It is recommended to have two people for assembly. Please follow the detailed diagrams and instructions provided in the packaging. Below are general steps and important considerations.
3.1. Ferramentas necesarias
- Desaparafusador (cabeza Phillips)
- Martelo
- Broca (para montaxe na parede)
- Nivel
- Cinta métrica
3.2. Pasos de montaxe (xerais)
- Desembalar e identificar as pezas: Carefully unpack all components and hardware. Refer to the parts list in your package to ensure everything is present.
- Assemble the Shoe Cabinet Base: Connect the side panels to the bottom and back panels using the provided fasteners.
- Instalar o mecanismo do caixón: Attach the drawer slides to the cabinet and assemble the drawer box. Ensure the slides are correctly aligned for smooth operation.
- Assemble the Top Section: Attach the top shelf and drawer unit to the shoe cabinet base.
- Assemble the Coat Rack Panel: Attach the individual wooden slats to the main panel. Secure the double hooks to the designated positions on the coat rack.
- Coloca o espello: Securely mount the mirror to the coat rack panel as indicated in the instructions.
- Montaxe na parede:
- Choose a suitable location on a sturdy wall.
- Measure and mark the drilling points for the coat rack.
- Drill pilot holes and insert appropriate wall anchors (e.g., Fischer plugs, if provided or purchased separately based on wall type).
- Mount the coat rack securely to the wall using screws. Use a level to ensure it is straight.
- Comprobacións finais: Asegúrese de que todas as conexións estean axustadas e que a unidade estea estable.

4. Instrucións de funcionamento
This wardrobe set is designed for practical use in an entryway.
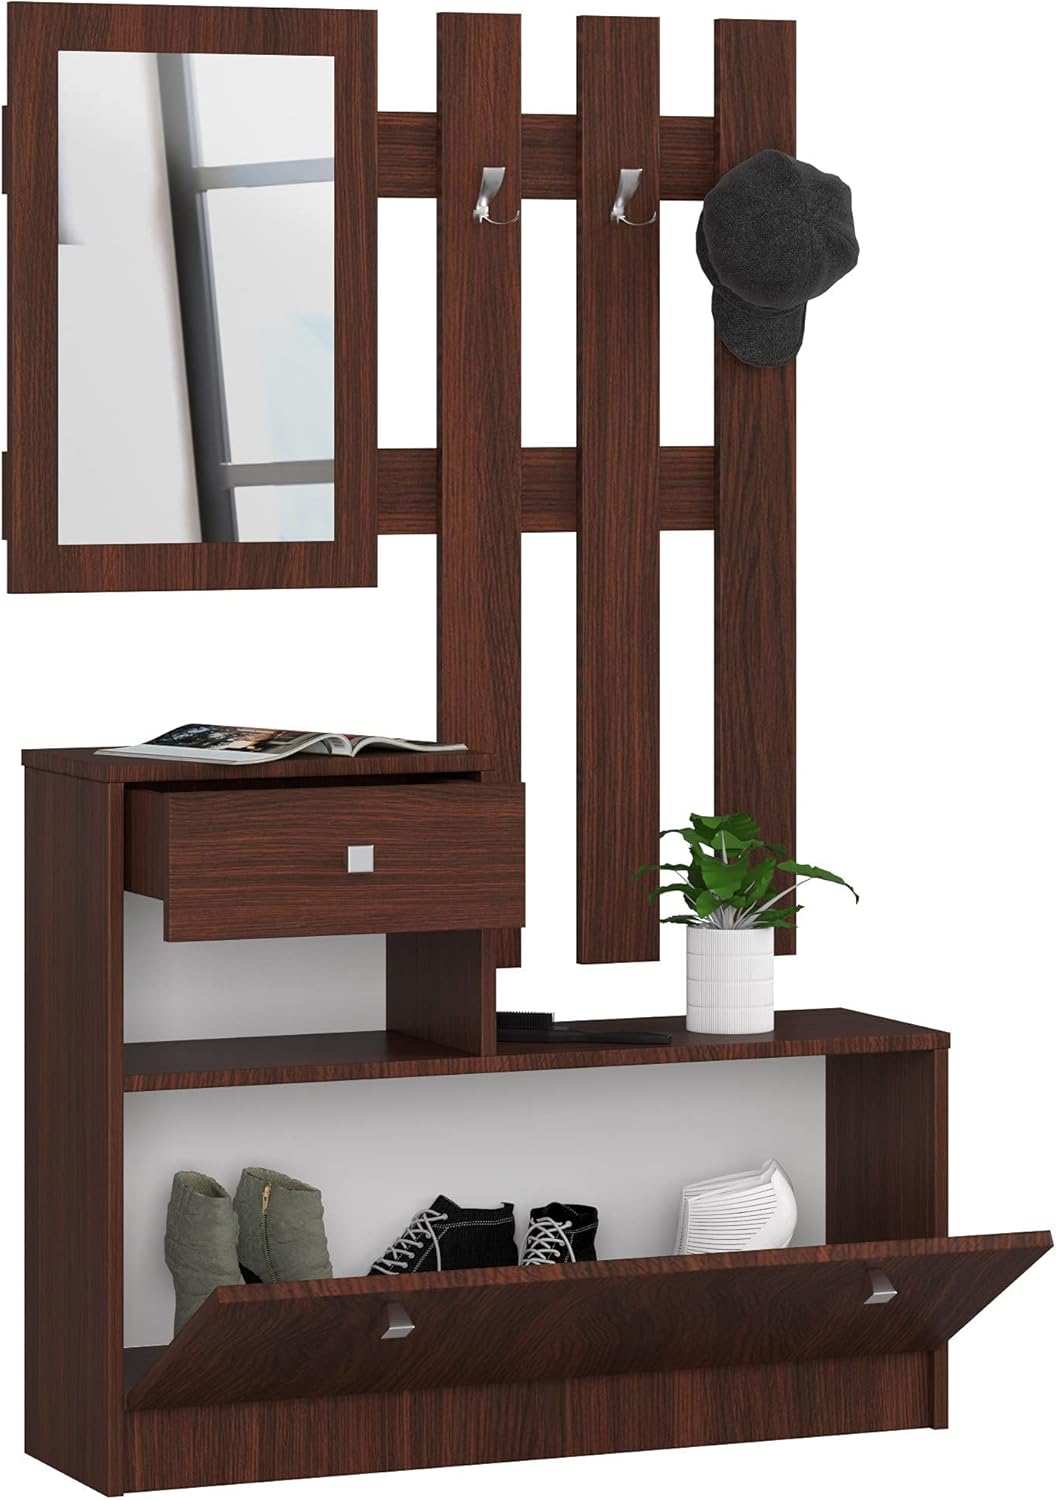
- Armario de zapatos: Use the tilt-out compartment at the bottom to store shoes. The top surface can be used for decorative items or frequently accessed small items. The integrated drawer provides additional enclosed storage for keys, wallets, or other essentials.
- Perchero: Utilize the three double hooks to hang coats, jackets, scarves, or bags. The mirror is for checking appearance before leaving or upon arrival.

5. Mantemento
To ensure the longevity and appearance of your AKORD wardrobe set, follow these simple maintenance guidelines:
- Limpeza: Limpar superficies con anunciosamp cloth. Avoid abrasive cleaners or harsh chemicals, which can damage the laminated finish.
- Verquidos: Limpa rapidamente calquera derramo para evitar manchas ou danos pola auga.
- Inspección: Comprobe periodicamente todos os elementos de fixación e conexións para asegurarse de que permanecen ben axustados. Volva a apertalos se é necesario.
- Coidado do espello: Limpa o espello cun limpacristais e un pano suave e sen fiapos.
6 Solución de problemas
Se tes algún problema durante a montaxe ou o uso, consulta as seguintes solucións habituais:
| Problema | Causa posible | Solución |
|---|---|---|
| Faltan pezas ou están danadas. | Erro de embalaxe ou danos por transporte. | Contact AKORD customer support with your purchase details and a list of missing/damaged parts. |
| Unit is wobbly or unstable after assembly. | Fixadores soltos ou montaxe desigual. | Ensure all screws and connectors are fully tightened. Verify that the unit is on a level surface. For wall-mounted parts, ensure proper wall anchors are used. |
| O caixón non desliza suavemente ou está desalinhado. | Drawer slides installed incorrectly or damaged. | Check that the drawer slides are installed on both the drawer and the cabinet in the correct orientation and are level. Ensure no debris is obstructing the slides. |
| Wall-mounted coat rack feels insecure. | Improper wall anchors or insufficient support. | Ensure the coat rack is mounted into wall studs or uses heavy-duty wall anchors appropriate for your wall type (e.g., concrete, drywall). Do not exceed weight limits. |
7. Especificacións
| Característica | Detalle |
|---|---|
| Marca | AKORD |
| Nome do modelo | Guardaroba Completo 2 Pezzi |
| Cor | Wenge |
| Tipo de material | Laminated board (16 mm thick) |
| Dimensións totais (aprox.) | 100 cm (altura) x 90 cm (ancho) x 25 cm (profundidade) |
| Peso do elemento | 26.8 quilogramos |
| Estilo | Moderno, Contemporáneo |
| Características especiais | Lightweight, scratch-resistant, dirt-repellent, water-resistant surfaces |
| Requírese montaxe | Si |
| Instrucións de coidado | Limpar con anuncioamp pano |
| País de Orixe | Polonia |

8. Garantía e soporte
For warranty information, product support, or to report missing/damaged parts, please contact the retailer or manufacturer directly. Keep your proof of purchase for any warranty claims.
Fabricante: AKORD
Vendedor: Furniture-Akord (via Amazon.it)
For further assistance, please refer to the contact information provided with your purchase or visit the official AKORD websitio.