
1. Produto rematadoview
The Warrior 18V Cordless 3/8 Inch Drill/Driver Kit is designed for various drilling and driving tasks around the home and workshop. This versatile tool features a variable speed trigger, an electric brake, and 20 torque clutch settings for precise control. A keyless chuck allows for quick and easy bit changes, and a built-in LED light illuminates the work area for improved visibility in dark corners. The included 18V Lithium-Ion battery is interchangeable with other 18 Volt Warrior tools, offering convenience and flexibility.
Características principais:
- Variable speed, reversible operation
- Electric brake for immediate stopping
- 20 torque clutch settings for diverse applications
- Keyless chuck for quick bit changes
- Integrated LED light for enhanced visibility
- 18 Volt Lithium-Ion battery, interchangeable with other Warrior 18V tools
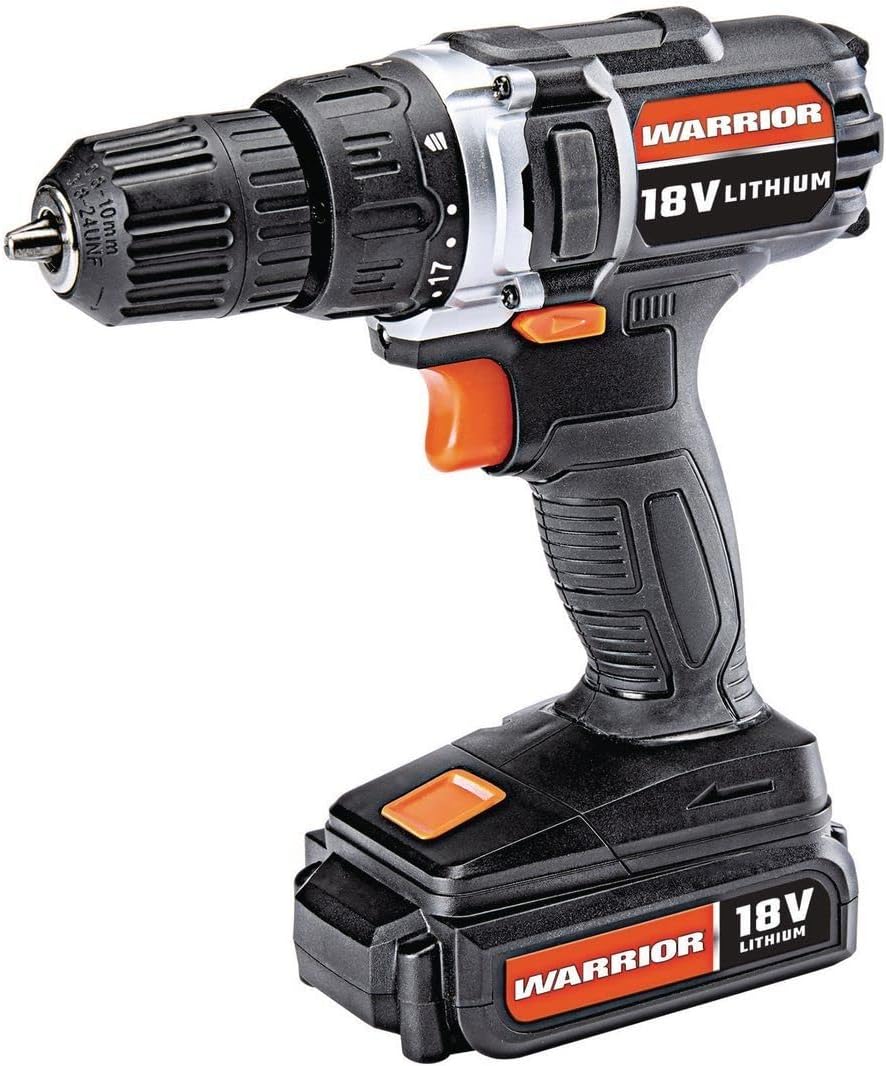
Figure 1: The Warrior 18V Cordless 3/8 Inch Drill/Driver Kit, showcasino seu deseño compacto e as súas características principais.
2. Configuración
2.1 Carga e instalación da batería
- Cargando a batería: Connect the provided barrel charger to the charging port located on the battery pack. Plug the charger into a standard electrical outlet. The indicator light on the charger will show the charging status (e.g., red for charging, green for fully charged). Ensure the battery is fully charged before first use.
- Instalación da batería: Align the battery pack with the base of the drill handle. Slide the battery into place until it clicks securely. Ensure it is firmly seated to prevent accidental detachment during operation.
- Extracción da batería: Press the battery release buttons (typically on the sides of the battery pack) and slide the battery out of the drill handle.
2.2 Inserción e extracción de brocas
- Abrir o mandril: Rotate the front collar of the keyless chuck counter-clockwise until the jaws are wide enough to accept the desired drill bit or driver bit.
- Insira o bit: Insert the shank of the drill bit or driver bit into the chuck jaws. Ensure the bit is centered and inserted as far as possible without touching the chuck body.
- Aperte o mandril: Rotate the front collar of the chuck clockwise until the jaws firmly grip the bit. For maximum grip, give it an extra twist by hand.
- Remove the Bit: Xire o colar dianteiro do mandril en sentido antihorario para afrouxar as mordazas e retirar a broca.

Figura 2: Máisview of the drill's features, including the 20 clutch settings, LED light, variable speed, and lightweight design.
3. Instrucións de funcionamento
3.1 Acendido/apagado e control de velocidade variable
- To start the drill, press the trigger switch. The speed of the drill is controlled by the amount of pressure applied to the trigger; pressing it further increases the speed.
- To stop the drill, release the trigger switch. The electric brake will engage, stopping the chuck rotation quickly.
3.2 Rotación cara adiante/cara atrás
- O interruptor selector de avance/retroceso está situado enriba do gatillo.
- Empurre o interruptor cara á esquerda para a rotación cara adiante (para furar e afiar parafusos).
- Push the switch to the right for reverse rotation (for removing screws or backing out drill bits).
- Cando o interruptor está na posición central, o gatillo está bloqueado, o que evita o arranque accidental.
3.3 Torque Clutch Settings
- The torque clutch ring is located behind the chuck. It has 20 numbered settings and a drill symbol.
- Rotate the ring to select the desired torque setting. Lower numbers provide less torque, suitable for smaller screws and softer materials to prevent over-driving or stripping. Higher numbers provide more torque for larger screws and harder materials.
- For drilling applications, select the drill symbol setting for maximum torque.
3.4 Luz de traballo LED
- The integrated LED work light automatically illuminates when the trigger is pressed, providing light to the work surface.

Figure 3: The Warrior 18V Cordless Drill in use, demonstrating its application for household tasks like installing a grab bar.
4. Mantemento
4.1 Limpeza xeral
- Keep the tool's air vents clean and free of debris to ensure proper motor cooling.
- Limpe a ferramenta cun pano limpo,amp pano. Non use produtos químicos agresivos ou produtos de limpeza abrasivos.
- Regularly inspect the chuck jaws for wear and clean any accumulated dust or debris.
4.2 Coidado e almacenamento da batería
- Almacene a batería nun lugar fresco e seco lonxe da luz solar directa e de temperaturas extremas.
- Para o almacenamento a longo prazo, recoméndase cargar a batería ata aproximadamente o 50 % da súa capacidade.
- Avoid completely draining the battery before recharging, as this can reduce its lifespan.
5 Solución de problemas
5.1 Drill Does Not Operate
- Asegúrese de que a batería estea completamente cargada e instalada correctamente.
- Comprobe que o interruptor selector de avance/retroceso non estea na posición central (bloqueado).
- Verify that the charger is disconnected from the battery when attempting to operate the drill.
5.2 Reduced Power or Performance
- The battery may be low on charge. Recharge the battery.
- The torque clutch setting may be too low for the task. Adjust to a higher setting or the drill mode.
- Ensure the drill bit is sharp and appropriate for the material being worked on.
6. Especificacións
| Característica | Especificación |
|---|---|
| Marca | Guerreiro |
| Número de modelo | Warior-XXX |
| Fonte de enerxía | Alimentado por batería |
| Voltage | 18 voltios |
| Tipo de pila de batería | Ion de litio |
| Velocidade de rotación máxima | 900 RPM |
| Configuración de par | 20 Configuración do embrague |
| Tipo Chuck | Chuck sen chaves |
| Capacidade de perforación de madeira | 1 polgadas |
| Peso do elemento | 2.47 libras |
| Material | Plástico |
| Características especiais | Velocidade variable, luz LED |
| UPC | 798993496886 |
7. Garantía e soporte
Specific warranty information and customer support contact details were not provided in the product data. Please refer to the product packaging or the manufacturer's official website for the most up-to-date warranty terms and support options.