
1. Introdución e finalview
The Baofeng PMR446 Professional Two-Way Radio is designed for reliable and clear communication over long distances. This device features 16 pre-set channels, ensuring stable communication even in remote areas or where mobile signals are weak. Equipped with DCS and CTCSS functions, it effectively blocks external interference and reduces noise, providing clear audio through high-quality speakers and microphones. Each radio includes a headset and a shoulder strap clip for convenient, hands-free operation.
The radio is powered by a high-capacity 1500 mAh rechargeable lithium-ion battery, offering extended usage. A low battery alert system notifies you when recharging is necessary. Its user-friendly design includes an automatic voice transmit and receive (VOX) function for hands-free calls and an emergency alert feature for enhanced safety in hazardous environments. Compact, lightweight, durable, and splash-proof, this walkie-talkie is suitable for various applications such as survival camping, cycling, hiking, construction sites, and security work. It also features an integrated LED light for use in dark conditions.
2. Contido do paquete
Revisa o paquete coidadosamente para asegurarte de que todos os artigos estean presentes e en bo estado. Se falta algún artigo ou está danado, ponte en contacto co teu vendedor.
- 2 x Baofeng PMR446 Two-Way Radios
- 2 x 1500 mAh Lithium-ion Batteries
- 2 x Charging Bases (DC plug type)
- 2 x auriculares
- 2 x Clips para cinto
- 2 x Lanyards
- 1 x Manual de usuario

Figura 2.1: Contido do paquete
3. Produto rematadoview (Compoñentes)
Familiarize yourself with the main components of your Baofeng PMR446 radio:

Figure 3.1: Radio Components
- Antena: Para transmitir e recibir sinais.
- Selector de canles: Botón rotatorio para seleccionar un dos 16 canais dispoñibles.
- Volume Control / Power Switch: Botón rotatorio para acender/apagar a radio e axustar o volume.
- Indicador LED: Displays radio status (e.g., transmitting, receiving, low battery).
- SP/MIC Jack: Port for connecting the earpiece/headset.
- Orador claro: Saídas de audio recibidas.
- Micrófono integrado: Captura a túa voz para a súa transmisión.
- Botón da lanterna: Activa a lanterna LED incorporada.
- Botón PTT (Premer para falar): Manter premido para transmitir, soltar para recibir.
- Botón MONI (Monitor): Prema para desactivar temporalmente o silenciador e escoitar sinais débiles.
4. Configuración
4.1 Instalación da batería
- Aliñe a batería coas ranuras da parte traseira da radio.
- Deslice a batería cara arriba ata que encaixe no seu lugar.
- Para retirala, prema o pestillo de liberación (se o hai) e deslice a batería cara abaixo.
4.2 Conexión da antena
- Atornille a antena no sentido das agullas do reloxo ao conector da parte superior da radio ata que estea firmemente asentada. Non a aperte demasiado.
4.3 Carga da batería
Before first use, fully charge the battery. The typical charging time is 4-5 hours.
- Connect the DC plug charger to a power outlet.
- Place the radio (with battery installed) into the charging base.
- O indicador LED do cargador mostrará o estado de carga (por exemplo, vermello para a carga, verde para a carga completa).
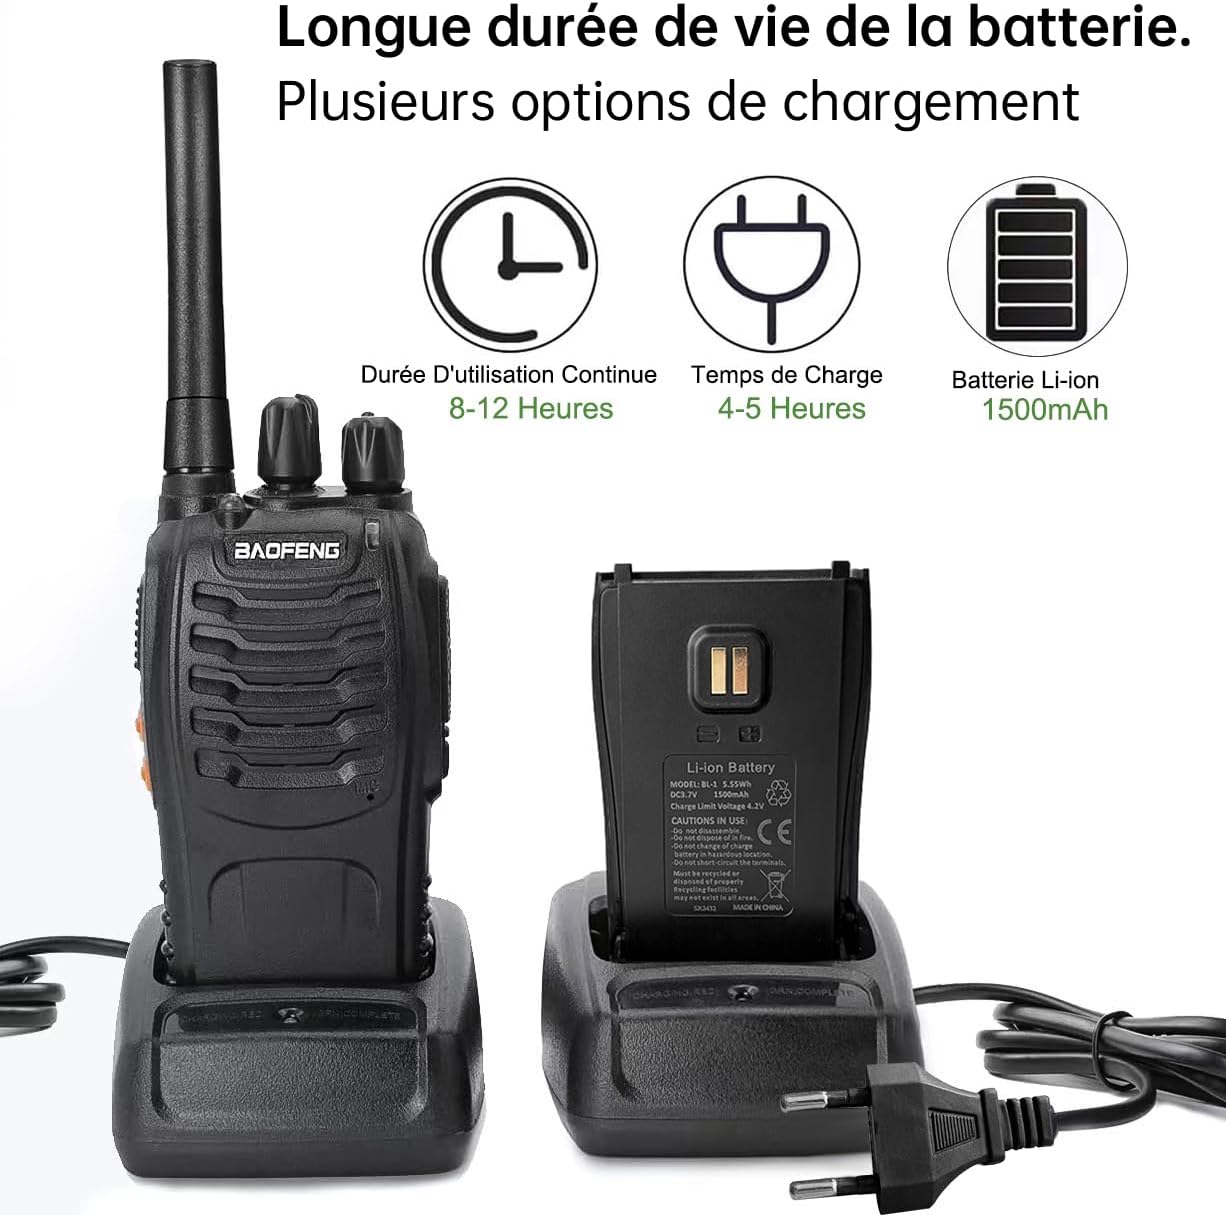
Figure 4.1: Charging the Radio
The radio also supports USB Type-C charging (cable not included) for convenience.

Figura 4.2: Porto de carga USB tipo C
4.4 Attaching Belt Clip and Lanyard
- Fixe a pinza do cinto na zona designada da parte traseira da radio cos parafusos proporcionados.
- Attach the lanyard to the loop on the top or side of the radio for added security.
4.5 Connecting Earpiece
- Insert the earpiece plug firmly into the SP/MIC jack on the side of the radio.
5. Instrucións de funcionamento
5.1 Acendido/apagado e axuste do volume
- To turn on the radio, rotate the Volume Control / Power Switch clockwise until you hear a click.
- Continue rotating the knob to adjust the volume to a comfortable level.
- To turn off the radio, rotate the knob counter-clockwise until you hear a click.
5.2 Selección de canles
- Rotate the Channel Selector knob on top of the radio to choose one of the 16 available channels.
- Ensure all radios you wish to communicate with are set to the same channel.
5.3 Transmisión e recepción
- To transmit, press and hold the PTT (Push-to-Talk) button on the side of the radio. Speak clearly into the microphone. The LED indicator will typically glow red during transmission.
- Solte o botón PTT para deter a transmisión e volver ao modo de recepción. O indicador LED normalmente acenderase en verde ao recibir un sinal.
5.4 Función de monitorización (MONI)
- Press and hold the MONI button to temporarily disable the squelch function. This allows you to listen for very weak signals that might otherwise be blocked, or to check if a channel is clear before transmitting.
5.5 Función VOX (central telefónica operada por voz)
The VOX function allows for hands-free transmission. When activated, the radio will automatically transmit when it detects your voice, without needing to press the PTT button. Refer to the full user manual for specific instructions on activating and adjusting VOX sensitivity.
5.6 Lanterna
- Press the Flashlight button to turn the LED flashlight on or off.
5.7 Alerta de emerxencia
The radio features an emergency alert function. Consult the detailed user manual for instructions on how to activate and use this feature, which can provide increased safety in critical situations.
6. Mantemento
6.1 Coidado coa batería
- Non sobrecargues nin descargues profundamente a batería.
- Almacene as baterías nun lugar fresco e seco cando non esteas en uso.
- Substitúa as baterías cando o seu rendemento diminúa significativamente.
6.2 Limpeza
- Limpar o exterior da radio cun pano suave eamp pano. Non use produtos químicos agresivos ou produtos de limpeza abrasivos.
- Ensure the SP/MIC jack and charging contacts are free of dust and debris.
6.3 Almacenamento
- Se vai gardar a radio durante un período prolongado, retire a batería.
- Store in a dry, temperature-controlled environment.
6.4 Resistencia á auga
The radio has a water-repellent design (estimated IPX4 rating). While it can withstand splashes, it is not designed for submersion. Avoid exposing it to heavy rain or direct water jets.
7 Solución de problemas
- A radio non se acende: Check if the battery is properly installed and charged. Ensure the volume/power knob is turned clockwise.
- No sound or weak sound: Adjust the volume. Check earpiece connection. Ensure radios are on the same channel. Disable MONI function if accidentally activated.
- Alcance deficiente ou interferencias: Ensure antenna is securely attached. Move to an open area away from obstructions (buildings, hills). Check for strong electromagnetic interference sources.
- Non se pode transmitir: Ensure PTT button is fully pressed. Check if the battery is low. Verify you are on an active channel.
- A batería esgótase rapidamente: Ensure battery is fully charged. Reduce transmission time. Consider replacing an aging battery.
8. Especificacións
| Marca | BaoFeng |
| Número de modelo | PMR446 |
| Cor | Negro 01 |
| Número de canles | 16 |
| Características especiais | Rechargeable, Stable |
| Rango de frecuencias | 300 MHz - 3 GHz |
| Rango máximo | 5 Quilómetros |
| Voltage | 3.7 voltios |
| Nivel de resistencia á auga | Water Repellent (IPX4 estimated) |
| Tipo de batería | 2 batería de ións de litio (incluída) |
| Dispositivos compatibles | Other walkie-talkies using the same frequency band (300 MHz - 3 GHz) and UHF tuner technology, compatible earpieces/headsets. |
| Protocolo de conectividade | Outros |
| Tipo de sintonizador | UHF |
9. Garantía e soporte
9.1 Información da garantía
This product comes with a one-month warranty from the date of purchase. Please retain your proof of purchase for any warranty claims. The warranty covers manufacturing defects but does not cover damage caused by misuse, accidents, unauthorized modifications, or normal wear and tear.
9.2 Atención ao cliente
For any questions, technical assistance, or warranty claims, please contact the seller or the manufacturer's customer support. Refer to your purchase documentation for contact details.


