
1. Introdución
Grazas pola compraasing the ORCC 10-in-1 Turntable Record Player. This versatile audio system combines a classic vinyl turntable with modern functionalities including CD, cassette, USB, SD/MMC card playback, Bluetooth connectivity, FM/AM radio, and MP3 recording. This manual provides detailed instructions to help you set up, operate, and maintain your device for optimal performance and enjoyment.
Lea este manual detidamente antes de usar o produto e gárdeo para futuras consultas.
2. Información de seguridade
Para garantir un funcionamento seguro e evitar danos, observe as seguintes precaucións:
- Non expoña a unidade á choiva, á humidade ou a temperaturas extremas.
- Evite colocar a unidade preto de fontes de calor como radiadores, reixas de calor, estufas ou outros aparellos que produzan calor.
- Asegúrese de que haxa unha ventilación axeitada. Non bloquee ningunha das aberturas de ventilación.
- Use só accesorios/accesorios especificados polo fabricante.
- Desenchufe a unidade durante as tormentas eléctricas ou cando non se use durante longos períodos.
- Encargue toda a reparación a persoal de servizo cualificado.
- Manteña a unidade lonxe de campos magnéticos fortes.
3. Configuración
Follow these steps to set up your ORCC 10-in-1 Turntable Record Player:
- Desembalaxe: Carefully remove the unit from its packaging. Retain all packaging materials for future transport or storage.
- Colocación: Place the unit on a stable, level surface away from direct sunlight, heat sources, and excessive dust or vibration.
- Conexión de alimentación: Connect the power adapter to the DC input jack on the unit and then plug it into a wall outlet.
- Funda antipolvo: Ensure the dust cover is properly attached to protect the turntable.
- Turntable Setup: Remove the stylus protector from the needle. Unlock the tone arm clip.
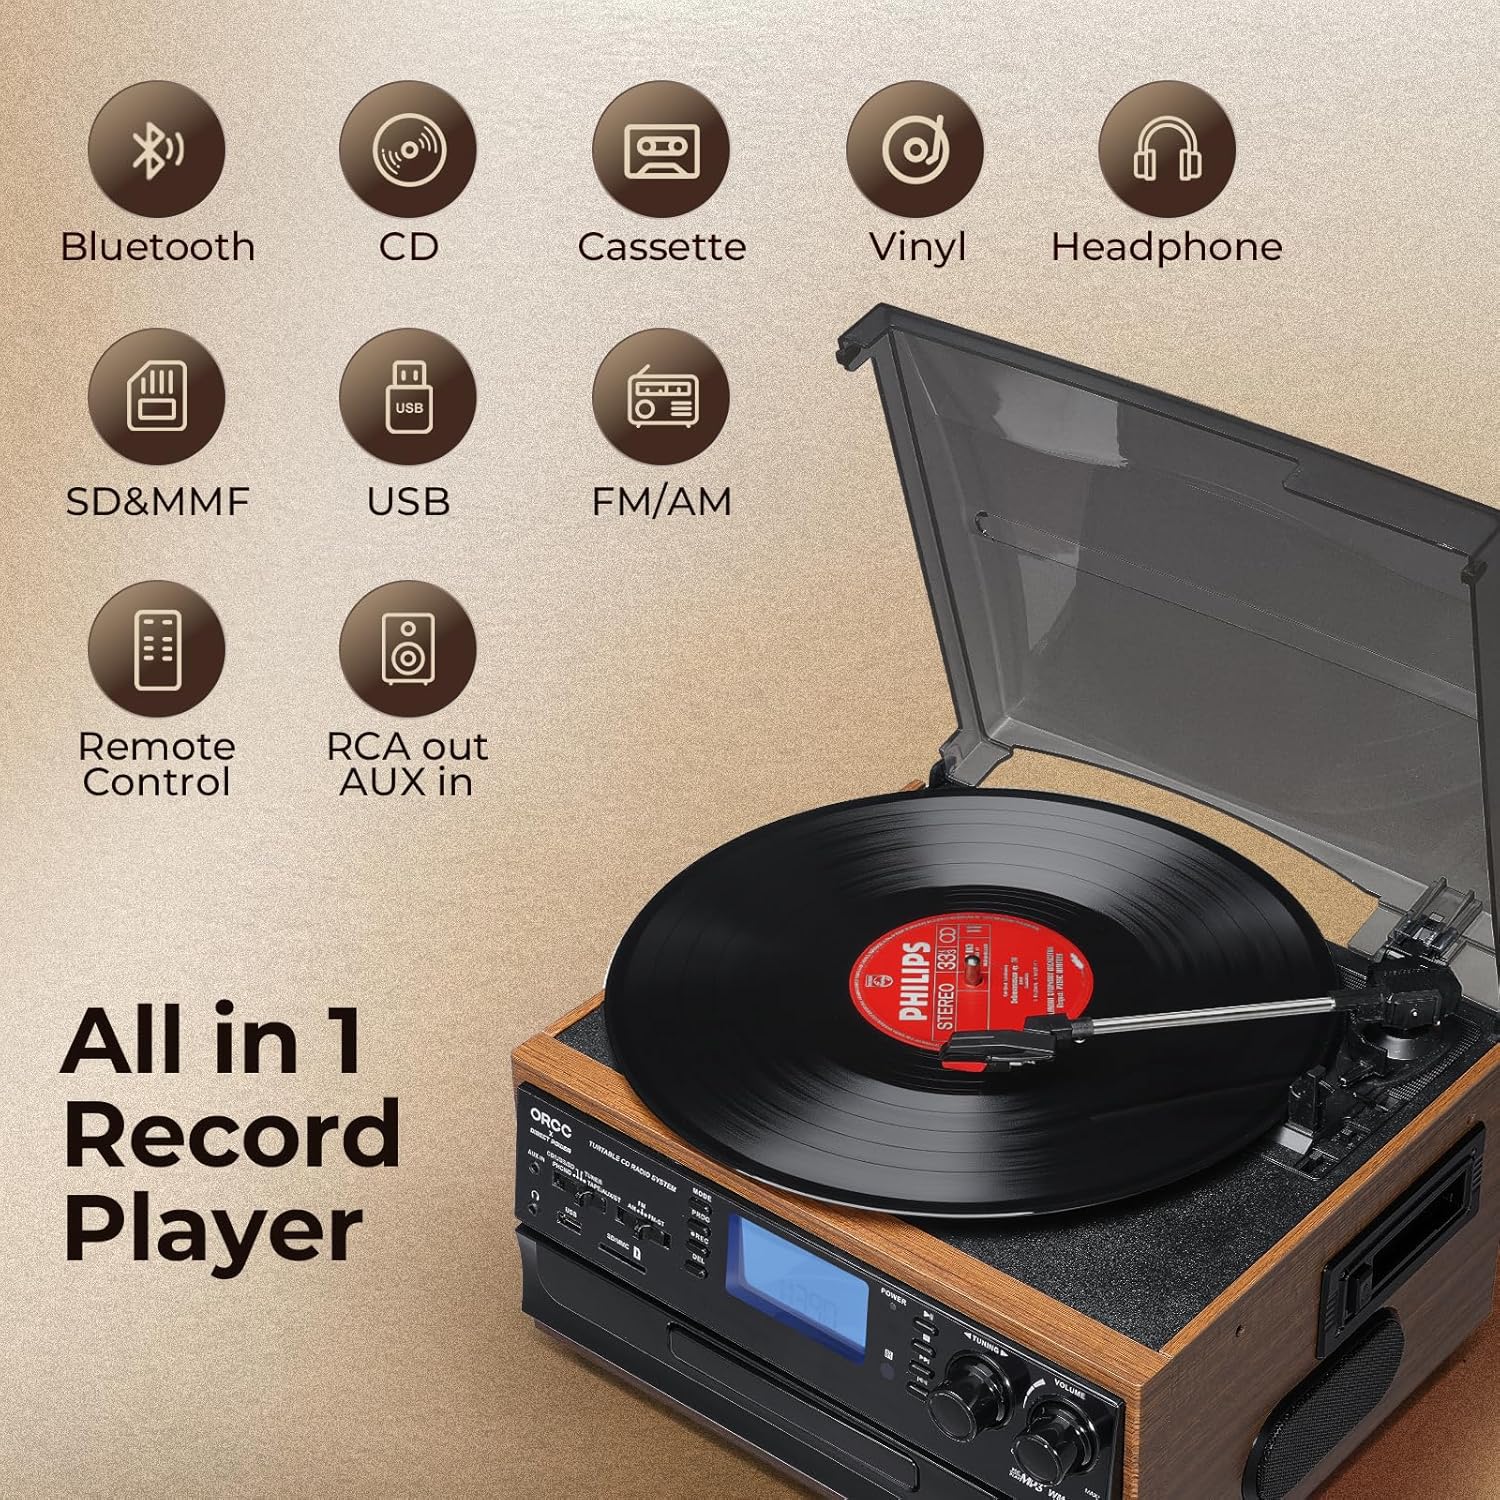
Imaxe: Máis deview of the ORCC 10-in-1 Turntable Record Player, highlighting its various functions including Bluetooth, CD, Cassette, Vinyl, Headphone, SD/MMC, USB, FM/AM Radio, Remote Control, and RCA out/AUX in.
4. Instrucións de funcionamento
4.1. Funcionamento do tocadiscos
This unit supports 33, 45, and 78 RPM records in 7", 10", and 12" sizes.
- Coloque un disco no prato do tocadiscos.
- Select the appropriate speed (33/45/78 RPM) using the speed selector switch. Use the included 45 RPM adapter for 7-inch records.
- Levante o brazo da lectura usando a palanca de referencia e colóqueo sobre a pista desexada no disco.
- Lower the tone arm gently onto the record using the cue lever. Playback will begin.
- At the end of the record, the auto-stop function will automatically stop the platter rotation. Lift the tone arm and return it to its rest.

Imaxe: Detallada view of the turntable section, illustrating the 45 RPM adapter, 3-speed control, auto-stop feature, and tone arm lock lever for vinyl record playback.
4.2. Funcionamento do reprodutor de CD
- Prema o botón MODE para seleccionar o modo CD.
- Prema o botón OPEN/CLOSE para abrir a bandexa de CD.
- Coloque un CD coa etiqueta cara arriba na bandexa.
- Press the OPEN/CLOSE button again to close the tray. The unit will read the CD.
- Press the PLAY/PAUSE button to start playback. Use the SKIP buttons to navigate tracks.

Image: The built-in CD player with a disc partially inserted into the tray, ready for playback.
4.3. Funcionamento do reprodutor de casete
- Press the MODE button to select TAPE mode.
- Insert a cassette tape into the cassette slot on the side of the unit.
- Press the PLAY button to start playback. Use the FAST FORWARD/REWIND buttons as needed.
- Prema o botón STOP para finalizar a reprodución.

Image: A cassette tape being inserted into the dedicated cassette player slot on the side of the unit.
4.4. Conectividade Bluetooth
- Press the MODE button to select Bluetooth (BT) mode. The display will show "BT" and flash, indicating it's in pairing mode.
- No teu dispositivo con Bluetooth (por exemplo, teléfono intelixente ou tableta), activa Bluetooth e busca os dispositivos dispoñibles.
- Select "ORCC" from the list of devices to pair. Once connected, the "BT" indicator will stop flashing.
- You can now stream audio wirelessly from your device to the ORCC system.

Image: A smartphone displaying a Bluetooth connection to the ORCC turntable, illustrating wireless audio streaming.
4.5. FM/AM Radio Operation
- Press the MODE button to select TUNER mode.
- Use the FM/AM switch to select your desired band.
- Rotate the TUNING knob to manually search for radio stations.
- For automatic scanning, press and hold the SCAN button. The unit will search and stop at the next available station.

Image: A hand adjusting the tuning knob on the ORCC turntable, which displays an FM radio frequency on its screen.
4.6. USB & SD Card Playback
- Insert a USB flash drive into the USB port or an SD/MMC card into the card slot.
- Press the MODE button to select USB or SD mode.
- The unit will automatically detect and play MP3 files. Use the PLAY/PAUSE and SKIP buttons to control playback.

Imaxe: Primeiro plano view of the USB port and SD/MMC card slot on the front panel of the ORCC turntable, indicating digital media playback options.
4.7. MP3 Recording Function
The unit allows direct recording from Vinyl, CD, Cassette, or AUX-in to a USB flash drive or SD card in MP3 format.
- Insert a USB flash drive or SD card into its respective slot.
- Select the desired source (Vinyl, CD, Cassette, or AUX-in) using the MODE button.
- Start playback of the source material.
- Press the REC button to begin recording. The recording indicator will illuminate.
- Press the REC button again to stop recording. The recorded MP3 file will be saved to the USB drive or SD card.

Image: A visual representation of the recording function, demonstrating how audio from vinyl, CD, or cassette can be converted and saved as MP3 files nunha unidade USB.
4.8. Headphone Jack & RCA Output
- Jack para auriculares: Plug 3.5mm headphones into the headphone jack for private listening. The built-in speakers will mute automatically.
- Saída RCA: Use RCA cables (not included) to connect the RCA LINE OUT ports to an external ampamplificador ou altofalantes amplificados para unha saída de son mellorada.
- Entrada AUX: Connect external audio devices (e.g., MP3 players, smartphones) to the 3.5mm AUX IN jack using an audio cable (not included) to play their audio through the ORCC system.

Image: A pair of black headphones connected to the built-in headphone jack on the ORCC turntable, indicating private listening capability.

Image: A close-up of the rear panel of the ORCC turntable, showing the AUX In and RCA Line Out ports for connecting external devices or speakers.
5. Mantemento
Proper care and maintenance will ensure the longevity of your ORCC audio system:
- Limpeza: Limpe a unidade cun pano suave e seco. Non empregue produtos de limpeza abrasivos nin solventes.
- Coidados do stylus: Handle the stylus carefully. Clean it periodically with a soft brush, brushing from back to front. Replace the stylus when sound quality deteriorates.
- Funda antipolvo: Keep the dust cover closed when not in use to prevent dust accumulation on the turntable and stylus.
- Coidado de CD/casete: Keep CDs and cassette tapes clean and free of scratches or damage.
6 Solución de problemas
If you encounter issues with your ORCC 10-in-1 Turntable, refer to the following common problems and solutions:
| Problema | Causa posible | Solución |
|---|---|---|
| Sen poder | Cable de alimentación non conectado; Toma de corrente non activa. | Asegúrate de que o cable de alimentación estea ben conectado. Proba a toma de corrente con outro dispositivo. |
| Sen son | Volume demasiado baixo; Modo incorrecto seleccionado; Auriculares conectados. | Increase volume. Select correct input mode. Disconnect headphones if using speakers. |
| Tocadiscos non xira | Power off; Auto-stop engaged; Belt issue. | Ensure unit is on. Check auto-stop switch. If belt is dislodged or broken, contact support. |
| Bluetooth non se sincroniza | Unit not in BT mode; Device too far; Device already paired. | Ensure unit is in BT mode. Move device closer. Forget device on your phone and re-pair. |
| Mala calidade de son do vinilo | Dirty record; Worn stylus; Incorrect speed. | Clean record. Replace stylus. Verify correct RPM speed. |
7. Especificacións
- Nome do modelo: 19-WD
- Marca: ORCC
- Dimensións do produto: 127.95 x 116.14 x 78.74 polgadas
- Peso do artigo: 10.63 libras
- Material: Madeira
- Cor: marrón
- Velocidade de rotación máxima: 78 RPM
- Tipo de motor: Motor AC
- Compoñentes incluídos: Altofalante incorporado
- Características especiais: AUX Input, Built-In Bluetooth Receiver, RCA Output
- Dispositivos compatibles: Auriculares, altofalante
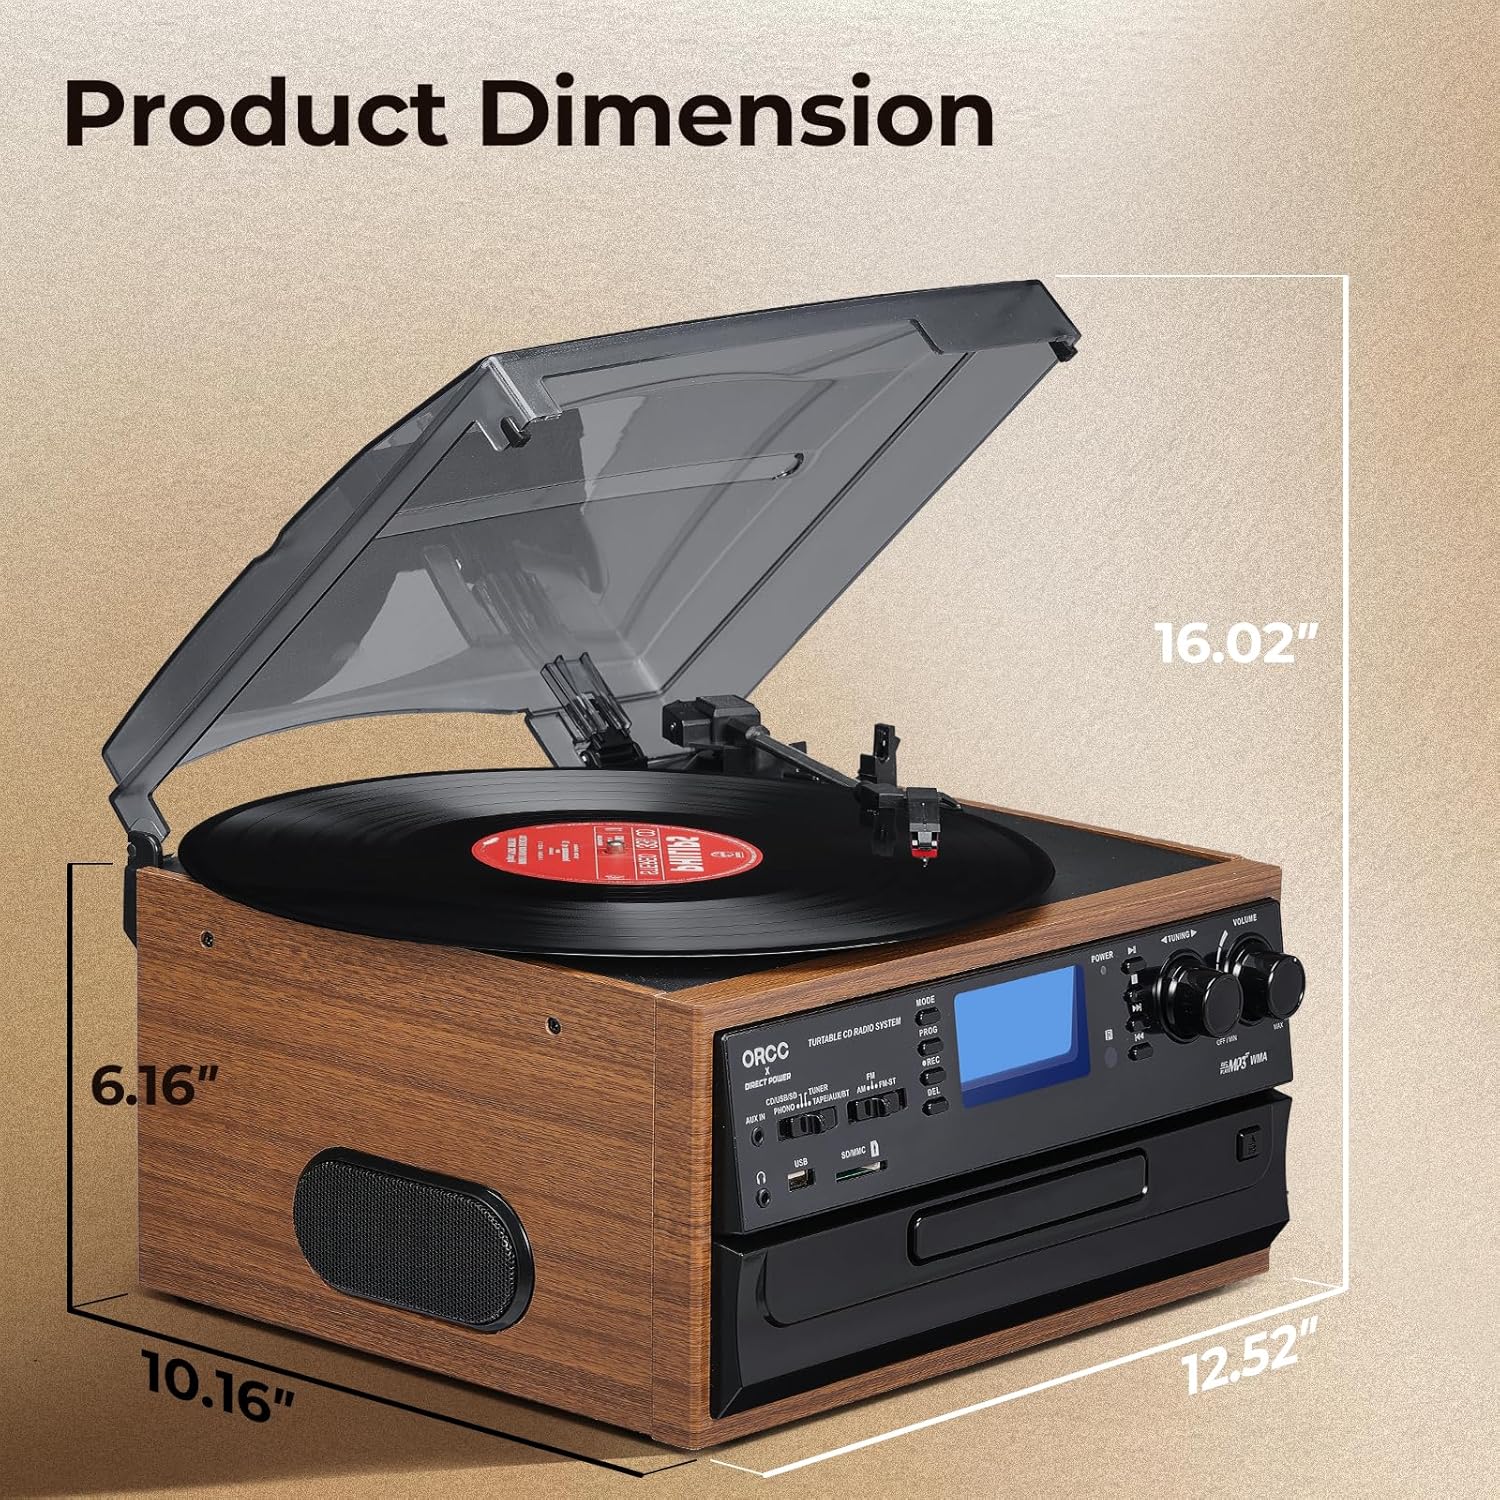
Image: A diagram illustrating the product dimensions of the ORCC turntable, showing height, width, and depth measurements.
8. Garantía e soporte
For warranty information and customer support, please refer to the warranty card included with your product or visit the official ORCC websitio. Garde o recibo da compra como xustificante da mesma.
If you experience any issues not covered in the troubleshooting section, please contact ORCC customer service for assistance.