
1. Introdución
This manual provides detailed instructions for the installation, operation, maintenance, and troubleshooting of your Kwikset SmartCode 270 Keyless Entry Electronic Touchpad Deadbolt Door Lock. The SmartCode 270 offers enhanced security and convenience with its light-up touchpad and customizable user codes. It is BHMA Grade 2 certified, ensuring reliable security and durability against various elements.

Figure 1: The Kwikset SmartCode 270 deadbolt is suitable for various applications, including entry doors, shed doors, side doors, and garage doors.
2. Configuración e instalación
2.1 Que hai na caixa

Figure 2: Included components for the Kwikset SmartCode 270. Ensure all parts are present before beginning installation.
- Montaxe Interior
- Montaxe exterior
- Pestillo axustable
- Placa de folga
- Placa de montaxe
- Ferramenta SmartKey
- 2 chaves Kwikset
- Hardware de instalación
- Guía de instalación
2.2 Proceso de instalación
The Kwikset SmartCode 270 is designed for easy installation, requiring only a screwdriver. For detailed, interactive, 3D instructions with voice, text, and animation guidance, download the BILT app on your smartphone or tablet.
- Prepara a porta: Ensure your door is properly prepped for a deadbolt.
- Instalar o pestillo: Insira o pestillo axustable no bordo da porta e asegúreo con parafusos.
- Instalar o conxunto exterior: Coloque o conxunto do teclado exterior na porta, asegurándose de que o cable pase a través da porta.
- Instale a placa de montaxe: Secure the interior mounting plate to the exterior assembly with screws.
- Connect and Install Interior Assembly: Connect the cable from the exterior assembly to the interior assembly. Mount the interior assembly to the mounting plate.
- Instalar baterías: Insert 4 AA alkaline batteries (not included) into the battery pack.
- Realizar o proceso de apertura de portas: Follow the instructions in the BILT app or included guide to calibrate the lock to your door's orientation.
2.3 Instalación da batería
The lock requires 4 AA alkaline batteries for operation. These are not included. For optimal performance, use new, high-quality alkaline batteries.

Figure 3: The Kwikset SmartCode 270 uses 4 AA batteries, providing approximately 12 months of battery life.
3. Instrucións de funcionamento
3.1 Entrada sen chave
Para desbloquear a porta usando o teclado numérico:
- Tap the keypad to illuminate it.
- Introduza o seu código de usuario de 4 a 8 díxitos.
- Press the Lock button (check mark symbol).
The deadbolt will retract, allowing you to open the door.

Figure 4: Keyless entry provides secure and convenient access without the need for traditional keys.
3.2 Función de bloqueo automático
The Auto-Lock feature automatically locks the deadbolt after a set period. This provides added security and peace of mind.
- Customizable Delay: You can set the auto-lock delay to 30 seconds, 1 minute, 3 minutes, 5 minutes, or 10 minutes.
- Activación: Refer to your installation guide or the BILT app for specific programming steps to enable and customize the Auto-Lock feature.

Figure 5: The Auto-Lock feature can be customized to automatically lock the door after a selected duration.
3.3 Xestión do código de usuario
The SmartCode 270 allows you to manage up to 50 unique user codes, 10 one-time user codes, and 1 programming code.
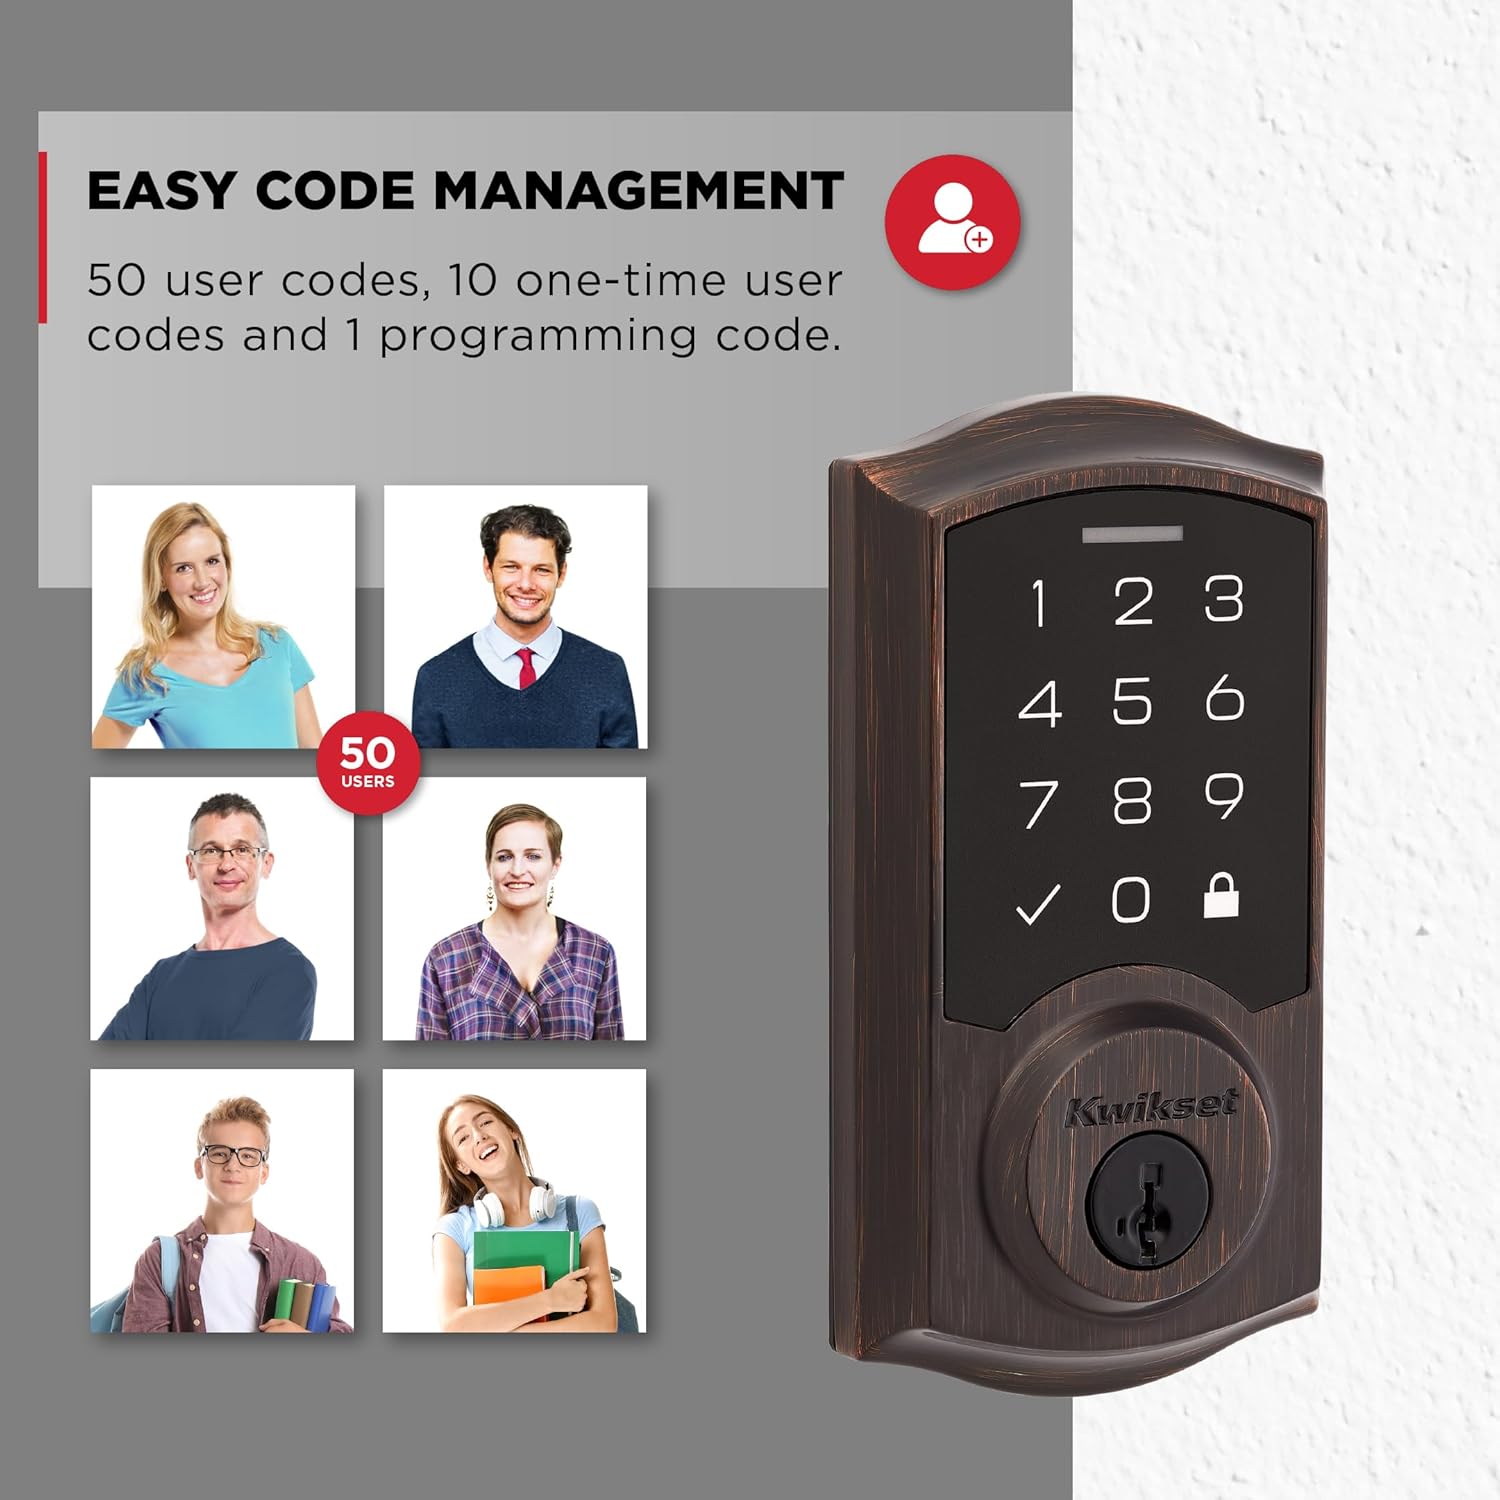
Figure 6: Manage up to 50 user codes for family, friends, or temporary access.
- Engadindo códigos de usuario: Use the programming code to add new user codes.
- Eliminar códigos de usuario: Individual user codes can be deleted as needed.
- Códigos de uso único: Create temporary codes that expire after a single use.
Refer to the full programming instructions in your installation guide for detailed steps on adding, deleting, and managing codes.
3.4 Intrusion Alert
For enhanced security, the lock features an intrusion alert. If 3 consecutive incorrect code entries are made, the lock will sound an alarm and disable the keypad for 1 minute. This prevents unauthorized tampering.
3.5 Modo vacacións
Activate Vacation Mode to temporarily disable the keypad. This ensures that no user codes can operate the lock while you are away, providing an additional layer of security.
3.6 Low Light Code Entry
The keypad features bright LED lights that illuminate the numbers, making it easy to enter your user code in low-light conditions. Simply tap the keypad to activate the backlighting.
4. Mantemento
4.1 Substitución da batería
The Kwikset SmartCode 270 is designed for a 12-month battery life under normal usage. When batteries are low, the lock will provide an audible and visual indicator. Replace all four AA alkaline batteries simultaneously to ensure consistent performance.
4.2 SmartKey Security Re-keying
The lock features SmartKey Security, which allows you to re-key your lock yourself in seconds. This is useful if you need to match your lock to an existing KW1 key or if you lose a key and want to prevent unauthorized access. Use the included SmartKey Learn Tool and follow the re-keying instructions provided in your installation guide.
5 Solución de problemas
- O teclado non responde: Check battery levels. Replace batteries if necessary. Ensure the cable connection between the exterior and interior assemblies is secure.
- Bloqueo sen activar/desactivar: Ensure the door is properly aligned and the latch can extend and retract freely. Check for any obstructions in the door frame or strike plate. Perform the door handing process again if the lock was recently installed or re-installed.
- User Code Not Working: Verify the user code is entered correctly. Ensure the lock is not in Vacation Mode. If multiple incorrect attempts were made, the keypad might be temporarily disabled due to the Intrusion Alert feature. Wait 1 minute before trying again.
- O bloqueo automático non funciona: Check if the Auto-Lock feature is enabled and configured with the desired delay setting.
- Lock Sounds Alarm: This indicates the Intrusion Alert has been triggered due to 3 consecutive incorrect code entries. The keypad will be disabled for 1 minute.
6. Especificacións do produto

Figure 7: Dimensions of the Kwikset SmartCode 270 Electronic Door Lock.
| Característica | Detalle |
|---|---|
| Número de modelo | 992700-009 |
| Tipo de bloqueo | Peche de teclado |
| Material | Metal |
| Remate | Venetian Bronze (as per current product) |
| Fonte de enerxía | 4 pilas alcalinas AA (non incluídas) |
| Duración da batería | Aproximadamente 12 meses |
| Códigos de usuario | Up to 50 user codes, 10 one-time codes, 1 programming code |
| Certificación de seguridade | Certificado BHMA de grao 2 |
| Características especiais | Alarm, Auto-Lock, Back-Lit Keypad, One-Touch Lock, Passcode Unlock, SmartKey Re-Key Security, Vacation Mode |
| Dimensións (L x W x H) | 4.13 x 5.19 x 9.91 polgadas |
| Peso do elemento | 1 libra |
7. Garantía e soporte
7.1 Garantía do fabricante
Kwikset products are backed by a manufacturer's warranty. Please refer to the warranty card included with your product or visit the official Kwikset website for detailed warranty terms and conditions. This typically covers defects in material and workmanship.
7.2 Política de devolución
This product is eligible for a 30-day return policy for refunds or replacements, subject to the retailer's terms of sale.
7.3 Atención ao cliente
For technical assistance, troubleshooting not covered in this manual, or warranty claims, please contact Kwikset Customer Support. Contact information can be found on the Kwikset websitio web ou na embalaxe do produto.