
Introdución
The Gardena ClassicCut Li Cordless Lawn Shears Set is designed for precision work in your garden, including trimming lawn edges, shaping plant covers, and maintaining boxwood. This set includes a height-adjustable telescopic handle, allowing for comfortable operation in a standing position. The integrated LED indicator provides real-time battery status, ensuring uninterrupted work. The blade system is designed for easy, tool-free replacement.
Información de seguridade
Always read and understand all safety warnings and instructions before operating the Gardena ClassicCut Li Cordless Lawn Shears. Failure to follow these instructions may result in electric shock, fire, and/or serious injury.
- Protección ocular: Always wear appropriate eye protection when operating the shears.
- Seguridade das mans: Keep hands and fingers away from the blades during operation and when handling the tool.
- Condicións ambientais: Do not operate the shears in wet conditions or rain. Avoid using near electrical cables or other hazards.
- Nenos e espectadores: Manteña os nenos e os transeúntes a unha distancia segura da zona de traballo.
- Batería e cargador: Use only the charger specified by the manufacturer for recharging. Use of any other charger may create a risk of injury and fire.
- Mantemento da lámina: Ensure blades are sharp and free from damage. Replace damaged blades immediately.
- Agarre seguro: Manteña sempre un agarre firme da ferramenta durante a operación.
Contido do paquete
Verifica que todos os elementos estean presentes no paquete:
- Gardena ClassicCut Li Cordless Lawn Shears
- Tirador telescópico
- Wheels Attachment
- Cable de carga USB

Image: All components included in the Gardena ClassicCut Li Cordless Lawn Shears Set.
Configuración
1. Cargando a batería
Before first use, fully charge the integrated Lithium-Ion battery. Connect the USB charging cable to the shears and a suitable USB power adapter (not included). The LED indicator on the handle will show the charging status. A full charge provides approximately 50 minutes of operating time.
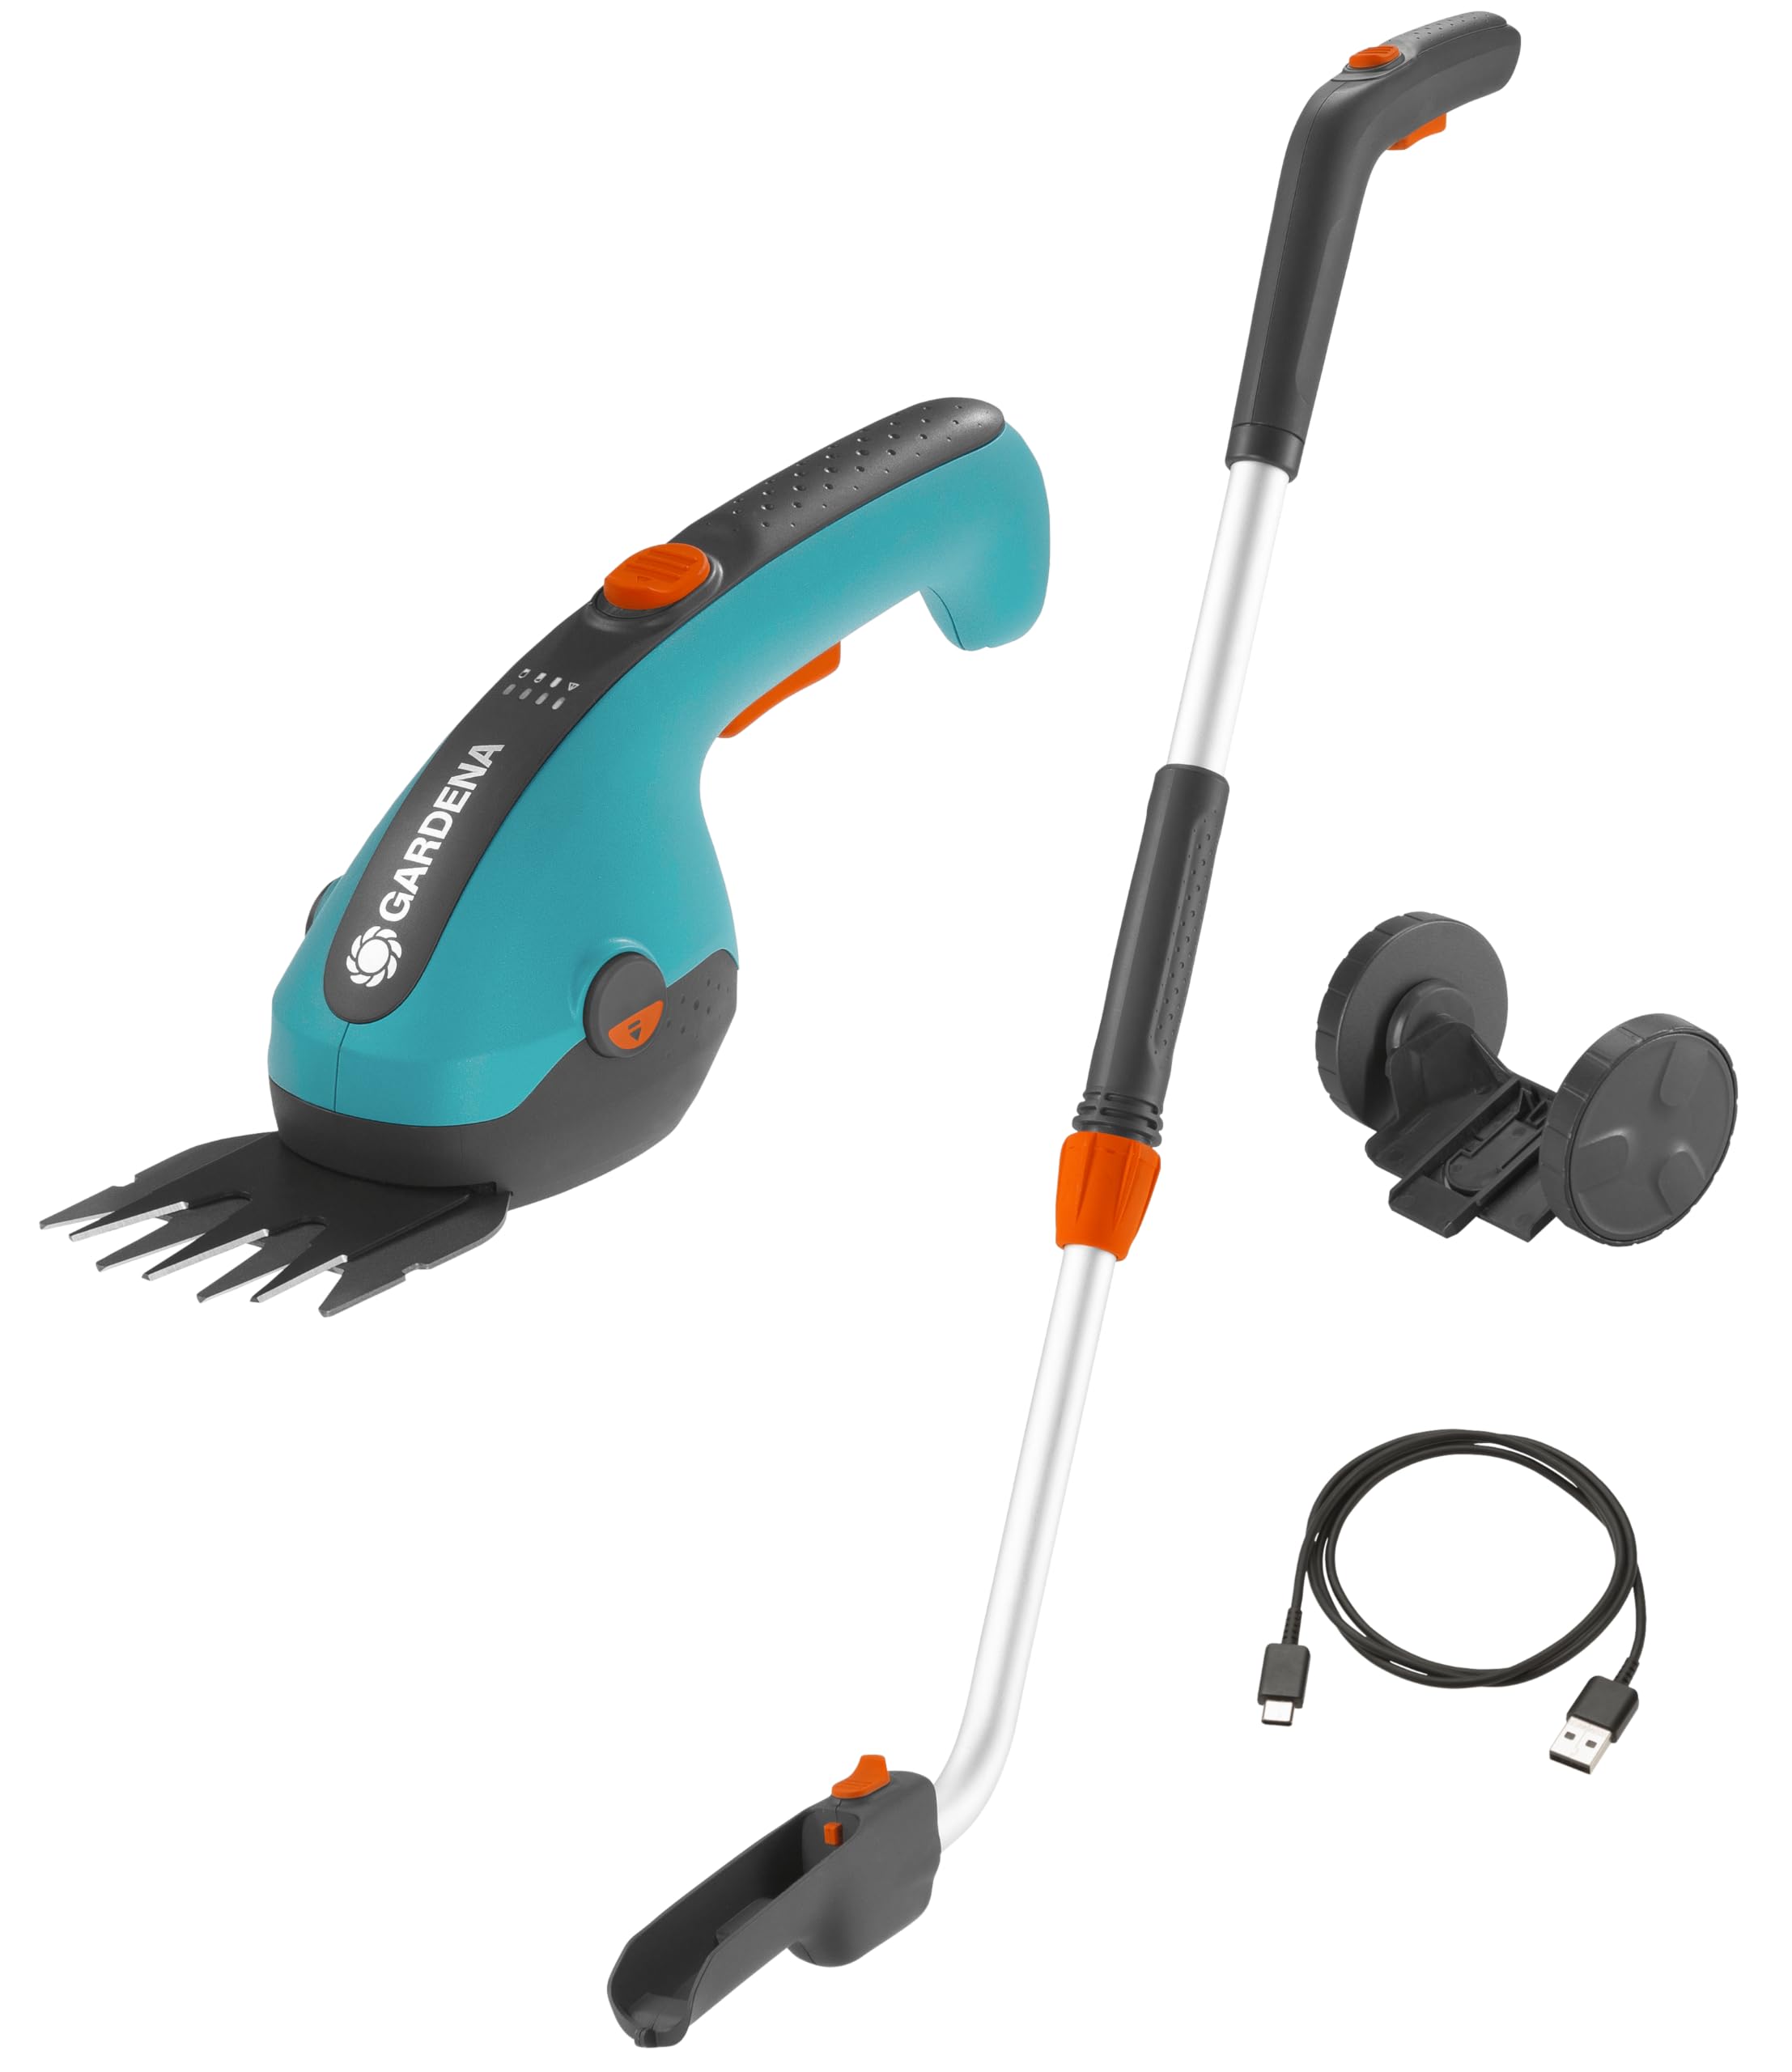
Image: The shears displaying icons for LED battery indicator, maximum runtime, and lightweight design.
2. Attaching the Wheels and Telescopic Handle
For comfortable lawn edging, attach the wheels and telescopic handle. The wheels snap onto the bottom of the shears, and the telescopic handle connects to the shears, allowing for height adjustment to suit your posture. This setup enables working in an upright position, reducing strain.

Image: The Gardena ClassicCut Li shears with the telescopic handle and wheels attached, illustrating overall dimensions.
Instrucións de funcionamento
1. Activar/Desactivar
To turn on the shears, press and hold the safety switch, then press the power button. Release the safety switch once the blades begin to move. To turn off, release the power button.
2. Trimming Lawn Edges
With the telescopic handle and wheels attached, guide the shears along the lawn edges. The wheels ensure a consistent cutting height and smooth movement. Maintain a steady pace for an even cut.

Image: Operating the shears with the telescopic handle for lawn edging.
3. Shaping Shrubs and Boxwood
For detailed shaping tasks, detach the telescopic handle and use the shears handheld. The compact design allows for precise control when trimming small shrubs, hedges, and boxwood.

Image: Handheld operation of the shears for shaping shrubs.
4. Changing Blades
The blades can be changed without the need for additional tools. Refer to the diagrams in the full product manual for specific instructions on releasing and securing the blade unit. Ensure the device is turned off and the battery is removed (if applicable for blade change mechanism) before attempting to change blades.
Mantemento
1. Limpeza
After each use, clean the blades and housing. Remove any grass clippings, dirt, or debris using a brush or cloth. Do not use water directly on the electrical components. For stubborn residue on blades, use a mild cleaning agent and ensure blades are thoroughly dried.
2. Coidado da lámina
Regularly inspect the blades for sharpness and damage. Dull or damaged blades can reduce cutting performance and strain the motor. If necessary, replace the blade unit with an original Gardena replacement part. Lightly oiling the blades after cleaning can help prevent rust and ensure smooth operation.
3. Almacenamento
Store the Gardena ClassicCut Li Cordless Lawn Shears in a dry, secure location, away from direct sunlight and extreme temperatures. Ensure the battery is partially charged before long-term storage to maintain battery health. Keep out of reach of children.
Resolución de problemas
- Shears not turning on:
- Comproba se a batería está cargada.
- Ensure the safety switch and power button are pressed correctly.
- Verify that the blade unit is correctly installed.
- Mal rendemento de corte:
- Clean the blades of any accumulated debris.
- Inspect blades for dullness or damage; replace if necessary.
- Asegúrese de que a batería estea completamente cargada.
- Tempo de funcionamento curto:
- Asegúrese de que a batería estea completamente cargada antes de usala.
- Battery performance may decrease over time; consider battery replacement if significantly degraded.
Especificacións
| Característica | Especificación |
|---|---|
| Número de modelo | 09886-20 |
| Dimensións do produto | 36.12 x 4.02 x 29.84 polgadas |
| Peso do elemento | 1.21 libras |
| Baterías | 1 batería de iones de litio (incluída) |
| Ancho de corte | 8 cm |
| Máxima Autonomía | minutos 50 |
Información da garantía
Gardena products are manufactured to high quality standards and are covered by a manufacturer's warranty. For specific details regarding the warranty period and terms for your ClassicCut Li Cordless Lawn Shears Set, please refer to the warranty card included with your product or visit the official Gardena websitio.
Apoio
Should you require further assistance, have questions about your product, or need to order replacement parts, please contact Gardena customer support. Contact information can typically be found on the official Gardena websitio web ou na documentación que se inclúe co produto.