
LFF Atomic Clock LWC205 User Manual
Model: LWC205
Digital Wall Clock with Indoor/Outdoor Temperature and Wireless Sensor
1. Introdución
Grazas pola compraasing the LFF Atomic Clock LWC205. This digital clock features a large, easy-to-read display, atomic time synchronization, indoor and outdoor temperature monitoring, and an alarm function. This manual provides detailed instructions for setup, operation, maintenance, and troubleshooting to ensure optimal performance of your device.
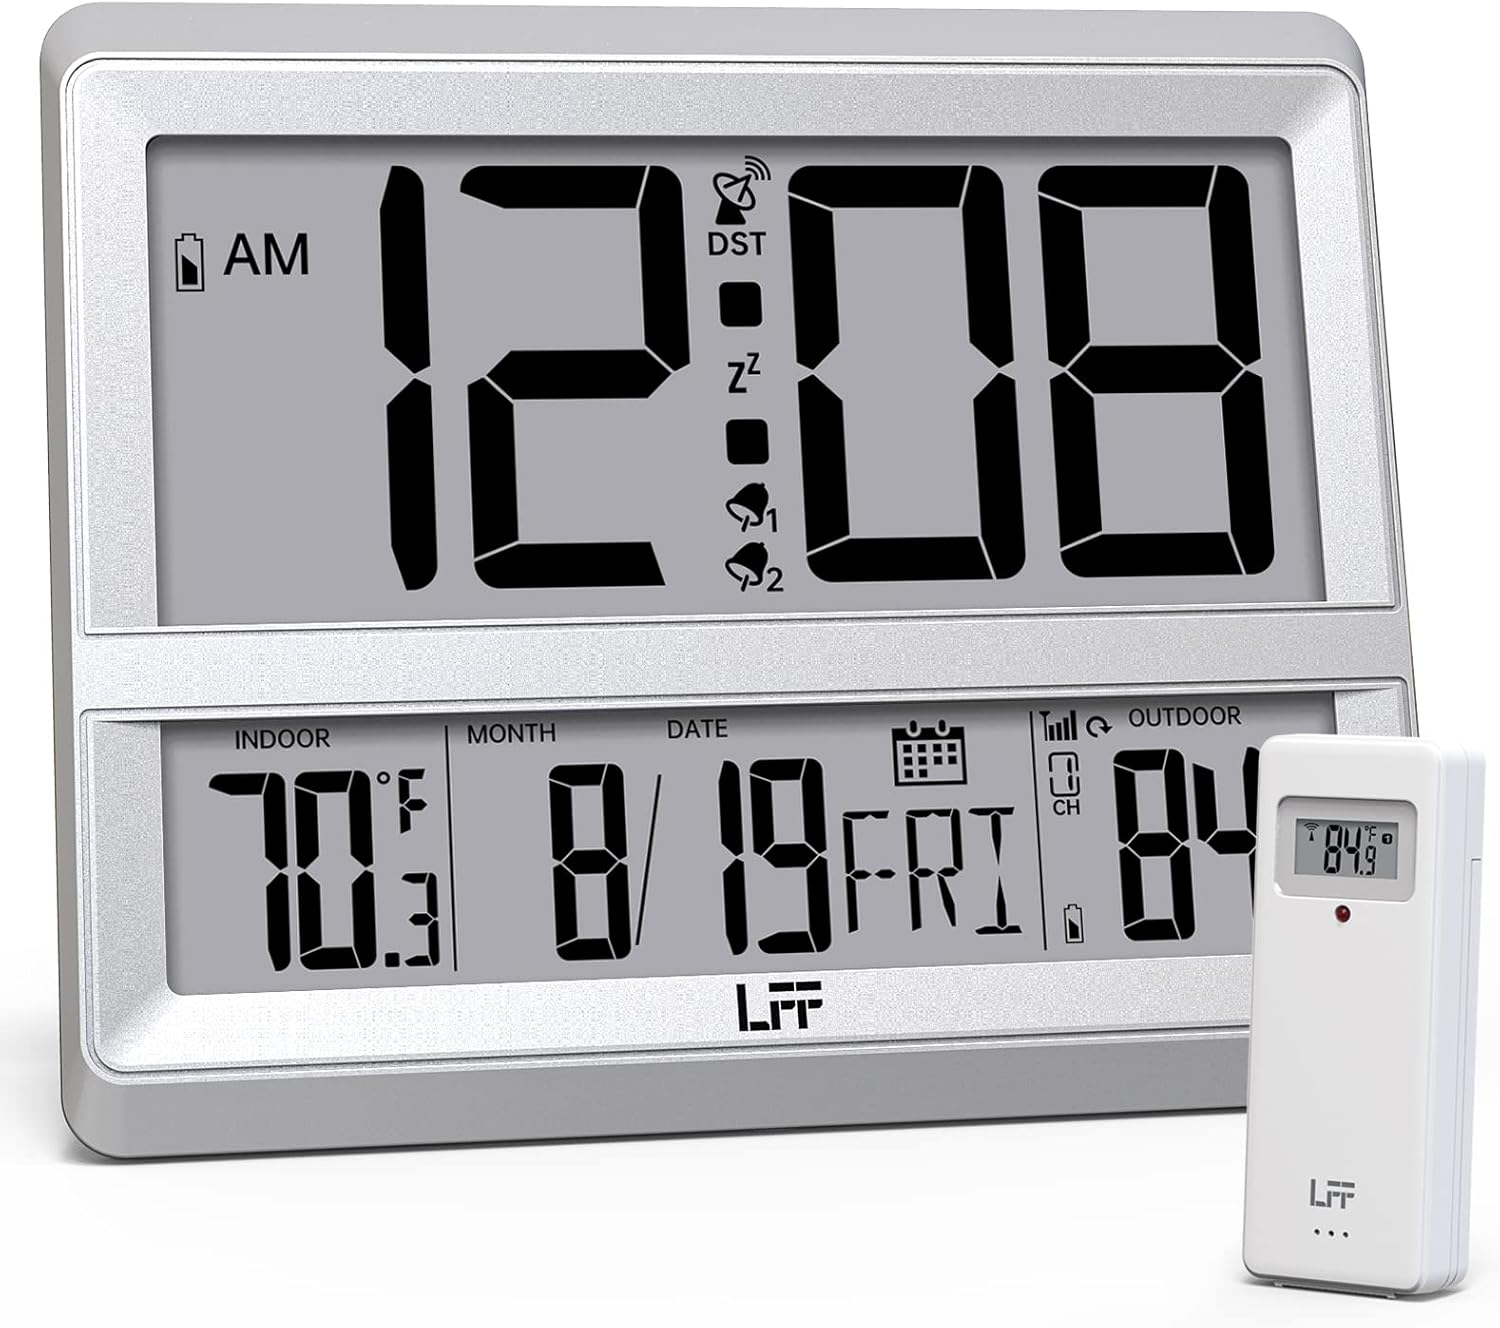
Image 1.1: The LFF Atomic Clock LWC205 main unit and its accompanying wireless outdoor sensor.
2. Produto rematadoview
2.1 Elementos de visualización

Image 2.1: Detailed diagram illustrating the various display elements and control buttons on the LFF Atomic Clock LWC205. Key features include the alarm clock icon, time display, RCC reception icon, DST symbol, outdoor temperature, indoor temperature, date, and weekday.
2.2 Control Buttons (Rear View)
The control buttons are located on the back of the main clock unit:
- Botón SET: Úsase para introducir e confirmar a configuración.
- Botón ALARMA: Úsase para configurar e activar/desactivar a alarma.
- Botón CANAL: Used to select the outdoor sensor channel (if multiple sensors are used).
- DOWN/WAVE/°C/°F Button: Used to decrease values during setting, manually initiate atomic time synchronization (wave), or switch between Celsius and Fahrenheit.
- UP/ALARM Button: Used to increase values during setting or activate/deactivate the alarm.
3. Configuración
3.1 Desembalaxe
Carefully remove all components from the packaging. Ensure you have the main atomic clock unit and the wireless outdoor sensor.
3.2 Instalación da batería
Both the main clock unit and the wireless outdoor sensor require batteries (not included).
- Main Clock Unit: Open the battery compartment on the back of the clock. Insert 3 x pilas AA, garantindo a polaridade correcta (+/-).
- Sensor exterior sen fíos: Open the battery compartment on the back of the sensor. Insert 2 pilas AAA, ensuring correct polarity (+/-). For temperatures below -4°F (-20°C), lithium batteries are recommended for the outdoor sensor.

Image 3.1: Instructions for installing 3xAA batteries in the main clock unit and 2xAAA batteries in the wireless outdoor sensor.
3.3 Colocación do sensor
Place the wireless outdoor sensor in a shaded, dry location away from direct sunlight and precipitation. The sensor has a wireless range of up to 330 feet (100 meters) from the main unit. Ensure there are no major obstructions between the sensor and the clock for optimal signal transmission.

Image 3.2: Illustration of the 330ft wireless range between the main clock unit and the outdoor temperature sensor.
3.4 Clock Placement
The LFF Atomic Clock LWC205 offers two placement options:
- Table Clock: Use the integrated stand on the back of the unit to place it on a desk, nightstand, or shelf.
- Reloxo de parede: Utilize the keyhole slot on the back of the unit to mount it securely on a wall.

Image 3.3: The LFF Atomic Clock can be placed on a table using its built-in stand or mounted on a wall.
4. Instrucións de funcionamento
4.1 Atomic Time Synchronization (WWVB)
The clock automatically synchronizes with the WWVB radio broadcast from Fort Collins, Colorado, ensuring accurate time. This process typically occurs overnight. For best reception, place the clock near a window and away from electronic interference.

Image 4.1: The atomic clock automatically corrects its time daily by receiving the WWVB signal, covering eight time zones and adjusting for Daylight Saving Time.
4.2 Axuste manual da hora e da data
In areas where the WWVB signal is weak or unavailable, you can manually set the time and date:
- Manteña premido o SET botón para entrar no modo de configuración da hora.
- Usa o UP or ABAIXO botóns para axustar o valor que parpadea (por exemplo, hora, minuto, ano, mes, día).
- Preme o SET button to confirm each setting and move to the next.
- The clock will exit setting mode automatically after a few seconds of inactivity or by pressing SET repetidamente ata que se confirmen todos os axustes.
4.3 Visualización da temperatura (°C/°F)
The clock displays both indoor and outdoor temperatures. To switch between Celsius (°C) and Fahrenheit (°F):
- Preme o DOWN/WAVE/°C/°F button to toggle the temperature unit.
Formato 4.4 12/24 horas
Para cambiar entre os formatos de hora de 12 horas e 24 horas:
- Preme o UP para alternar entre os formatos de 12 horas (co indicador AM/PM) e 24 horas.
4.5 Función de alarma
Para configurar a alarma:
- Preme o ALARMA botón unha vez para mostrar a hora actual da alarma.
- Manteña premido o ALARMA botón para entrar no modo de configuración da alarma.
- Usa o UP or ABAIXO botóns para axustar a hora e os minutos.
- Preme o ALARMA button to confirm each setting.
Para activar/desactivar a alarma:
- Preme o ALARMA button repeatedly to cycle through alarm ON/OFF states. An alarm icon will appear on the display when activated.
5. Mantemento
5.1 Substitución da batería
When the low battery indicator appears on the display, replace the batteries in the respective unit (main clock or outdoor sensor) promptly to ensure continuous operation and accurate readings. Refer to Section 3.2 for battery types and installation.
5.2 Limpeza
Clean the clock and sensor with a soft, dry cloth. Do not use abrasive cleaners or solvents, as these may damage the display or casing.
5.3 Consideracións ambientais
The outdoor sensor is designed for outdoor use but should be protected from extreme weather conditions. The recommended operating temperature range for the outdoor sensor is -58°F to 158°F (-50°C to 70°C). For temperatures below -4°F (-20°C), lithium batteries are required in the outdoor sensor for reliable performance.
6 Solución de problemas
- Sen pantalla / Pantalla tenue: Check battery installation and replace with fresh batteries if necessary. Ensure correct polarity.
- Sen lectura de temperatura exterior:
- Ensure batteries are correctly installed in the outdoor sensor.
- Verify the sensor is within the 330ft wireless range of the main unit.
- Preme o CANLE button on the main unit to ensure it is on the correct channel (if applicable).
- Relocate the sensor or main unit to improve signal reception, avoiding large metal objects or other electronic devices.
- Hora incorrecta:
- Ensure the clock is attempting to receive the WWVB signal (look for the RCC reception icon).
- Place the clock near a window and away from electronic interference for better signal reception.
- Iniciar manualmente unha busca de sinal premendo o botón DOWN/WAVE botón.
- If atomic synchronization fails, manually set the time as described in Section 4.2.
- Temperature Readings Seem Inaccurate:
- Asegúrate de colocar o sensor exterior nunha zona sombreada, lonxe da luz solar directa ou de fontes de calor.
- Comprobe os niveis de batería en ambas unidades.
7. Especificacións
| Característica | Detalle |
|---|---|
| Marca | LFF |
| Número de modelo | LWC205 |
| Tipo de visualización | Dixital |
| Cor | Prata |
| Característica especial | Atomic Time, Indoor/Outdoor Temperature, Alarm |
| Dimensións do produto | 7.48" de ancho x 8.66" de alto |
| Fonte de alimentación (reloxo) | 3 pilas AA (non incluídas) |
| Fonte de alimentación (sensor) | 2 pilas AAA (non incluídas) |
| Uso interior/exterior | Indoor (Clock), Outdoor (Sensor) |
| Rango de temperatura exterior | -58 °F a 158 °F (-50 °C a 70 °C) |
| Rango de temperatura interior | 32 °F a 122 °F (0 °C a 50 °C) |
| Alcance do sensor sen fíos | Ata 330 pés (100 metros) |
| Tipo de montaxe | Soporte de parede, mesa |
| Material | Plástico acrilonitrilo butadieno estireno (ABS). |
| Peso do elemento | 0.9 libras (14.4 onzas) |
8. Información da garantía
Warranty information was not provided in the product data. Please refer to the product packaging or contact the manufacturer directly for details regarding warranty coverage and terms.
9. Atención ao cliente
For further assistance or inquiries, please contact LFF customer support. Contact details were not provided in the product data. Please refer to the product packaging or the official LFF websitio web para obter información de contacto do servizo de atención ao cliente.