
1. Introdución
Thank you for choosing the SCHNEIDER SCVCO2350DE Wet and Dry Vacuum Cleaner. This appliance is designed to efficiently clean both wet spills and dry debris from various hard floor surfaces. Featuring a powerful 18V motor, a dirt sensor for optimized cleaning, and a self-propelled brush, it offers up to 50 minutes of cordless operation. Please read this manual thoroughly before first use to ensure safe and optimal performance of your device.
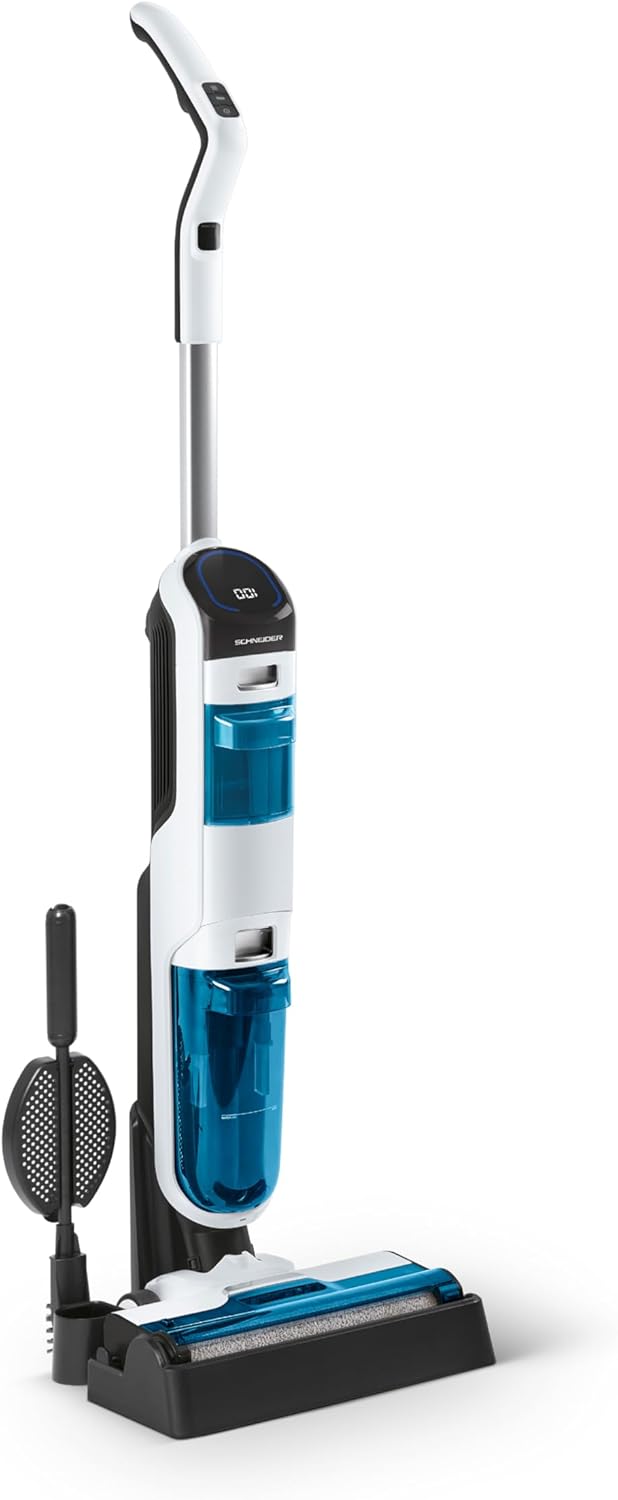
Figure 1: SCHNEIDER SCVCO2350DE Wet and Dry Vacuum Cleaner with charging base and cleaning tool.
2. Instrucións de seguridade
Observe sempre as precaucións básicas de seguridade ao usar electrodomésticos para reducir o risco de incendio, descarga eléctrica ou lesións.
- Le todas as instrucións antes de usar o aparello.
- Non mergullo o aparello en auga ou outros líquidos.
- Manteña o cabelo, a roupa solta, os dedos e todas as partes do corpo lonxe das aberturas e das partes móbiles.
- Use só como se describe neste manual. Empregue só os accesorios recomendados polo fabricante.
- Non o use cun cable ou enchufe danados. Se o aparello non funciona como debería, caeu, estrañouse, deixouse ao aire libre ou caeu á auga, devólveo a un centro de servizo.
- Non manipule o cargador nin o aparello coas mans molladas.
- Non colle líquidos inflamables ou combustibles, como gasolina, nin o use en zonas onde poidan estar presentes.
- Non coller nada que arde ou fume, como cigarros, mistos ou cinzas quentes.
- Teña especial coidado ao limpar as escaleiras.
- Desenchufe da toma de corrente cando non estea en uso e antes de realizar o servizo.
- Este aparello é só para uso doméstico.
3. Contido do paquete
Comprobe o contido do seu paquete para asegurarse de que todos os artigos estean presentes e non estean danados.
- SCHNEIDER SCVCO2350DE Main Unit
- Montaxe de asa
- Clean Water Tank (680ml capacity)
- Dirty Water Tank (440ml capacity)
- Base de carga
- Adaptador de alimentación
- Ferramenta de cepillo de limpeza
- Manual de usuario (este documento)
4. Configuración
4.1 Asemblea
- Retire coidadosamente todos os compoñentes da embalaxe.
- Insert the handle assembly into the main unit until it clicks securely into place.
- Ensure both the clean water tank and dirty water tank are correctly installed.
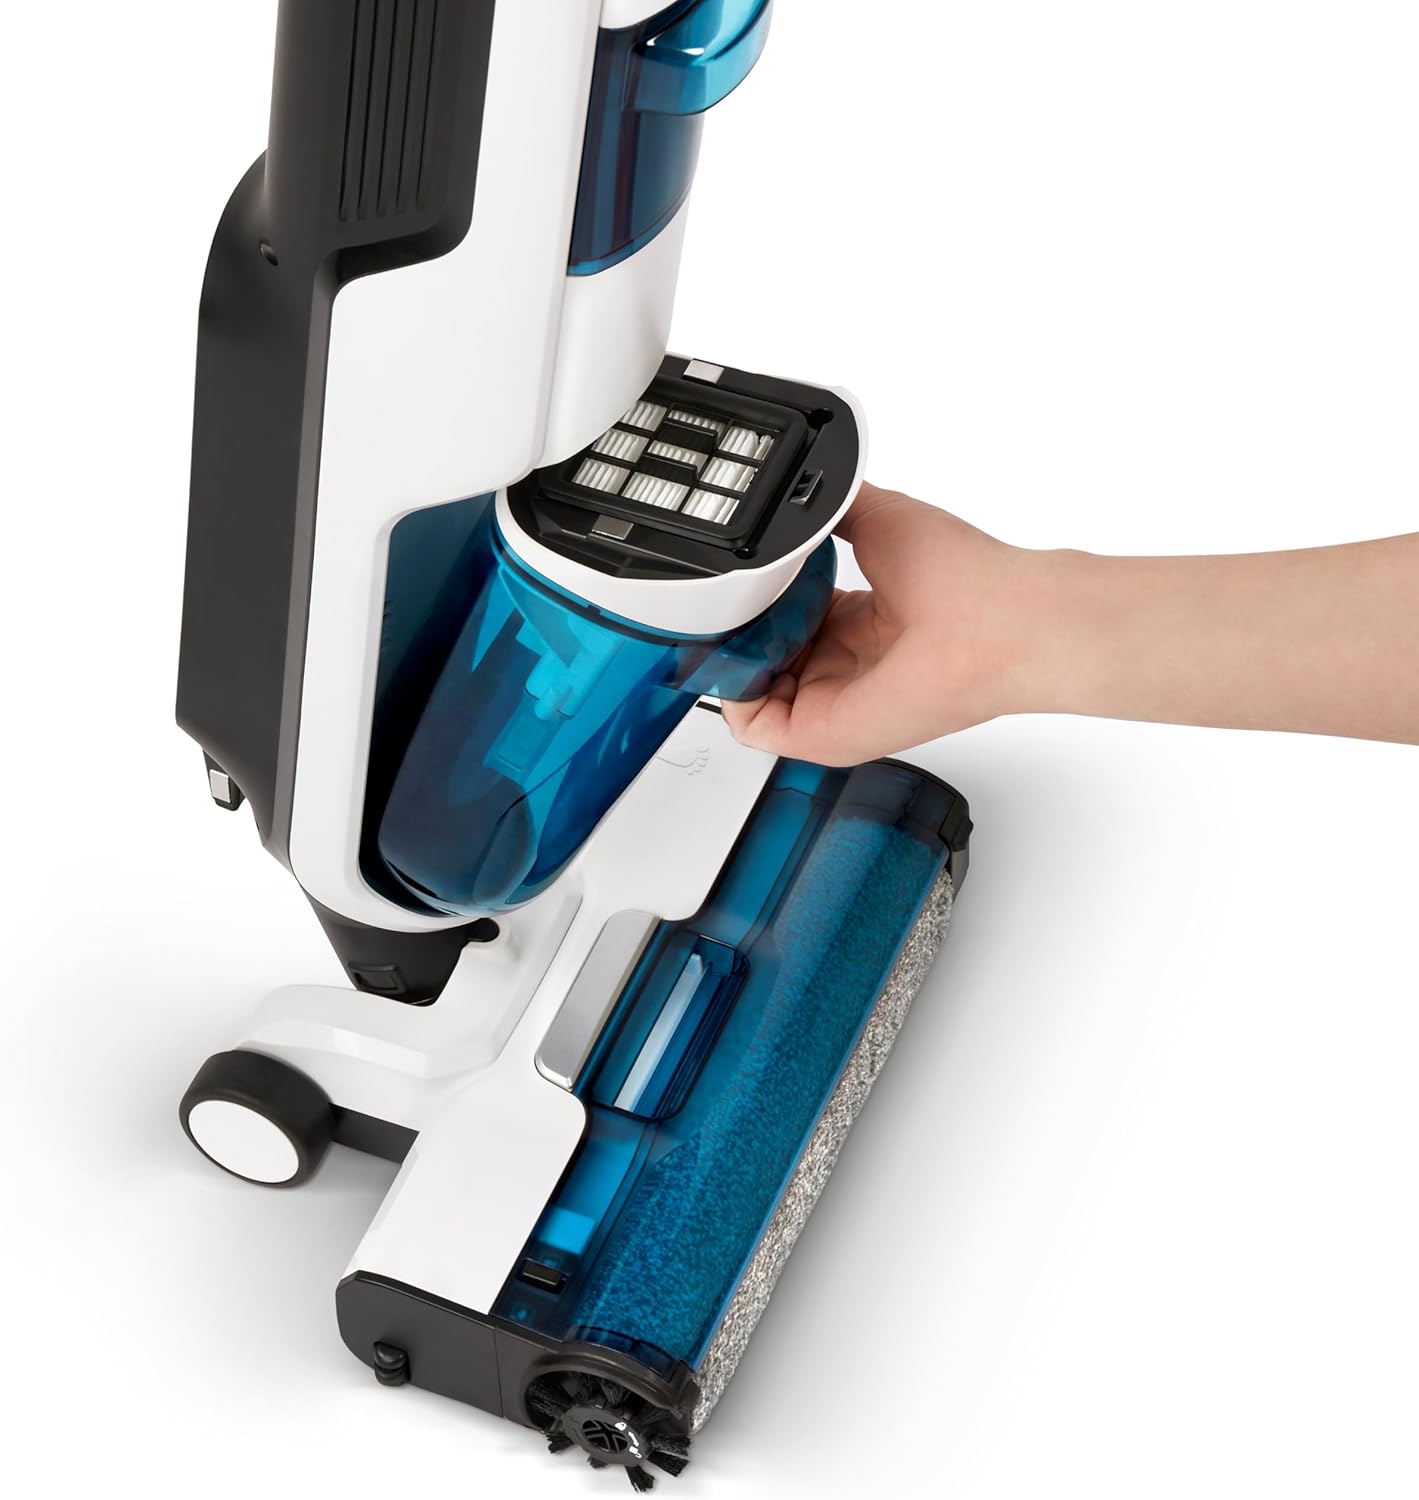
Figure 2: Illustration of removing a water tank for filling or emptying.
4.2 Carga inicial
Antes do primeiro uso, cargue completamente o aspirador.
- Coloque a unidade principal na base de carga.
- Connect the power adapter to the charging base and then to a wall outlet.
- The display will indicate charging status. A full charge provides up to 50 minutes of runtime.

Figure 3: The vacuum cleaner docked on its charging base.
4.3 Encher o depósito de auga limpa
- Retire o depósito de auga limpa da unidade principal.
- Open the tank cap and fill with clean water. You may add a small amount of non-foaming floor cleaning solution suitable for wet vacuums. Do not exceed the MAX fill line.
- Close the cap securely and reinsert the tank into the main unit until it clicks.
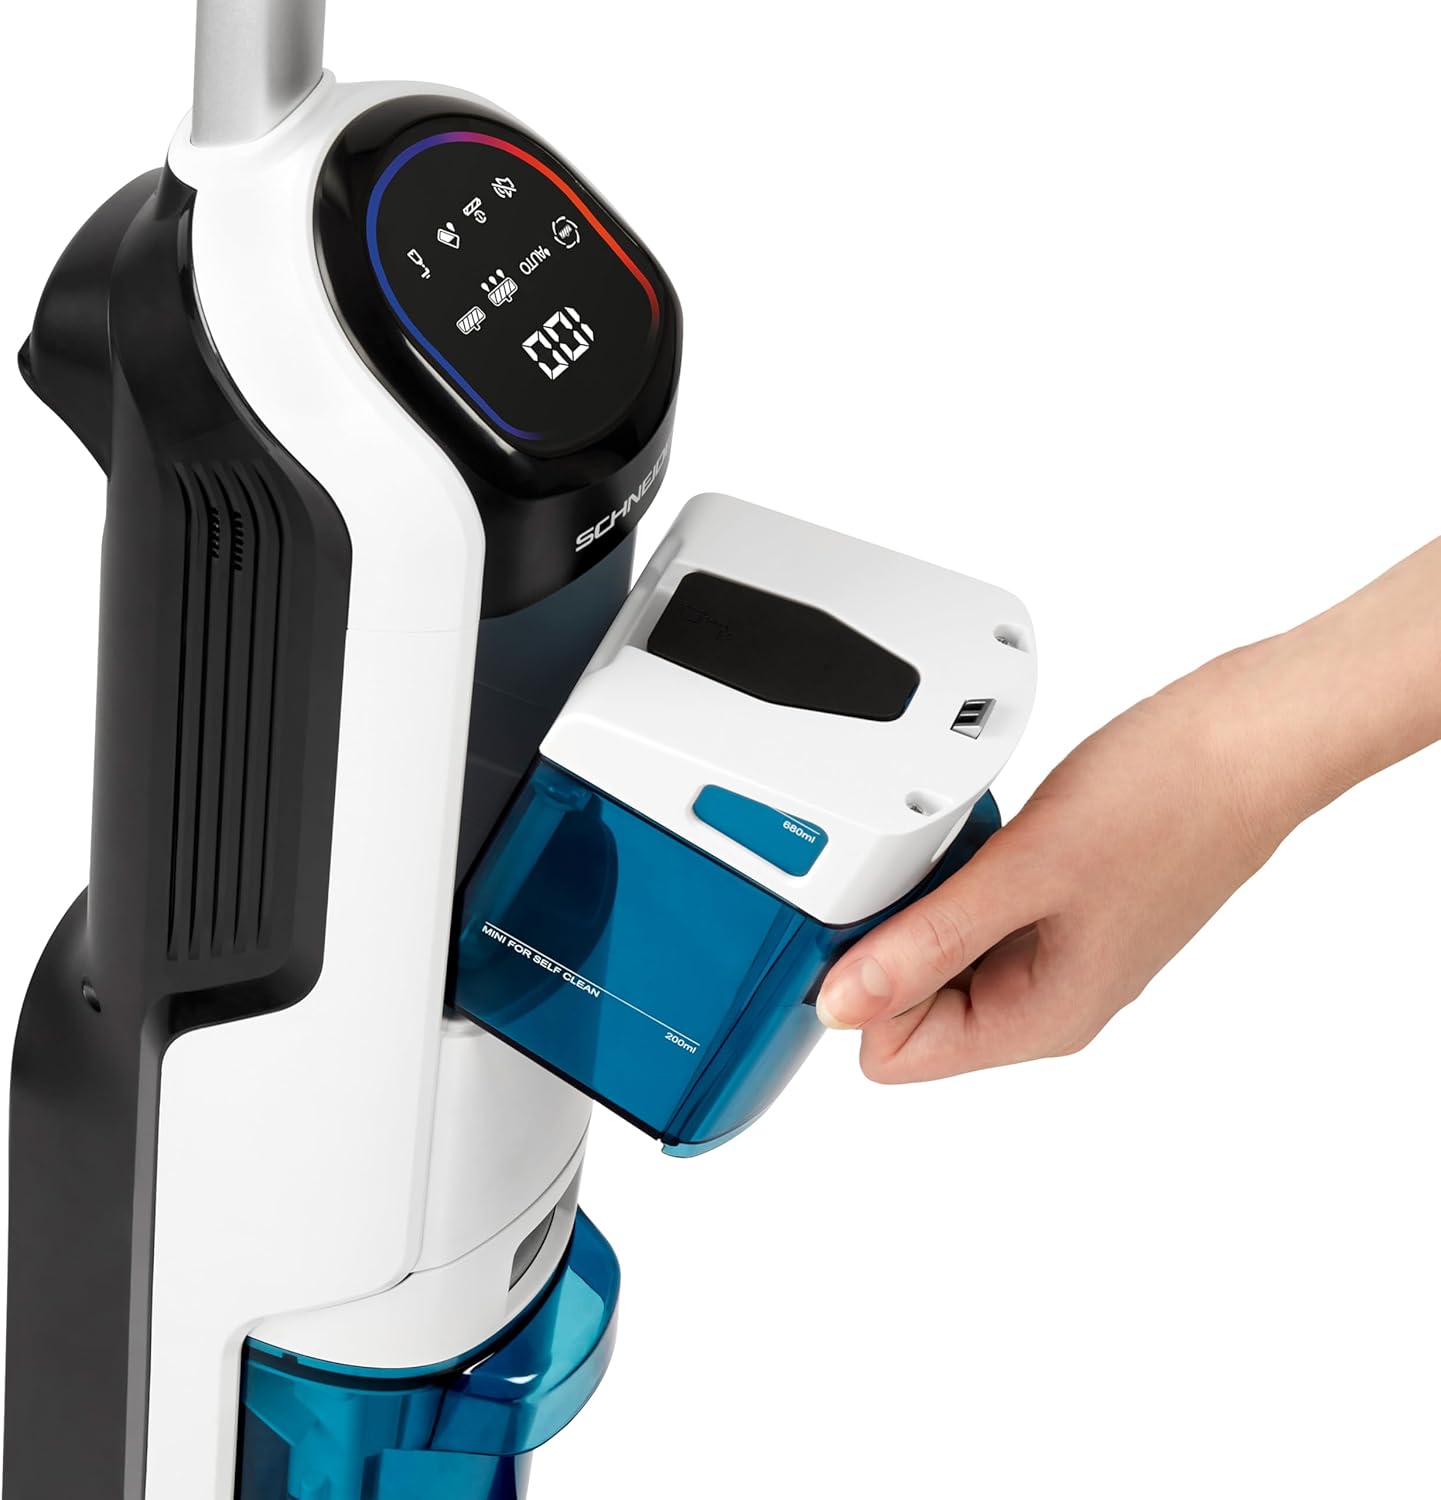
Figure 4: The clean water tank being held, ready for filling.
5. Instrucións de funcionamento
5.1 Acendido/apagado e selección de modo
Press the power button on the handle to turn the appliance on or off. The vacuum cleaner features an intelligent dirt sensor that automatically adjusts suction power and water flow based on the detected dirt level.

Figure 5: The LED display indicating current mode (AUTO) and battery level.
5.2 Operación de limpeza
Hold the handle firmly and gently push or pull the vacuum cleaner across the floor. The self-propelled brush assists in movement.
- Dirt Sensor: The LED indicator on the display will show red for dirty areas and turn blue when the floor is clean, optimizing cleaning efficiency.
- Limpeza de bordes: The exclusive brush design allows for cleaning within 5mm of baseboards, corners, and obstacles.
- Wet and Dry Cleaning: The appliance simultaneously vacuums dry debris and washes the floor with clean water, collecting dirty water into a separate tank.
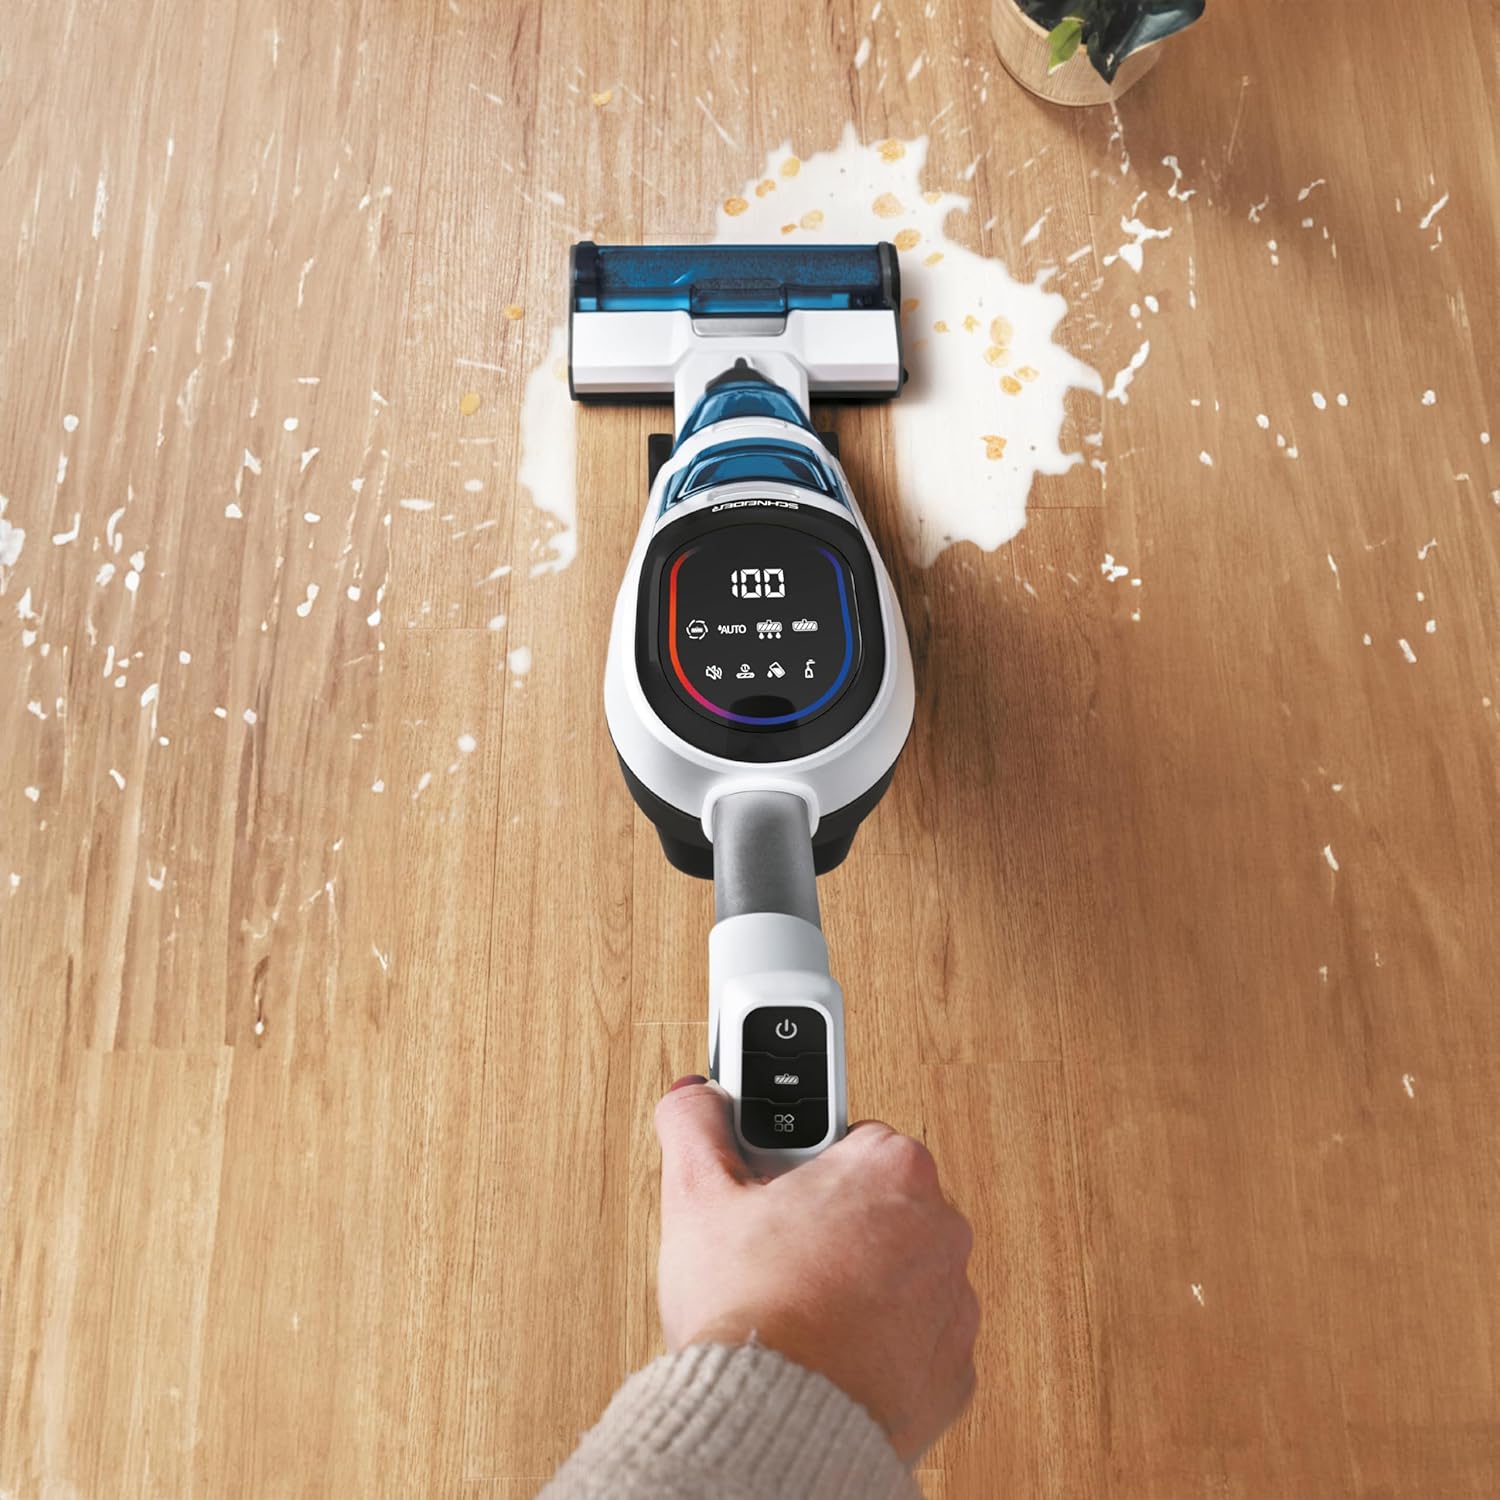
Figure 6: The vacuum cleaner effectively cleaning a wet spill on a hard floor.

Figure 7: The specialized brush design allows for thorough cleaning along edges and baseboards.
6. Mantemento
Regular maintenance ensures the longevity and optimal performance of your SCHNEIDER SCVCO2350DE.
6.1 Baleirar e limpar o depósito de auga sucia
- After each use, or when the dirty water tank is full, remove it from the main unit.
- Carefully open the tank and dispose of the dirty water and collected debris.
- Rinse the tank thoroughly with clean water. Ensure no residue remains.
- Deixa que o tanque seque completamente ao aire antes de volvelo colocar.
6.2 Limpeza do rolo de cepillo
- Turn off the appliance and remove it from the charging base.
- Access the brush roll compartment (refer to diagrams in the full manual if needed).
- Remove the brush roll and use the provided cleaning tool to remove any hair, fibers, or debris.
- Rinse the brush roll under running water if necessary and allow it to air dry completely before reinstallation.

Figure 8: The vacuum cleaner can perform a self-cleaning cycle while on its charging base.
6.3 Mantemento do filtro
Periodically check and clean the filter located within the dirty water tank assembly. Rinse it with water and ensure it is completely dry before reassembling.
7 Solución de problemas
If you encounter issues with your SCHNEIDER SCVCO2350DE, please refer to the following common problems and solutions.
| Problema | Causa posible | Solución |
|---|---|---|
| Appliance does not turn on or charge. | Battery depleted; improper connection to charging base; faulty power adapter. | Ensure the appliance is correctly placed on the charging base and the power adapter is securely plugged into a working outlet. Allow sufficient time for charging. |
| Mala succión ou rendemento de limpeza. | Dirty water tank full; clean water tank empty; clogged brush roll or filter; hose blockage. | Empty and clean the dirty water tank. Refill the clean water tank. Clean the brush roll and filter. Check for any blockages in the suction path. |
| Fuga de auga. | Water tanks not properly installed; tank caps not securely closed; damaged tank or seals. | Ensure both clean and dirty water tanks are correctly seated and their caps are tightly closed. Inspect tanks and seals for any damage. |
| LED indicator remains red after cleaning. | Area still dirty; sensor malfunction. | Pass over the area again. If the issue persists, ensure the sensor area is clean and free of debris. |
| Difficulty obtaining spare parts. | Limited availability of specific components. | Contact SCHNEIDER customer support or your retailer for assistance with spare parts. Note that availability may vary. |
8. Especificacións
| Característica | Detalle |
|---|---|
| Marca | SCHNEIDER |
| Número de modelo | SCVCO2350DE |
| Cor | Azul e Branco |
| Capacidade do depósito de auga limpa | 680 mililitros |
| Poder | 150 vatios |
| Voltage | 18 voltios |
| Nivel de ruído | 78 dB |
| Características | Portable, Dirt Sensor, Self-propelled brush |
| Peso do elemento | 4.5 quilogramos |
| Autonomía de batería | Ata 50 minutos |
| Capacidade do depósito de auga sucia | 440 mililitros |
9. Garantía e soporte
Your SCHNEIDER SCVCO2350DE Wet and Dry Vacuum Cleaner is covered by a manufacturer's warranty. For specific warranty terms and conditions, please refer to the warranty card included with your product or visit the official SCHNEIDER websitio.
For technical support, troubleshooting assistance beyond this manual, or inquiries regarding spare parts, please contact SCHNEIDER customer service or your authorized retailer. Keep your proof of purchase for warranty claims.